 Become a TechRadar Insider


You're new to the Mac, and searching in vain for the 'print screen' key, but your iMac keyboard is frustratingly devoid of an 'iGrab' button.
You decide Macs aren't all they're cracked up to be, and are about to hurl yours out of the window. But wait - it doesn't have to be that way.
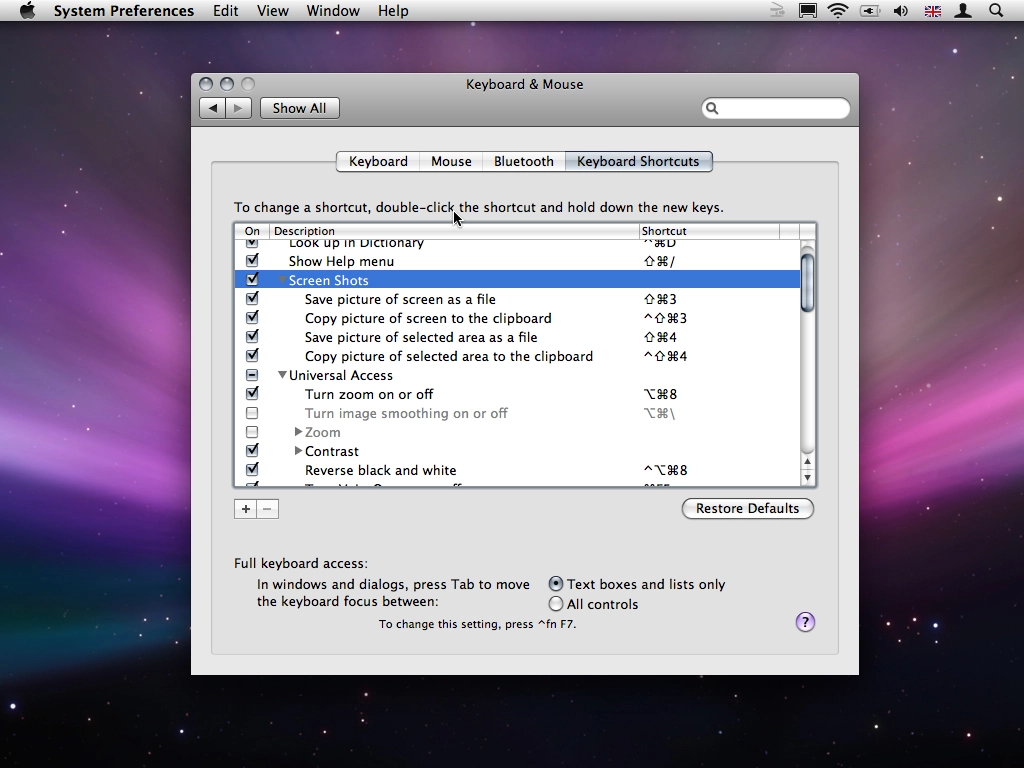
Article continues belowOn the Mac, the magical shortcut for taking a screengrab is Command+Shift+3 (although this can be changed in the 'Screen Shots' sub-section of 'Keyboard Shortcuts' within the Keyboard & Mouse System Preferences pane).

EASY TWEAKING: TinkerTool makes it simple to amend Mac OS X screengrab defaults
If you only want to grab a portion of the screen, press Command+Shift+4. The cursor will become a crosshair. Click-drag and then release and the selected selection will be sent to the Desktop.
Alternatively, if you require a grab of a component (window, menu, the Dock, etc.), press Space after Command+Shift+4. The crosshair will become a camera, which you move over an item to highlight it. Escape cancels the grab, and clicking an item confirms it.
Note that components are grabbed along with their drop-shadows, and you can hold Control when beginning a grab process (Command+Shift+3 or Command+Shift+4) to send the resulting image to the clipboard rather than the Desktop.

CROPPING: By pressing Space after Command+Shift+4, you can grab an individual screen component
Further shortcuts were introduced in Leopard: on dragging a selection, keep the mouse button held and then also hold Space to lock and move the selection; hold Option to resize with the centre of the selection as the anchor point; hold Shift to lock an axis based on the next cursor movement you make; and Shift+Option enables you to lock an axis and resize the selection with its centre as the anchor point.