I took my DJI drone videos to new heights with this unique 360 camera
The Sphere delivers FPV effects without the learning curve
Sign up for breaking news, reviews, opinion, top tech deals, and more.
You are now subscribed
Your newsletter sign-up was successful
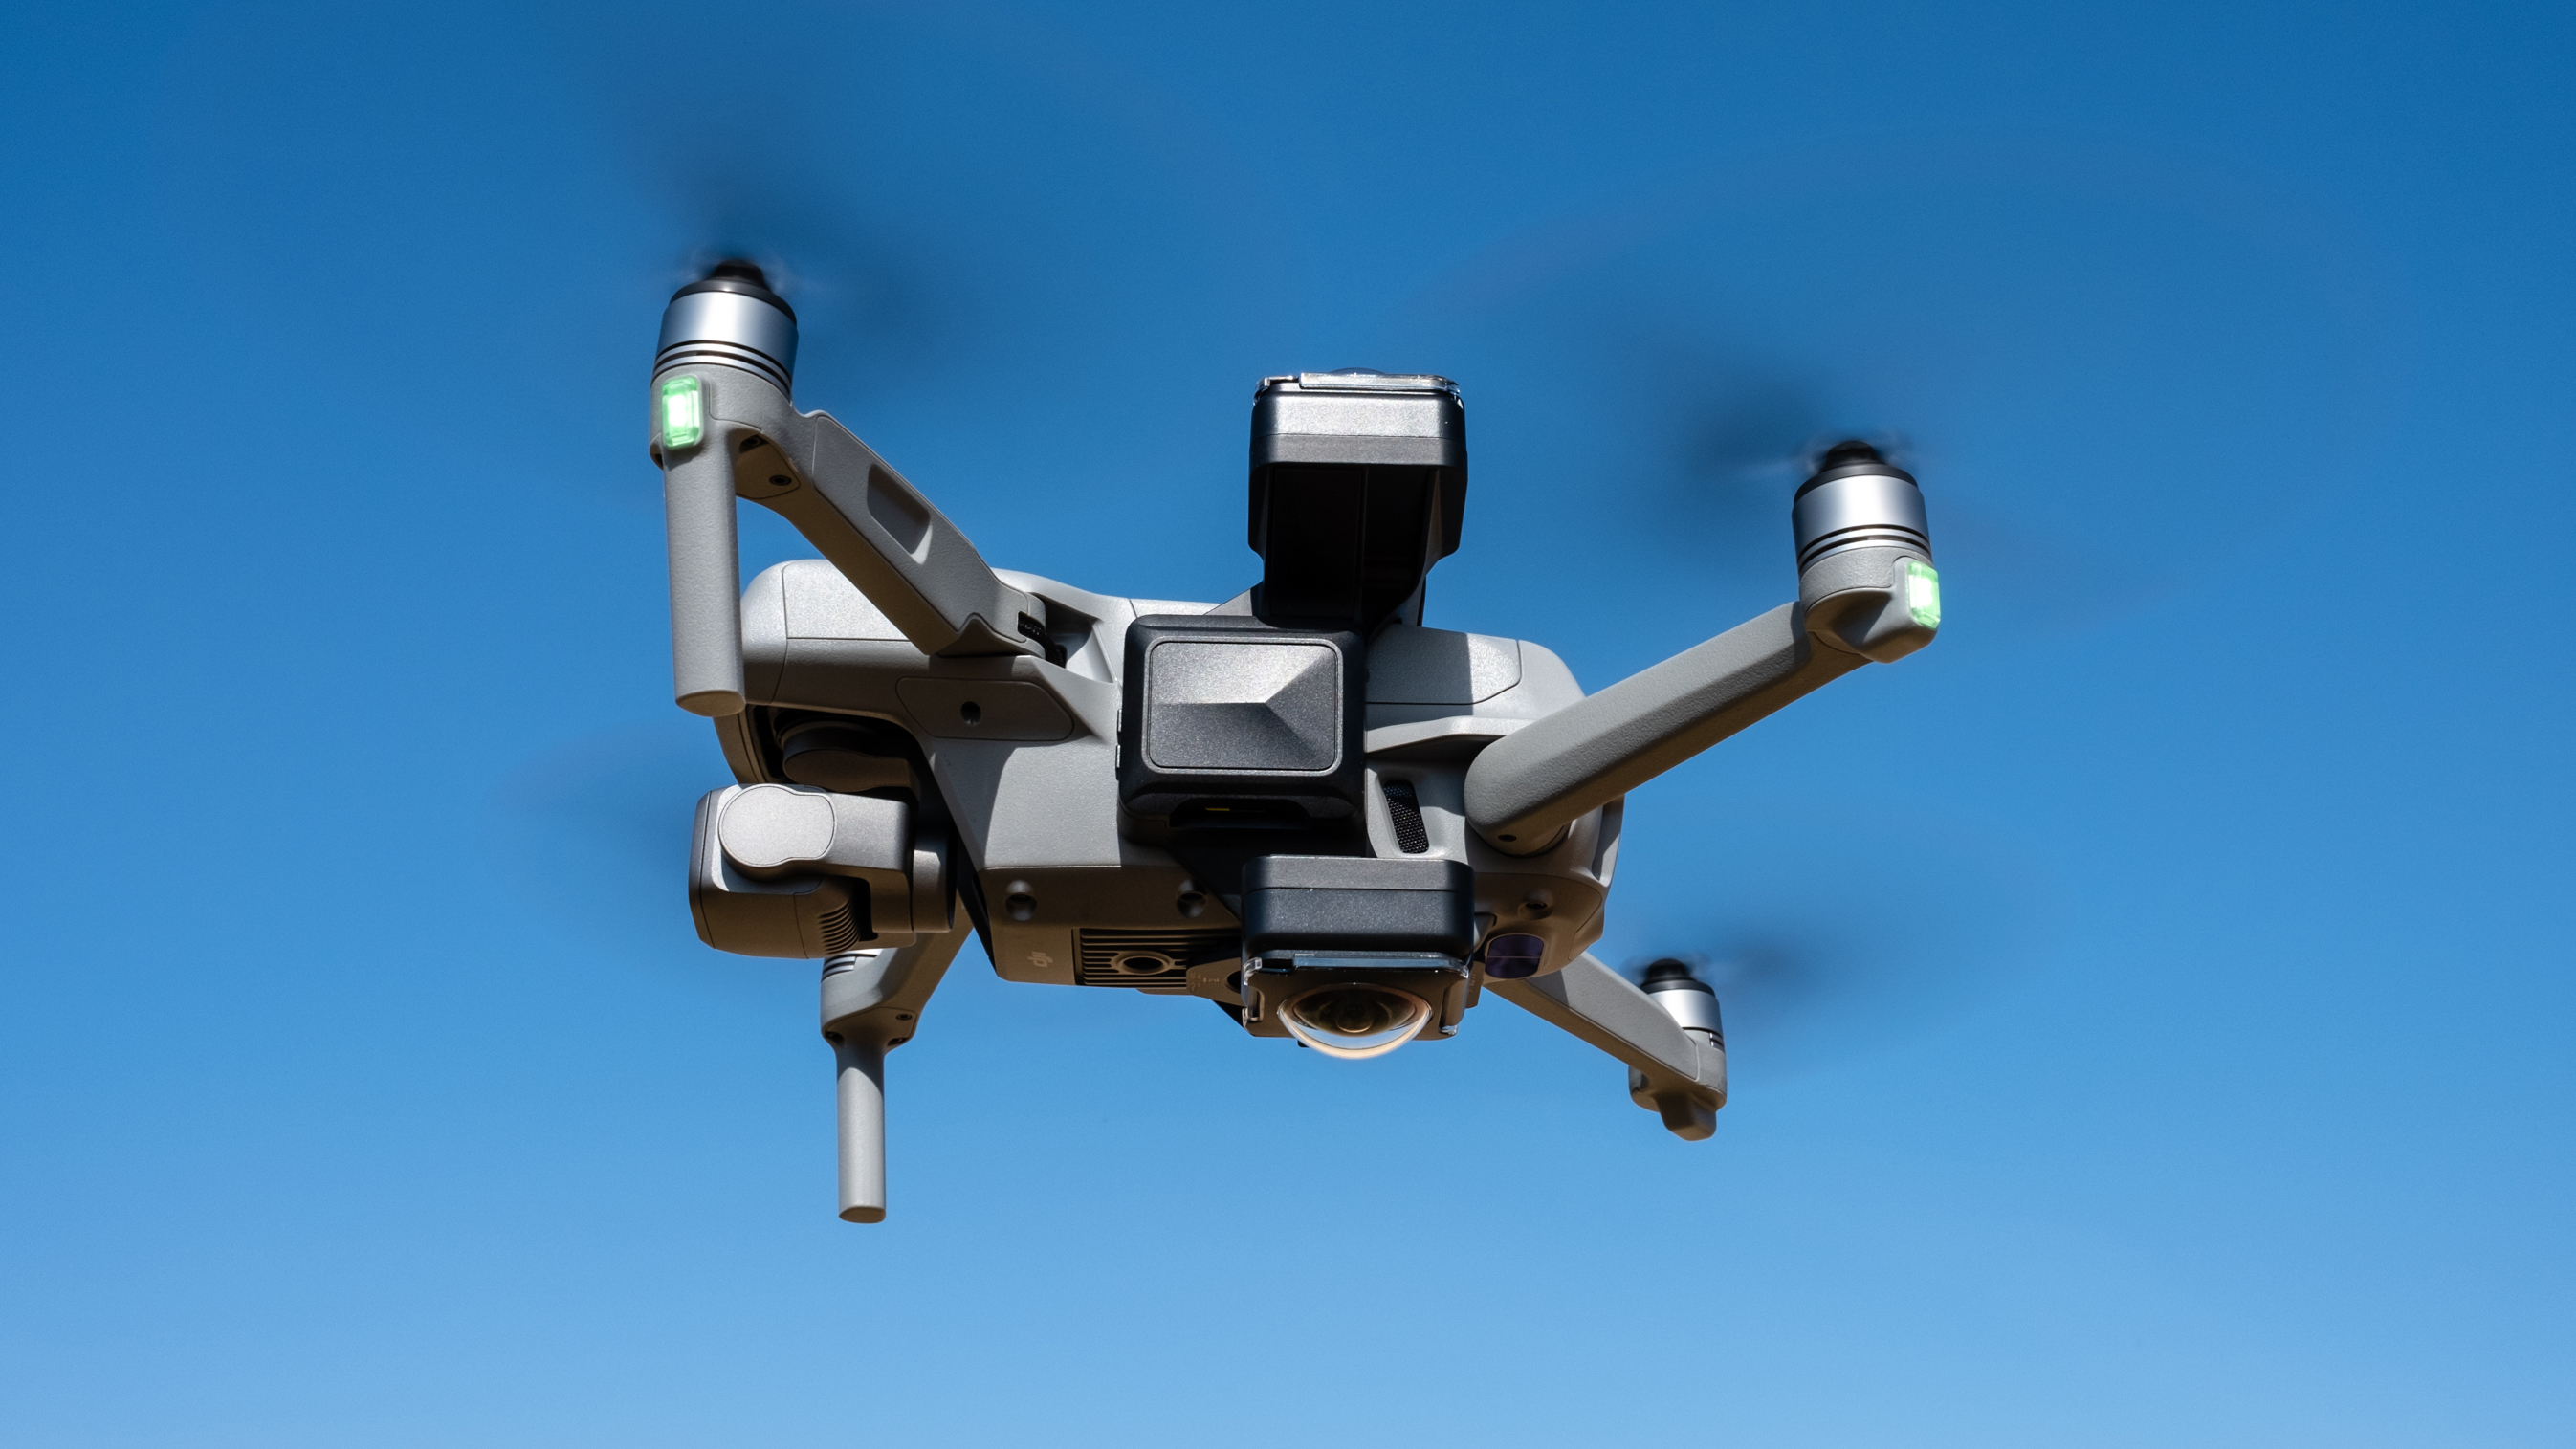
Have you ever wanted to capture awe-inspiring FPV aerial videos, but without having to learn to fly the notoriously difficult-to-fly and easy-to-crash drones? I know the feeling, which is why I was very keen to test the Insta360 Sphere – a 360-degree camera that lets you easily shoot and create FPV-style video with a standard drone.
I’ve long been interested in FPV (first person view) drones, but have shied away from their common self-build format – I’m terrible at soldering, and that’s before I put in many hours of flight practice. I have recently begun training with a beginner’s training FPV drone and a computer simulator, but I have a long way to go. So, for now, the Sphere is an attractive way to achieve a similar style of video.
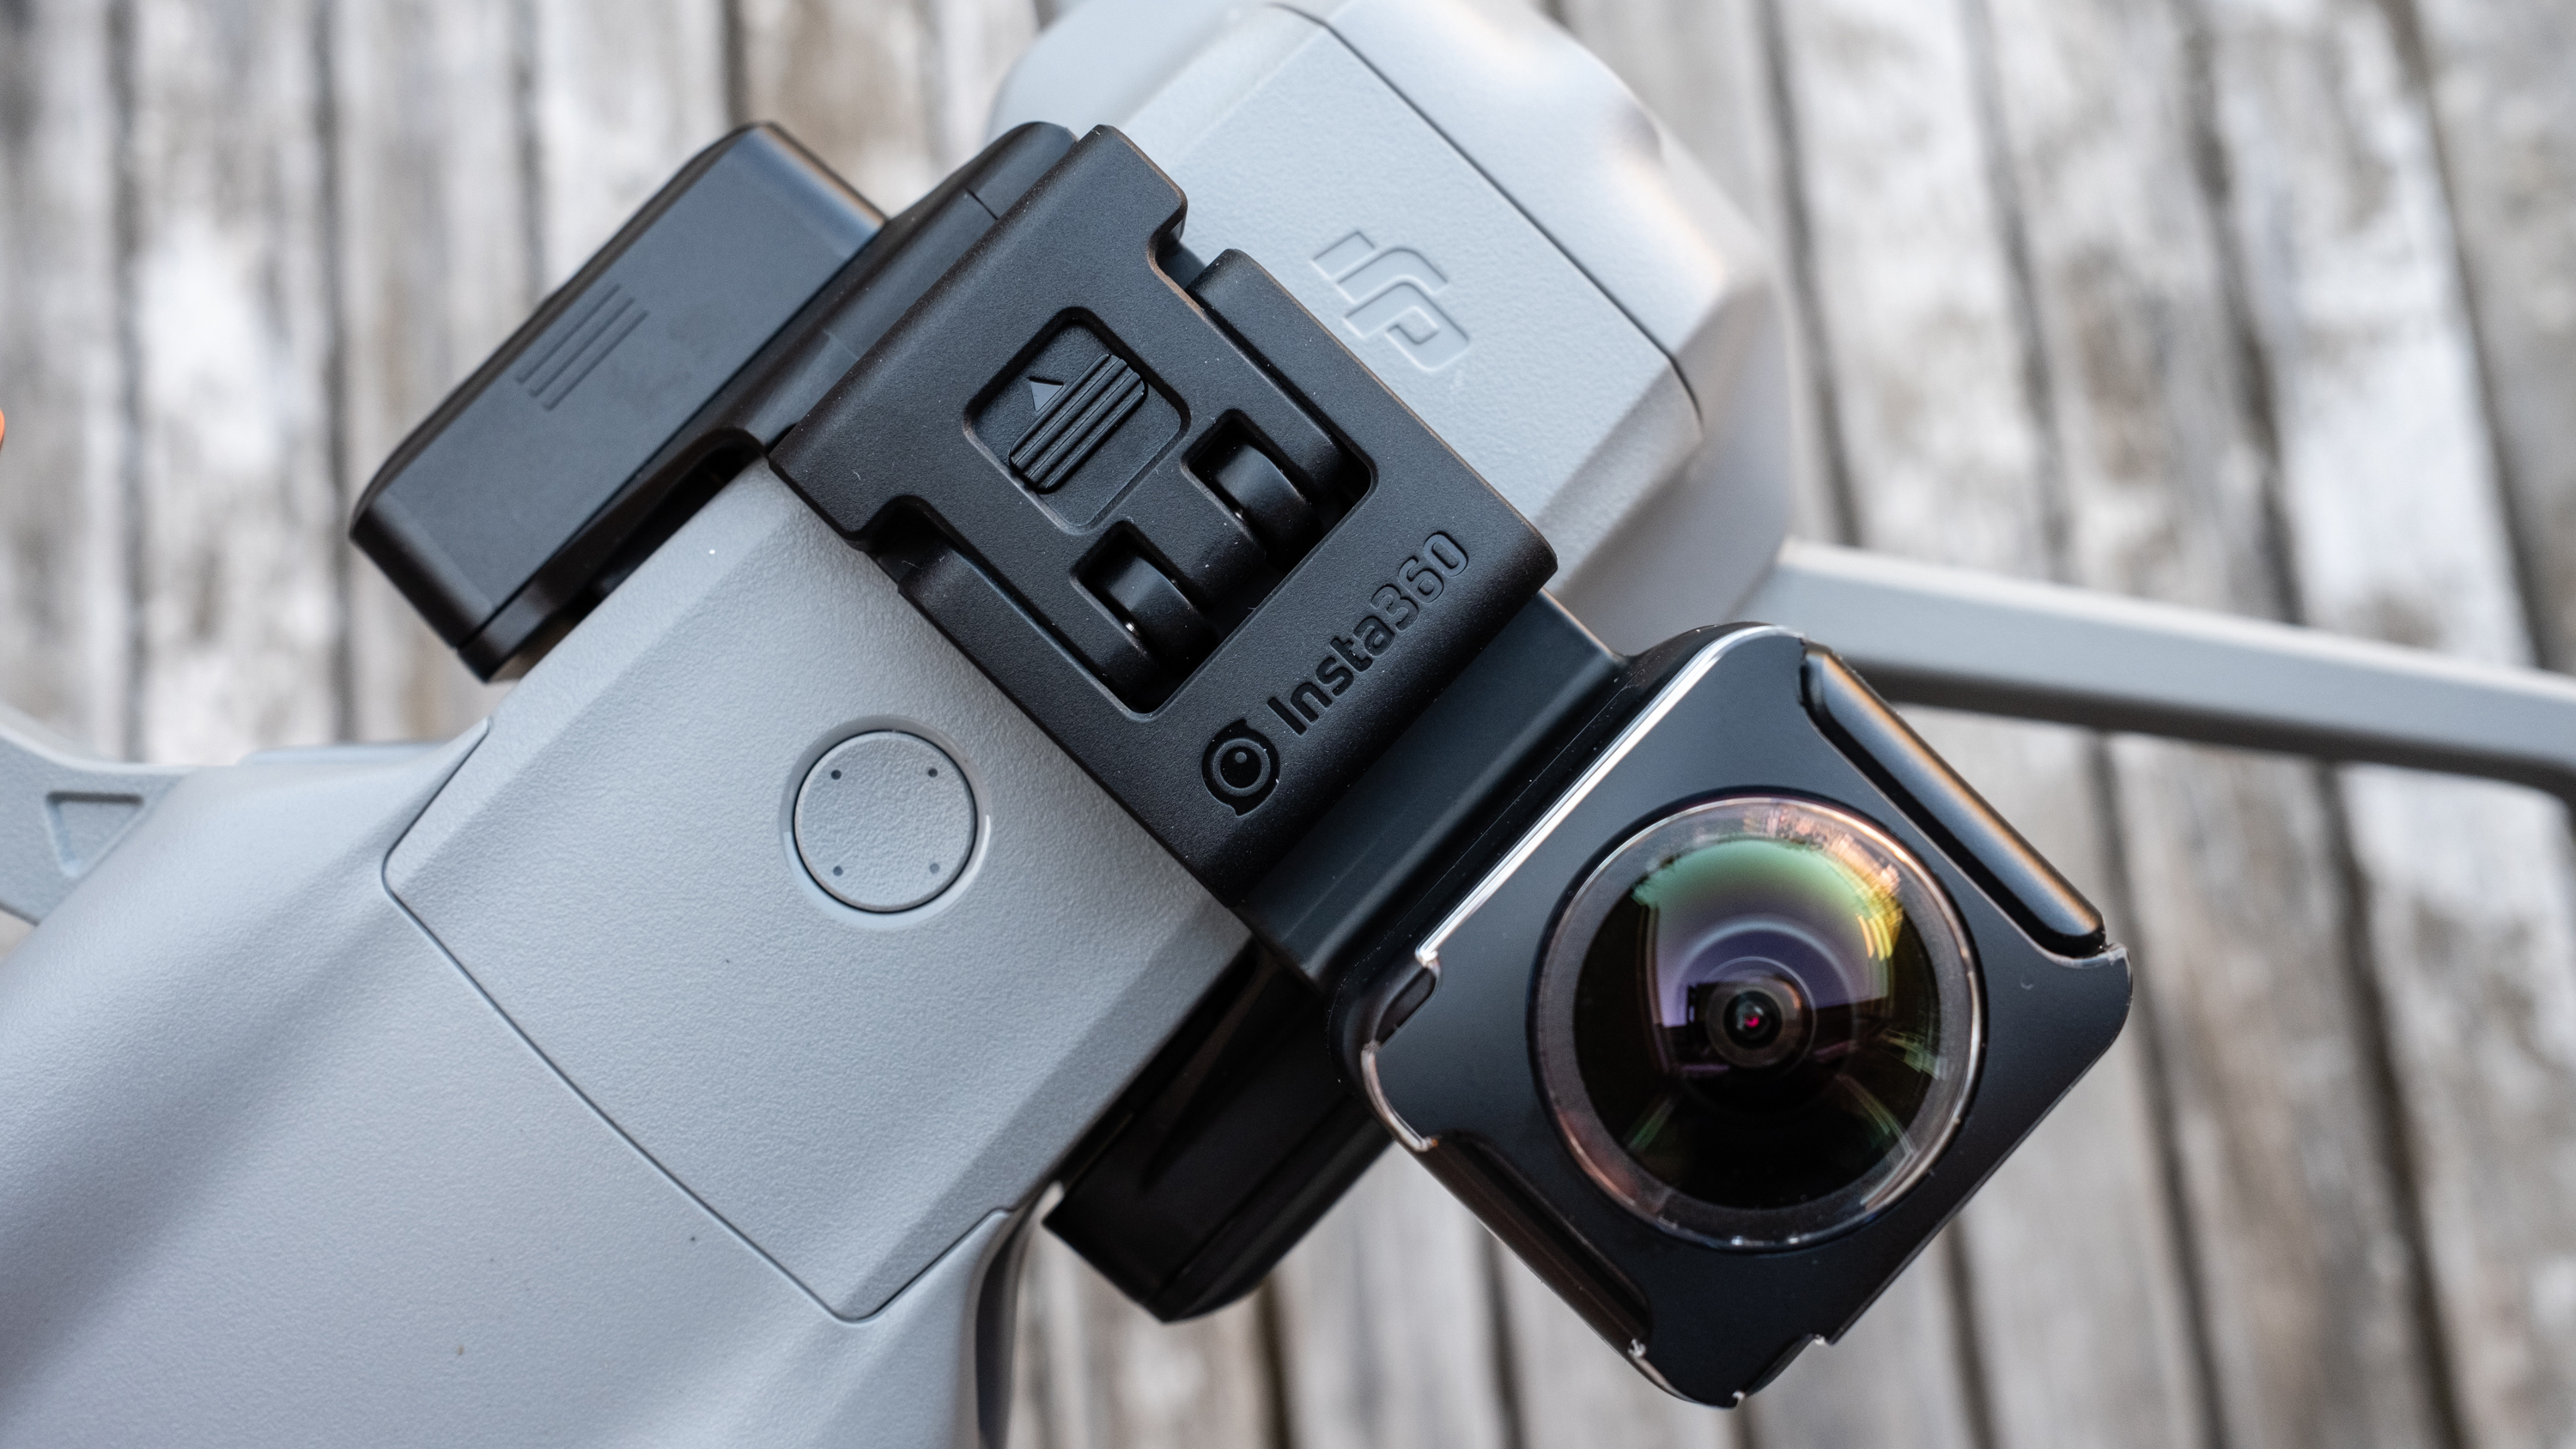
The advantage of the Sphere is that anyone with one of the two compatible drones (the DJI Air 2S and Mavic Air 2) can, irrespective of flying experience, capture simple footage that can be edited using keyframes to add visually exciting rolls, turns and flips to change the camera direction during editing. Editing is the most important element of the process, although some planning is required when capturing video.
The Sphere is available in two kits and is more expensive than regular drone accessories, but this is to be expected given it’s a camera. The Standalone kit costs $423 / £440 / AU$749 and includes the Sphere camera, two sticky lens guards, two lens caps, one battery, a charging cable, a lens cloth and landing mat. The Memory Card Kit costs $440 / £456 / €529 / AU$768 and includes all of the above alongside a 64GB microSD card. But how good are they in practice? I took one for a spin to find out.
How does it work?
The Sphere is designed to attach to the DJI Mavic Air 2 or Air 2S without interfering with the drone’s GPS or downward-facing sensors. Its unique trick is that the positions of the cameras also make your drone invisible, so you’re free to enjoy an unobscured 360-degree view of the world. The downward-facing camera lens does extend beyond the bottom of the drone, so you have to attach the included sticky lens protectors and use the special landing mat that’s also included.
With standard drones, video capture usually requires you to plan your maneuvers in so that the flight patterns you use create visual interest. You might mimic a crane camera lift, shoot a reveal flying backwards, or orbit the subject. But with the Sphere, you simply need to fly the drone slowly and smoothly so that special camera effects can be added during editing.
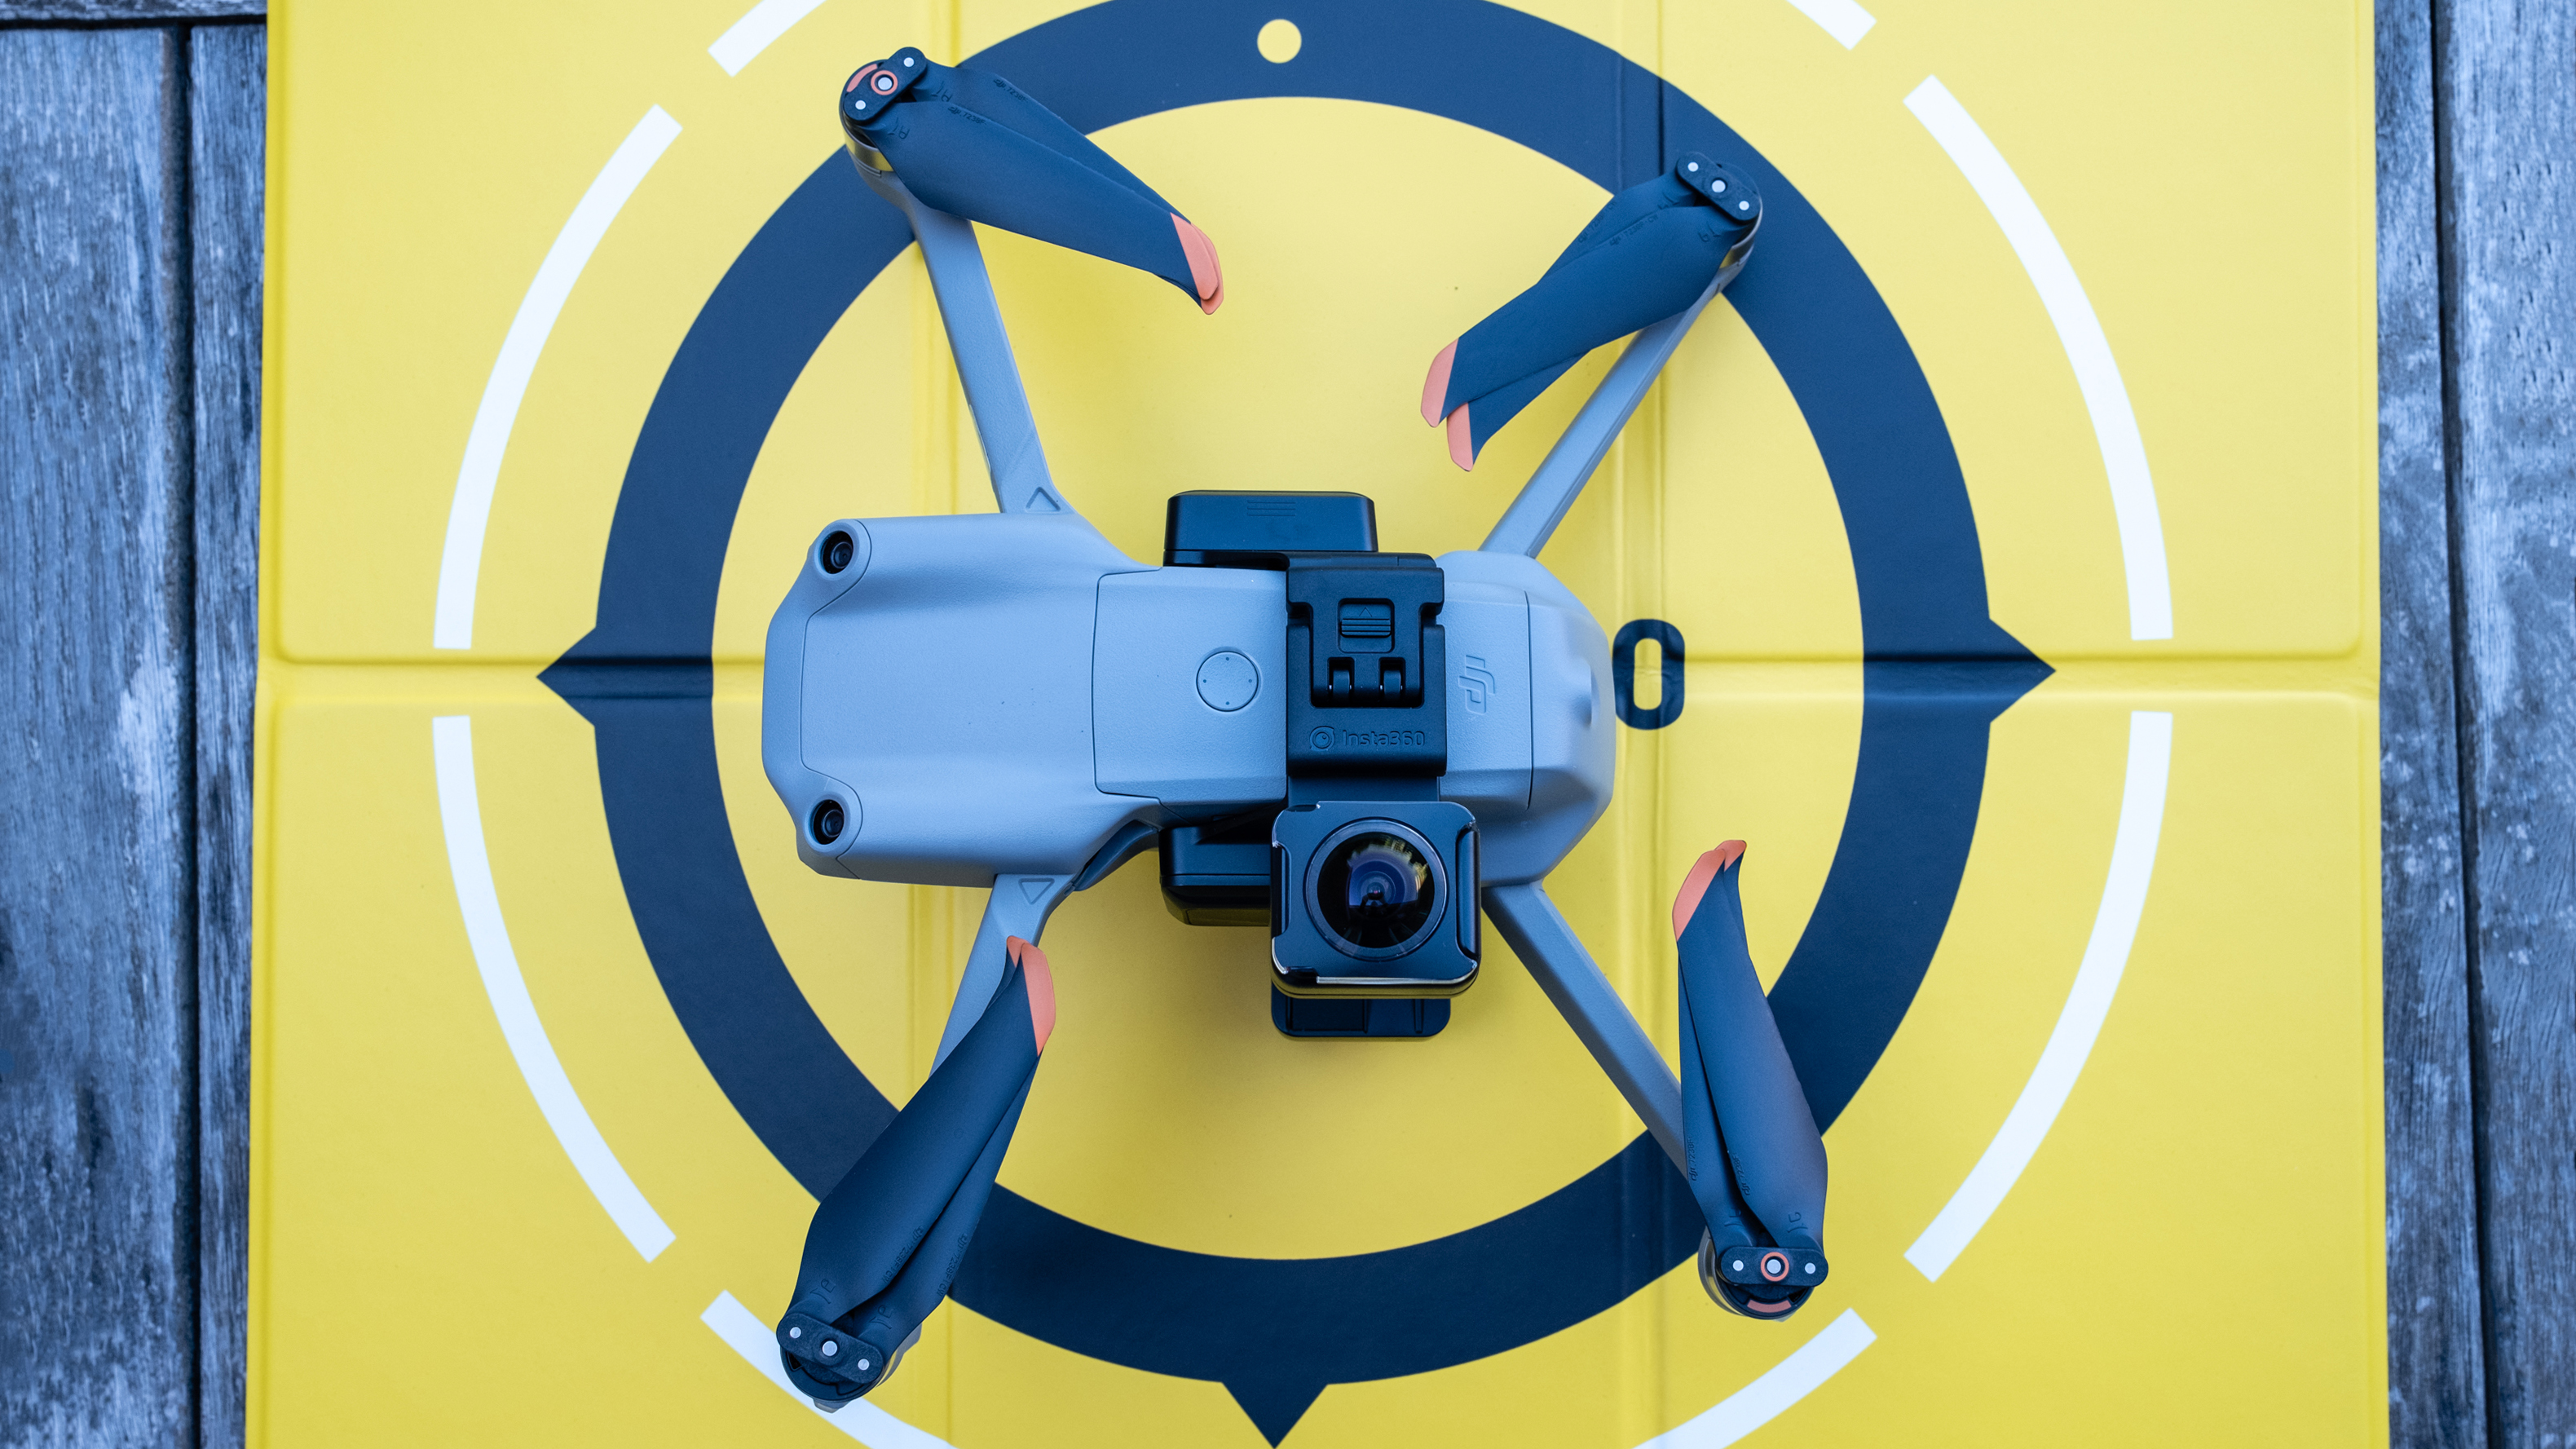
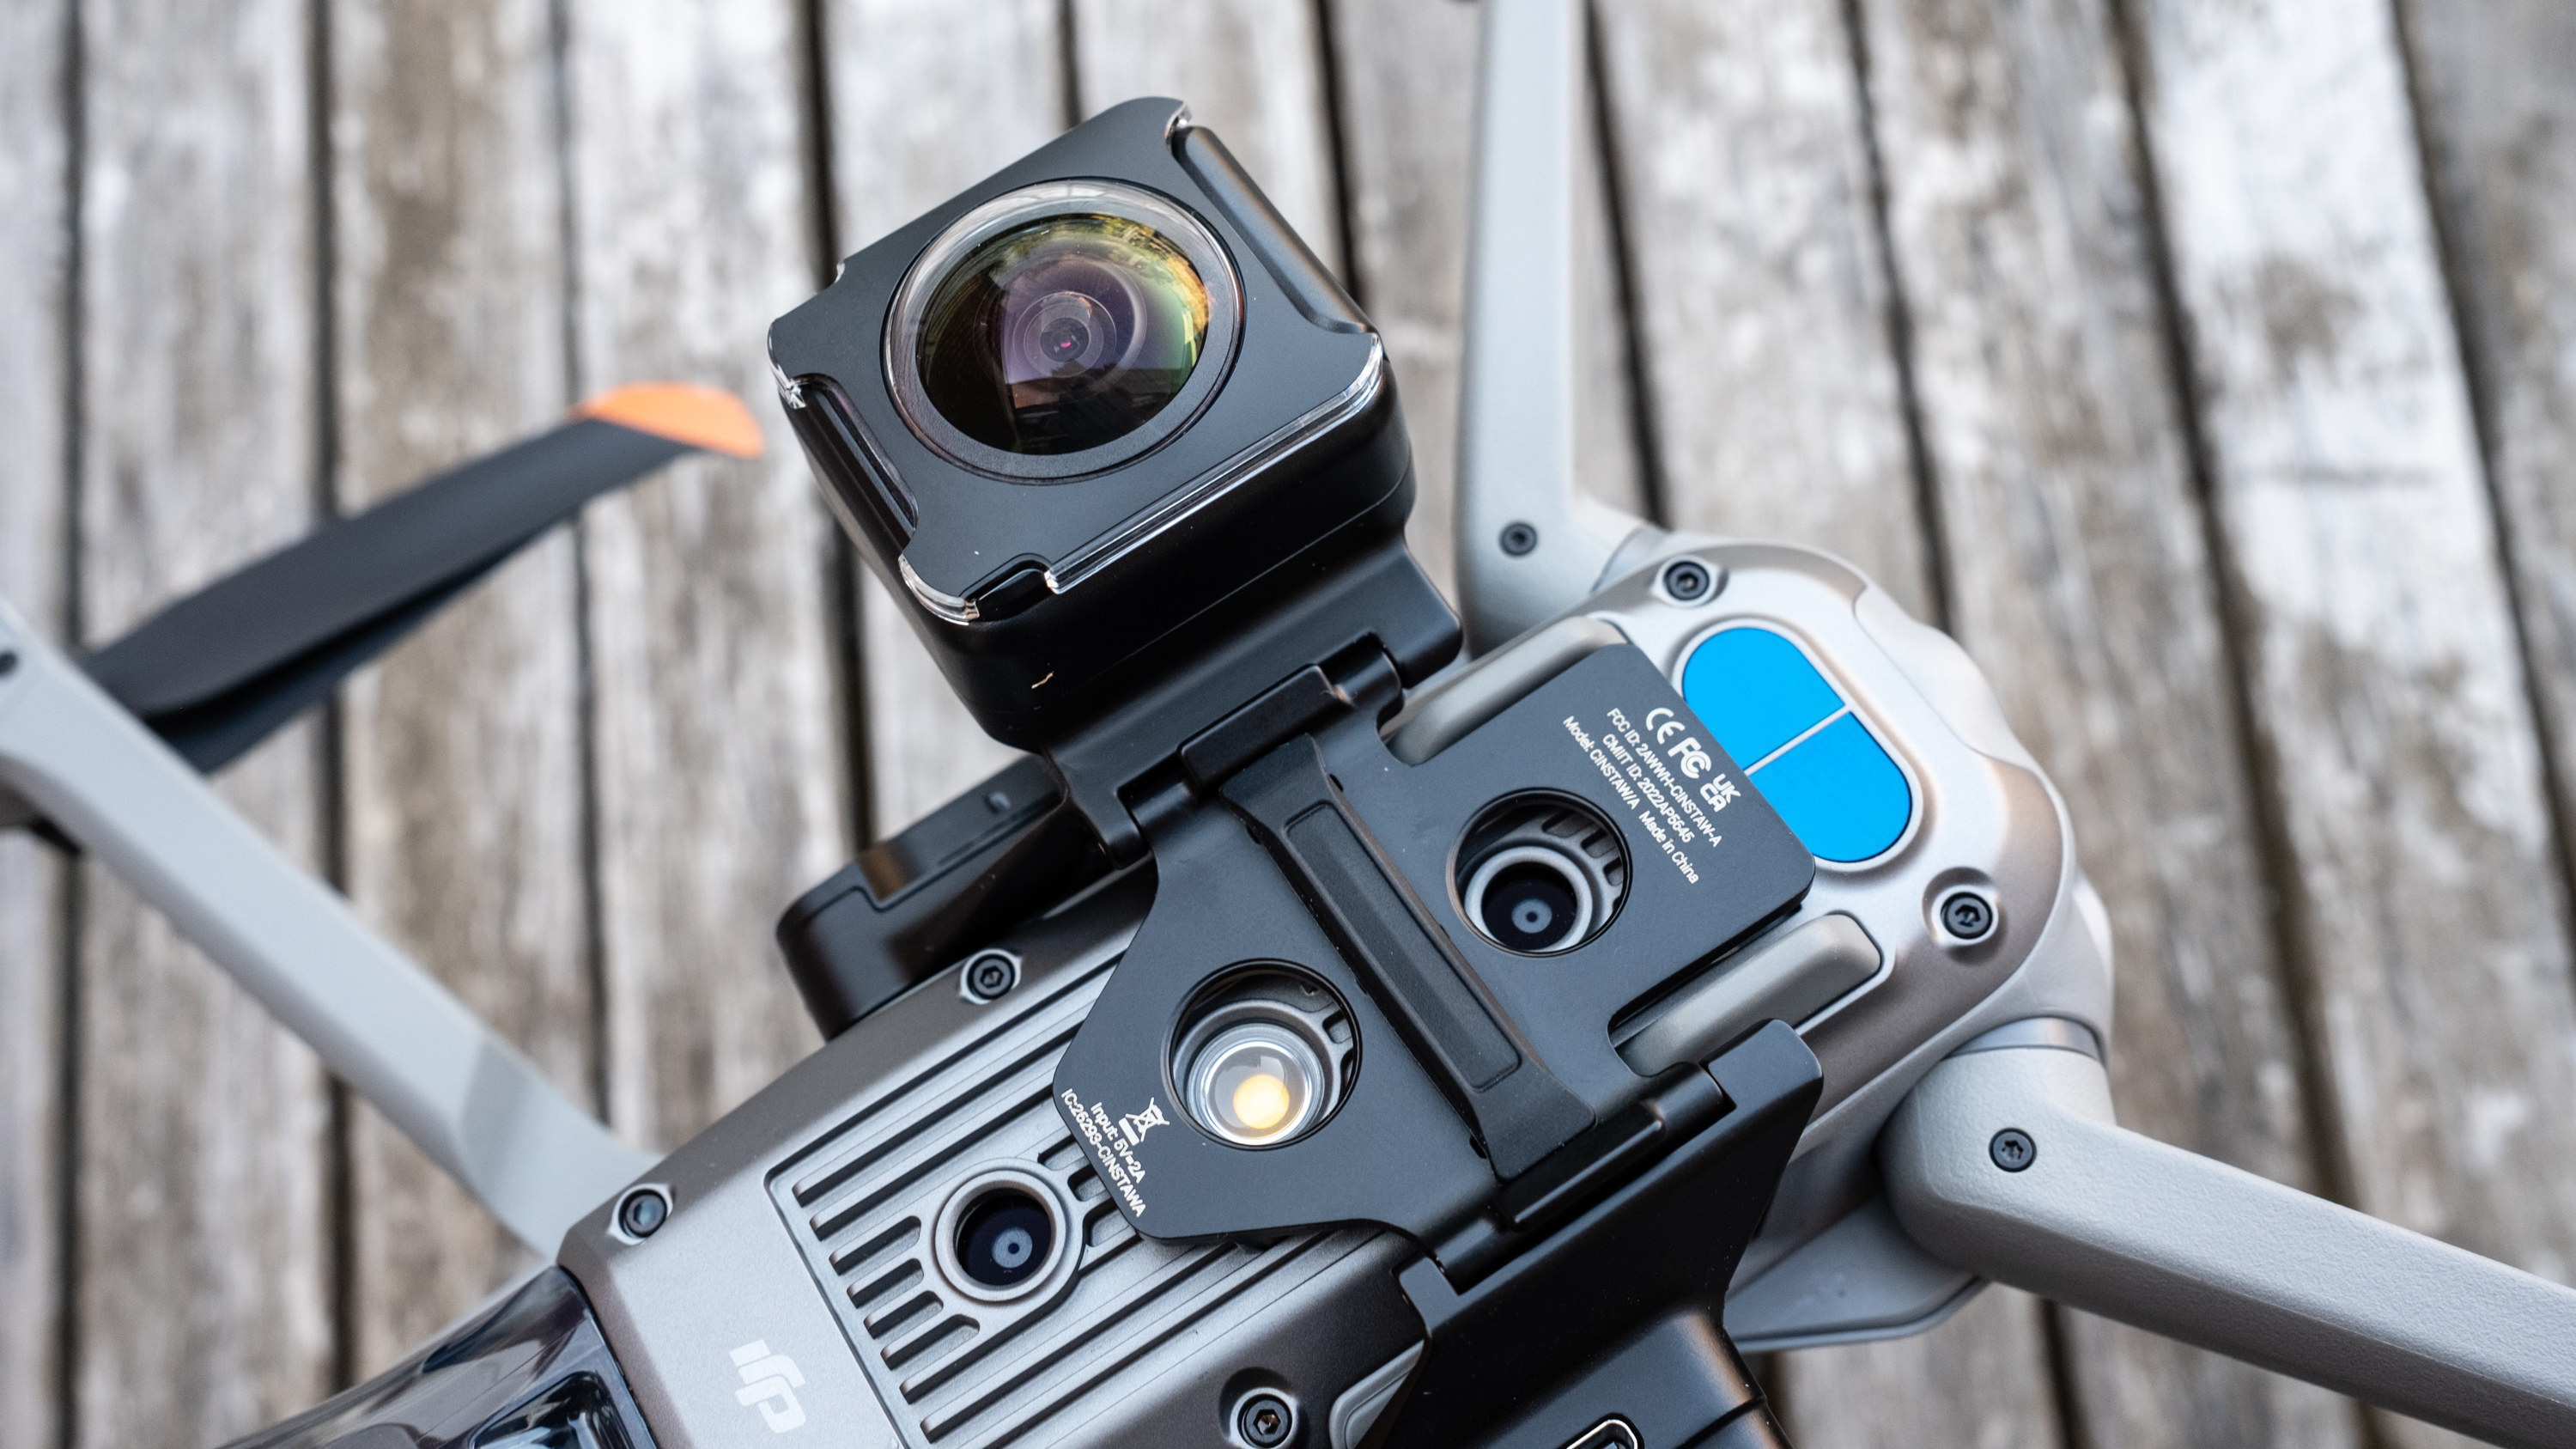
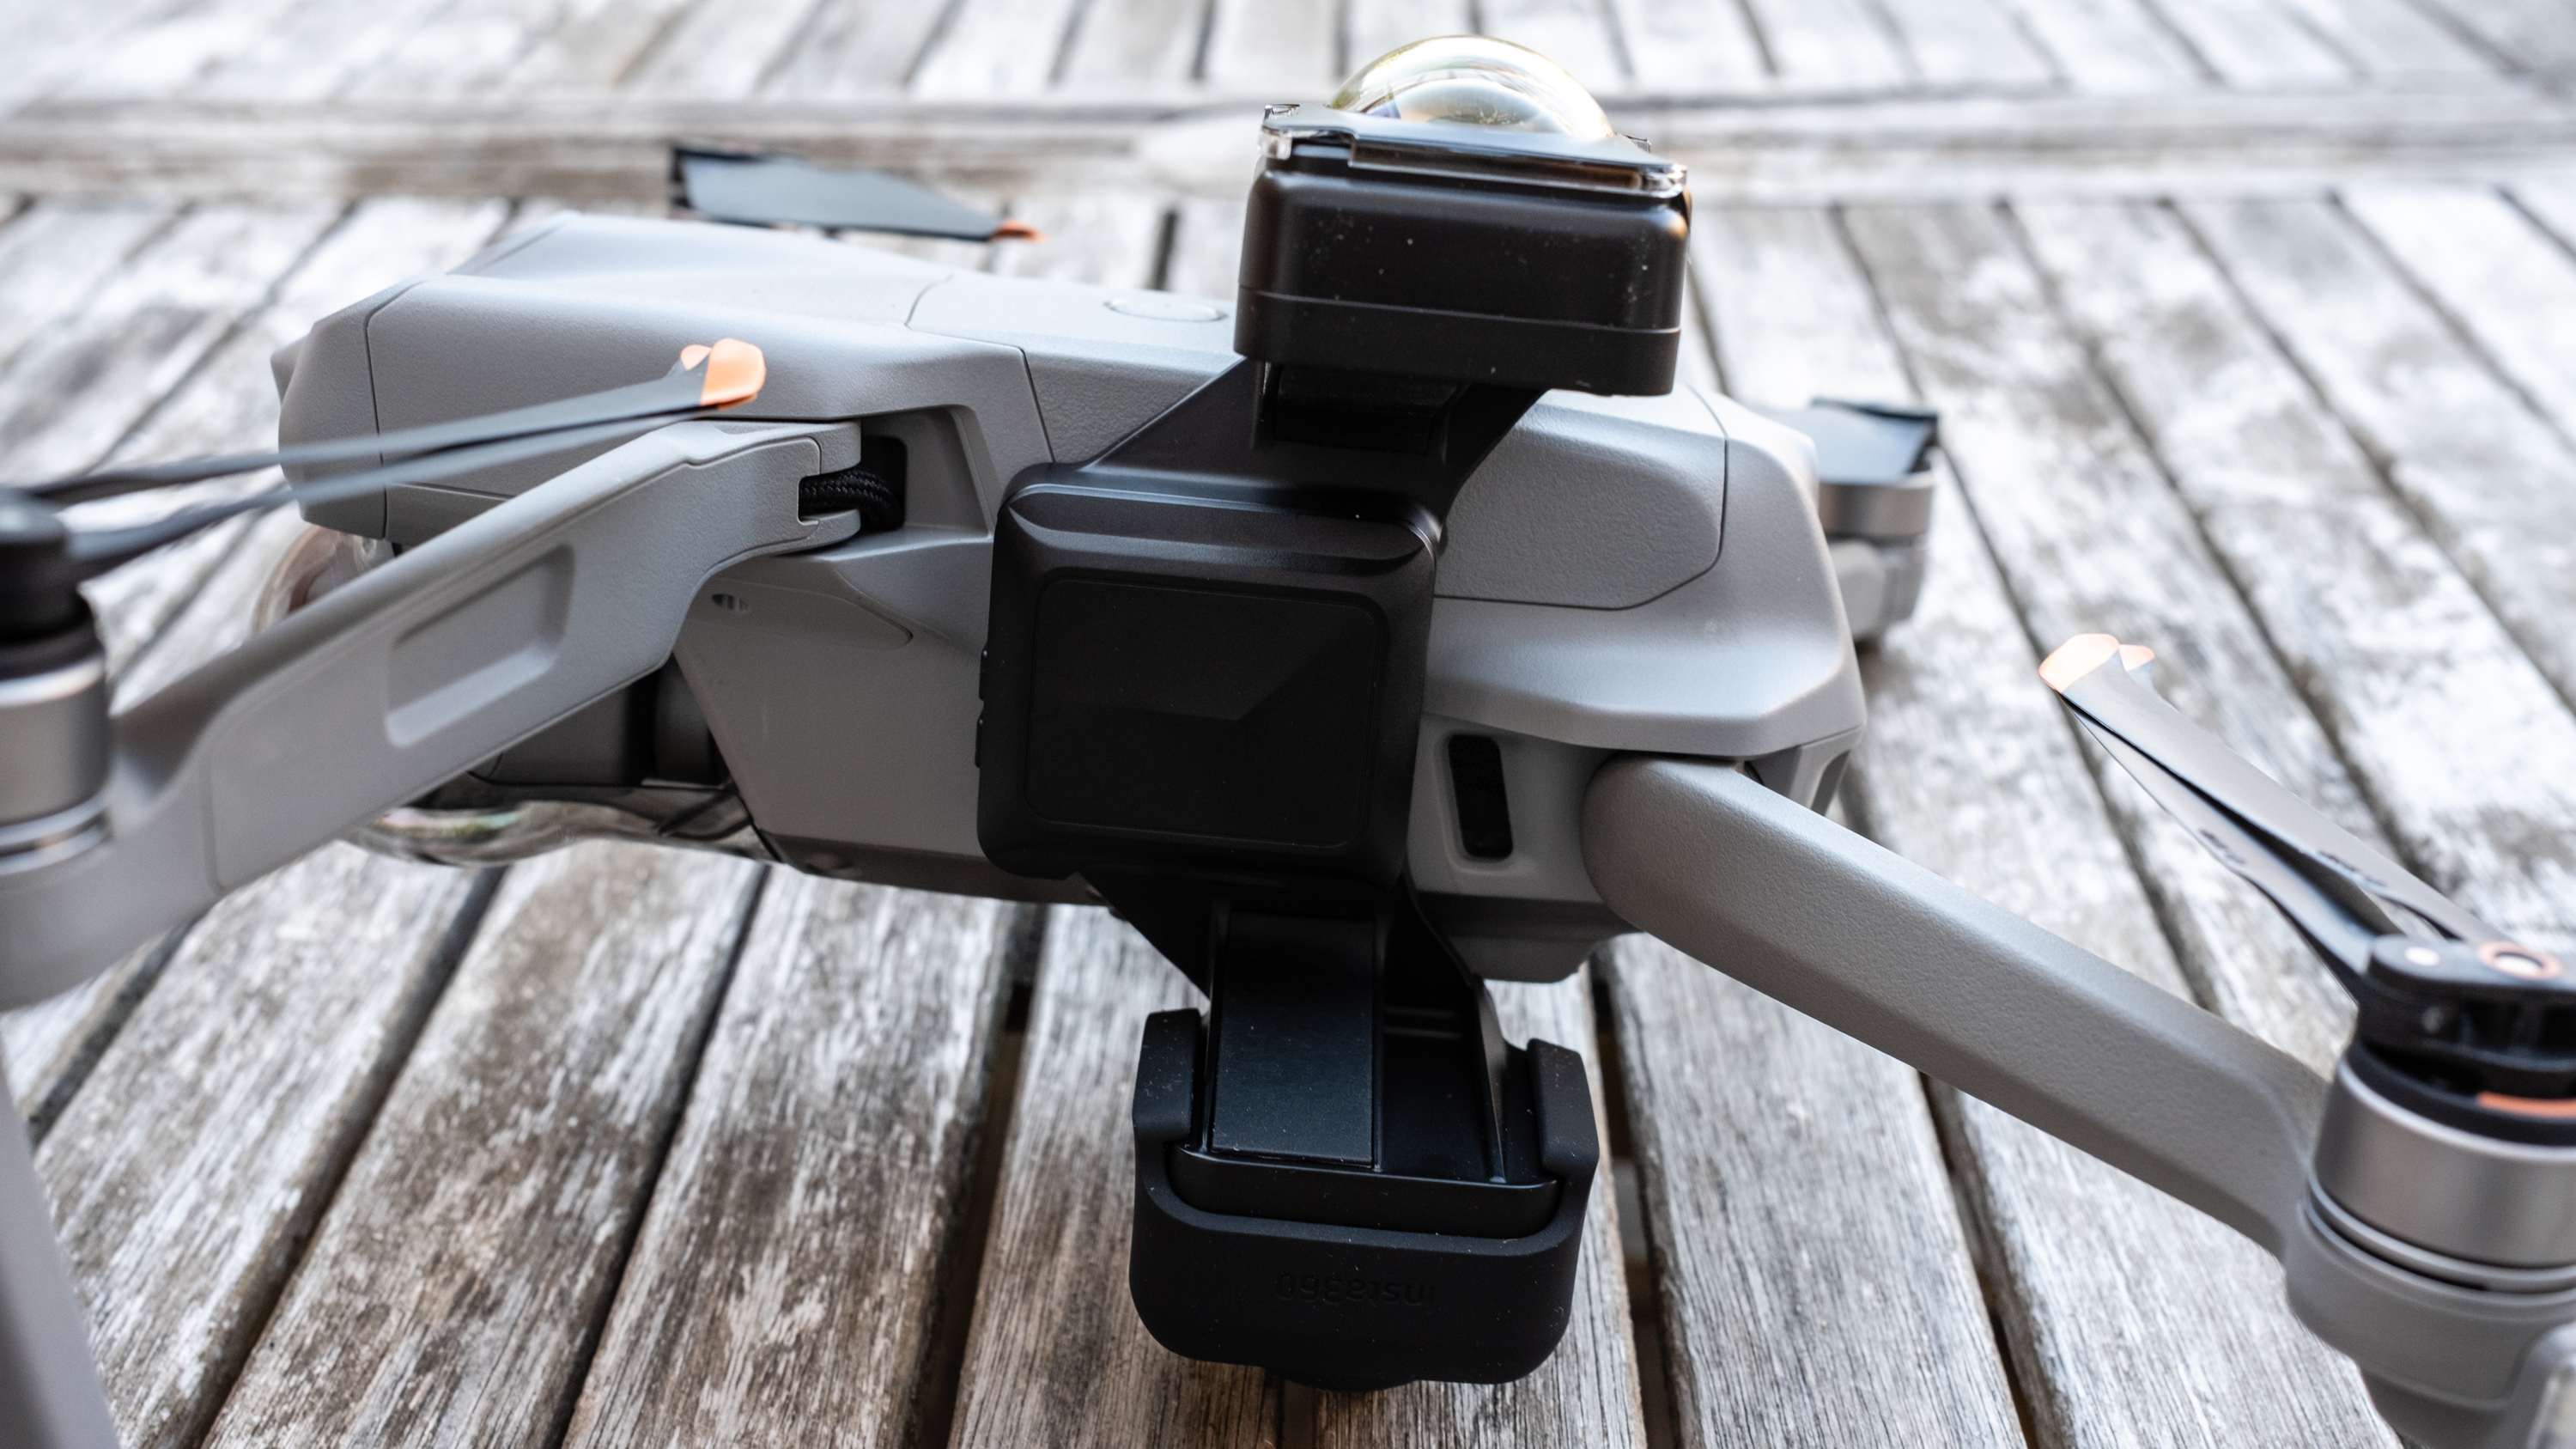
With the Sphere, you simply fly up, over, down, under and around the subject. The most important thing is that you have a strong subject such as a tree or structure to focus on so you can then use keyframing to add FPV-style effects during editing. Of course, you have to fly within the rules, so choosing a suitable location and subject to fly around isn’t always as easy as it sounds.
Sign up for breaking news, reviews, opinion, top tech deals, and more.
One of the hardest things to get used to is that at the point of shooting you don’t feel you’ve captured exciting footage. Flight patterns are slow and simple, but the 360-degree video shot at 5K provides almost infinite possibilities for reframing the footage in clips, and that’s where the magic happens.
Key player
Editing footage down into manageable clips can be achieved in Insta360's phone app or using the Insta360 Studio desktop app.
The main disadvantage here is that you can’t then edit the clips together in either app to make a single video; you need to export the clips and edit them together in Adobe Premiere, Final Cut Pro or DaVinci Resolve. There are plugins available for the former two options that allow you to edit 360-degree footage within these programs; I use DaVinci Resolve, so I was unable to test or take advantage of this feature.
Insta360 Studio was, for me, the best place to edit my longer whole flight videos into manageable clips where keyframes could be added. Keyframes are the, well, key to creating stunning FPV-style camera effects where you have control over view type, pan angle, tilt angle, roll angle, field of view and distortion. This may not sound like much, but these controls alone allow you to create rolls, flips, turns and change camera direction.
With a little practice, keyframes work exceptionally well. But it does take a little time to get used to how they work and how to get the best from them. One of the advantages of the footage is that you can create multiple edits of the same footage that looks completely different, because you can select any camera angle within the 360-degree field of view.
The Sphere uses dual 7.2mm f/2 cameras that can capture video in 5K at 30/25/24fps, 4K at 50/30fps and 3K at 100fps. It can even capture stills in raw, but since the Wi-Fi connection between your phone and the camera is dropped at around 10m, this is all but useless.
The best way to shoot is to connect the app to the camera, begin filming video, take off, fly around for a few minutes, land, reconnect the phone to stop recording and repeat until you have several clips of a few minutes in duration. For this reason, I found it easiest to shoot in 'Auto' because I could let the camera deal with changes in exposure during flights, although I did try shooting in manual and with consistent lighting it was no problem.
Turbulence ahead
The Insta360 Sphere is a fantastic accessory for expanding the creative potential of a standard camera drone, but like most things it isn't without a few downsides.
The most obvious issue is that the Sphere is currently only compatible with two drone models, so you’re completely stuck if you don’t own a DJI Mavic Air 2 or 2S. Perhaps more models will be catered for now the design has been launched – I've asked Insta360 if this might be the case, and will update this story when I hear back.
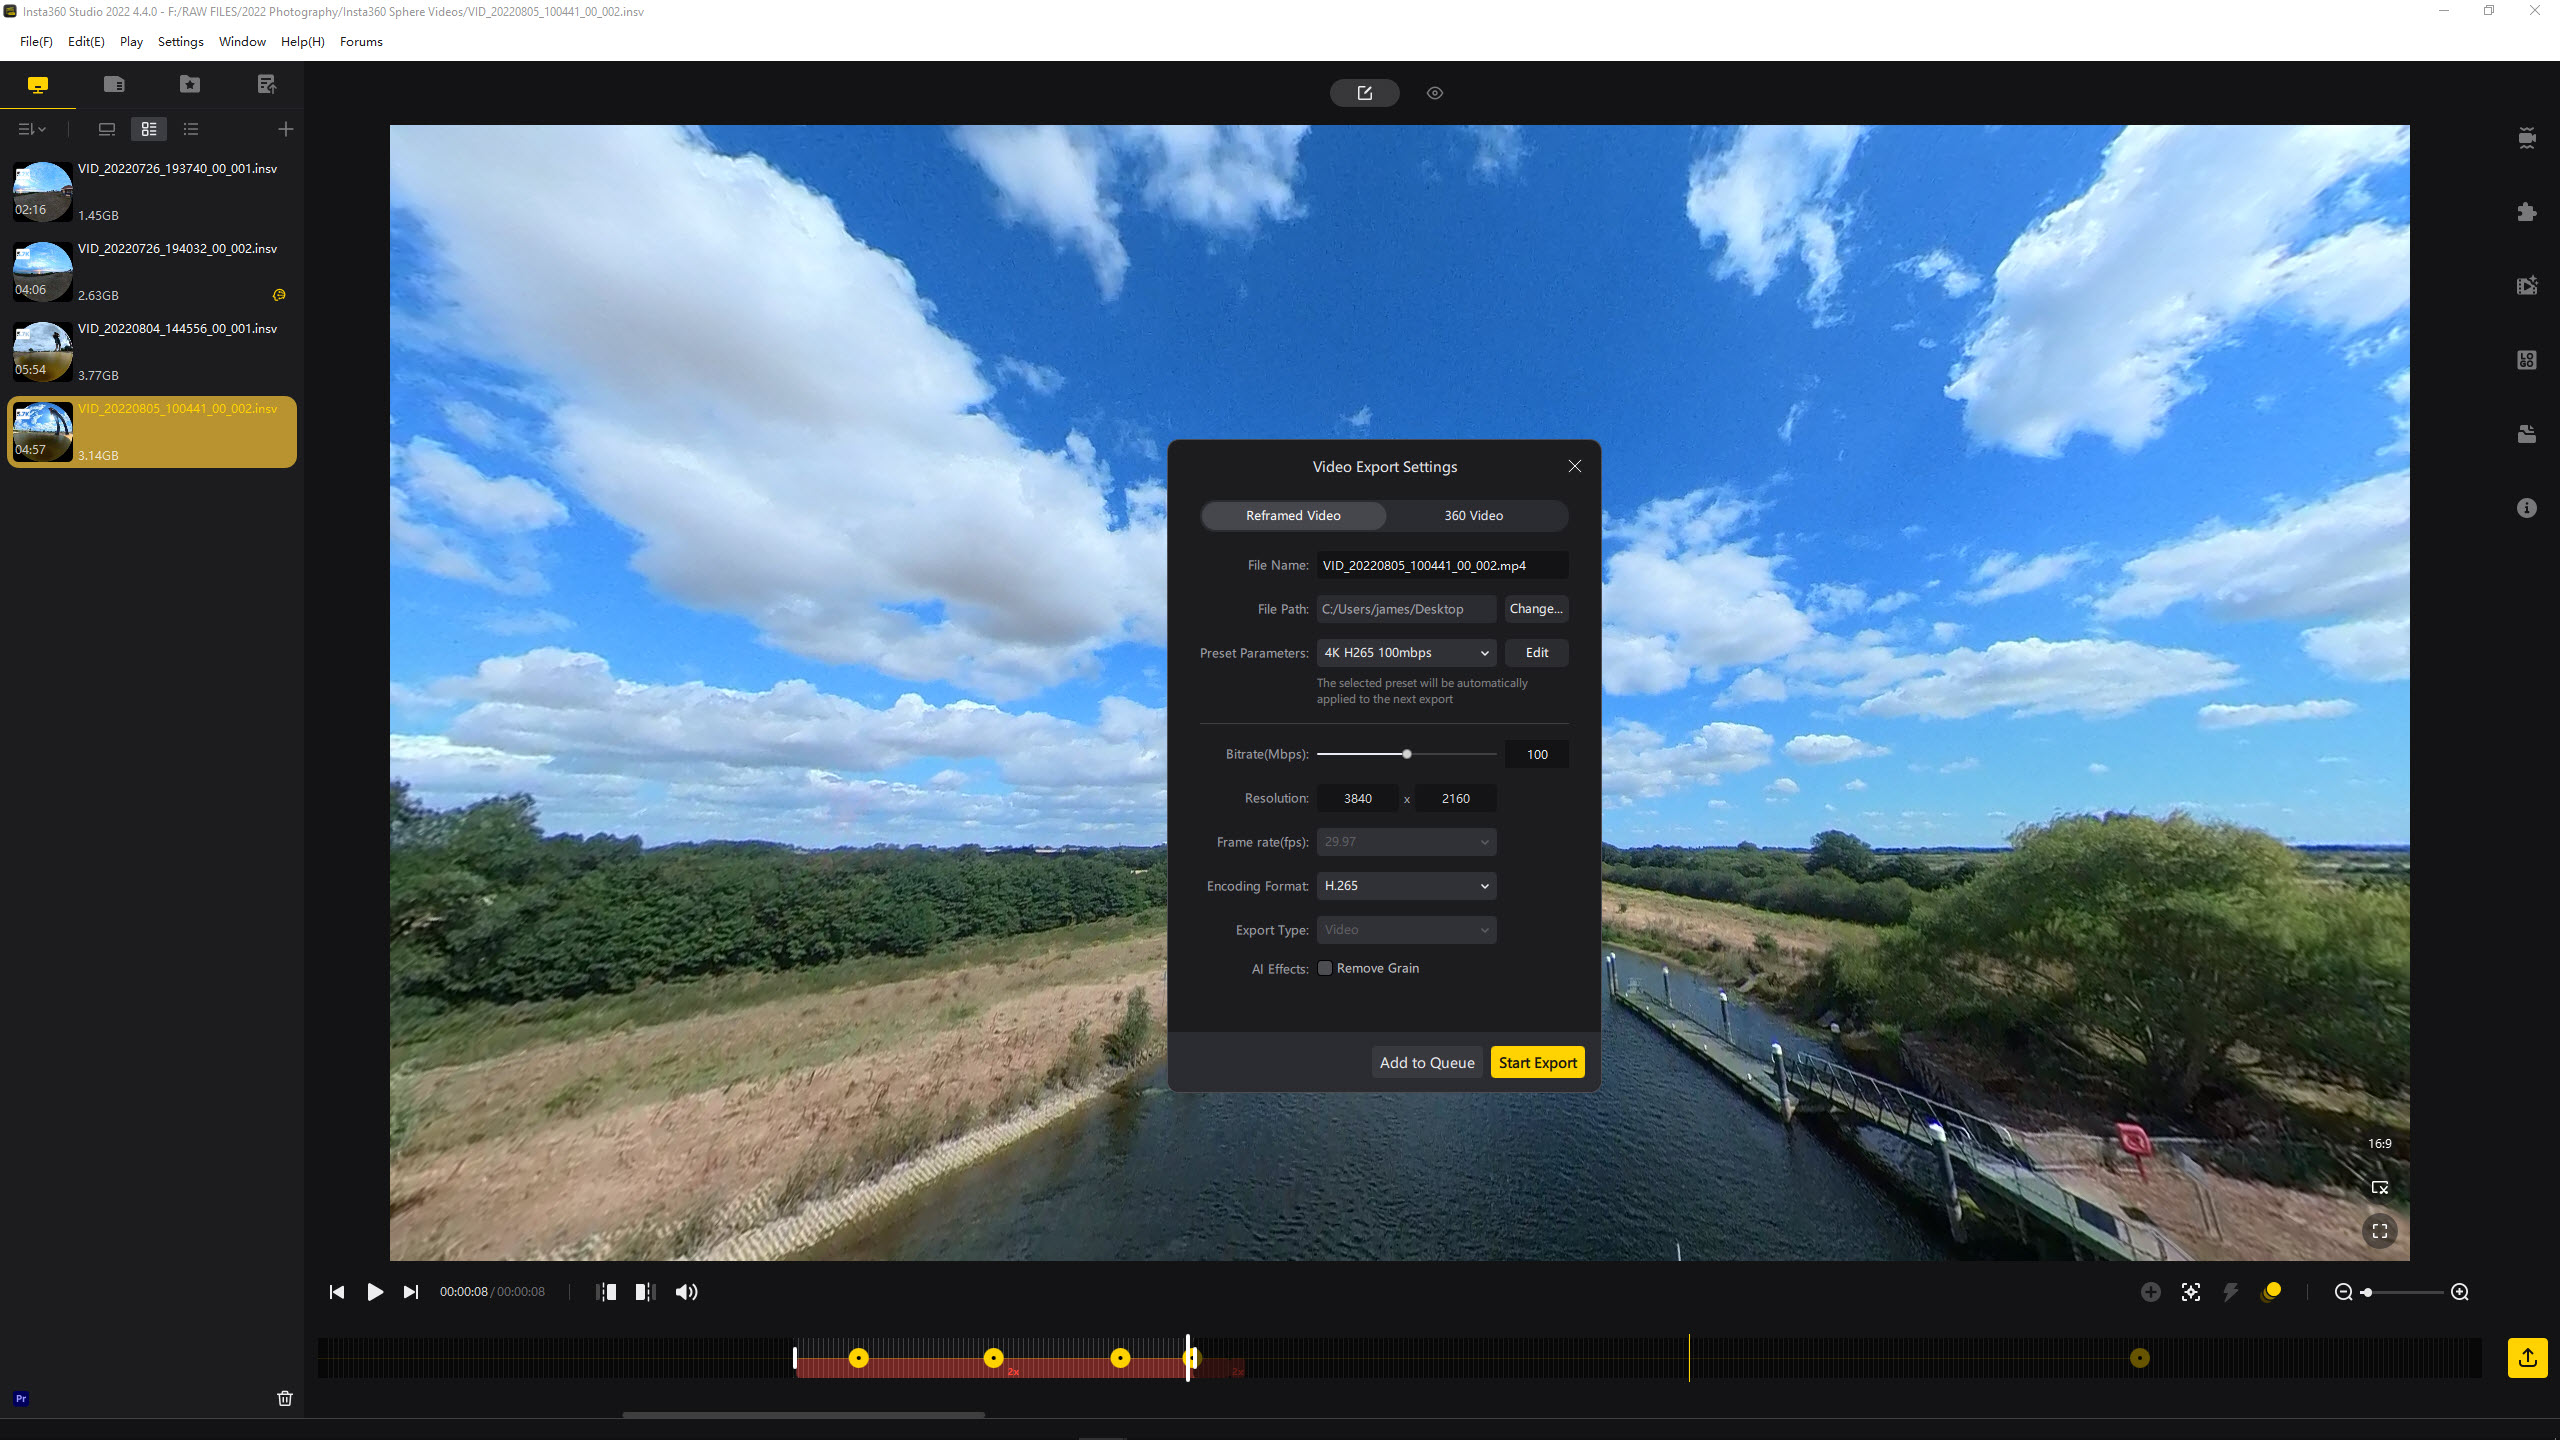
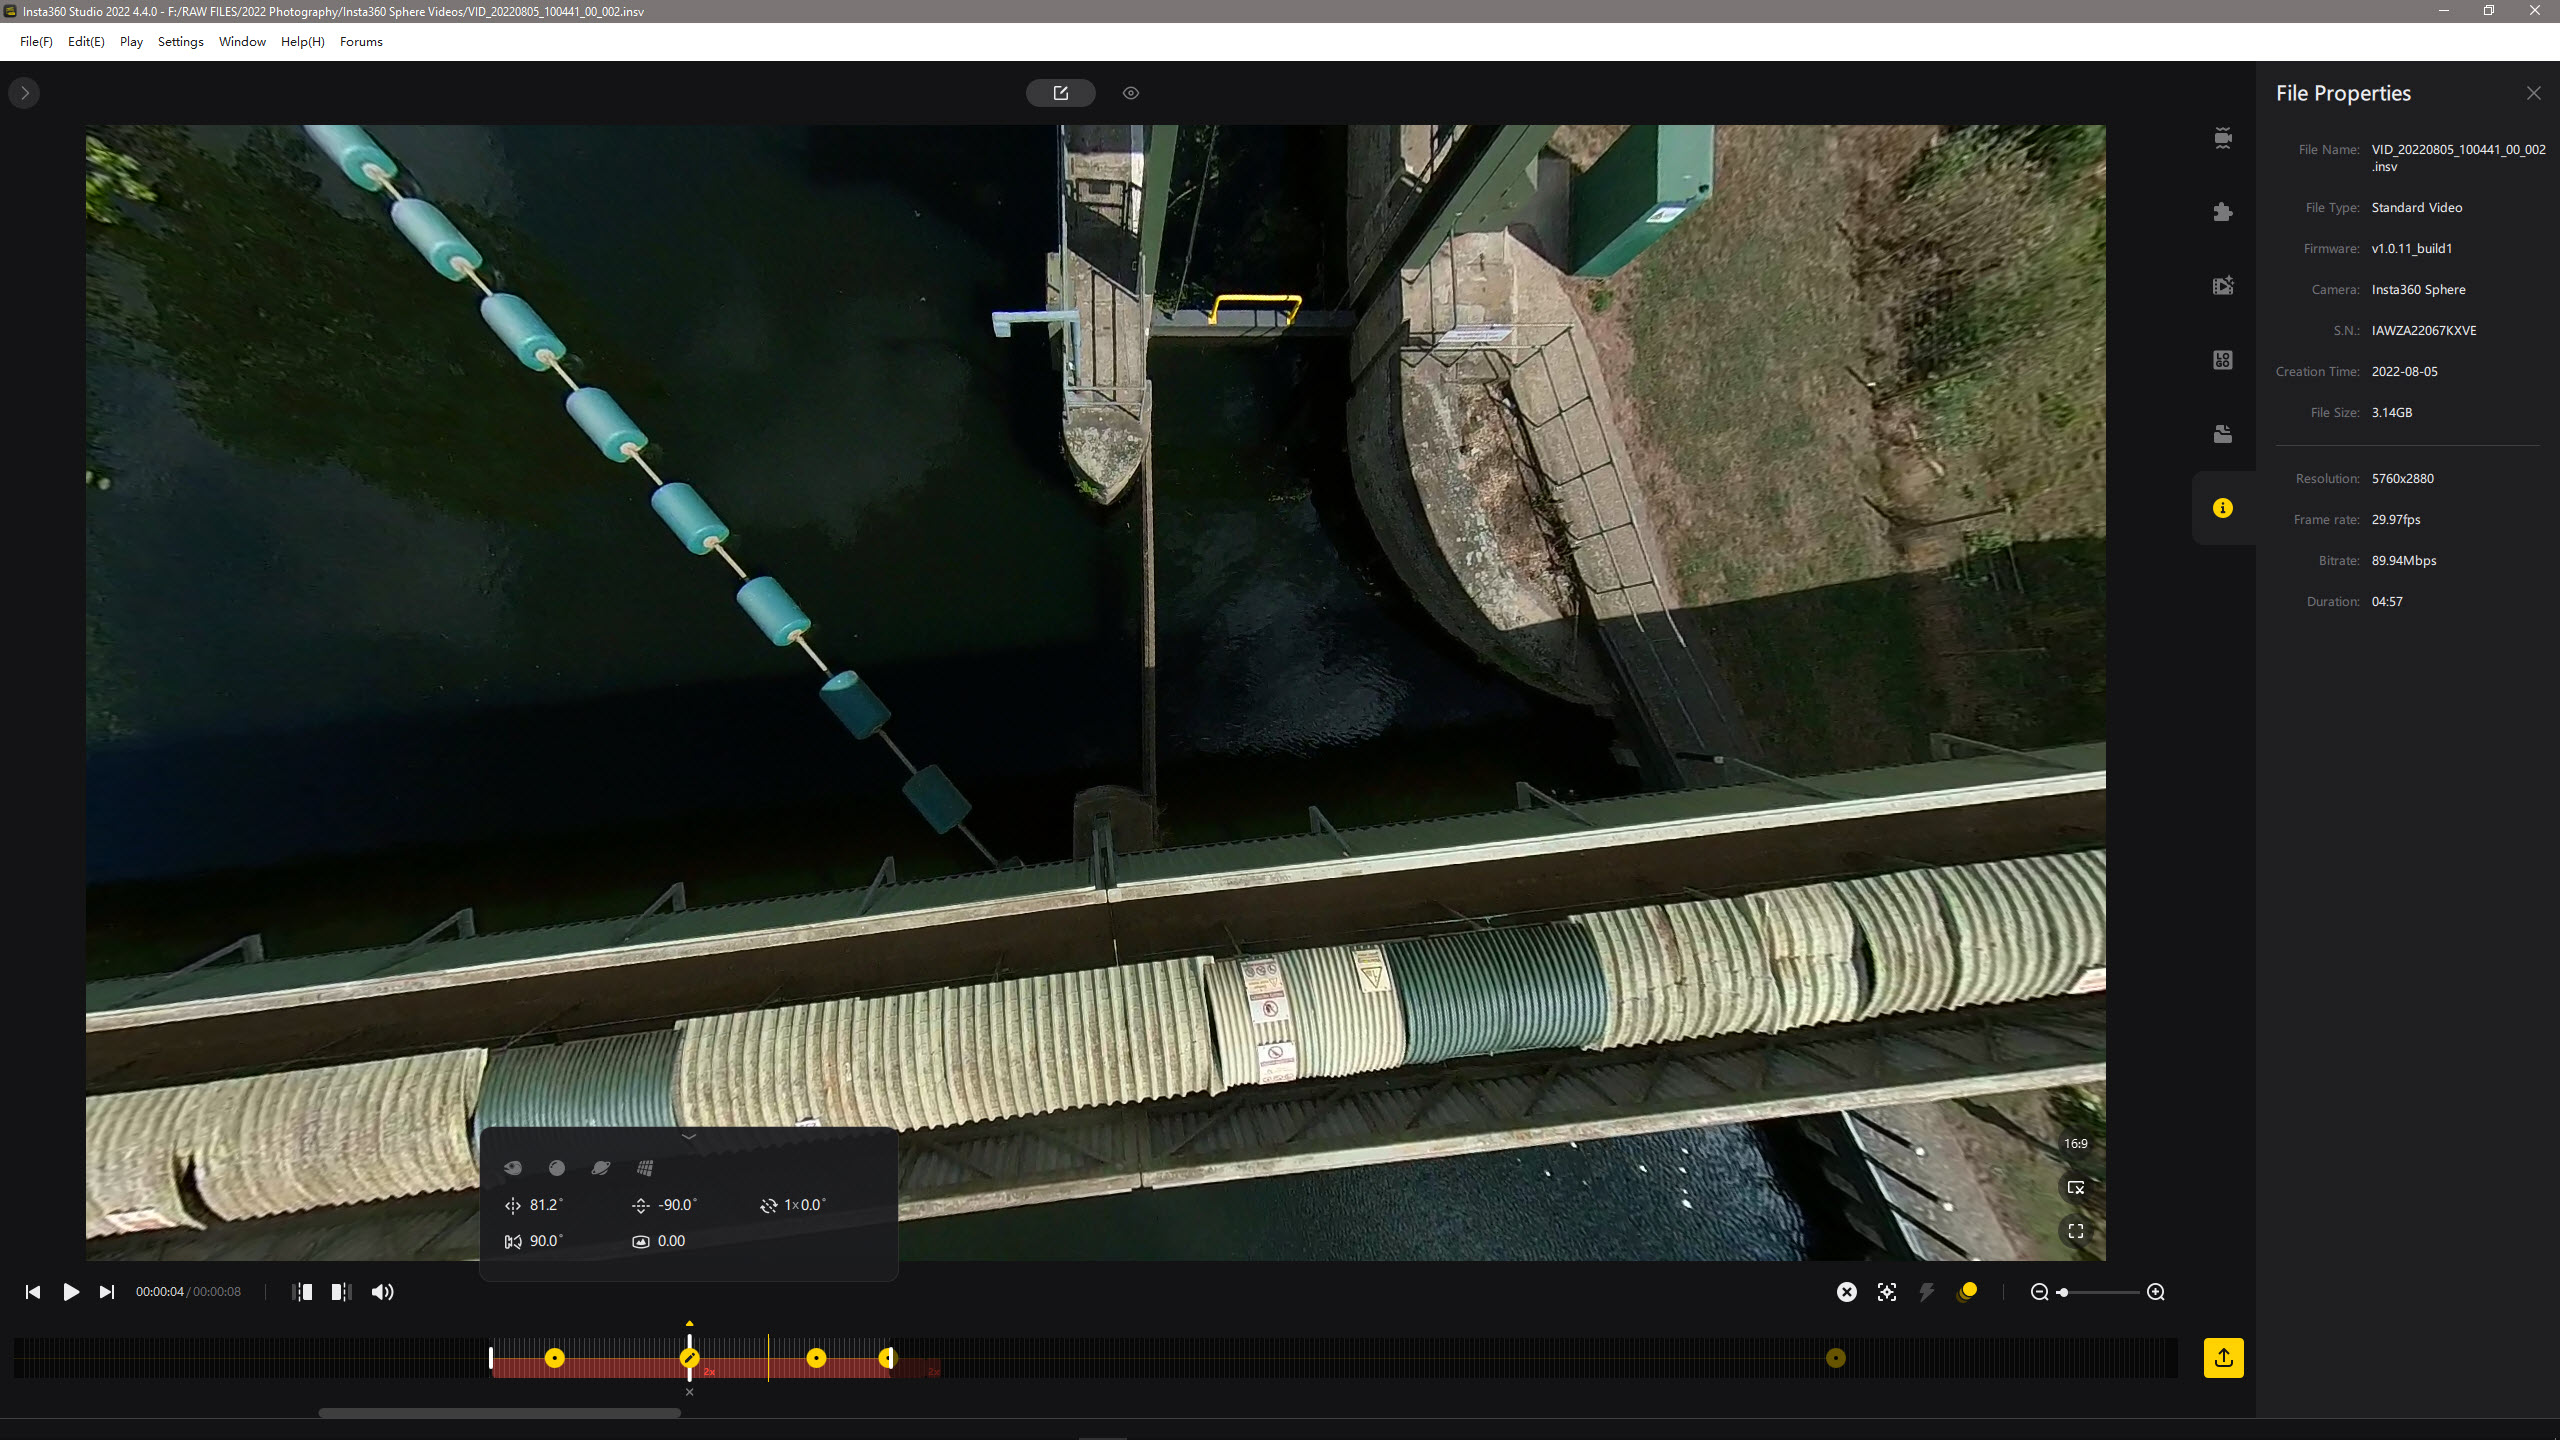
Editing the clips in the Insta360 Studio desktop app is much better than the phone app because you often have much more computing power on a desktop or laptop, not to mention a larger and more comfortable screen to work with. The problem is that the phone app includes more editing features, such as templates to create an inception-style Horizon Flip, Sky Transition or Dolly Zoom, which are currently unavailable in the desktop version.
The other issue with the phone app is that you have a small screen and editing is slow and glitchy when viewing footage over the Wi-Fi connection that connects the phone app to the Sphere. You can download footage over the Wi-Fi connection for smoother editing, but when I tried this the Sphere’s battery ran out before the download was completed, so it failed.
New perspectives
The Insta360 Sphere is without doubt an interesting and exciting drone accessory that could be a precursor for where drone camera technology is heading in the future. Image quality is good rather than amazing, but the Sphere does make it possible for anyone to create immersive FPV-style video footage fairly easily, and that’s what it’s designed to do.
It's a fantastic accessory if you’d like to capture and create FPV-style video footage without having to learn how to fly FPV, which experts say takes upwards of 50 hours of flight practice. You just have to remember that the Sphere connects to a standard Mavic Air 2 or Air 2S and requires slow, smooth and simple flight to capture the base footage required for adding the visual effects during editing.
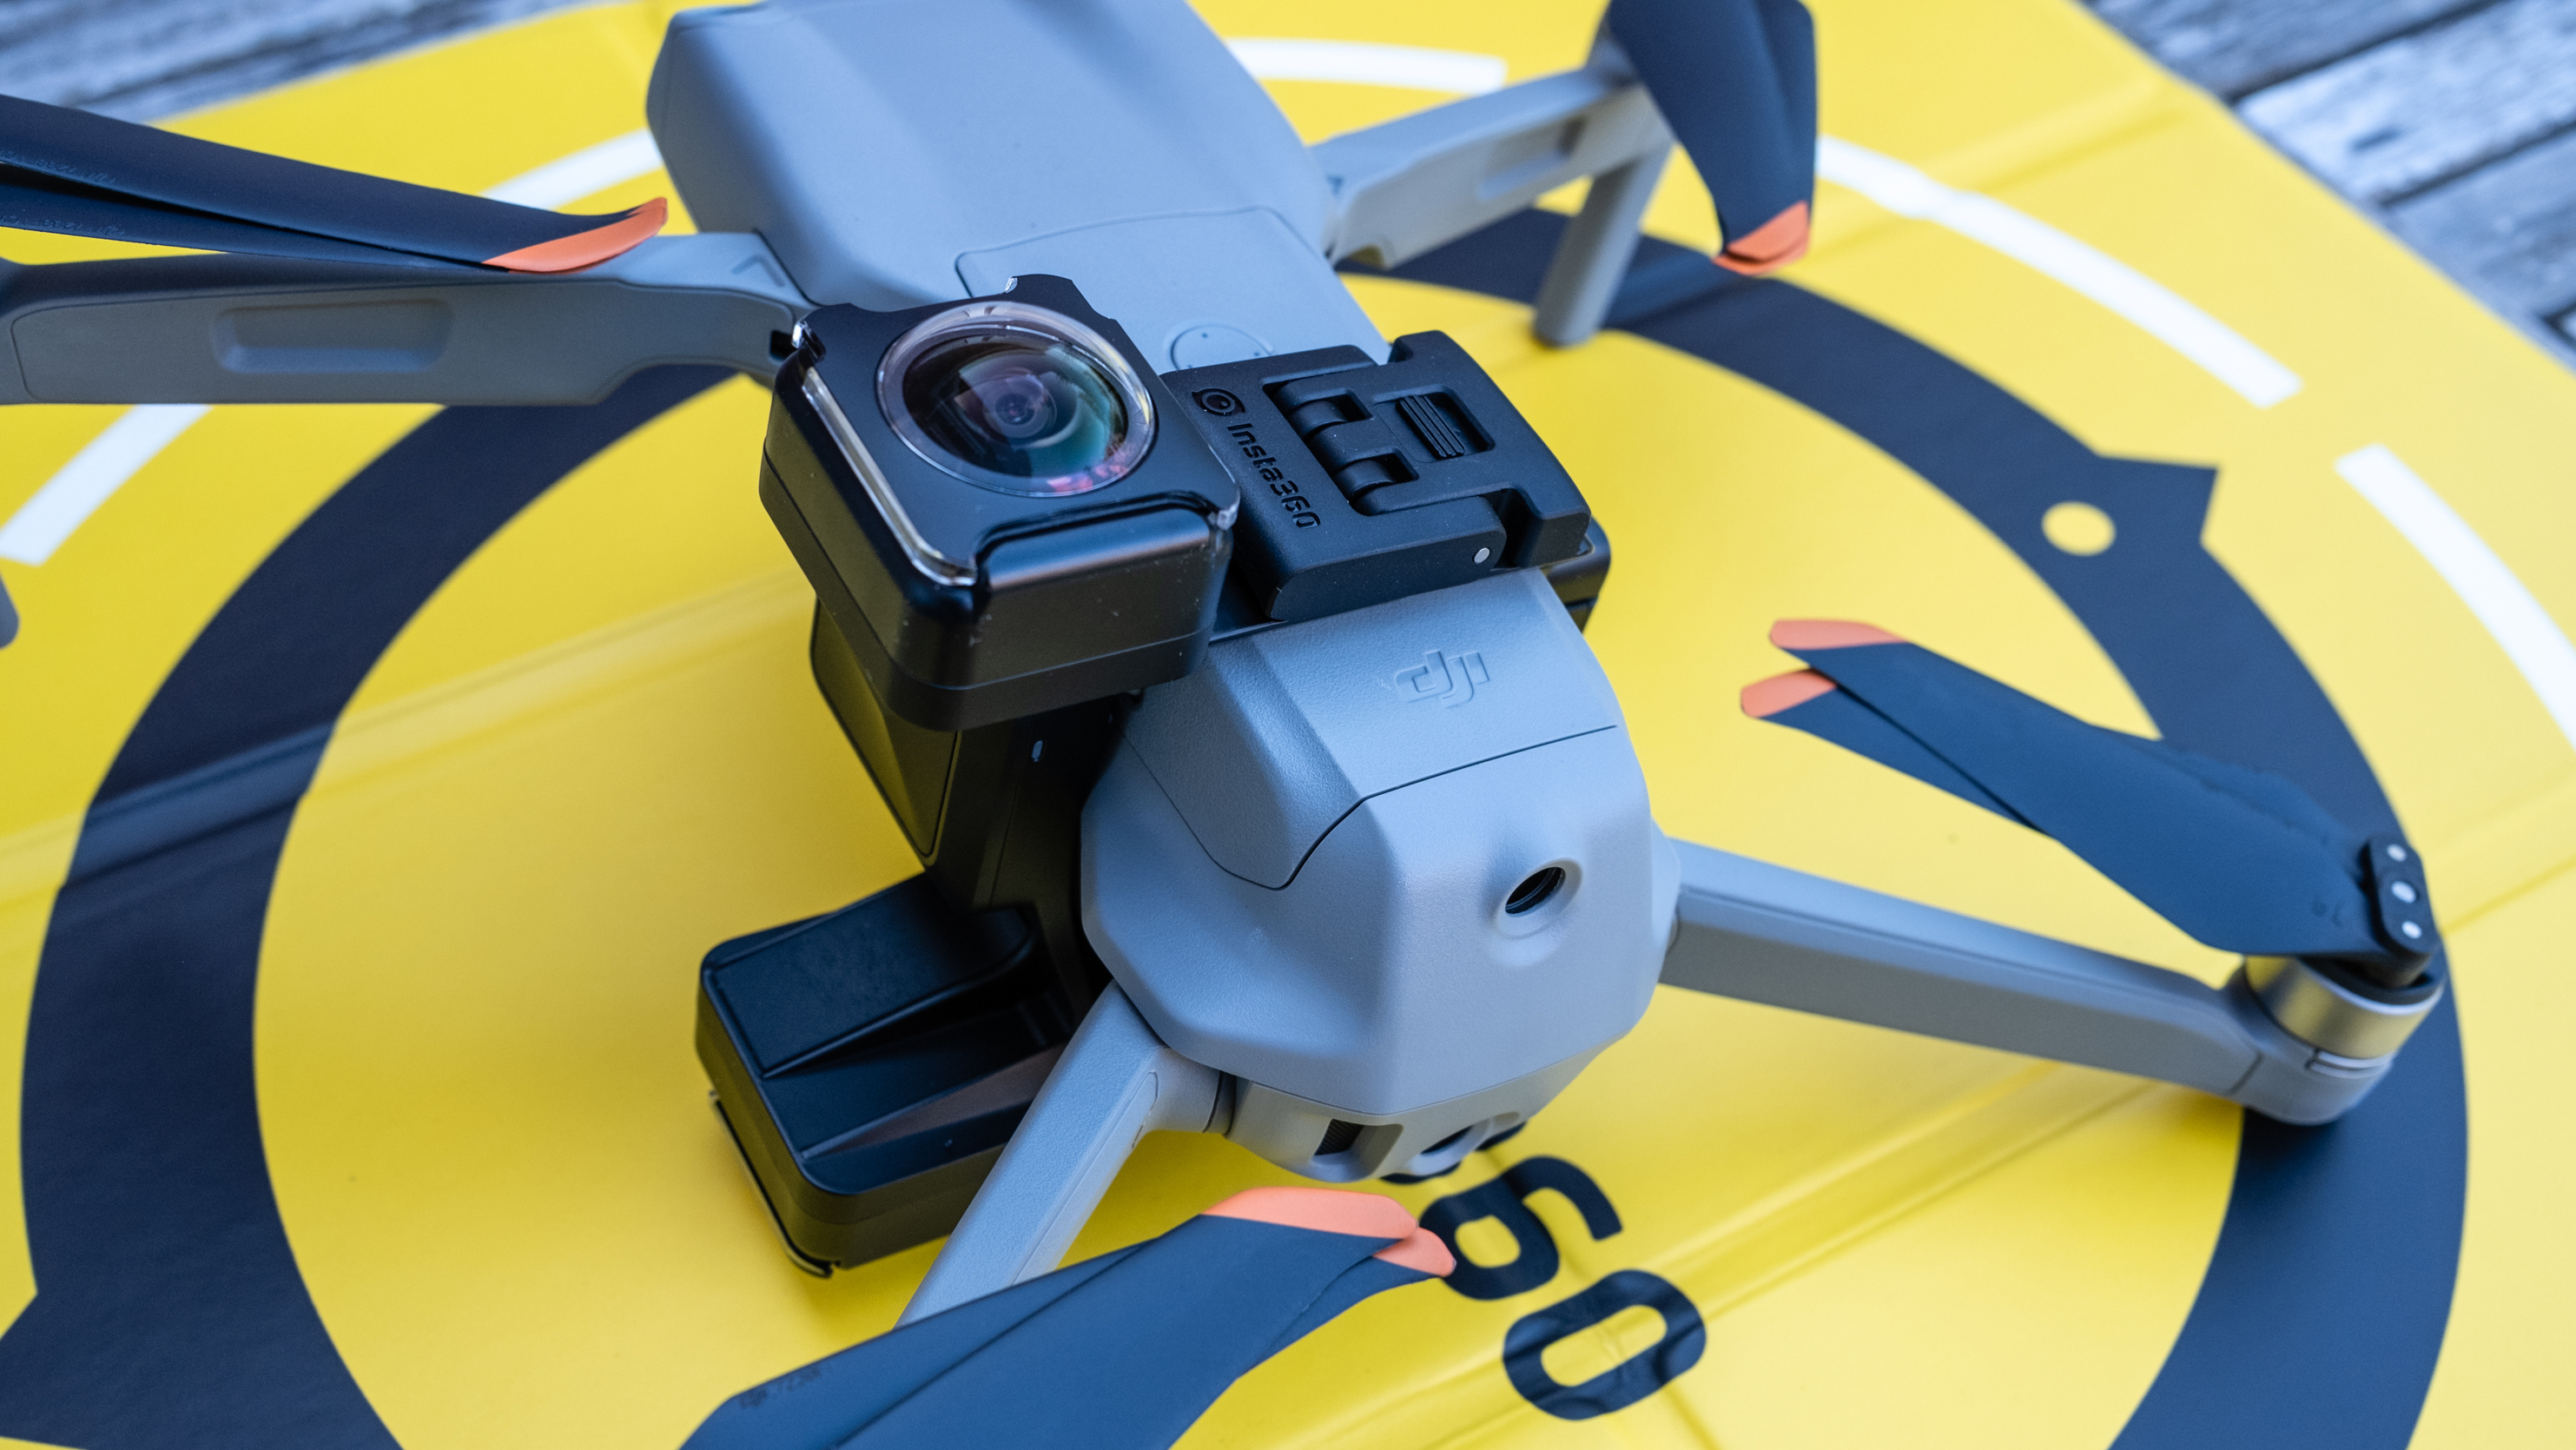
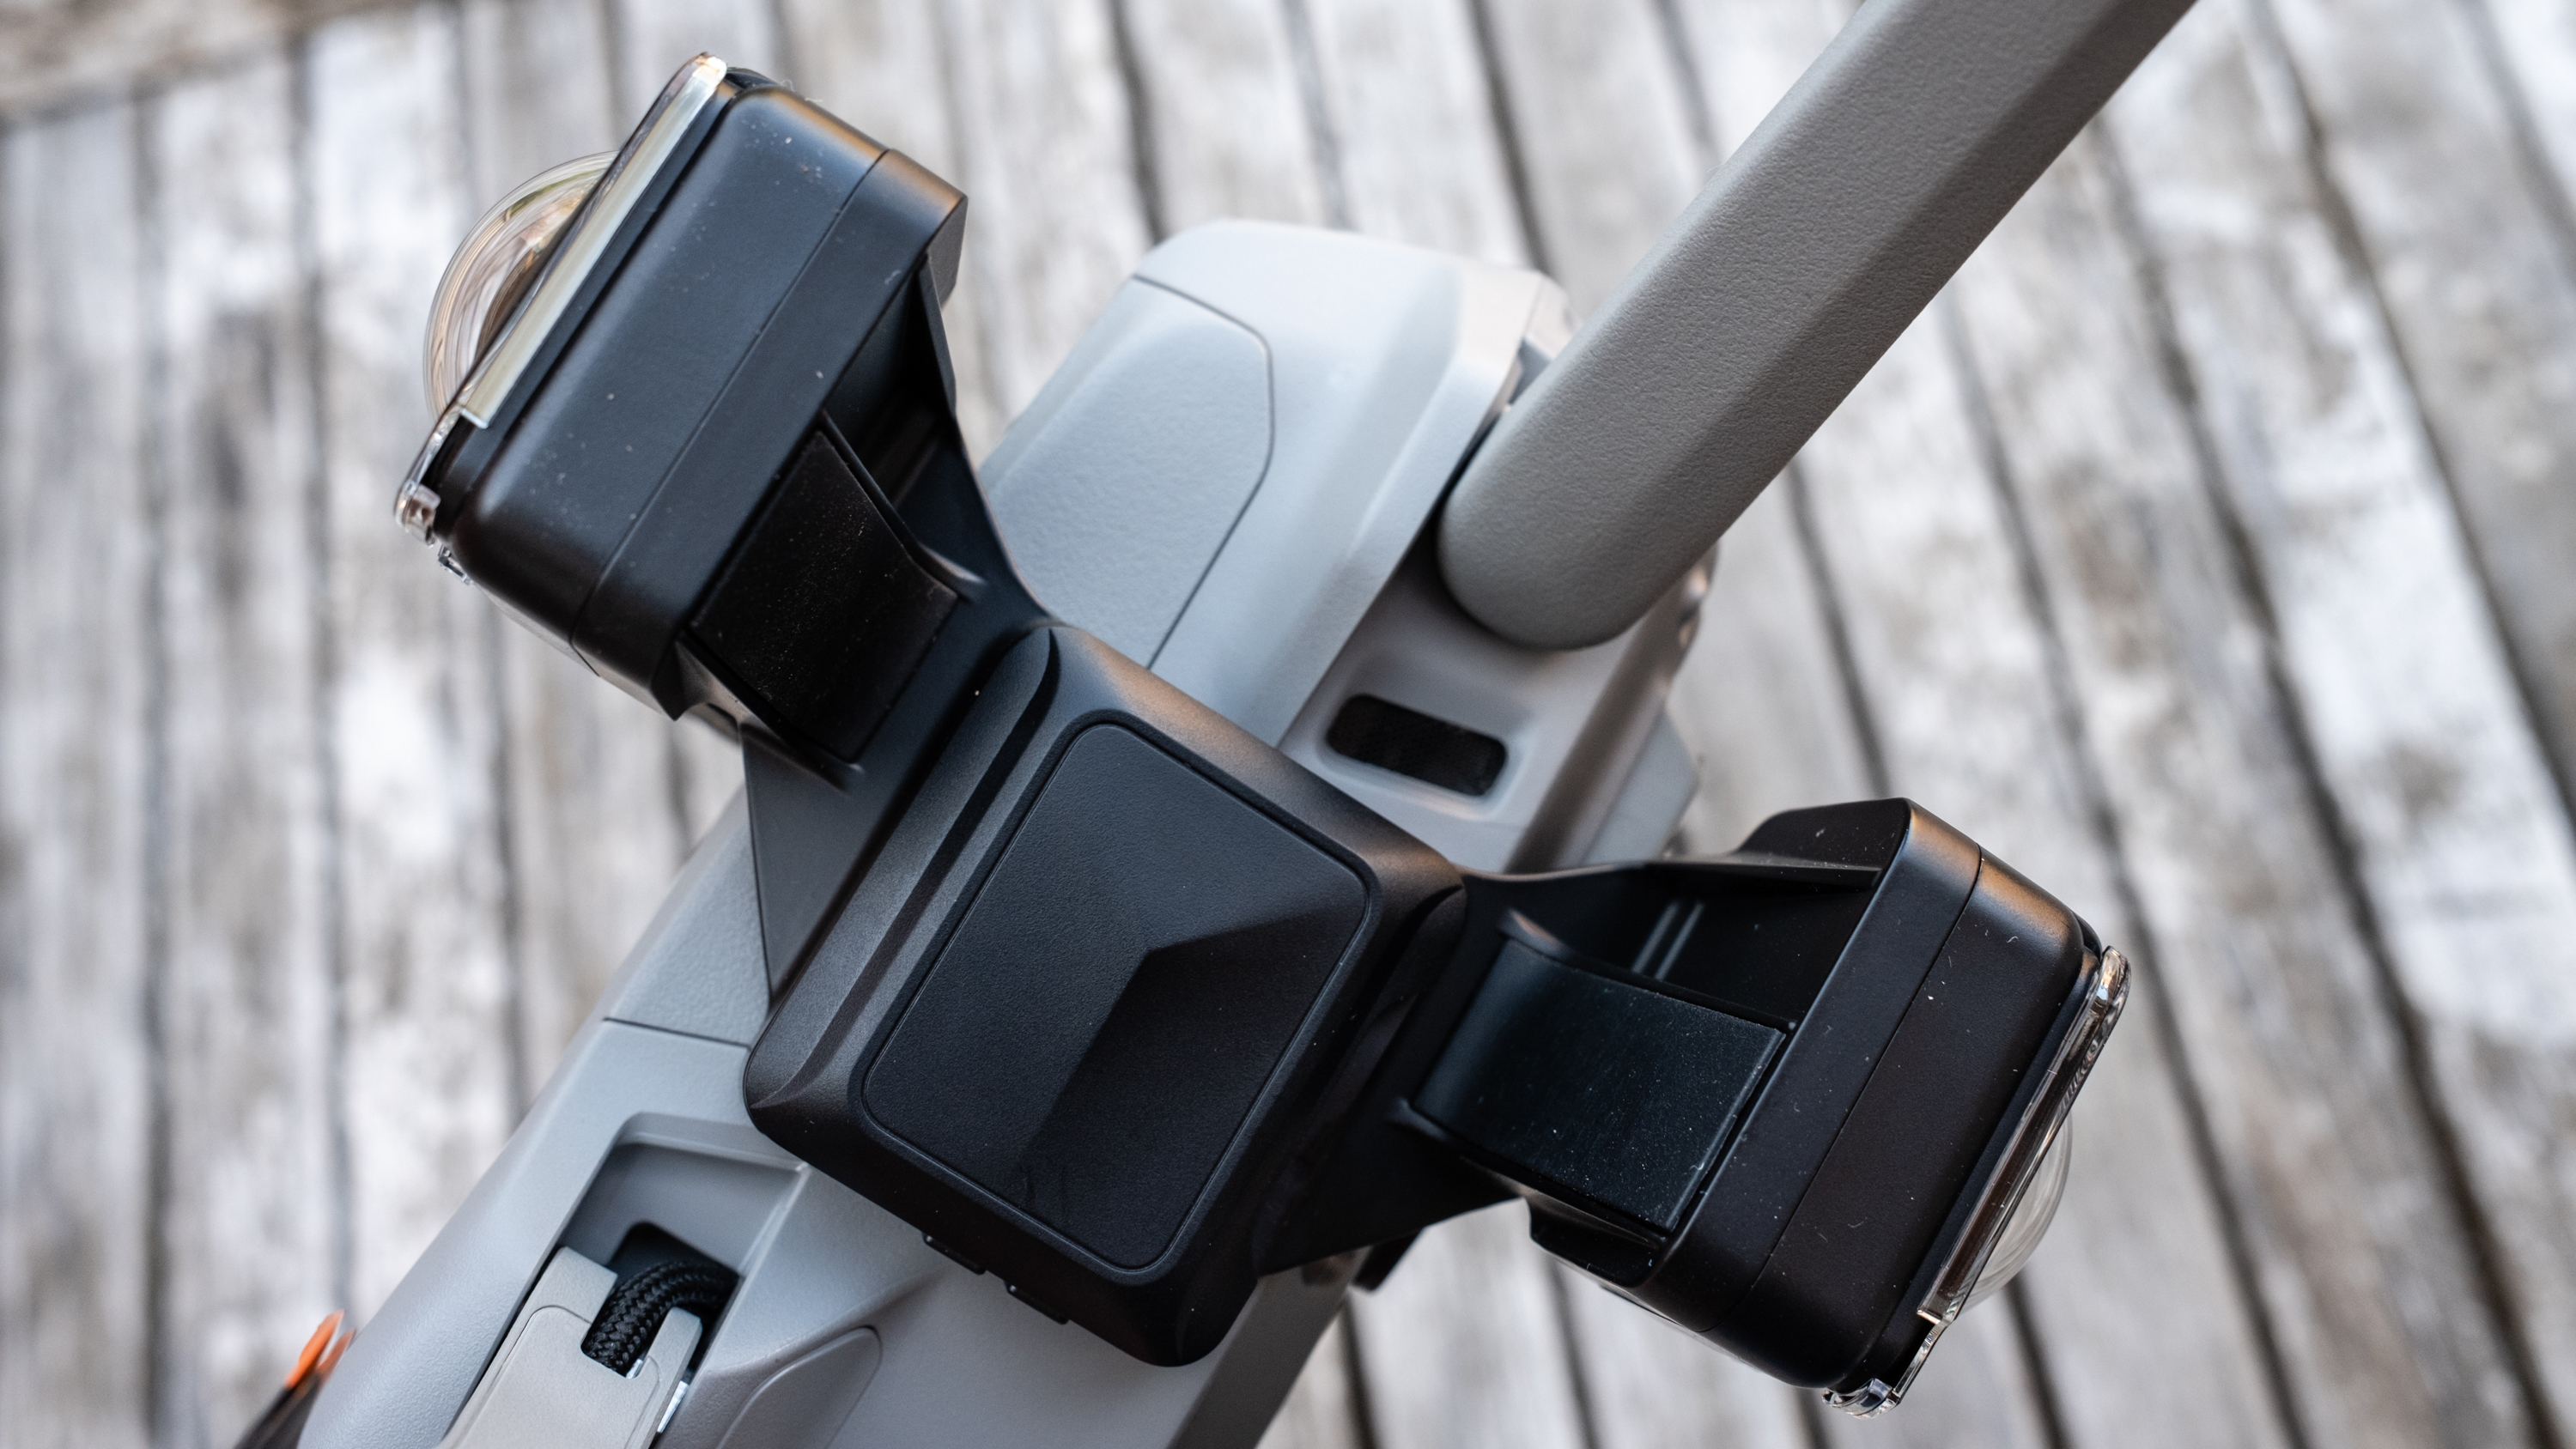
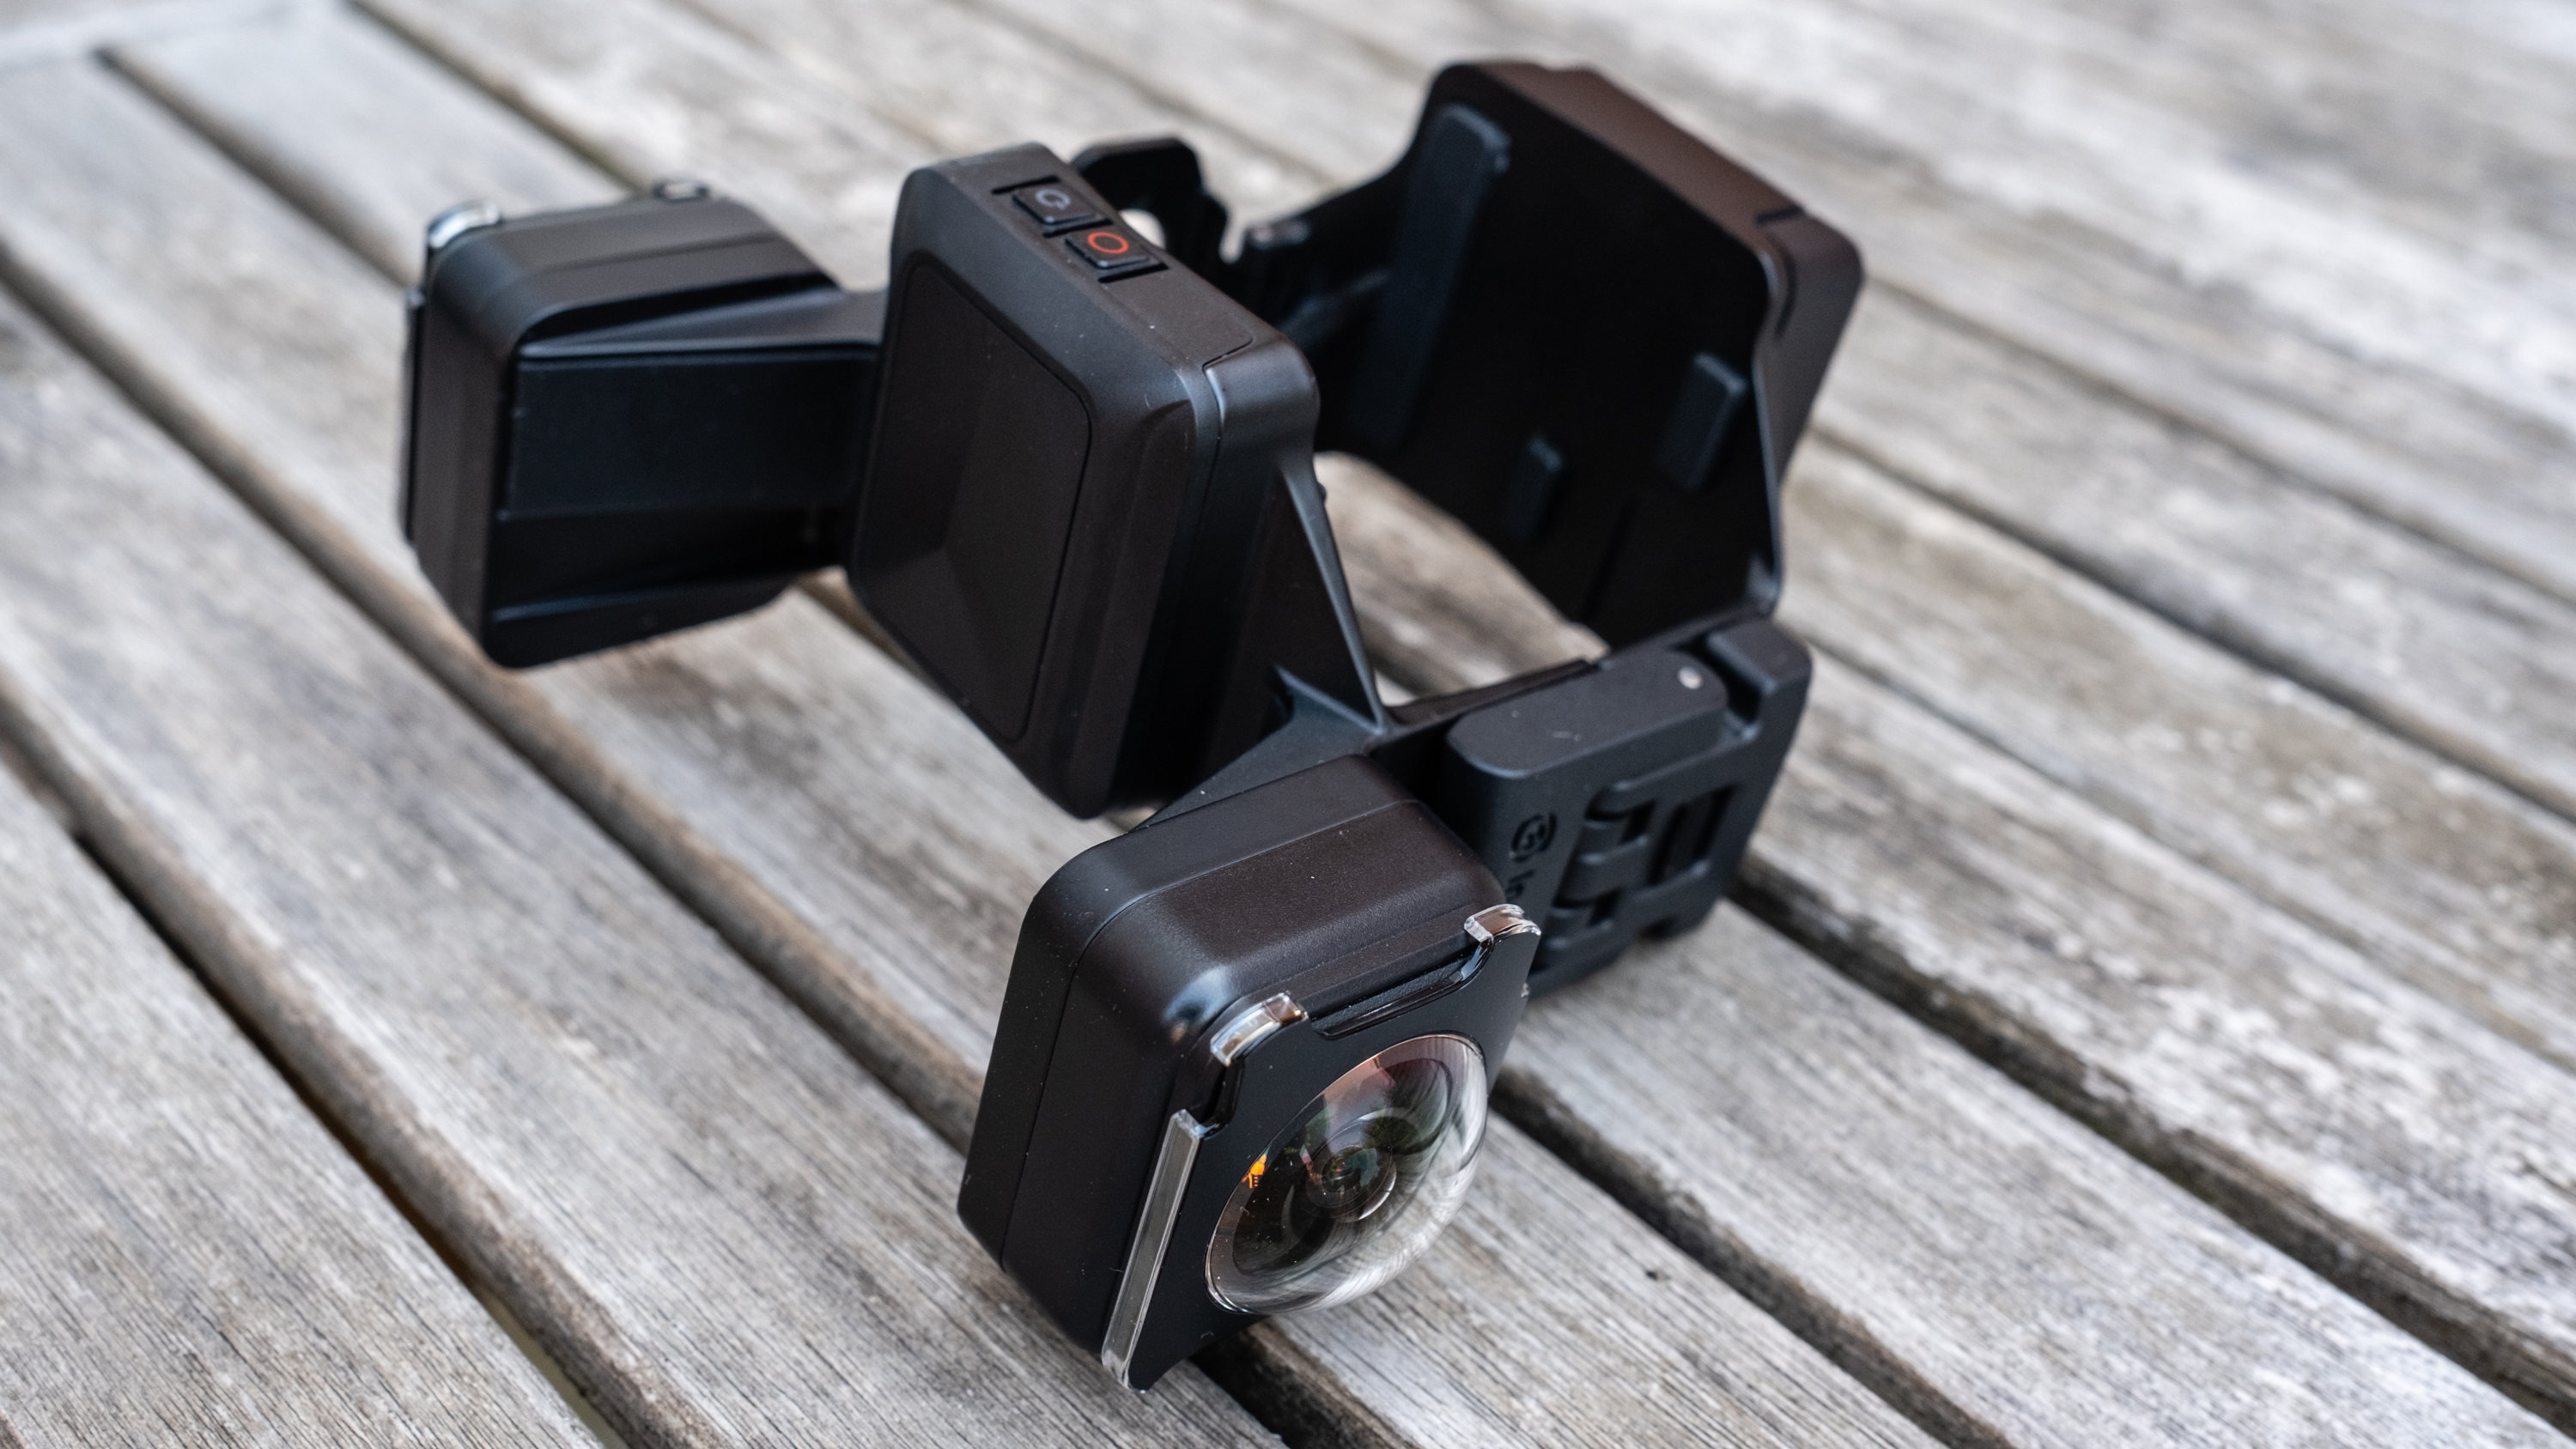
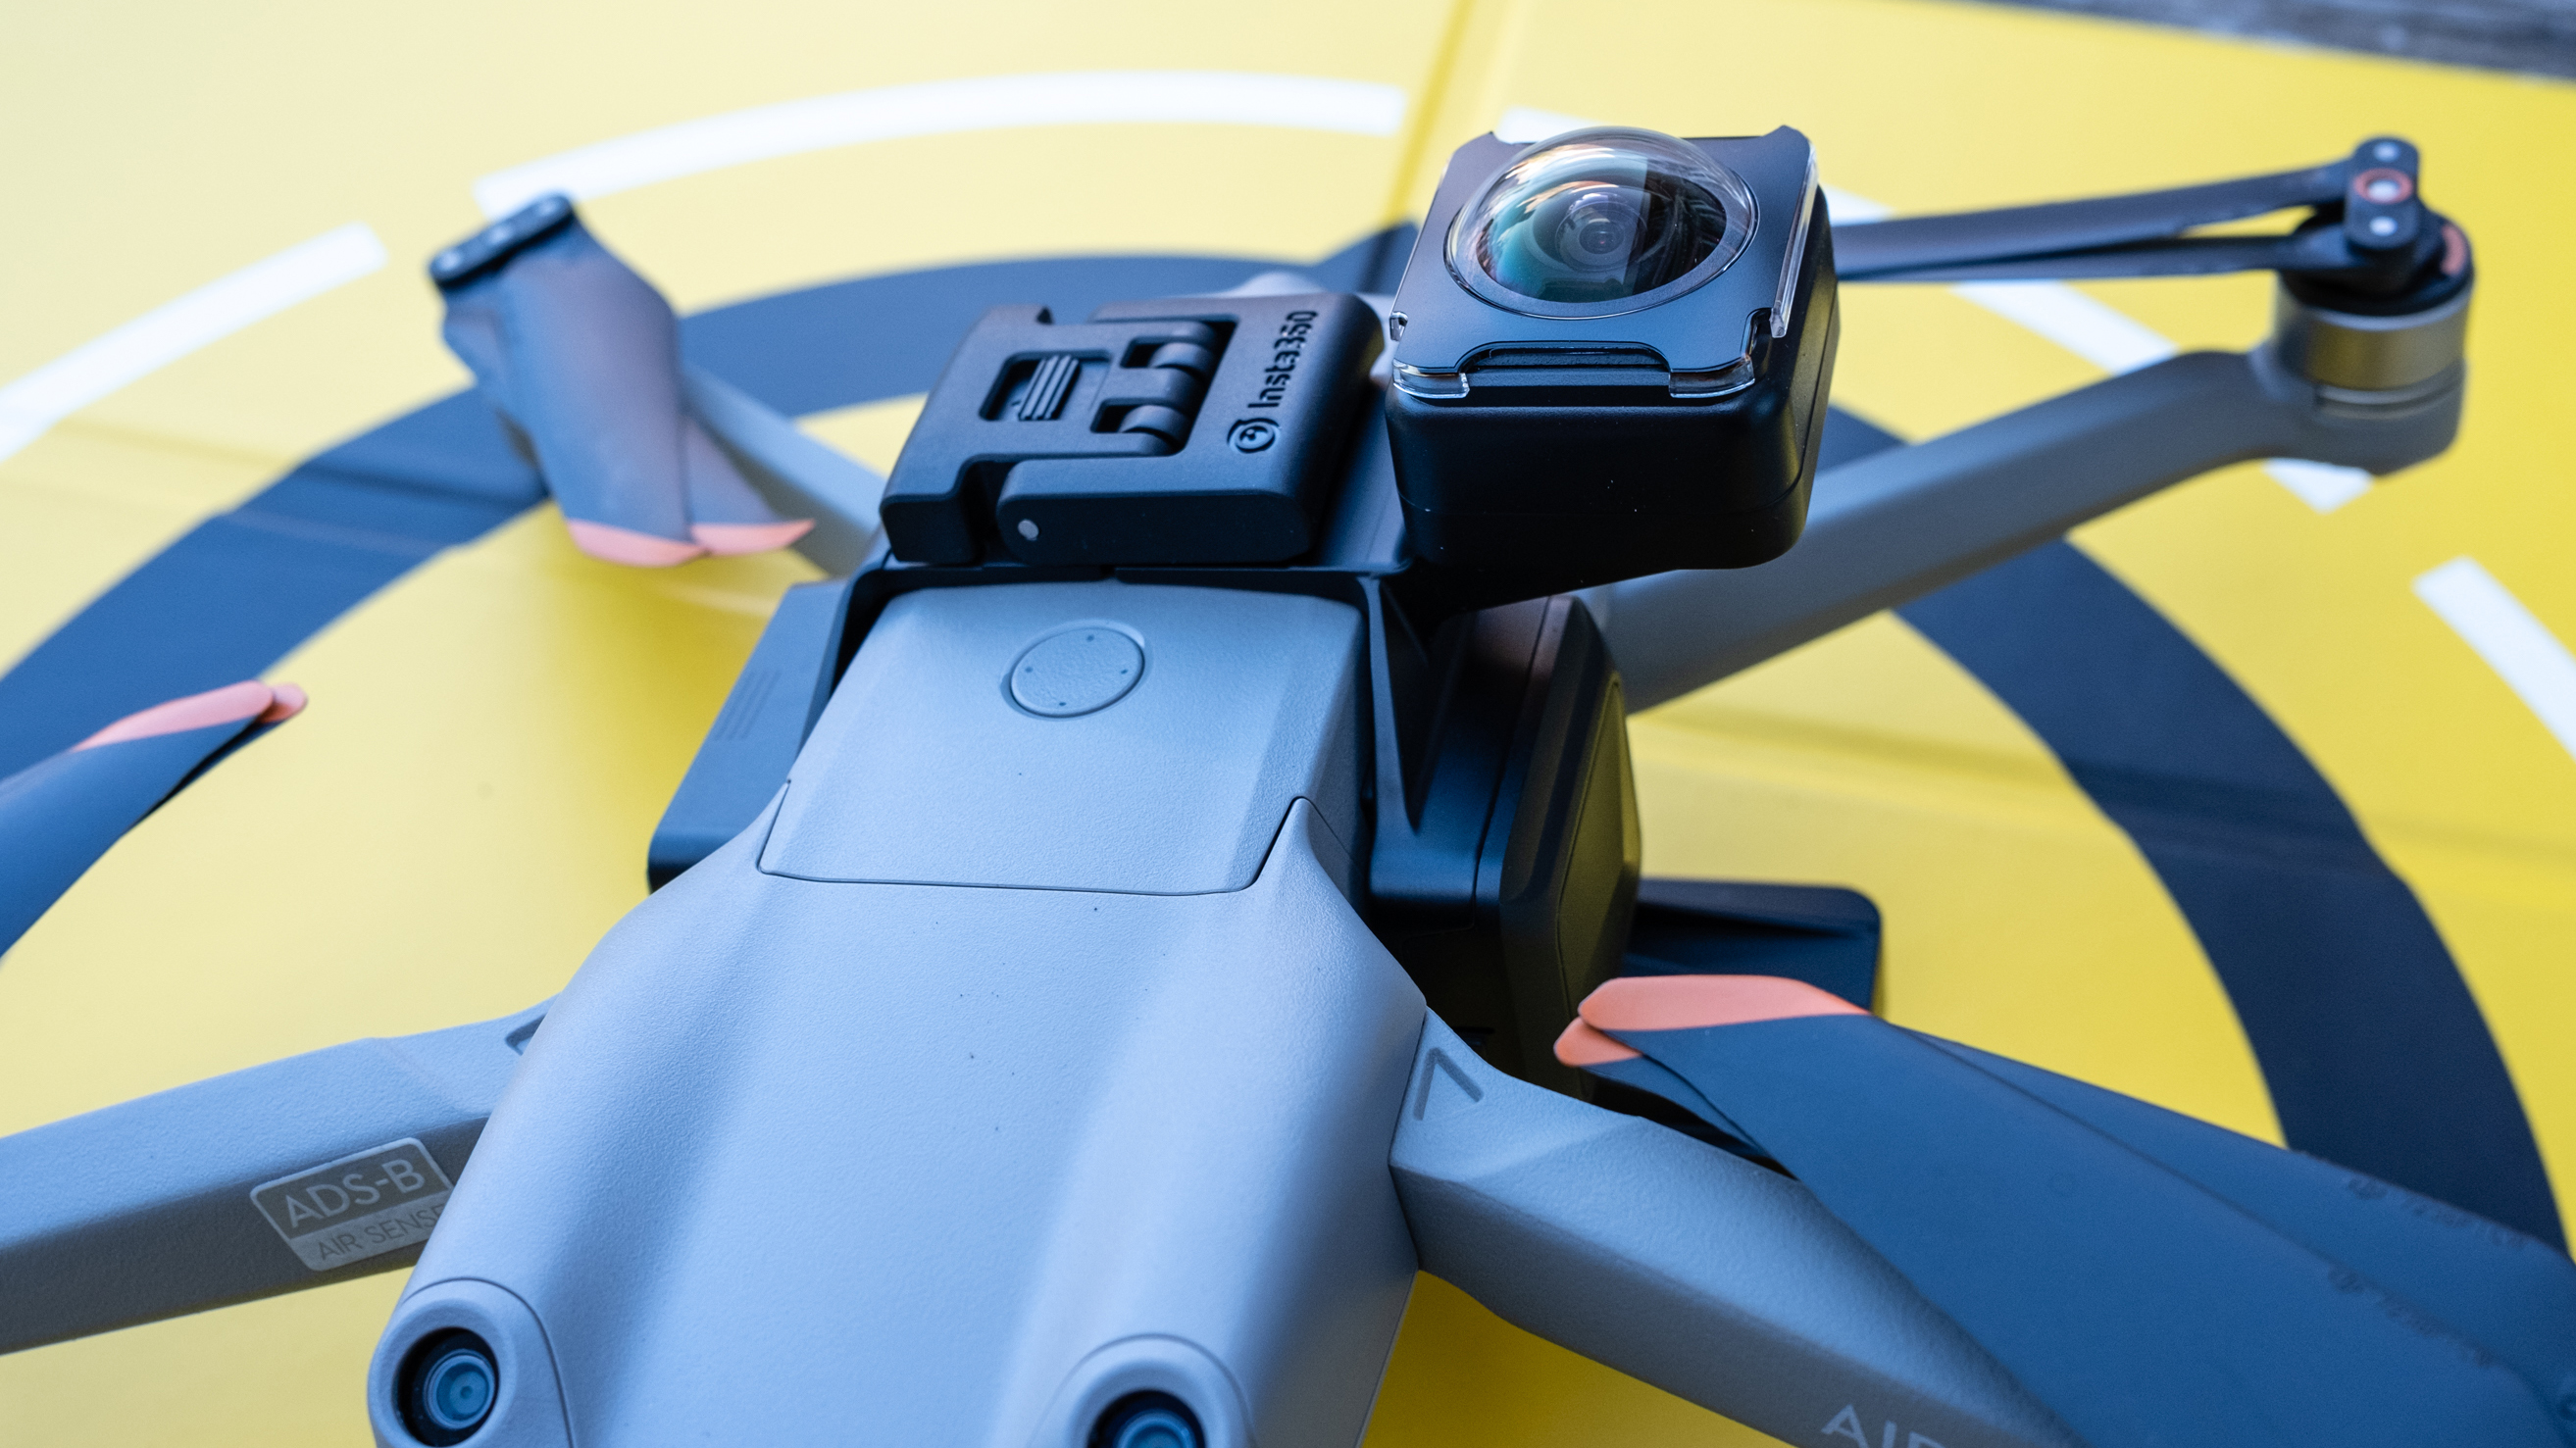
Would I buy one? I am tempted because of the creative possibilities the Sphere opens up while I get to grips with flying real FPV drones. In terms of price, the Sphere isn’t cheap, but its pricing does fall in line with other 360-degree cameras, so it’s not a great surprise for it to come in at $423 / £440 / €510 /AU$749 for the standard kit.
For some, this may be hard to justify on top of the cost of a compatible drone. But what can be achieved with basic drone video footage and little drone flying skill is truly remarkable. As long as you plan your shoots and think about how shots can be edited before shooting them, you’ll have a lot of fun.
James Abbott is a professional photographer and freelance photography journalist. He contributes articles about photography, cameras and drones to a wide range of magazines and websites where he applies a wealth of experience to testing the latest photographic tech. James is also the author of ‘The Digital Darkroom: The Definitive Guide to Photo Editing’.