15 Automator and AppleScripts You Can’t Live Without
Computers were designed to do repetitive tasks efficiently and consistently, so why then are we still sitting around and renaming files on our computer by hand? Why are we still relying on our memory to remind us of our friend’s birthdays? There’s got to be a better way, and there is with Automator and AppleScript.
Automator Tutorials
1. Encrypt PDFs Created from the Print Dialog
The save name is what will show up in the Mac OS X print dialog.
After you have configured this new workflow, click File > Save and specify a name for the new print plugin. Automator will do the rest and place the plugin in the appropriate location for it to run on your Mac.


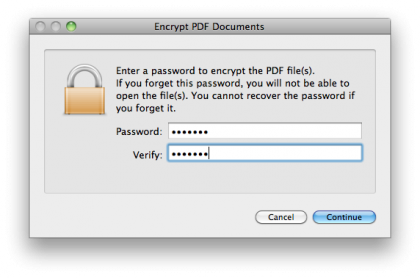
When the workflow is run, a pop up window will appear, allowing you to type in a password for the PDF file about to be created.
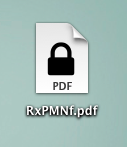
To run the workflow, open a print dialog in any application. Click on the PDF button in the lower, left-hand corner of the dialog and select the name of the workflow that you just saved. Type in a password, then type it again for a confirmation. After clicking Continue, a new encrypted PDF will appear on your Desktop.
2. Save Text As Audio
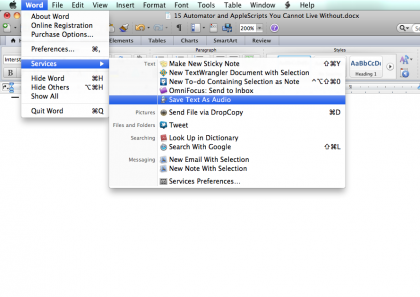
The name you specify in the save field will appear in the Mac OS X Services menu.
When you are done configuring the workflow, click File > Save. Type in a name for the new Mac OS X Service and click Save.

The Mac OS X services menu is home to many useful utilities, and your own contributions using Automator’s Service template.
To run the service and generate an audio file, open almost any application on your Mac and select the text you would like to be converted. With the text selected, click on the application name in the menu bar. Select the name of the service that you just saved in Automator from underneath the Services menu listing. After clicking on the service, a new audio file will appear on your Desktop after a few seconds. This file will read aloud the text you selected in the application.
3. Batch Rename Finder Items
Sign up for breaking news, reviews, opinion, top tech deals, and more.