Normally, digital cameras process image data captured by the sensor and save the finished photo as a JPEG file, but RAW files contain the image data in its unprocessed form.
You need a program capable of processing these RAW files on your computer, but the advantage is better image quality and the ability to choose some of the settings later rather than having to commit to them when you shoot.
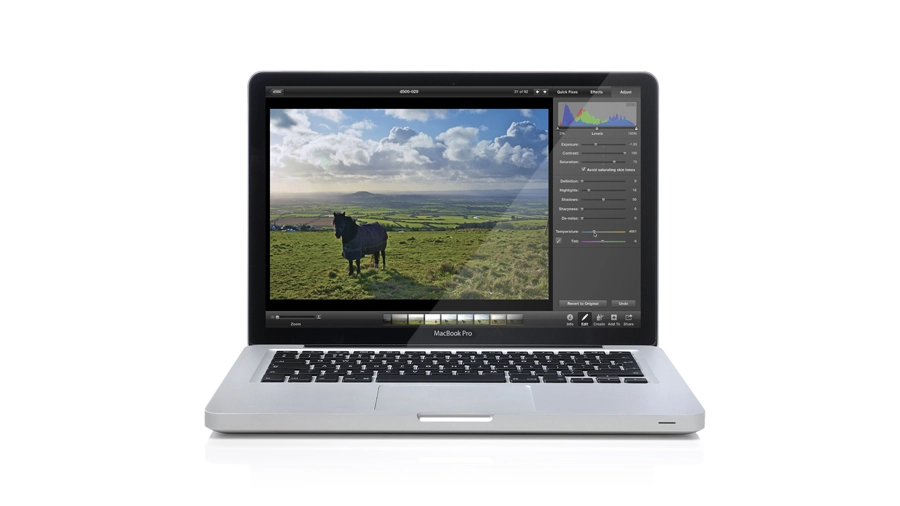
How to exploit your RAW images
1. Assess image

There's too much contrast in this photo. If you check the histogram at the top-right Adjust panel, you'll see that the highlights are badly clipped. This would be disaster in a JPEG image, but RAW files have extra highlight data that you can recover using the tools in iPhoto.
2. Recover highlights

Drag the Exposure slider left. This will move the whole histogram to the left to reveal more highlight detail, but it will also darken the image. Instead, hold down the Option key. The Exposure slider becomes a Recovery slider: drag it to the right for extra highlight detail.
3. Adjust Exposure

It's still not enough to recover all the detail in the sky, but by setting the Recovery value to its maximum first, you reduce the amount you need to adjust the Exposure. Here, a value of -1 brings out the clouds in the sky, though it leaves the foreground rather dark.
4. Move Highlights slider

You can balance bright and dark areas using the Highlights and Shadows sliders. First, a small adjustment to the Highlights slider darkens the sky still further. This is not the same as highlight recovery - it just darkens the detail that's already there.
5. Lighten Shadows

It's best not to use too high a Highlights setting because it flattens out brighter tones in a way that can quickly look artificial. You can use much larger settings with the Shadows slider - this brings out details that were previously too dark to see.
6. Increase Contrast

If your image is looking a bit flat by this stage, increase the Contrast. You'll often find this is no time for half measures, and, in this case, it needs to be pushed right up to 100 to produce a worthwhile improvement. The picture now looks a lot better.
7. Increase Saturation

You might need to increase the Saturation too, but here you have to be a little more careful because the colours can start to look artificial. If you check the Avoid saturating skin tones box first, the saturation increase is applied mostly to the weaker colours.
8. Adjust White Balance

Increasing the saturation will also show up any issues with the white balance. Here, for example, the picture has started to look a little too 'warm', which can be fixed by slightly reducing the Temperature and Tint values. (RAW allows for more realistic colour shifts.)
