We've tackled weather problems quite a bit in our DIY Photography Hacks series, but this might be our most ingenious DIY photography invention yet! In this tutorial we'll show you how to transform the cover from a simple case of blank CDs into the perfect rain guard for your lens.

You'll need the cover from a case of blank CDs (the ones from large multi-packs are ideal), polythene (such as the stuff used to pack sofas and mattresses) and gaffer tape, which is strong and easy to tear off the roll.
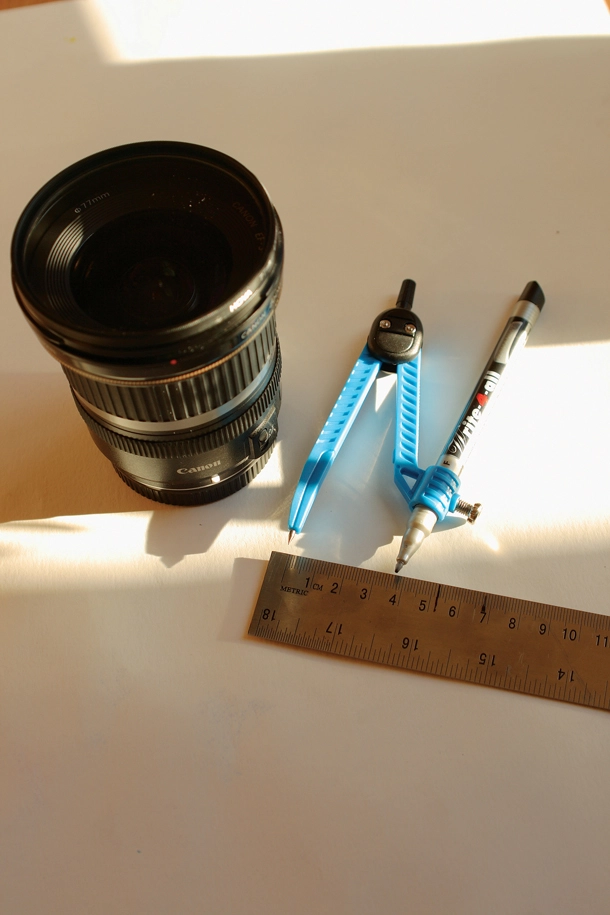
Article continues belowIt'll help to have a ruler, compasses for drawing a perfect circle and a sharp craft knife.
How to make your DIY photography rain guard

1. Calculate the diameter
Find out the diameter of your favourite lens and then halve that amount. Take the compasses, preferably holding a marker pen, and set them to the size you calculated earlier - so, if the lens diameter is 77mm, half that number is 38.5mm.

2. Cut out your circle
Put the compasses' point in the centre of the CD stack cover and draw a circle. Cut out the circle with the knife. Take another cover, cut out a wider circle and leave about an inch of overhang on the sides.

3. Connect your rain guard
Join both together with gaffer tape. The overhang of the second CD stack cover will serve as a slight deterrent to raindrops hitting the lens.

4. Fix the polythene
Chose polythene that's clear enough to see through or big enough to cover your head. Carefully slice a line no wider than the lens and tease over the CD cover. Gaffer tape it down.

5. Make sure it's watertight!
Examine your work and look for holes or splits. If you're confident the gear will be watertight in a downpour then, with caution, step out of the door and brave the weather.