How to use your new digital camera

If you've been given a new camera as a gift, or splashed out on one yourself, you're no doubt itching to start taking photos.
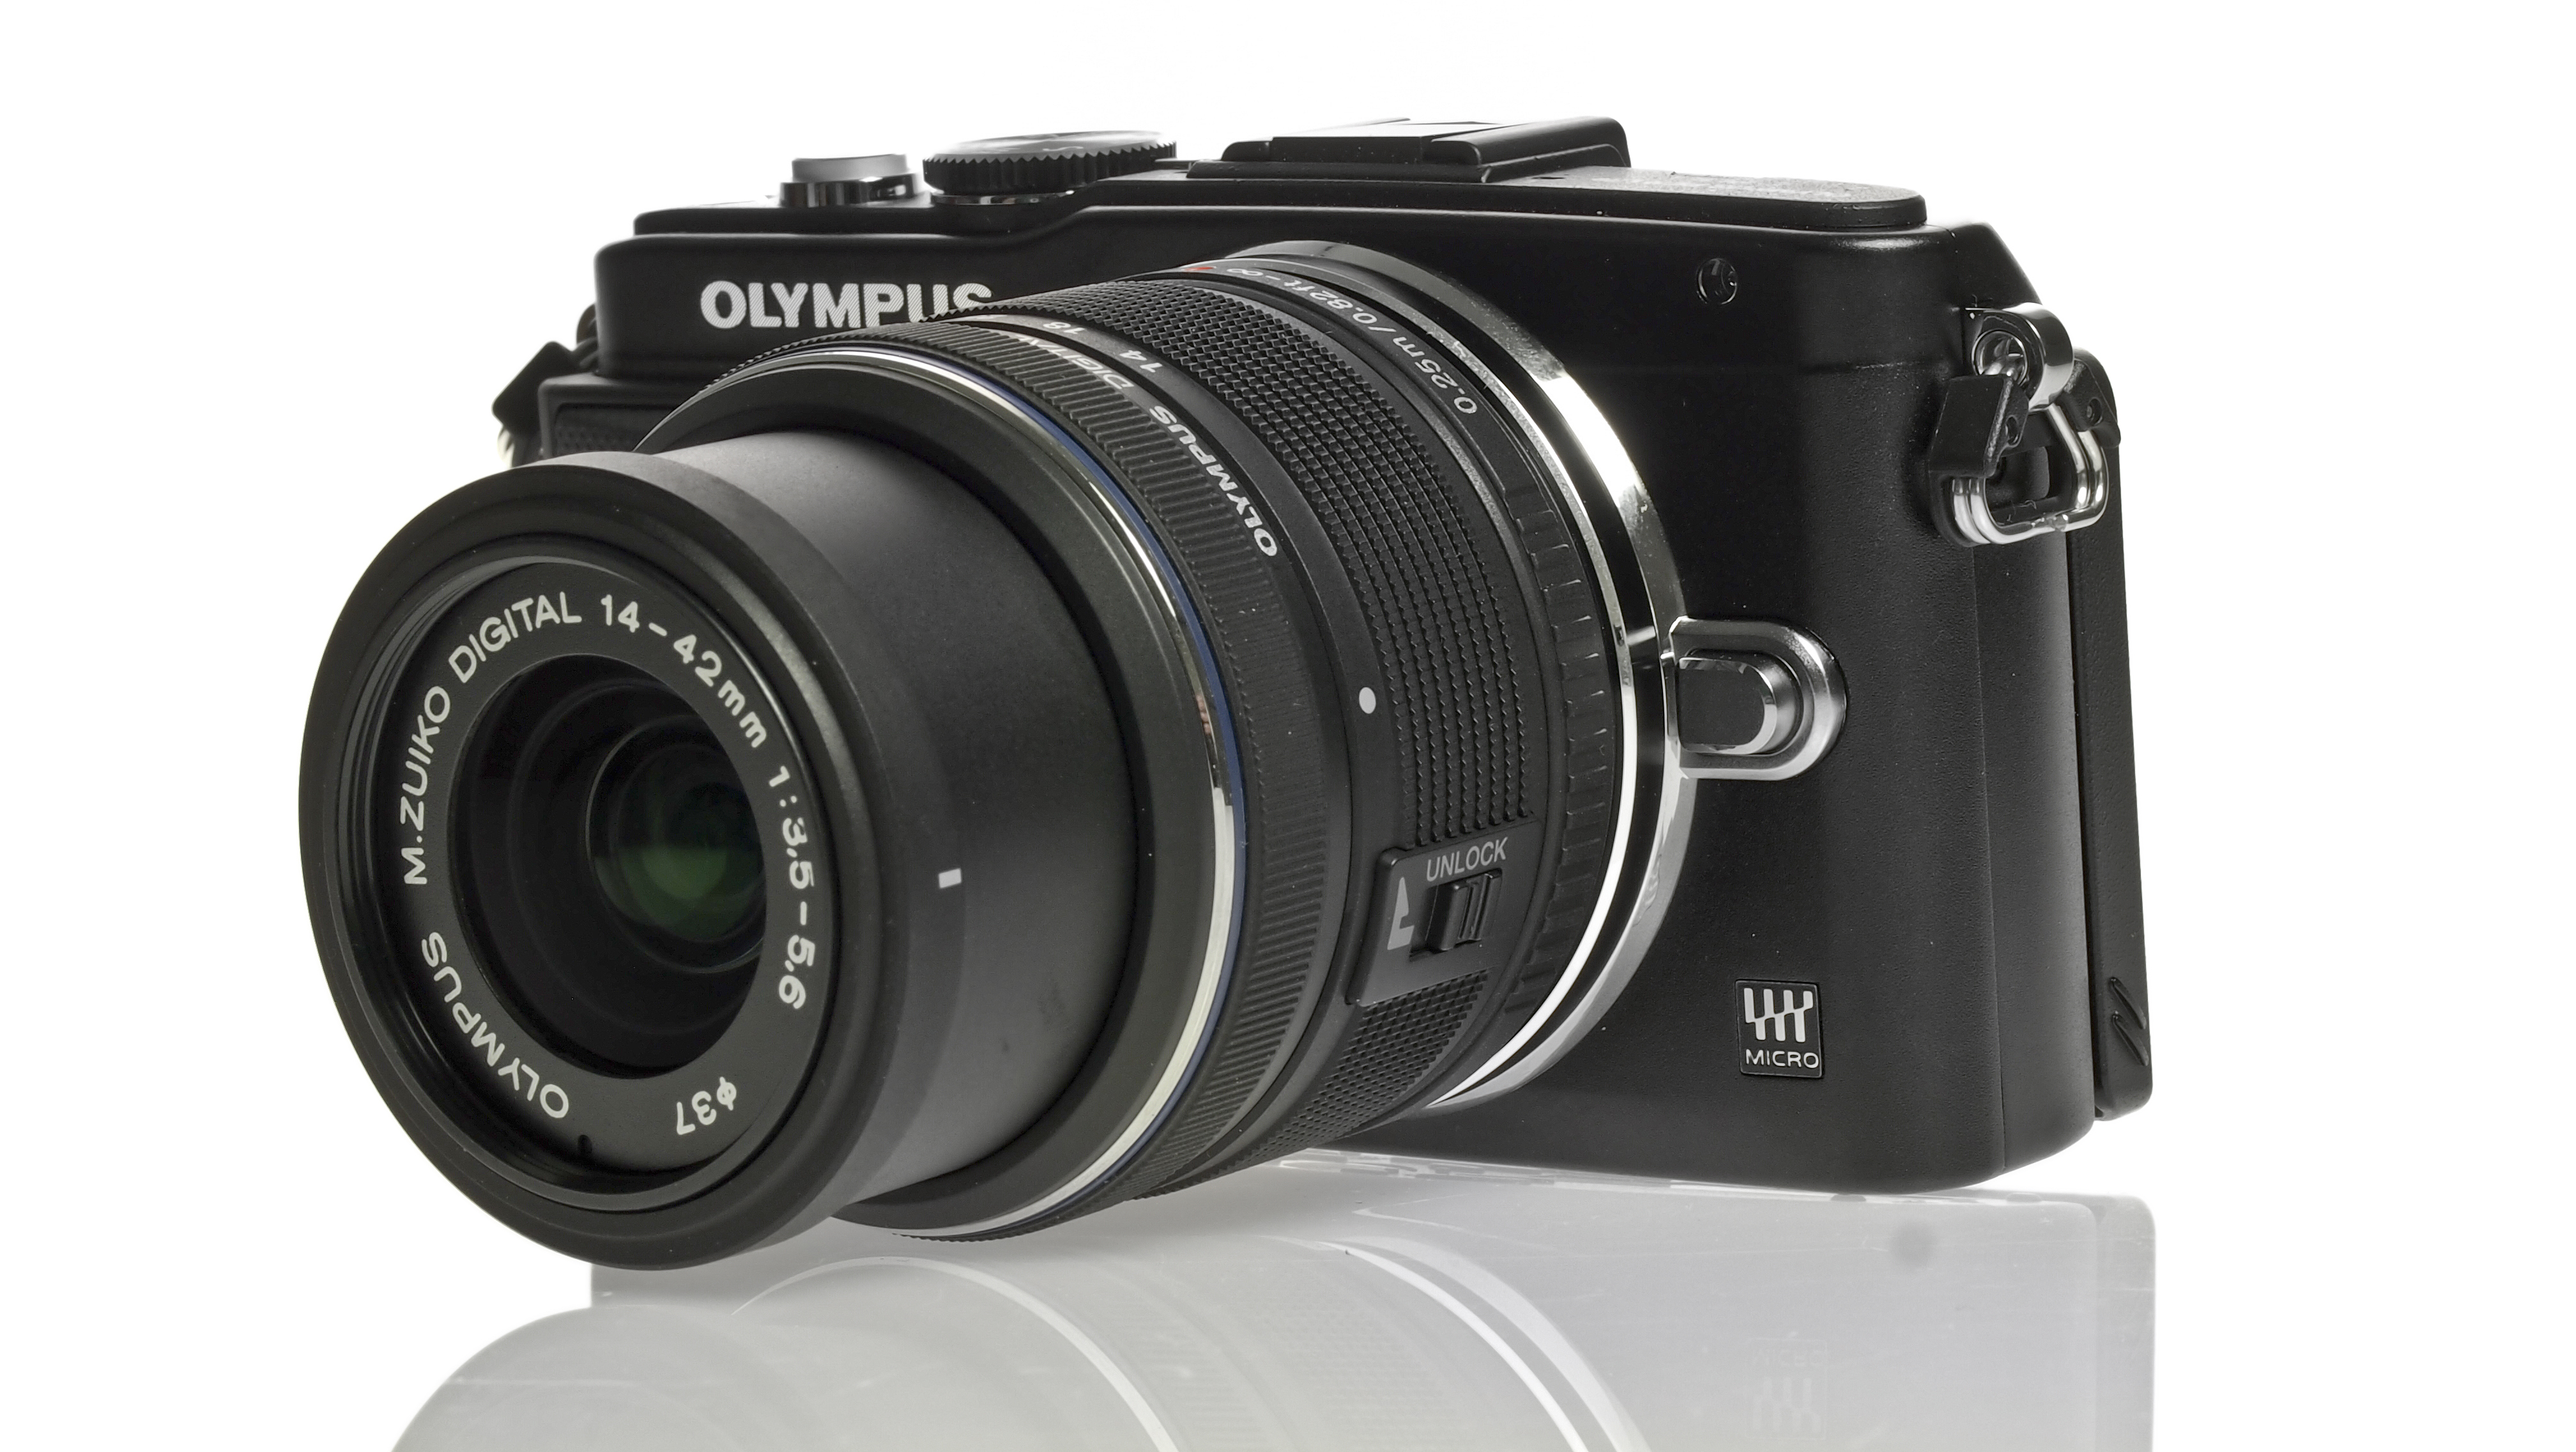
Our guide to setting up your DSLR, CSC or compact camera looks at all the things you need to consider before you begin shooting, whether you've got a Canon 70D, a Nikon D3200, a Sony NEX-6, a Panasonic G5, an Olympus PEN Lite E-PL5 or a compact camera such as a Canon G16, Fuji X20 or Fuji X100S. It pays to get a few things out of the way before you start shooting.
Over the next few pages we explain how to set-up a camera and the various merits of the available options. However, if you're in a rush just look at the Quick start tip at the start which tells you which setting to use.
Of course, if you're getting ahead of yourself and you haven't actually bought a new camera yet, you might like to check out our buying guides:
- Best DSLR: top cameras by price and brand
- Best compact system camera (CSC)
- Best compact camera
- What camera should I buy? Your options explained

Set up the battery, memory card and time
Quick start: Charge the battery, format the card and set the date and time
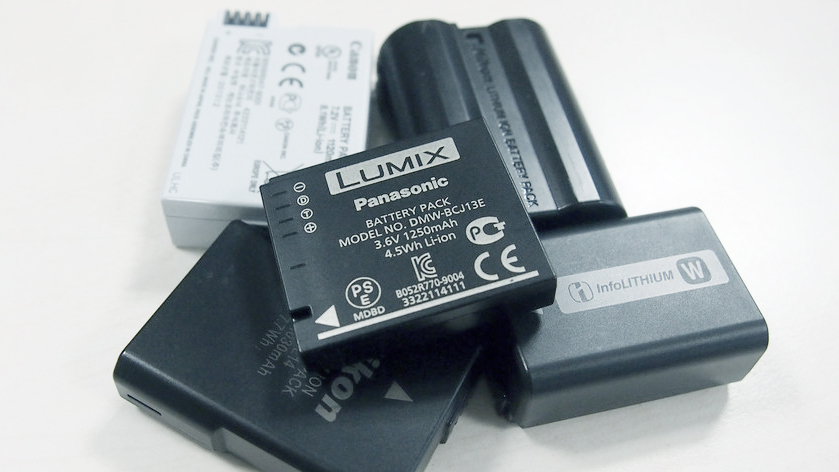
The first thing you need to do is set the battery to a full charge. Manufacturers often recommend you fully charge your battery for the first time, and subsequently only charge it when fully depleted, to help it maintain its performance.
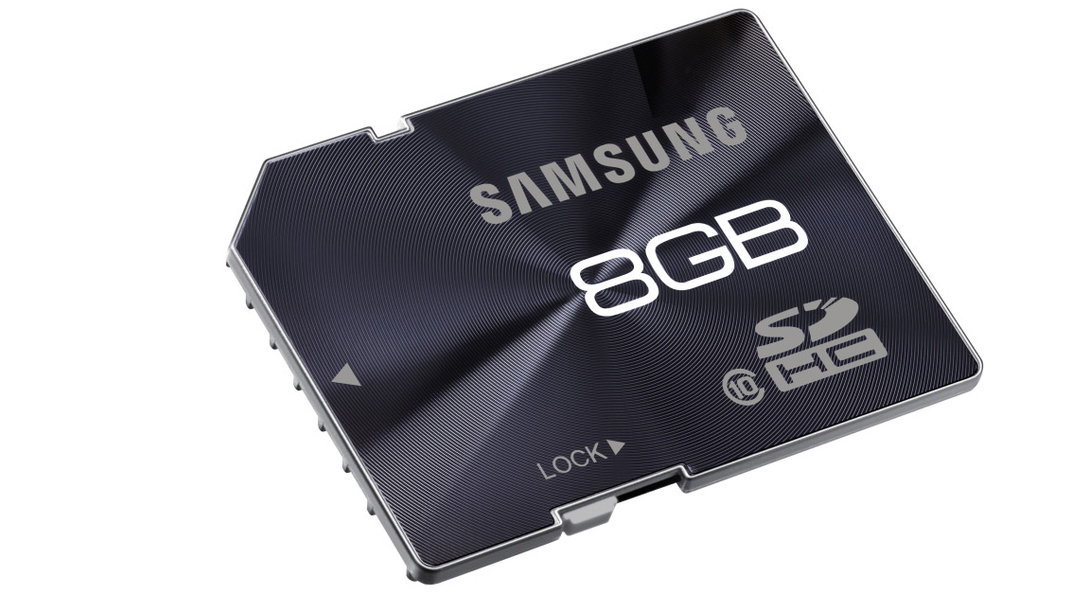
Once the battery is charged and inserted into the camera, the next step will be to insert your memory card - either through a slot at the base of the model, or a door to its side.
Sign up for breaking news, reviews, opinion, top tech deals, and more.

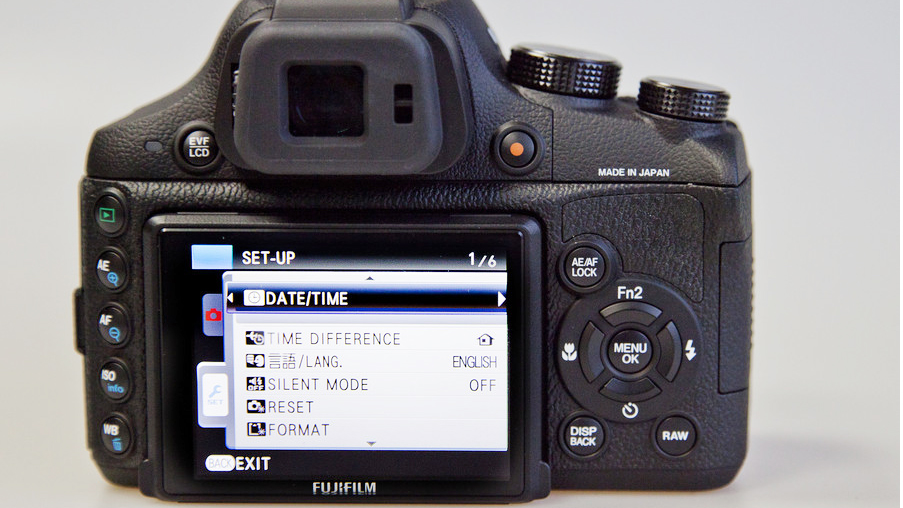
Then follow the on-screen instructions for setting the date and time. Although you don't necessarily need to do this, it's a good idea to input this information now because the date and time will be stored alongside each image you take, which means at a later date you can find out exactly when you captured a particular image or video.
Finally, you should format the memory card - often an SD card - that you've just inserted. This introduces the card to the camera, and creates the necessary folders into which the camera records images and videos.

The card formatting option is located either in a separate tools/maintenance menu (sometimes marked with a spanner symbol) or towards the end of a list of options. You may even need to switch your camera to its playback mode to access this option, so check your user manual to see how it can be found.
Once you've found it, follow the on-screen instructions and the camera should format the card within a few seconds. Be aware that this process deletes all the information on a card, so if the card contains anything you want to keep, make sure that you have a copy of it on your computer or elsewhere. Of course, this isn't an issue with new cards, which will be blank to begin with.
Current page: Getting started with your new camera
Next Page Choose a file formatThe TechRadar hive mind. The Megazord. The Voltron. When our powers combine, we become 'TECHRADAR STAFF'. You'll usually see this author name when the entire team has collaborated on a project or an article, whether that's a run-down ranking of our favorite Marvel films, or a round-up of all the coolest things we've collectively seen at annual tech shows like CES and MWC. We are one.