How to use your new digital camera
Sign up for breaking news, reviews, opinion, top tech deals, and more.
You are now subscribed
Your newsletter sign-up was successful

Quick start: Set Auto ISO.
As a general rule, you should always use the lowest ISO setting in your camera's standard sensitivity range that you can get away with. For most cameras this will be ISO 100 or 200, although some may offer ISO 80.
At low ISO settings, shots require more exposure than when a higher sensitivity such as ISO 1600 or ISO 3200 is set, and the resulting image will be purer with less noise.
Nevertheless, there will be occasions where you need to shoot at a higher ISO setting, simply because there won't be enough light in the scene to use a lower one. You may also need to increase sensitivity to achieve a particular shutter speed in order to freeze any action, such as when shooting a moving subject.
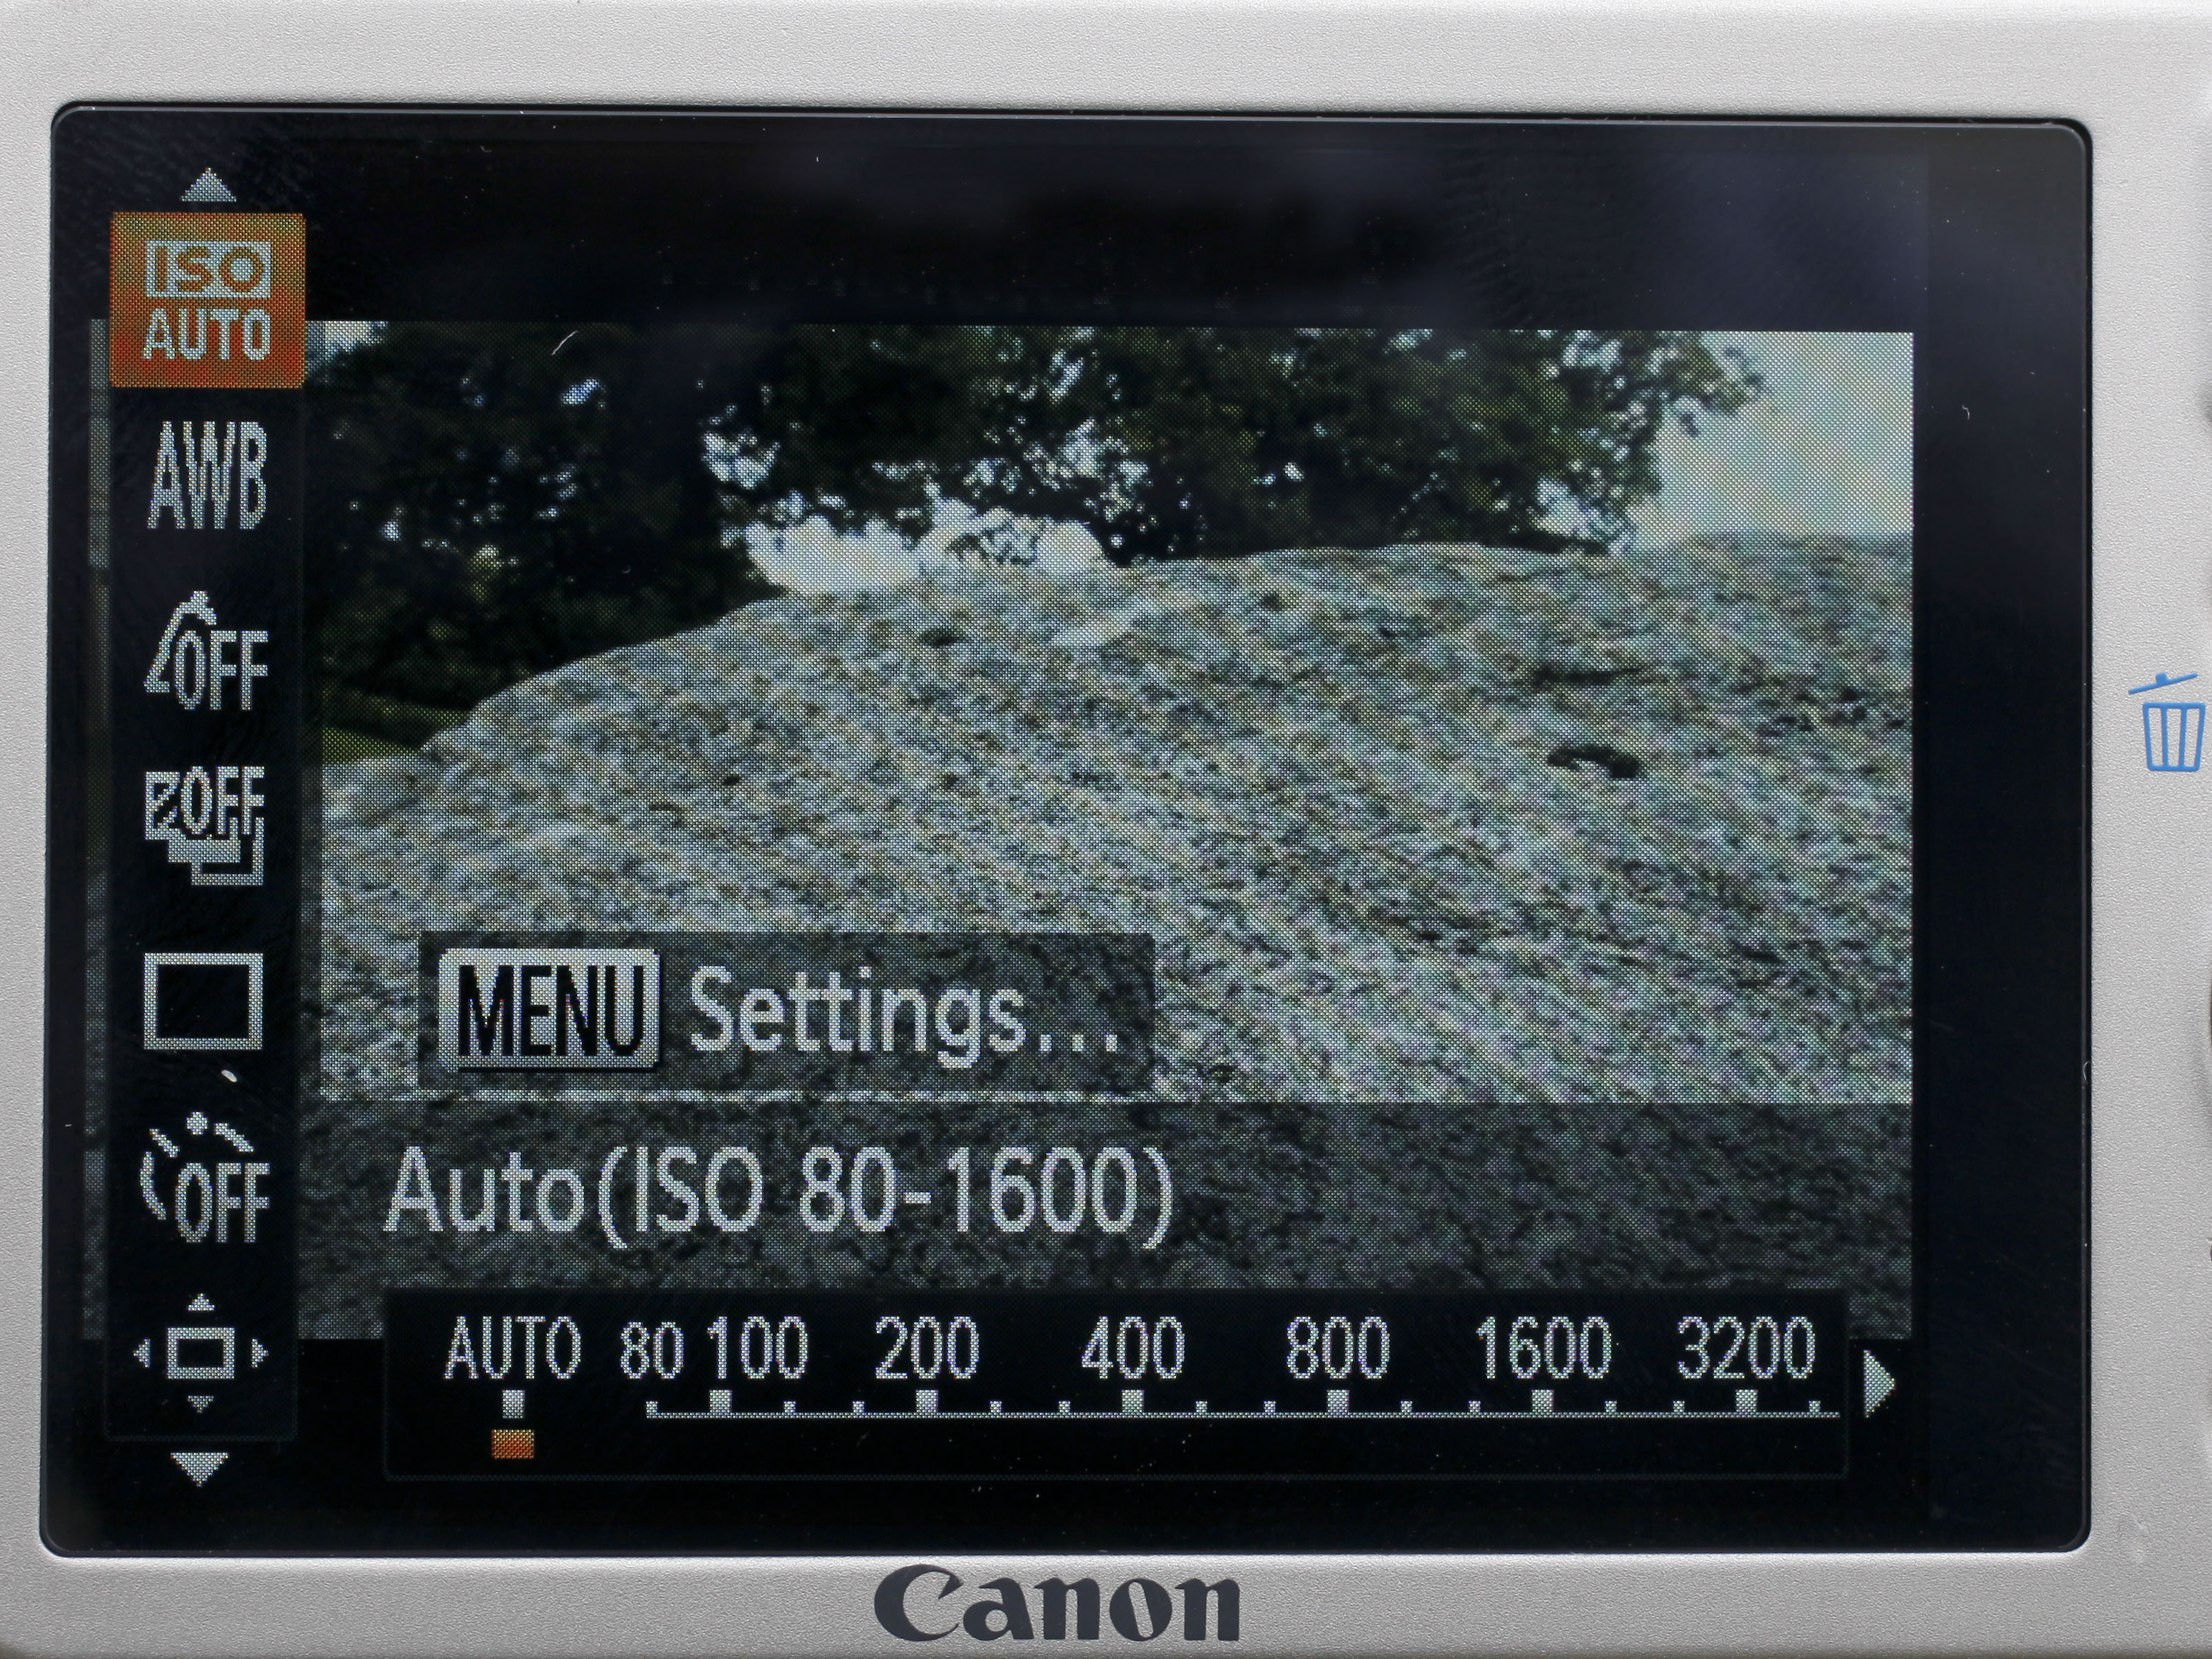
It may be awkward to have to constantly adjust the sensitivity to match the shooting conditions in which you're working, and most cameras offer an Auto option designed to do this for you. When set to this mode, the camera will automatically choose the lowest ISO setting possible for the scene being captured.
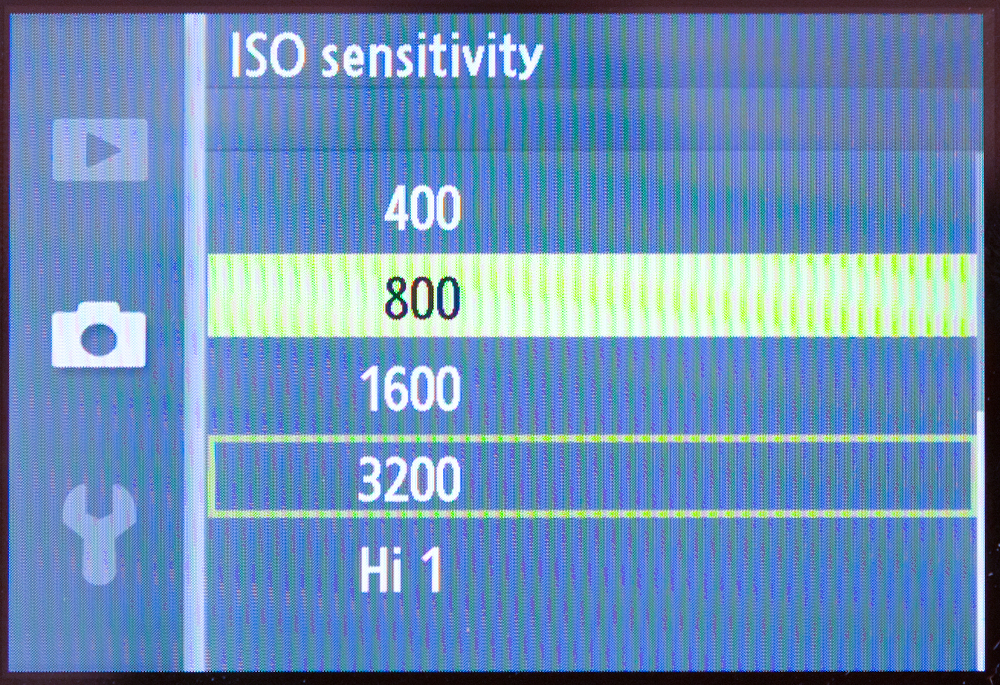
Some cameras enable the range over which this works to be specified by the user, so that particularly high sensitivities can either be avoided or included.

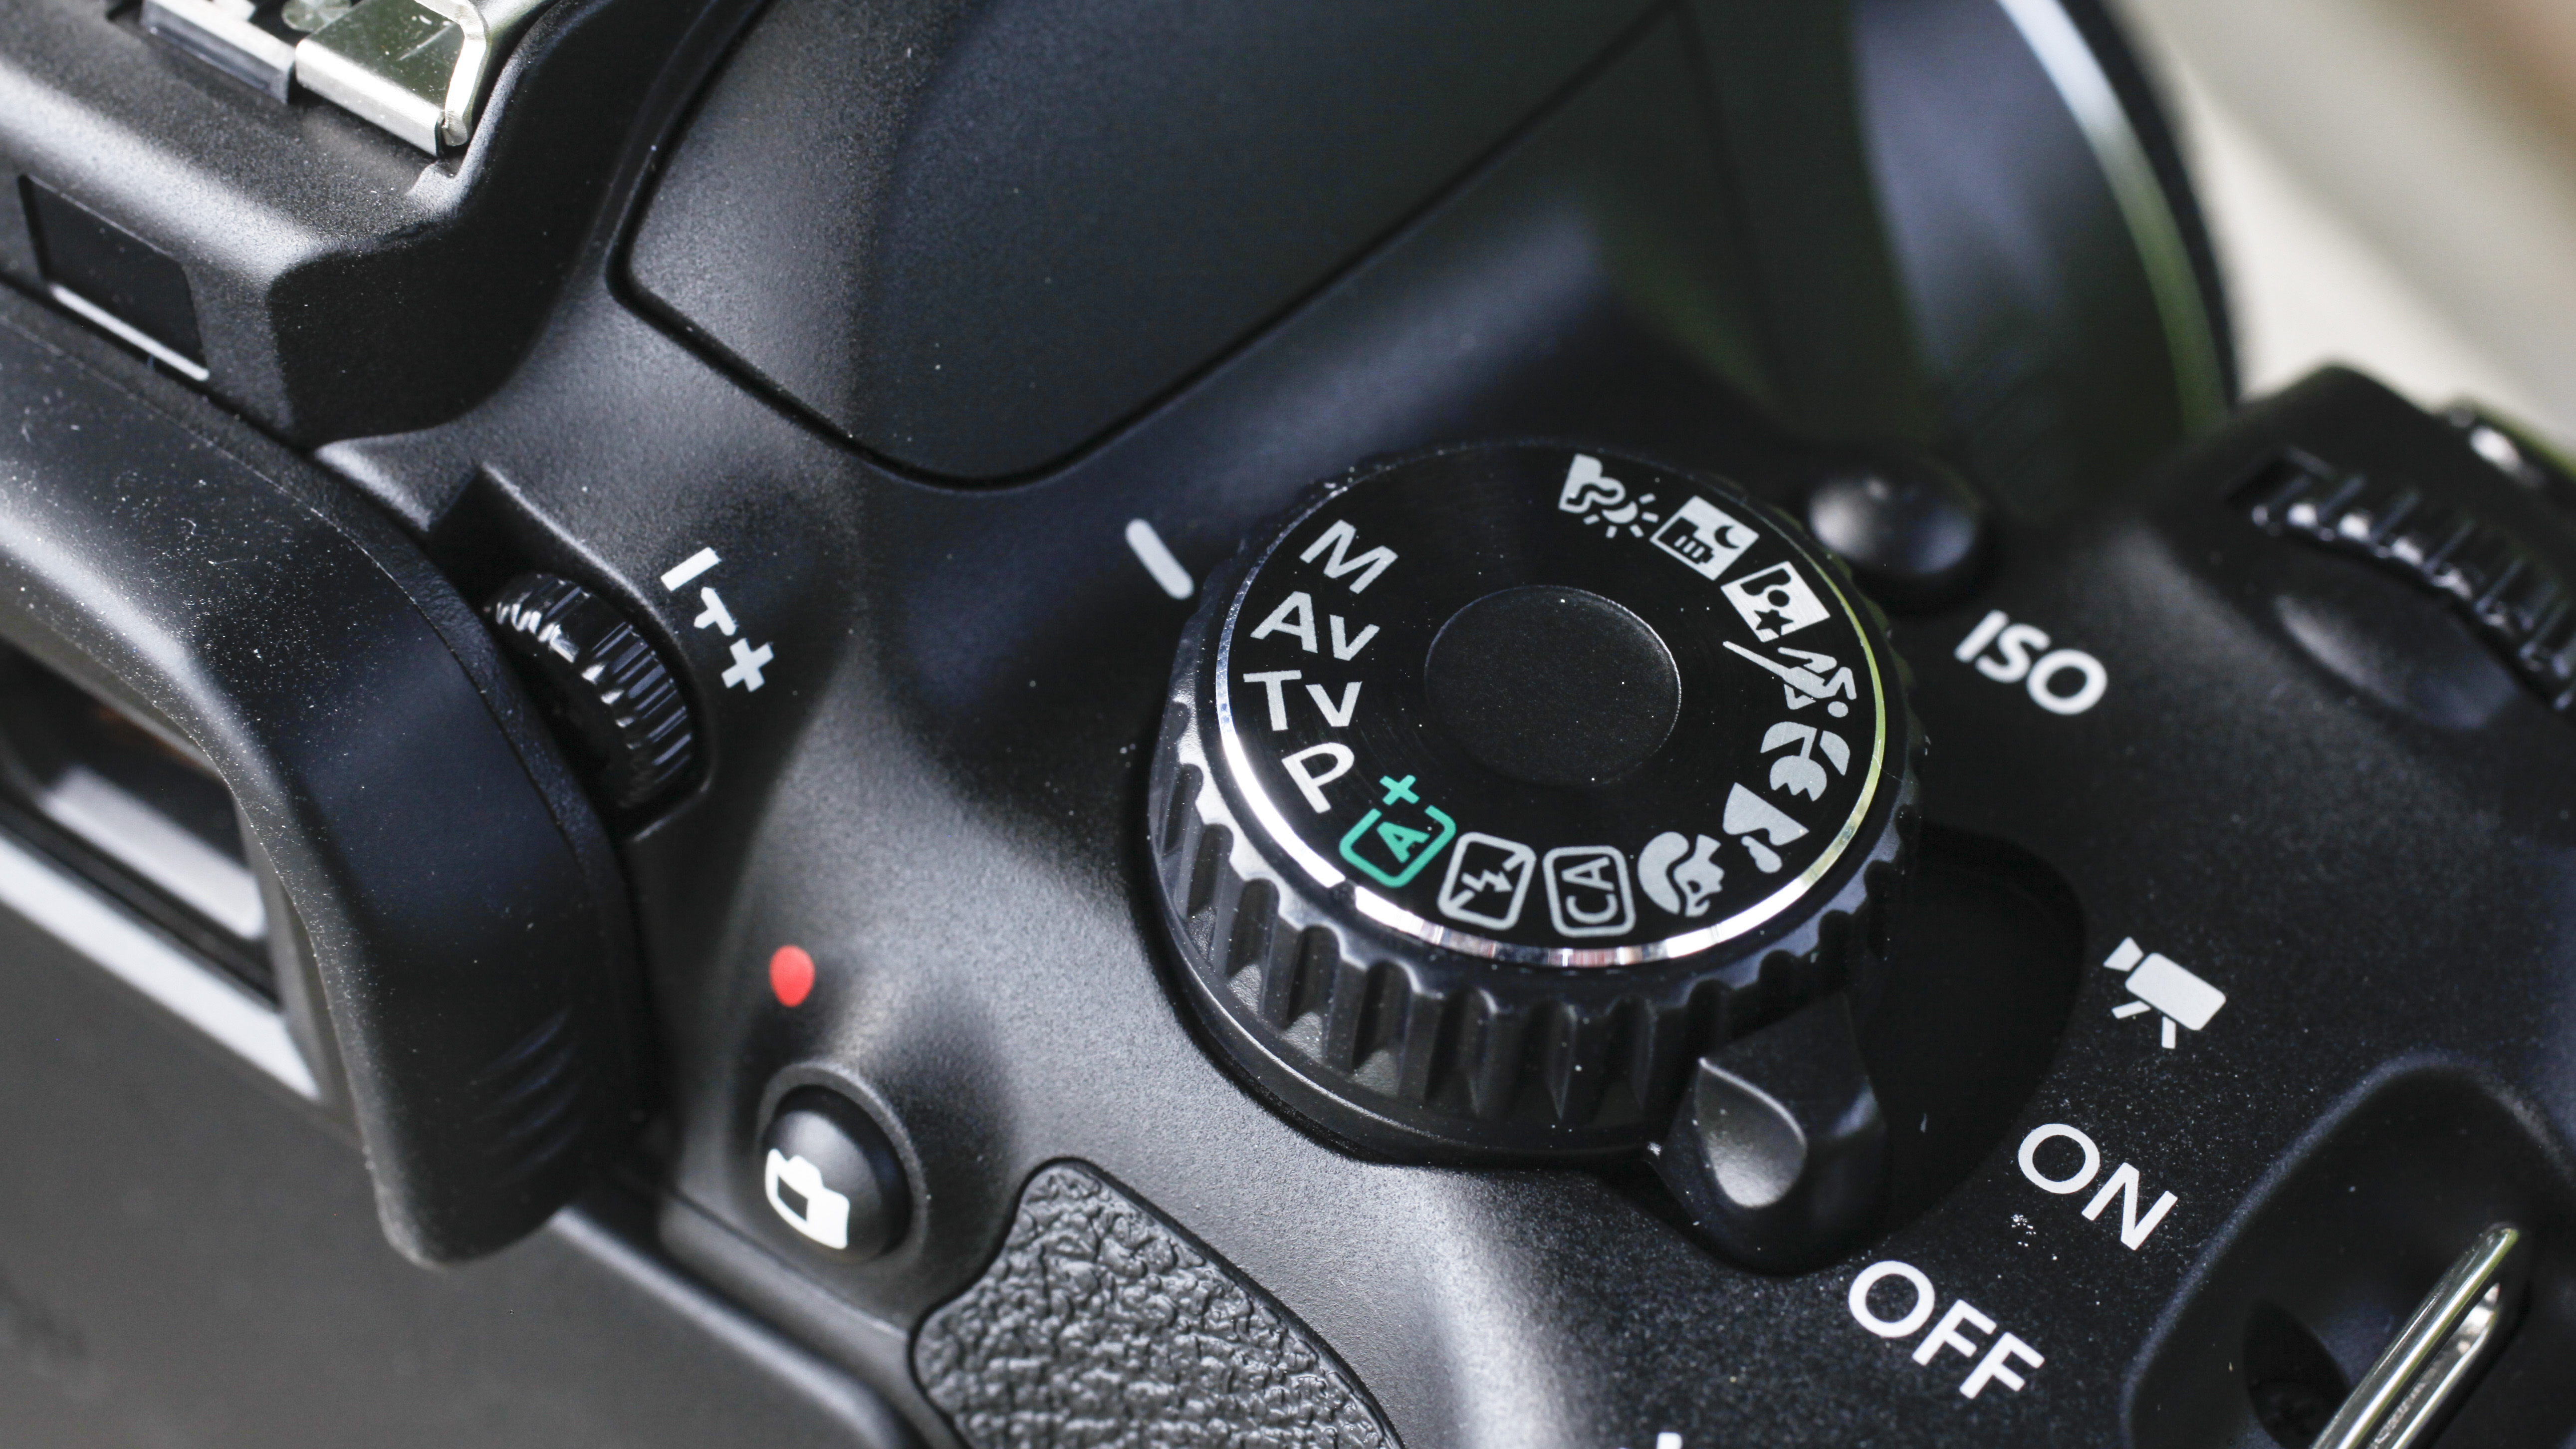
Above: The sensitivity (ISO) settings can often be reached via a dedicated button.
Sign up for breaking news, reviews, opinion, top tech deals, and more.
Setting a wide range (such as ISO 100-3200) is ideal when shooting under constantly varying lighting conditions, while a more restrictive option (such as ISO 100-400) means that you can be sure your camera will never go over this upper threshold, which in turn should help to control noise.

Above: It can be useful to use an Auto ISO option in changing light conditions.
Your DSLR or CSC is also likely to include options for image noise reduction, which is particularly important if you plan to use your images right away without any further processing.
These will be typically divided into two options, one for long exposures and the other for high sensitivities. For the latter you may be able to specify a particular strength of noise reduction, which is just as well, considering how aggressive some cameras' systems can be.
As a general rule, long exposure noise reduction is always a good idea, because most cameras do a good job of identifying where noise has formed during an exposure and ensure that other details are preserved.
If you have separate options for high-sensitivity noise reduction, you may wish to experiment with the effects of each one because the strongest may be too strong for your liking, and may remove too many details.
If you shoot raw images you can always process out noise later in post-production, although this necessitates both time and skill to achieve an optimum result.
The TechRadar hive mind. The Megazord. The Voltron. When our powers combine, we become 'TECHRADAR STAFF'. You'll usually see this author name when the entire team has collaborated on a project or an article, whether that's a run-down ranking of our favorite Marvel films, or a round-up of all the coolest things we've collectively seen at annual tech shows like CES and MWC. We are one.