8 tips for shooting autumn leaves
There's still a couple of weeks left to capture those wonderful autumn colors!
What you need
What you really need, of course, is a two-week vacation in Vermont in the fall to capture those spectacular autumn colors, but the best most of us can manage is a half-hour lunch break while the sun is shining and the sky is blue and the leaves are at their best.
So all the pictures you see here were shot in the space of half an hour, and within half a mile of home. You may not be surrounded by spectacular landscapes – these pictures were all taken on regular suburban streets – so the trick is to zoom in on the details rather than trying to take in a broader view.
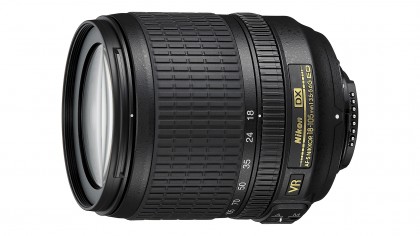
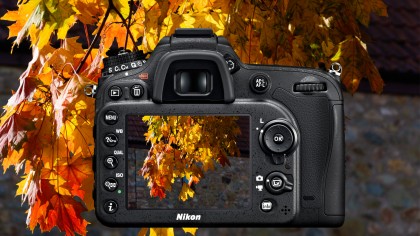
We used a Nikon D7200 DSLR and the standard 18-105mm kit lens. A DSLR isn't essential because you can get the same kinds of shots on any camera with a zoom lens. A DSLR's bigger sensor can give a more defocused effect to backgrounds, and manual control of the lens aperture will help too, but neither is essential – the main thing is to have a good eye for light and color and a willingness to pay a little more attention to the details.
One more tip: set your camera's white balance to its 'Daylight' or 'Direct sunlight' preset to fix the colour balance to a neutral daylight setting. Autumn colors play havoc with the auto white balance settings on cameras.
01 Blue sky thinking
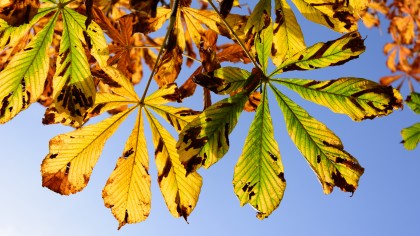
You don't have to go out shooting on a blue-sky day, but the color of the sky can make a beautiful contrast with the yellow, red and gold colors of autumn leaves. To get the best shots, get in amongst the trees so that you're shooting out through the branches and up towards the sky. The brightness and tone of a blue sky varies according to where you're standing and the direction you're looking in, so take a few moments to look for the best effect. If you face away from the sun the sky will be bluer, but if you aim the camera more towards the sun the leaves can take on a luminous, semi-transparent appearance which looks more vibrant.
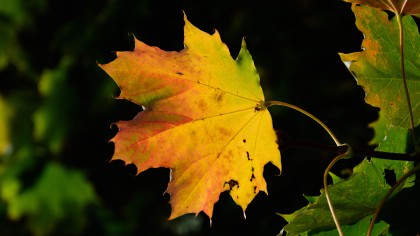
02 Change the background
If you want to make leaves really stand out, find a contrasting background – the near-black shadows behind this leaf are perfect. This is a lot easier if you use the lens's maximum zoom setting because this has the effect of making the background larger in proportion to your subject. With a longer focal length it's a lot easier to find the perfect patch of color or shade in the background – you may have to move a pace or two one way or the other to get the alignment just right.
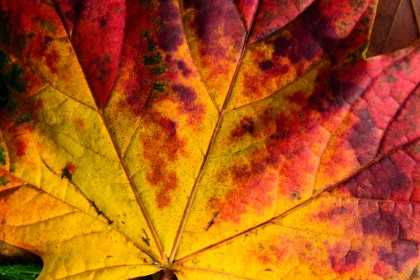
03 Get closer
You might assume you need a macro lens to get this close to the details on a leaf, but that's not the case. The kit lens on a DSLR or compact system camera will have a minimum focus distance that stays the same whatever zoom setting you use – so to get the maximum magnification, use the longest zoom setting. Like all the other shots you see here, this was taken on our Nikon D7200's regular 18-105mm kit lens.
This doesn't work so well with compact cameras, though, because here the minimum focus distance often does change when you zoom in – but most have a macro or close-up mode you can switch to instead.

04 Look at the light
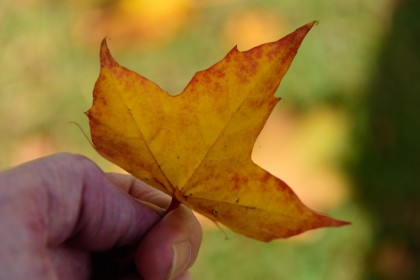
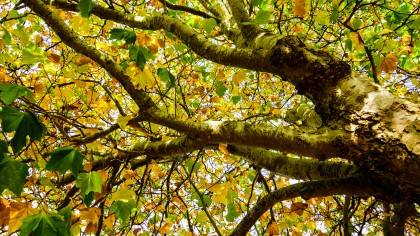
This brings us on to another point – the direction of the light. Autumn leaves are often translucent, and if the light is behind them it can pick out the delicate veins beautifully. You can see it in action right here. The main image (top) is shot with the sun behind the leaf, and while the structures aren't quite as obvious as they are in the previous examples, the sunlight still gives the leaf an attractive, luminous quality.
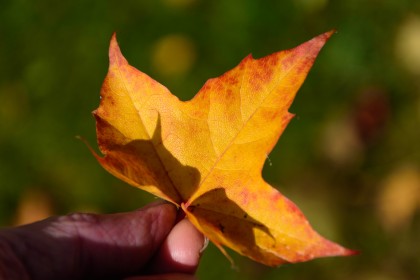
05 Look up
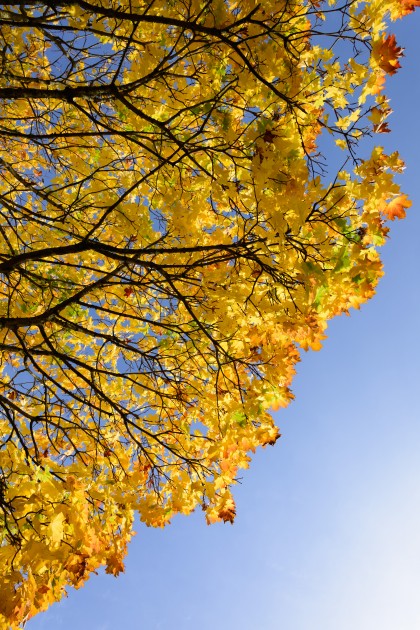
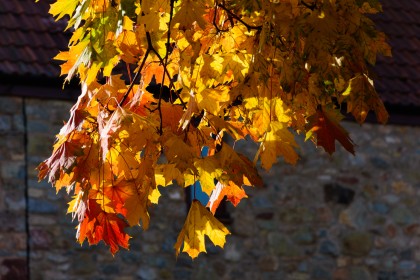
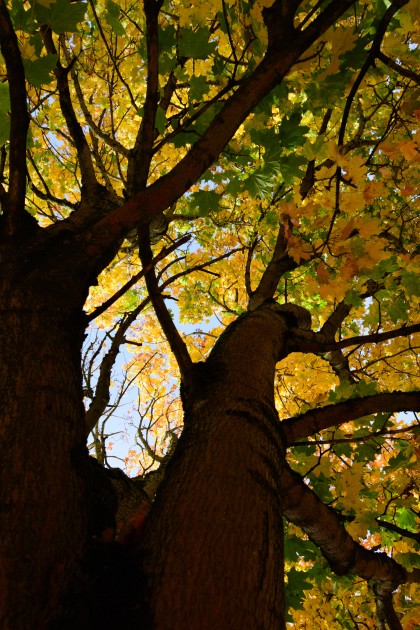
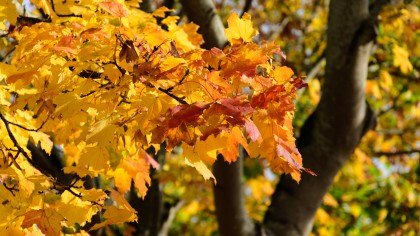
It's natural to look straight ahead when looking for photographic subjects, and to look down for leaves that have fallen on the ground. But make sure you look up too, for a very different kind of autumn shot where you can combine the very strong compositional shapes of tree trunks and branches with the patchwork colors of the autumn leaves.
06 Open wide
Another way of making leaves stand out is to make the background go out of focus, and there are quick and simple ways to do this. The usual advice is to use the widest lens aperture, but most kit lenses only open up to around f3.5-5.6 – it's a start, but there is more you can do.
First, zoom right in to the lens's longest focal length – the longer the focal length, the shallower the depth of field.
Second, get as close as you can – the shorter the focus distance, the shallower the depth of field.
If you do these two things, you can get defocused backgrounds even with compact cameras with small sensors.
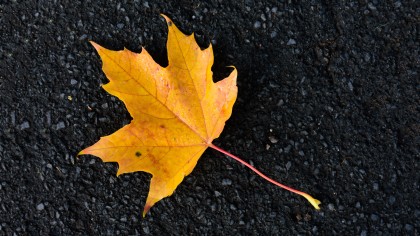
07 Spring cleaning!
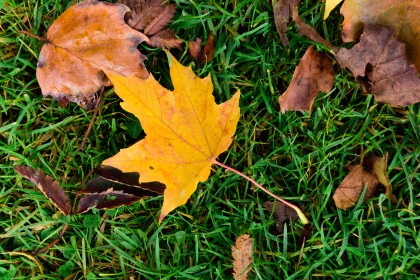
Fallen leaves can make great subjects, but they're often surrounded by other leaves and debris that spoil the shot. But you're not helpless! It hardly takes any time at all to move rubbish out of the way or even move your subject entirely. For our main shot (above) we picked up this leaf and put it down on the black footpath alongside the grass where it fell – the contrast in tone and color really makes the leaf stand out.
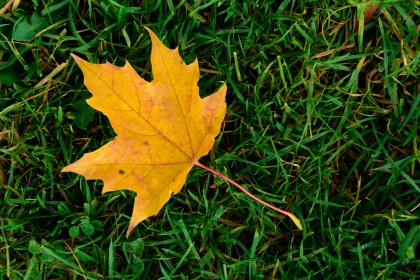
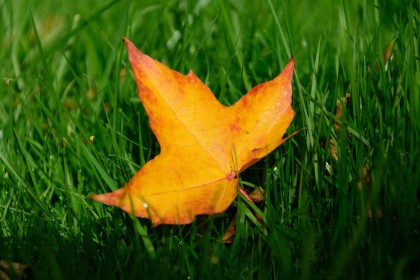
08 Take leaves home
Our half-hour walk was over, but we weren't finished with that leaf yet. Here it is again in three different places in a back garden. For the main shot (above) we rested it on a decorative blue ball to make the most of the contrasting colors.

These photographs were all taken on a DSLR, but it's not expensive, high-tech hardware that's the key because you can take shots like these on practically any camera. Even a smartphone would do – the lack of a zoom would be a handicap for some shots, but the wide-angle views would be easy and smartphones are generally very good at close-ups.

Rod is an independent photographer and photography journalist with more than 30 years' experience. He's previously worked as Head of Testing for Future’s photography magazines, including Digital Camera, N-Photo, PhotoPlus, Professional Photography, Photography Week and Practical Photoshop, and as Reviews Editor on Digital Camera World.
Sign up for breaking news, reviews, opinion, top tech deals, and more.
You are now subscribed
Your newsletter sign-up was successful