 Become a TechRadar Insider


Apple's iCloud is a brand new service designed to make syncing data between Mac, Apple mobile devices and the PC a breeze, but it's not a comprehensive solution.
The major shortcoming comes with the fact you can't pick specific folders or files to sync between devices. Thankfully, there are a number of third-party backup and sync services that use the internet to keep your files and folders in sync across a multitude of devices.
Article continues belowPick the right service
While you can pay for such a service, if your backup and sync needs are reasonably modest you can do all of this for free.
AVG LiveKive is one service that offers 5GB of free online storage. By combining this with Apple's iCloud, you should be able to avoid having to pay for additional storage space by restricting LiveKive's use to documents and other files that cumulatively don't take up much space - back up your really big files to local storage for better speed.
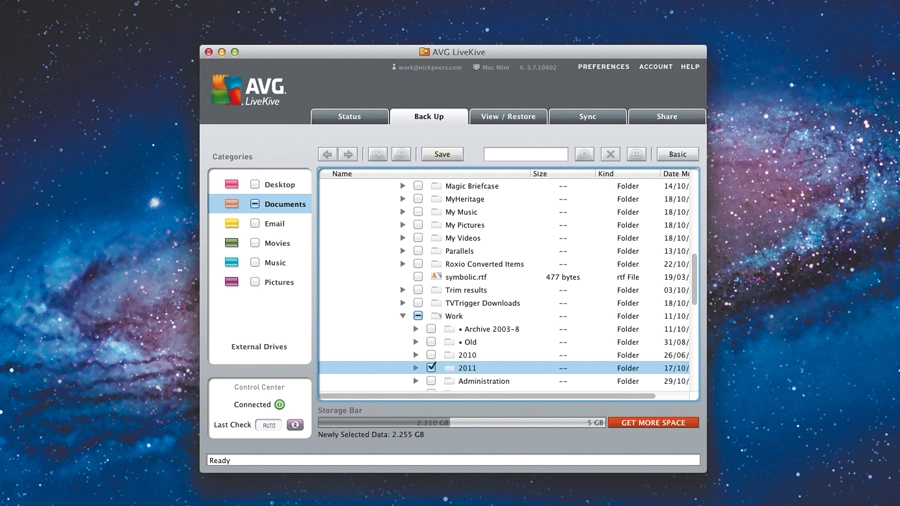
Setting up LiveKive is relatively straightforward; the step-by-step guide reveals all you need to know to get started. Should you lose an important file, getting it back again is easy: just log into LiveKive on the affected machine and switch to the View/Restore tab. Browse to the file or folder in question and click the Download button to restore it.
Select an individual file and you may find that multiple versions of the file have been stored, allowing you to roll back to an earlier version too - perfect if you make a change you subsequently regret.
If you find 5GB too restrictive you can always upgrade to get more space. Prices start from £35 per year for 25GB storage, or £55 for up to 500GB data. Think of it as insurance for your precious files…
As always with backing-up, it pays to be extra vigilant - so don't forget to do regular disk backups too!
How to backup with AVG LiveKive
1. Sign up

Browse to http://free.avg.com/freeonline-backup and click the 5GB Storage Free Version. Fill in the form and click Create Account. When prompted, click the Summary link followed by Download for PC - this will automatically download the Mac or PC version.
2. Set up

Once installed, log in. Click Next and give your computer a suitable name. Click Data Encryption and then Choose my own passphrase. Pick a different passphrase to your account password, enter a hint and click OK followed by Next. Wait, and finally click Finish.
3. Choose what to backup

From the main Back Up view, you can select which folders to back up or synchronise. Basic view restricts you to selecting common folders like desktop, mail and documents. Either tick these or click Advanced and choose specific folders instead. Once done, click Start Backup.
4. Set up second computer

Switch to your other computer, then browse to https://livekive.avg.com and log in with the username and password you created earlier. Click Download for PC again and install the software as before. Log in on the computer, then choose Adding a new Device…
5. Prepare for sync

If you plan to synchronise data between two or more devices, you must first back up the folder containing the latest version of your data from one computer. Then create new, empty folders on your other devices and configure them for backup too, so LiveKive can use them.
6. Set up sync

Once set up, switch to the Sync tab on any of your LiveKive-connected computers. Click the New button, give your sync job a suitable name and description if required, then click Next.
Click Browse next to Sync Folder 1 and double-click the computer containing the data you wish to sync. Browse through the folder list until you reach the folder you wish to sync and click Select.
Now click Browse next to Sync Folder 2 and select the first empty folder you created in step five on another device. Click + to add more devices to sync, then click Next again.
You can opt to exclude specific file types from the backup in the next dialogue box using, for example, *.mp3 to specify all MP3 files. Click Next, carefully check the options you've set up (click Back to edit) and then click Start Sync.