How to recycle and reuse an old hard drive
Salvage your storage
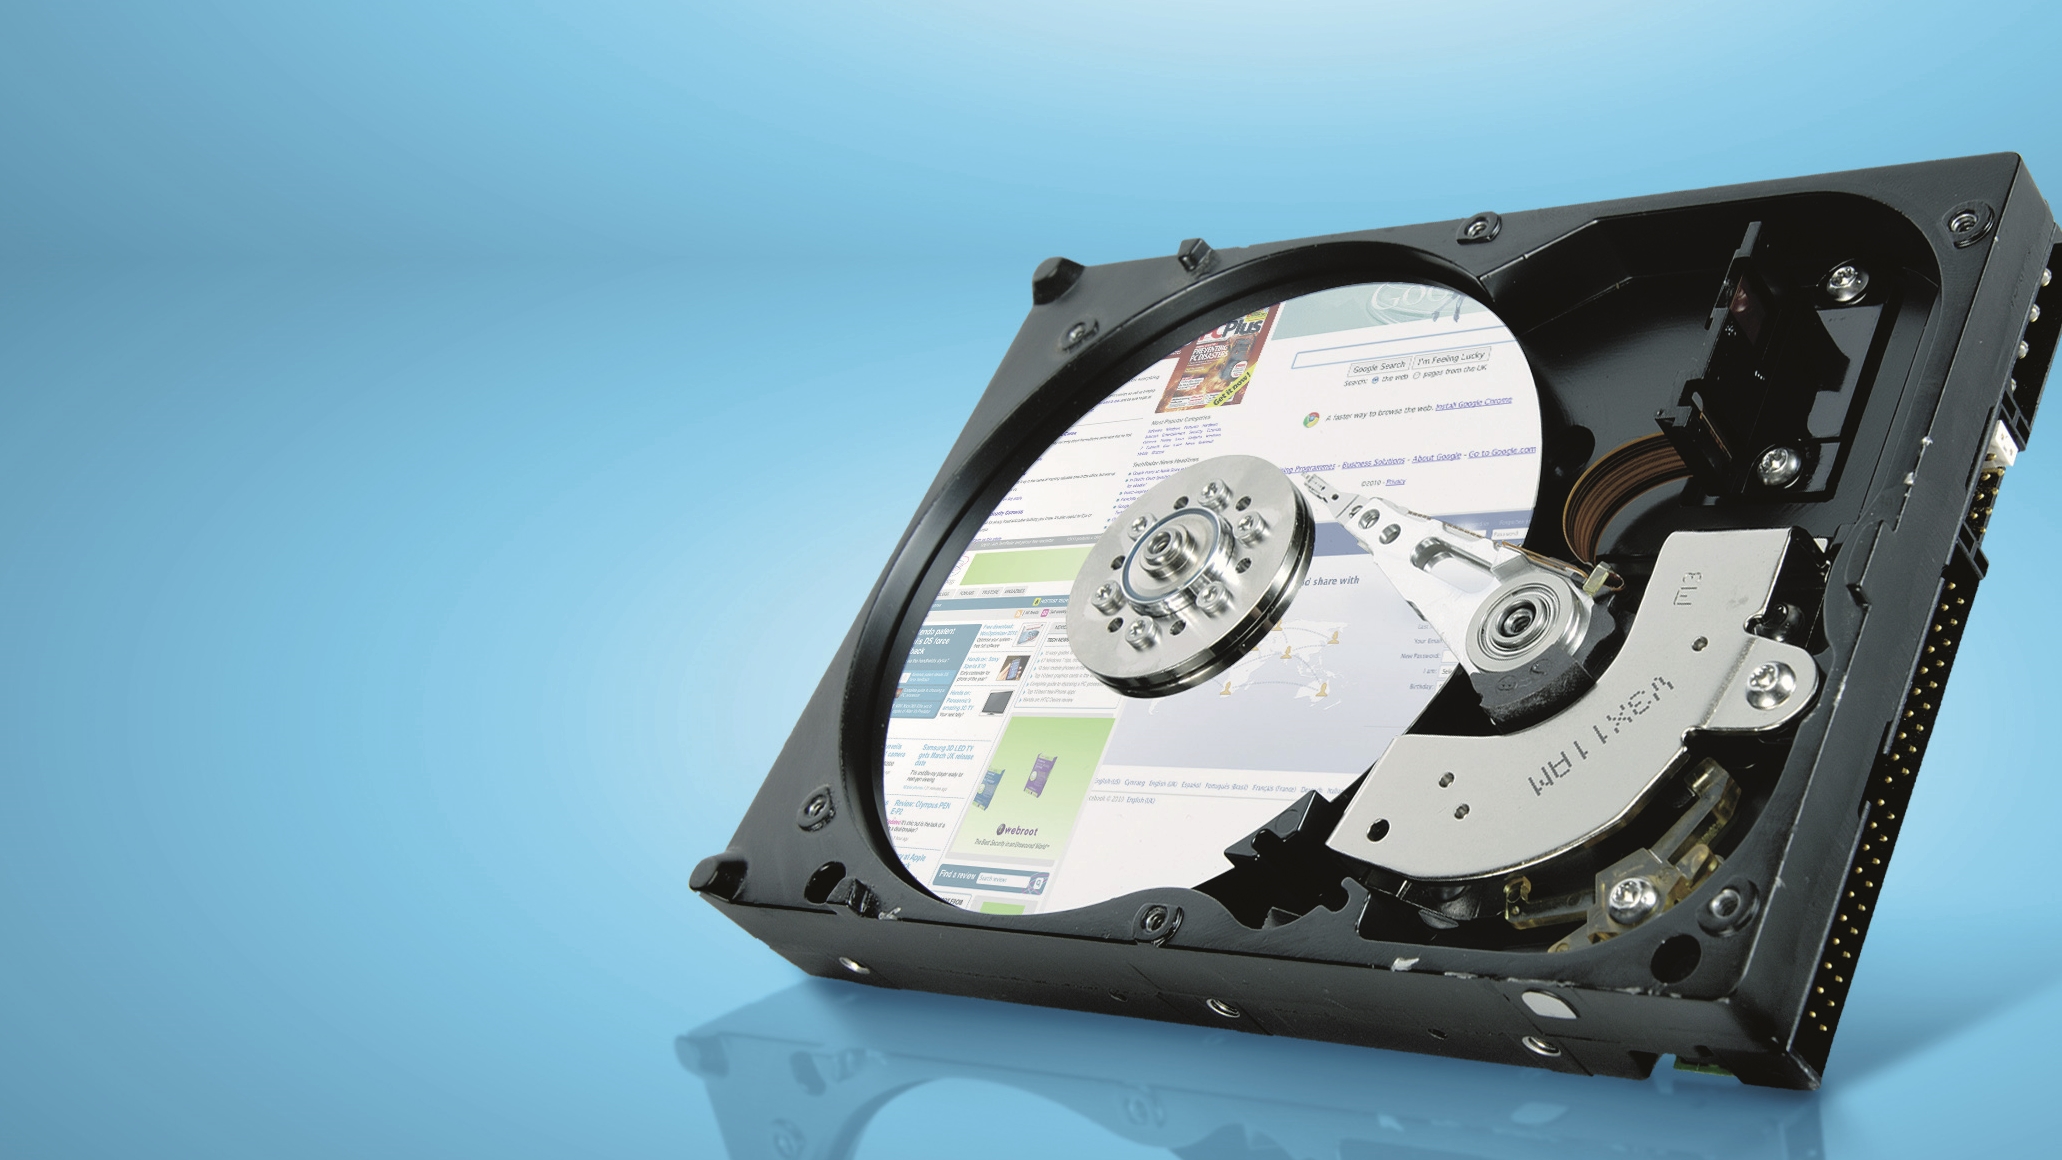
The unthinkable has happened: your external hard drive has suddenly stopped working. You've checked the cables and power adaptor but your Mac or PC can no longer see it. In this project we'll look at how you can rescue your disk from a failed drive enclosure or even a set top box, recover data from it if necessary, and then continue to use the internal disk going forward.
The project relies on one key element still working: the disk itself. If the disk still whirrs into life, but gives off an ominous clicking sound, it's possible it has physically failed (or is failing). In this case, you can still follow the tutorial, but chances are you'll need to use a third-party data recovery specialist such as Kroll Ontrack to get data off the disk before recycling it.
External drives connect the disk inside to your Mac via circuitry that translates the disk's physical SATA interface (unless it's very old) to your Mac via one of its ports – typically USB or Thunderbolt, but sometimes Firewire.
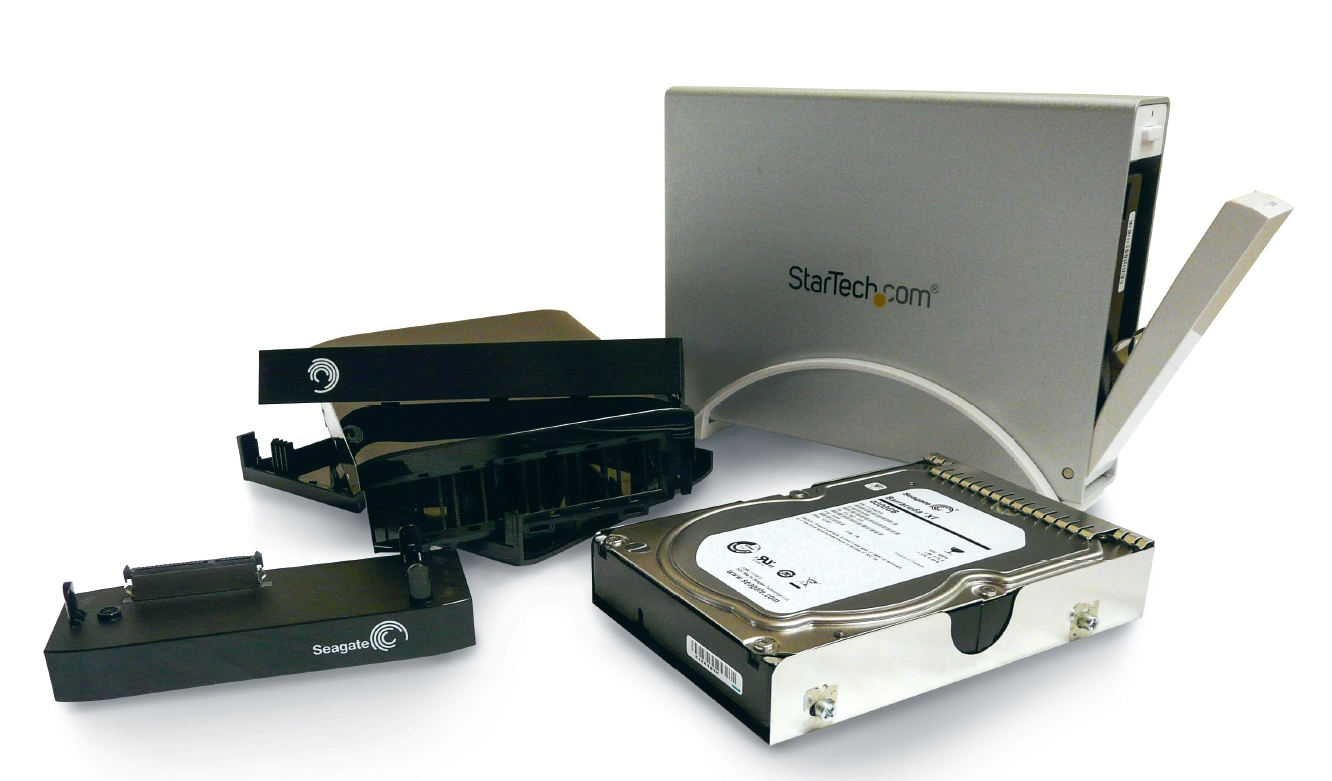
If this fails, the disk can't communicate and you'll need to liberate it from the case. Simply replacing the enclosure should suffice more often than not, but if the disk is larger than 2TB or has come from a network drive, there are added complications that we'll cover in due course. For now, though, let's focus on getting the drive out of its case.
Physical removal
You'll need to source a new enclosure to house the disk in. As USB is the most ubiquitous choice, we've highlighted a solid USB model that is designed to make it relatively easy to insert and remove disks – but that's not true of your existing drive enclosure.
Freecom Hard Drive Dock Pro
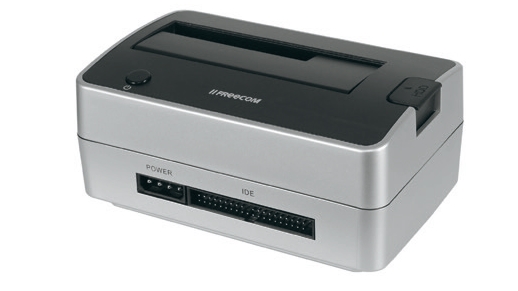
This USB 2.0 docking station makes it easy to copy data from 2.5- and 3.5-inch disks with SATA or an old IDE interface.
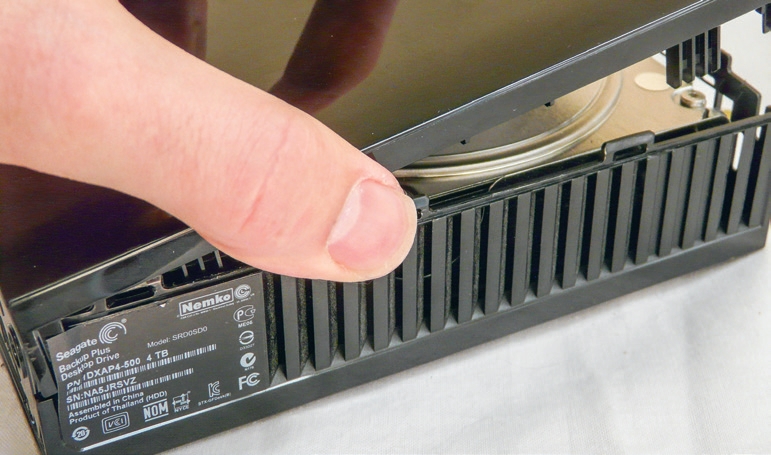
Prepopulated external hard drives aren't designed to be user-serviceable, so you'll rarely find convenient screws holding them together; instead, a series of plastic tabs click the chassis's various elements into place.
Sign up for breaking news, reviews, opinion, top tech deals, and more.
Thankfully, others have boldly gone before you and documented the dismantling process on YouTube and other websites. So, your first task is to track down one of these and use it, in conjunction with our step-by-step guide, to transfer your disk from its old case to a shiny new enclosure. Enter the name of your drive's make and model in Google, such as Seagate Backup Plus 4TB, plus the words "open case", which should find you a suitable video.
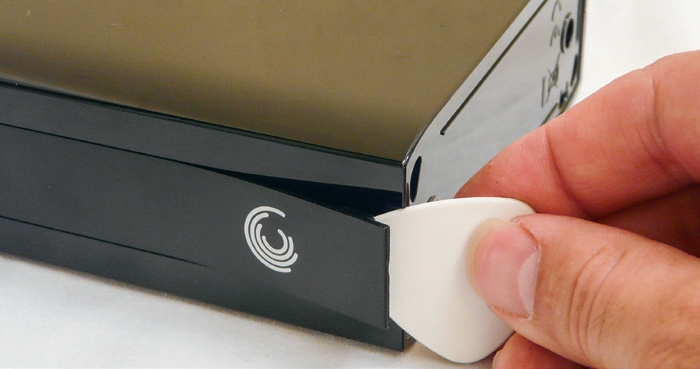
We suggest you watch the whole video before reaching for tools. It's a good idea to avoid using sharp or metallic objects to prise open the caddy as these can damage it – some experts use guitar picks, but you don't need to rush out and buy a job lot. Instead, cut up an expired credit card, and then use a rounded corner as the end of your 'pick' to prise open the drive case firmly, but carefully.
How to switch to a new drive enclosure
1. Follow a video guide
Use Google to find a teardown video for your hard drive model on the web, and have it playing on your iPad, tablet, PC or Mac within sight of your external drive as you work through the process.
Start following it to remove the first piece of the enclosure. Be firm, but gentle.
2. Pop-up tabs
Most drive enclosures aren't conveniently held together by screws; instead you'll need to 'pop' plastic tabs using a combination of skill, force and luck – using plastic tools like guitar picks helps to minimise the damage you can cause while doing this.
3. Identify and remove disk
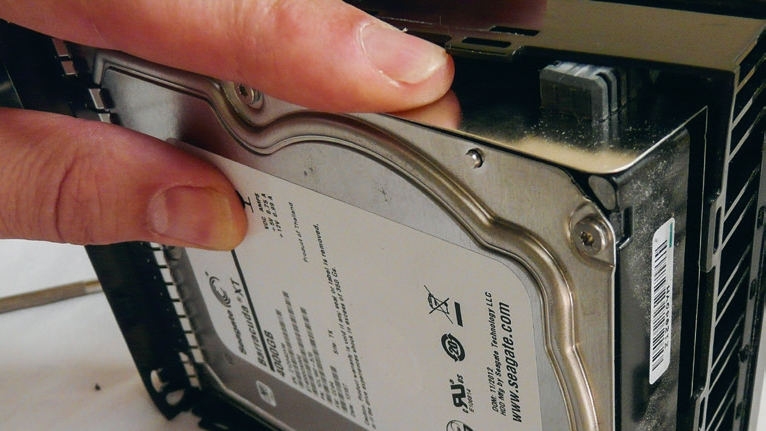
Make a note of the disk's markers: its size (3.5 inches in this example) and the interface (SATA in most cases), if you don't already know these details.
Then lever the disk out of the chassis and remove any additional housing that the maker may have used to hold it in place.
4. Fit to new enclosure
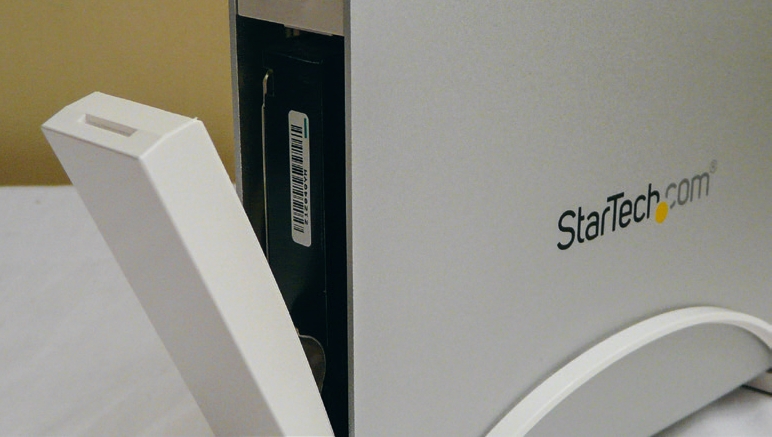
Once you've got a bare disk, you can fit it into its new enclosure. This should be a much easier job. In some cases, you simply slide the disk into the enclosure's bay and click it into place – no screws required – then seal the enclosure, sometimes just by closing a door.
5. Fit a portable enclosure
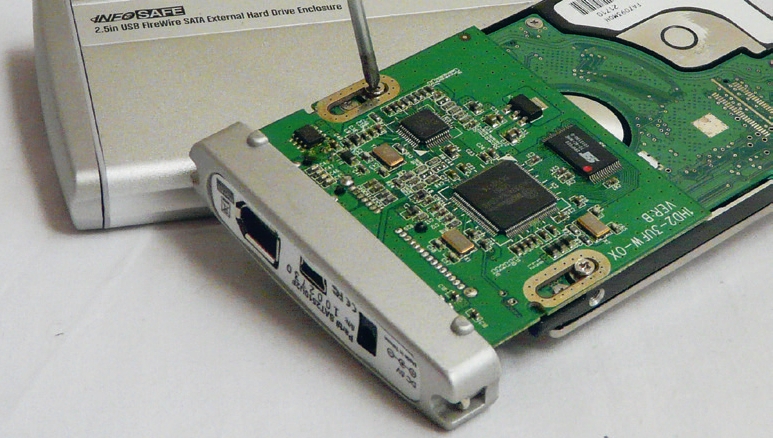
2.5-inch disk enclosures are less sophisticated. Unscrew the main housing to pull out a small circuit board. Slot the disk into this, then screw it in place before sliding the whole thing back into the main chassis and securing it in place.
6. Attach to Mac or PC
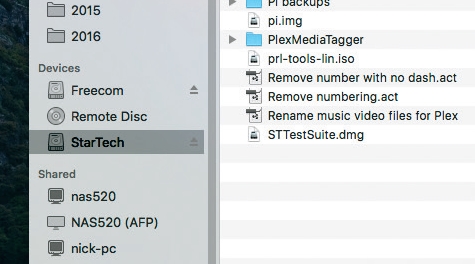
Now comes the moment of truth. Connect your new drive enclosure to a spare port – USB, FireWire or Thunderbolt, as appropriate – on your Mac or PC, plug it into mains power (desktop drives only) and wait for the disk to spin up. Hopefully it will appear in Finder/Windows Explorer soon after.