 Become a TechRadar Insider


So, you have your shiny new Nintendo Switch. We bet you just want to get started playing don’t you? Well, we’ve set up this handy guide to setting up your console.
We know you’re not going to pick up the box, throw it at the nearest wall and then scratch your head over why Zelda isn’t now playing but following this guide will at least make the setup process as quick and painless as possible.
First of all, when you’re opening the box make sure you open it the right way – the image of the dock and console should be facing up – because we unhooked the cardboard at the bottom and let it fall open rather disastrously the first time.
Article continues below 
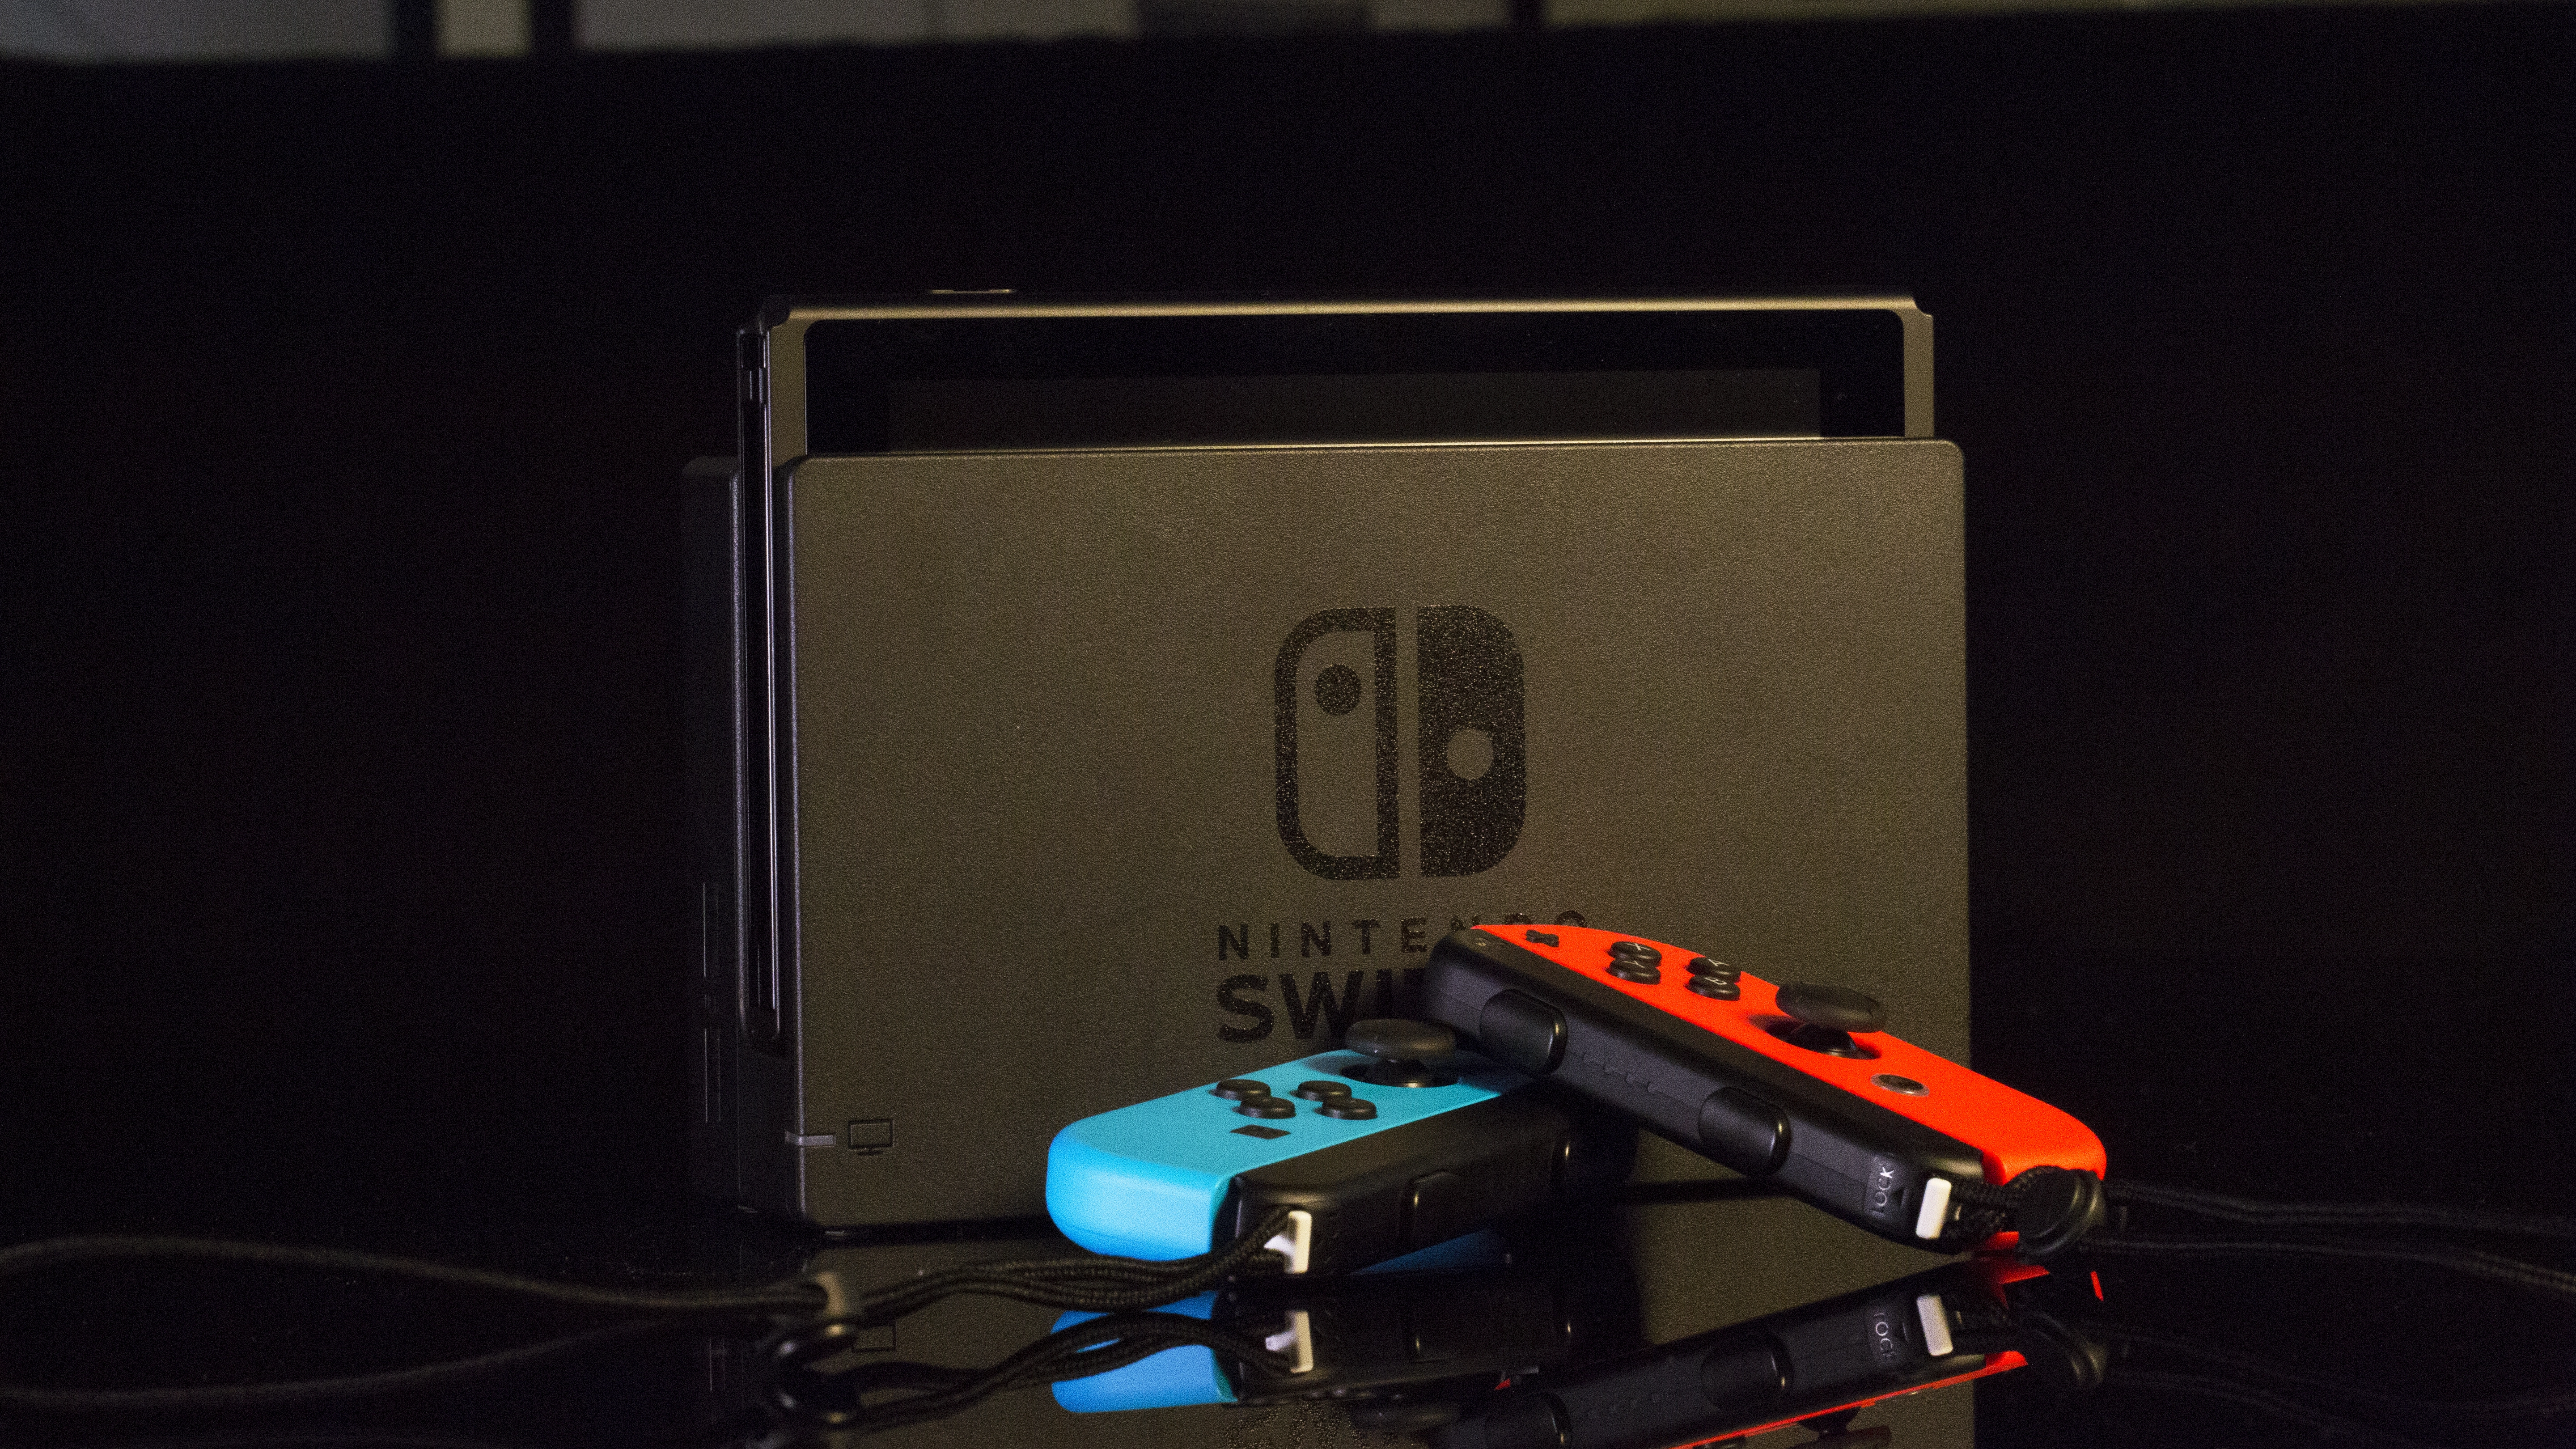
Once you have the box open in front of you you’ll be faced with the tablet and both of your Joy-Con controllers. Remove these and set them aside, then pull out the rest of the console from underneath. Here you should have the dock, wrist straps, a power cord, a USB-C cable and an HDMI connector.

Really, as long as you have a game with you there’s no reason why you shouldn’t be able to slide your Joy-Con controllers onto the tablet and start setting up to play immediately in handheld mode. However, it’s always a good idea to have the dock ready to go should you want to play on your TV so we’ll tackle setting that up first.
Setting up the dock is simple. All you have to do is pull down the panel on its rear where you’ll find slots for the power cord, your HDMI connector, and an optional USB port for charging any accessories. Plug in your power and HDMI cables and feed them through the available space and close the plastic neatly back over them.

If you like to keep the front of your TV neat, we’d advise placing the dock to the right of the TV and feeding the cables around the back. The dock funnels the cables you’ve just plugged in out to the right, so having it to the left of your TV makes for more awkward organisation.
Once you have the HDMI plugged into your TV and the power plug in a socket, your dock is ready to go.
Now you can turn your attention back to the tablet.
Take the tablet and slide the Joy-Cons onto each side. We’d advise doing this one by one rather than balancing the tablet against your stomach and trying to slide both on at once to feel like you’re dual-holstering pistols. Not only is it safer, it’ll let you enjoy the really satisfying click that comes from sliding the Joy-Cons into place twice in succession
On the top of the tablet you’ll find the console’s power button to the far left. Hit this and you’re ready to start setting up your software!
First up, you’ll be asked to select your language and region of residence. After you’ve picked these, you’ll have to accept the End-User license agreement. Well, you don’t have to but if you want to use the console you will.


Then it’s time to connect your Switch to your local wireless network and choose your time zone. After all this the tablet will ask you whether you want to dock the console and set up TV mode now or do it later.
Well, you already have the dock ready to go so you might as well!
Detach the Joy-Con controllers from the tablet by pressing the release button on their rear and slide them upwards. You can then slide them into the included Joy-Con grip to turn them into a more traditional gamepad.
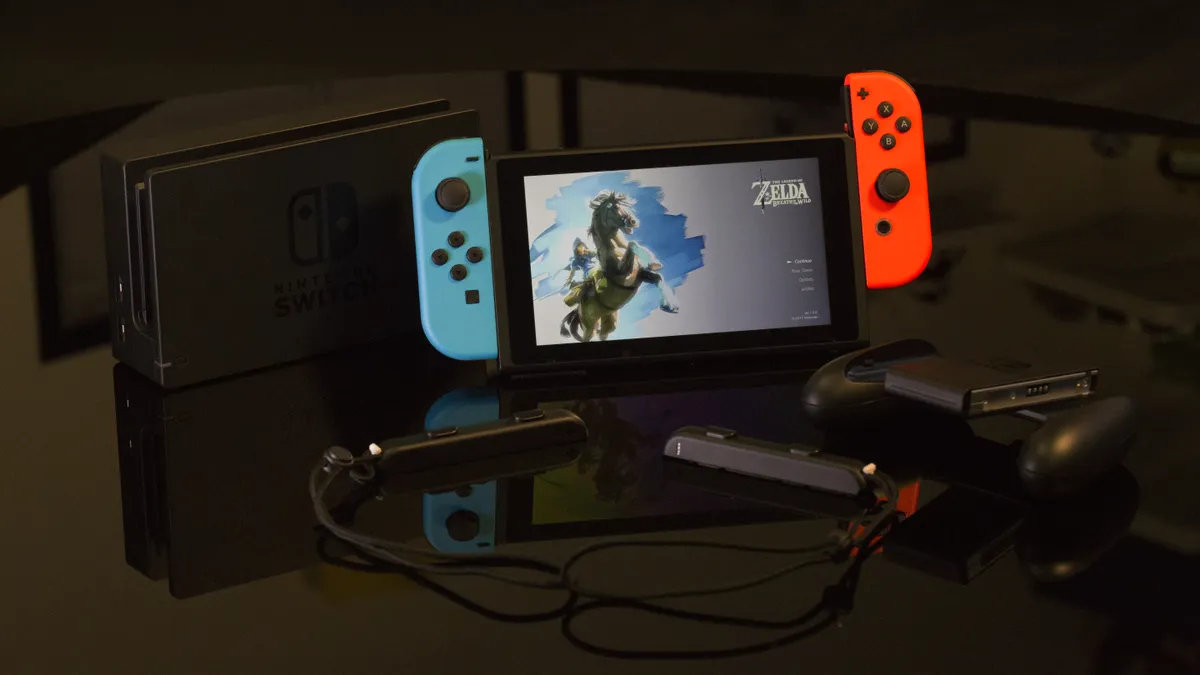
Slot the tablet into the dock and if everything is in order your TV should now display the image from the tablet. If you don't immediately see an image on your TV then don't panic. Make sure your TV is set to the right HDMI input, and also check that the green light on the bottom left of your dock is on.
If it's not, then the dock might not be receiving power and you should check that it's properly plugged in.

Now you can start setting up your user profile which is simple as selecting an icon and typing in your name. Next you’ll be given the opportunity to set up parental controls or skip this step entirely.


Set-up up is now complete! Hit Home on the right Joy-Con to get to the console’s home screen.

To start playing your games simply slot your cartridge (we’re going to guess it’s Zelda at the moment) into the space on the top right hand of the console. It’s up to you whether you play on the go or on your TV. That’s the beauty of your new Nintendo Switch!
If you're looking for any games to add to your collection, let us direct you towards our list of favorites available on the console at the moment.
We'd also advise picking up some additional accessories to make the most of your console which we've also listed here. these range from the simple but utterly essential screen protector to a play stand for those that find they favor the console's tabletop mode.
Finally, here are the best Nintendo Switch tips and tricks if you're looking to get the best out of your new console.
