How to free up space on an iPhone
Get more elbow room for your iOS apps
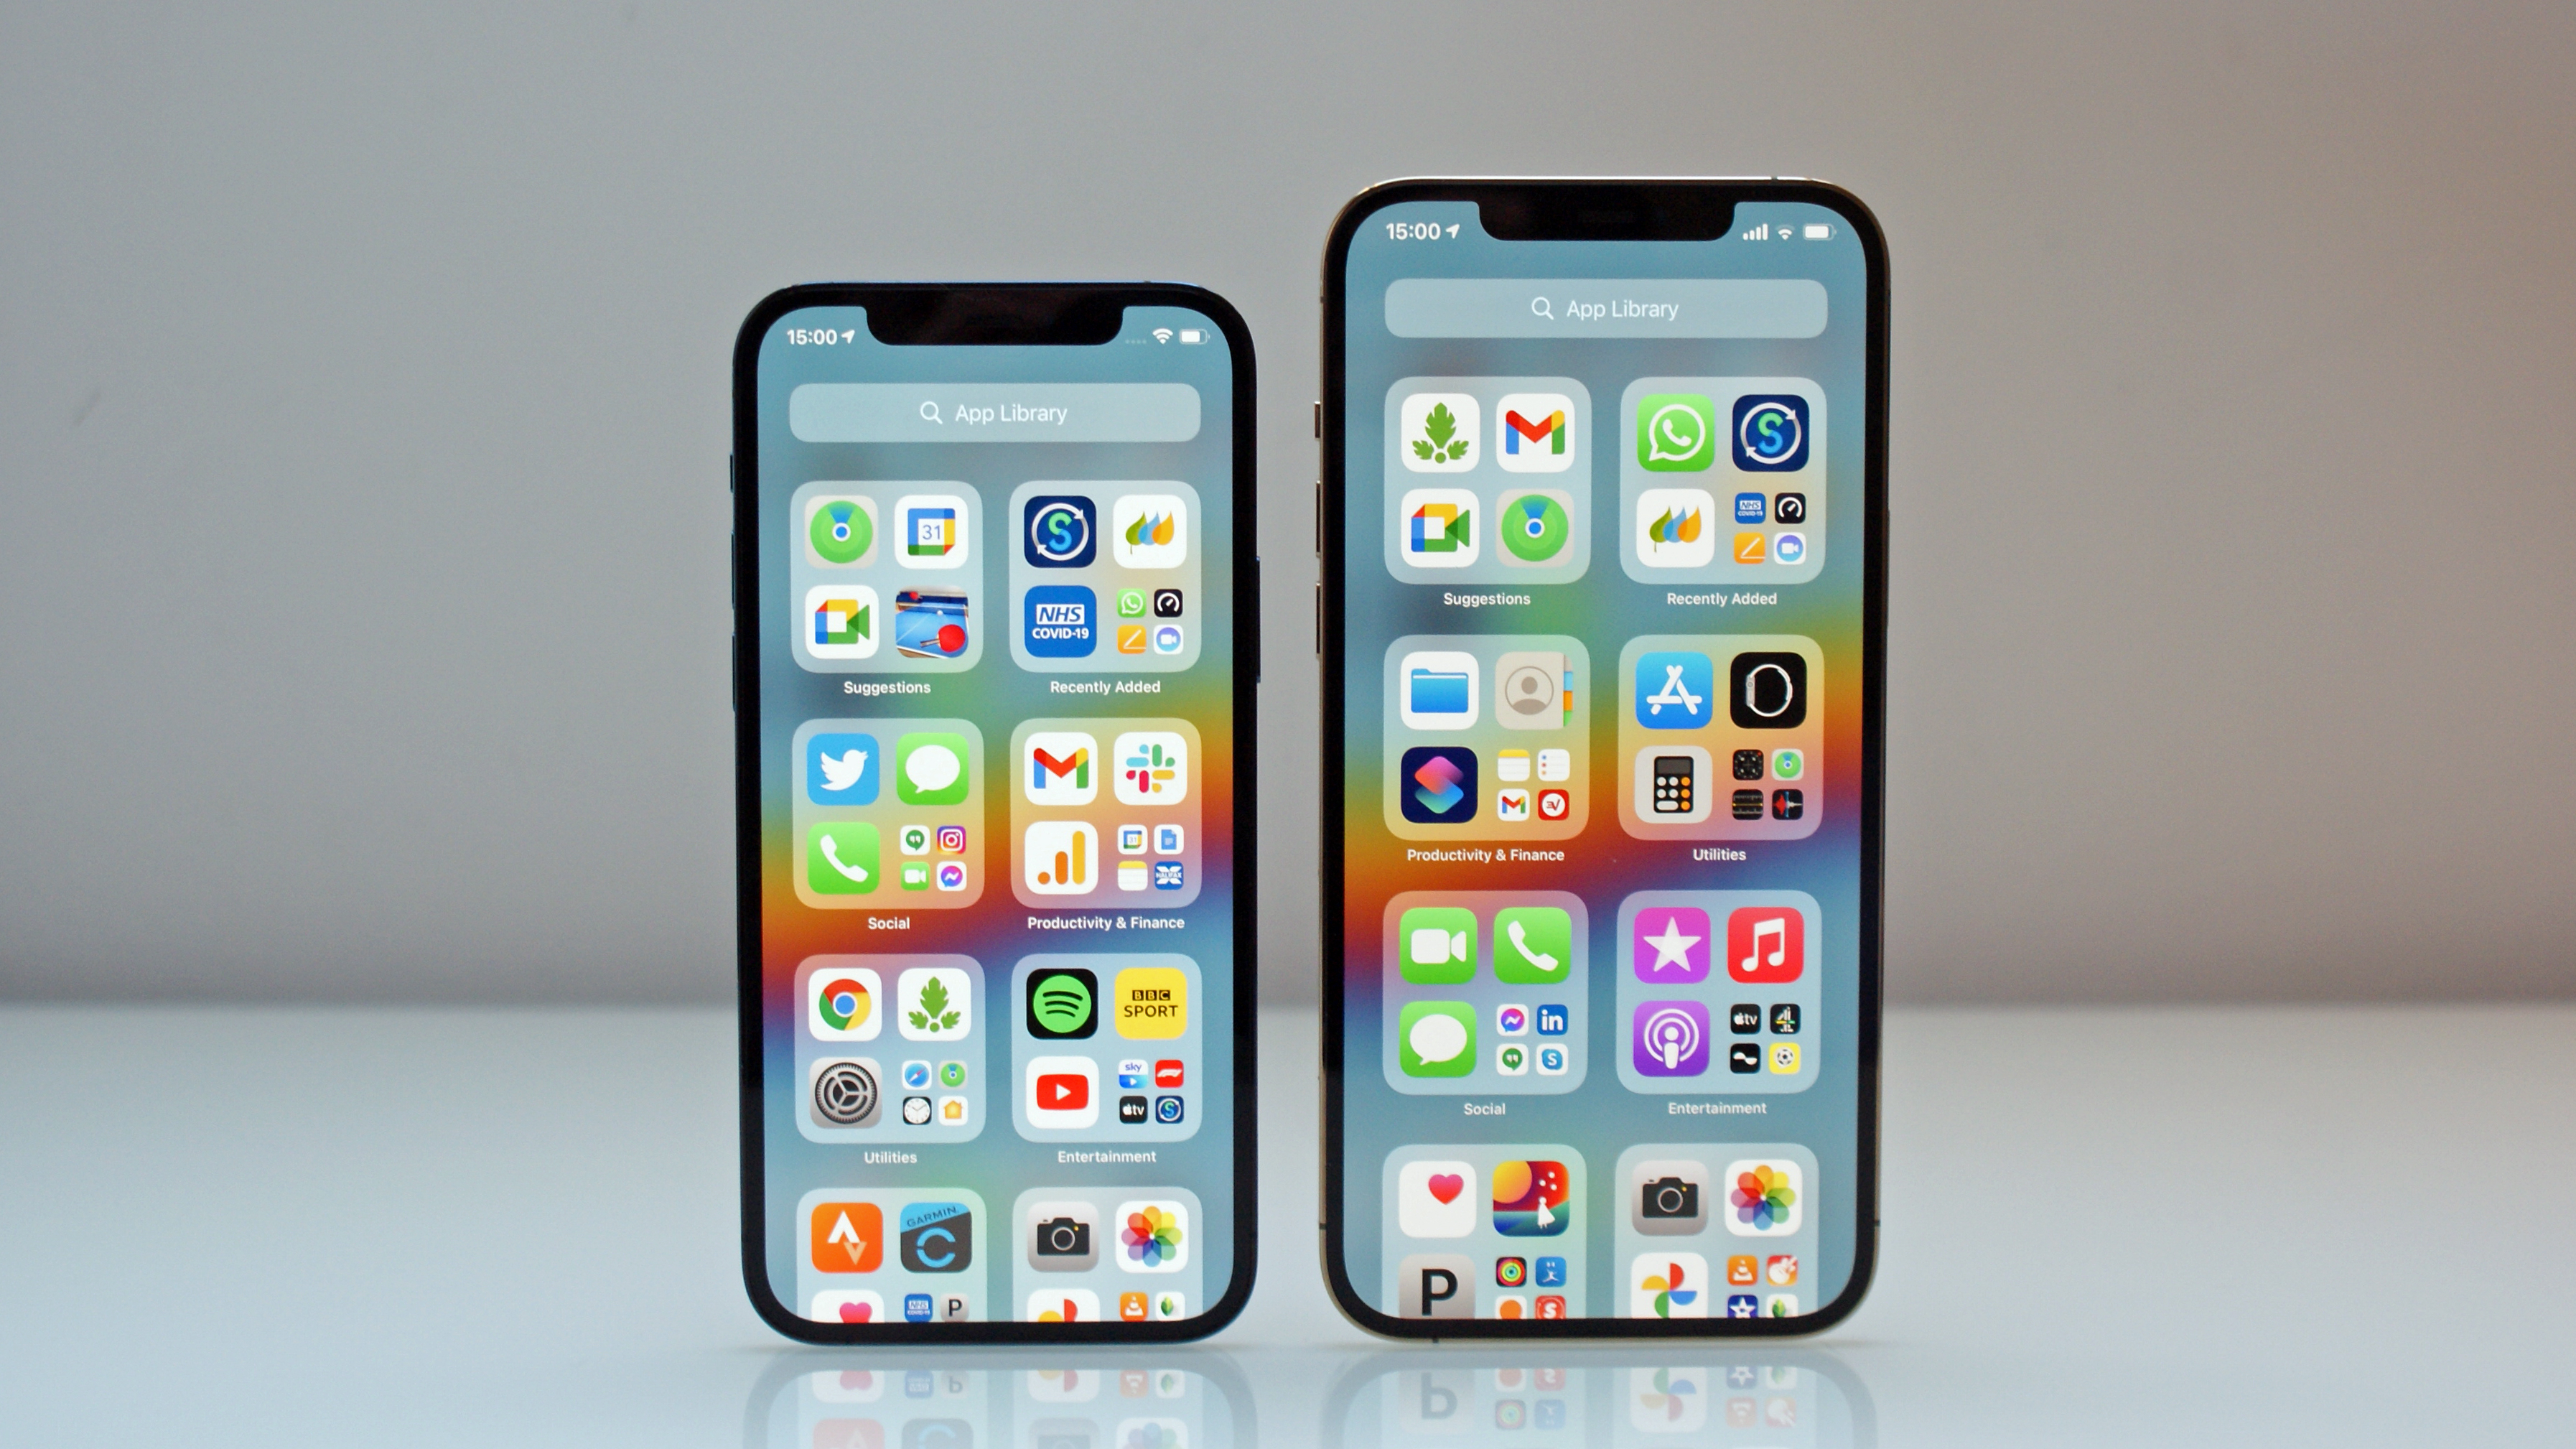
Running out of room on your iPhone can severely restrict what you can do with it. You'll have no space for the best games or useful new apps, nor room for making memories with new photos or videos.
The good news is that it's not too difficult to free up some extra room on your iPhone, if you know the right tricks. In fact, we suggest you tackle the problem as early as possible: don't wait until you're almost out of storage space before doing anything about it.
We'll take you through a checklist to help you decide what you can delete and what you can't live without. The upcoming iPhone 13 may have 1TB of storage, but most iPhone owners are stuck with a lot less.
- How to find and delete 'Other' storage on iPhones
- How to delete apps from an iPhone
- How to free up iCloud storage space
Check where the space is going
After you set up your iPhone, you should have plenty of storage at the start – but you'll quickly find your available space dwindling. Your first step is to figure out what kind of files are taking up the most space.
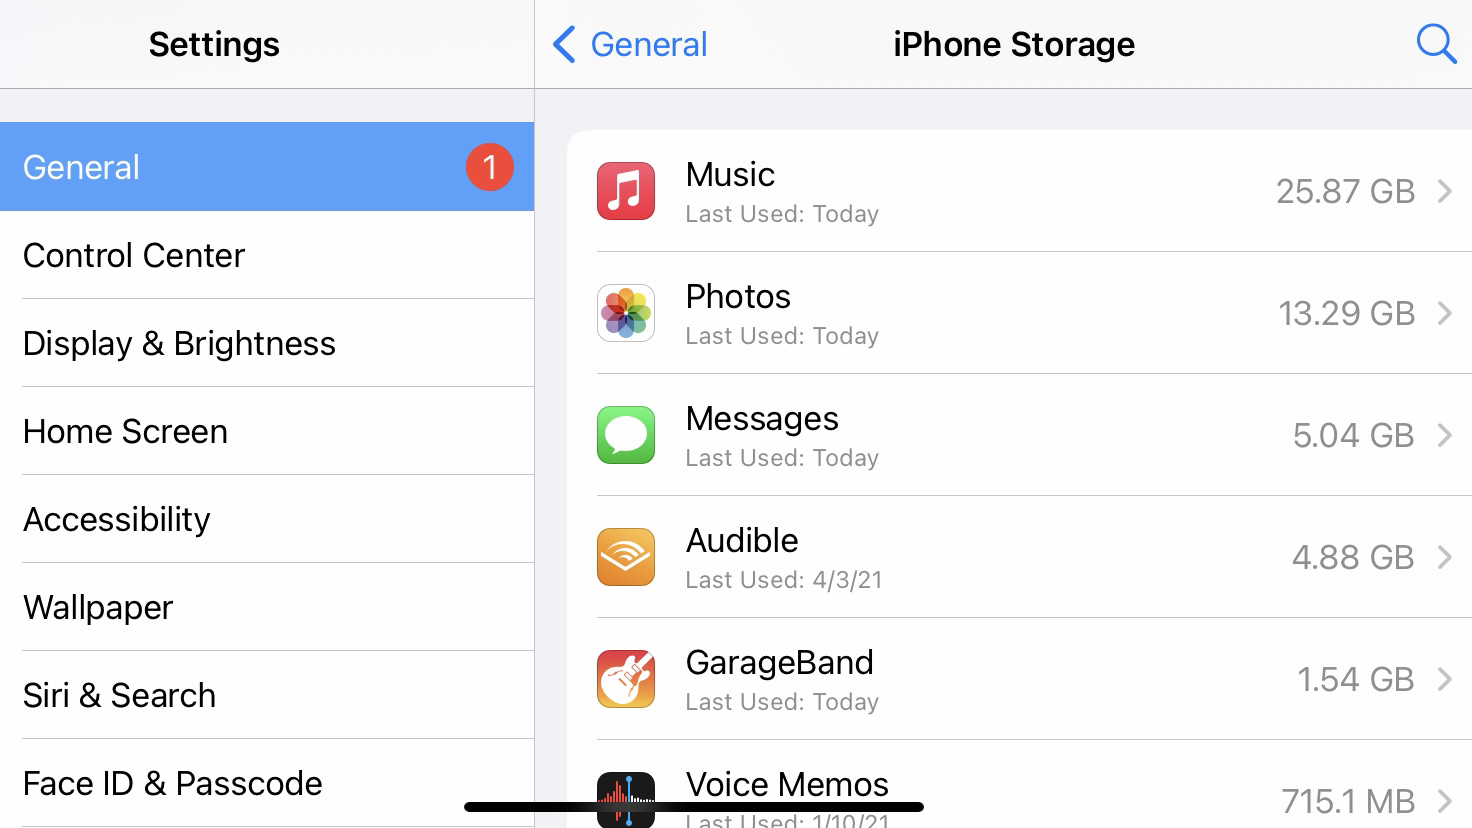
In your iPhone Settings, go to General > iPhone Storage. You'll see a list of apps descending from most to least storage used, with Music, Photos and other media apps most likely topping the list – especially if you're someone who shoots lots of 4K videos or downloads films for offline viewing.
One important thing to note: each app storage summary shows 'App Size' and 'Documents and Data' size. This distinction allows you to see if an app itself is large, or if you can reduce it to a more manageable size by removing files within it.
You'll also see some Apple recommendations on how to remove files you probably no longer need, such as reviewing large Messages attachments, offloading unused apps, or reviewing old videos to delete.
Sign up for breaking news, reviews, opinion, top tech deals, and more.
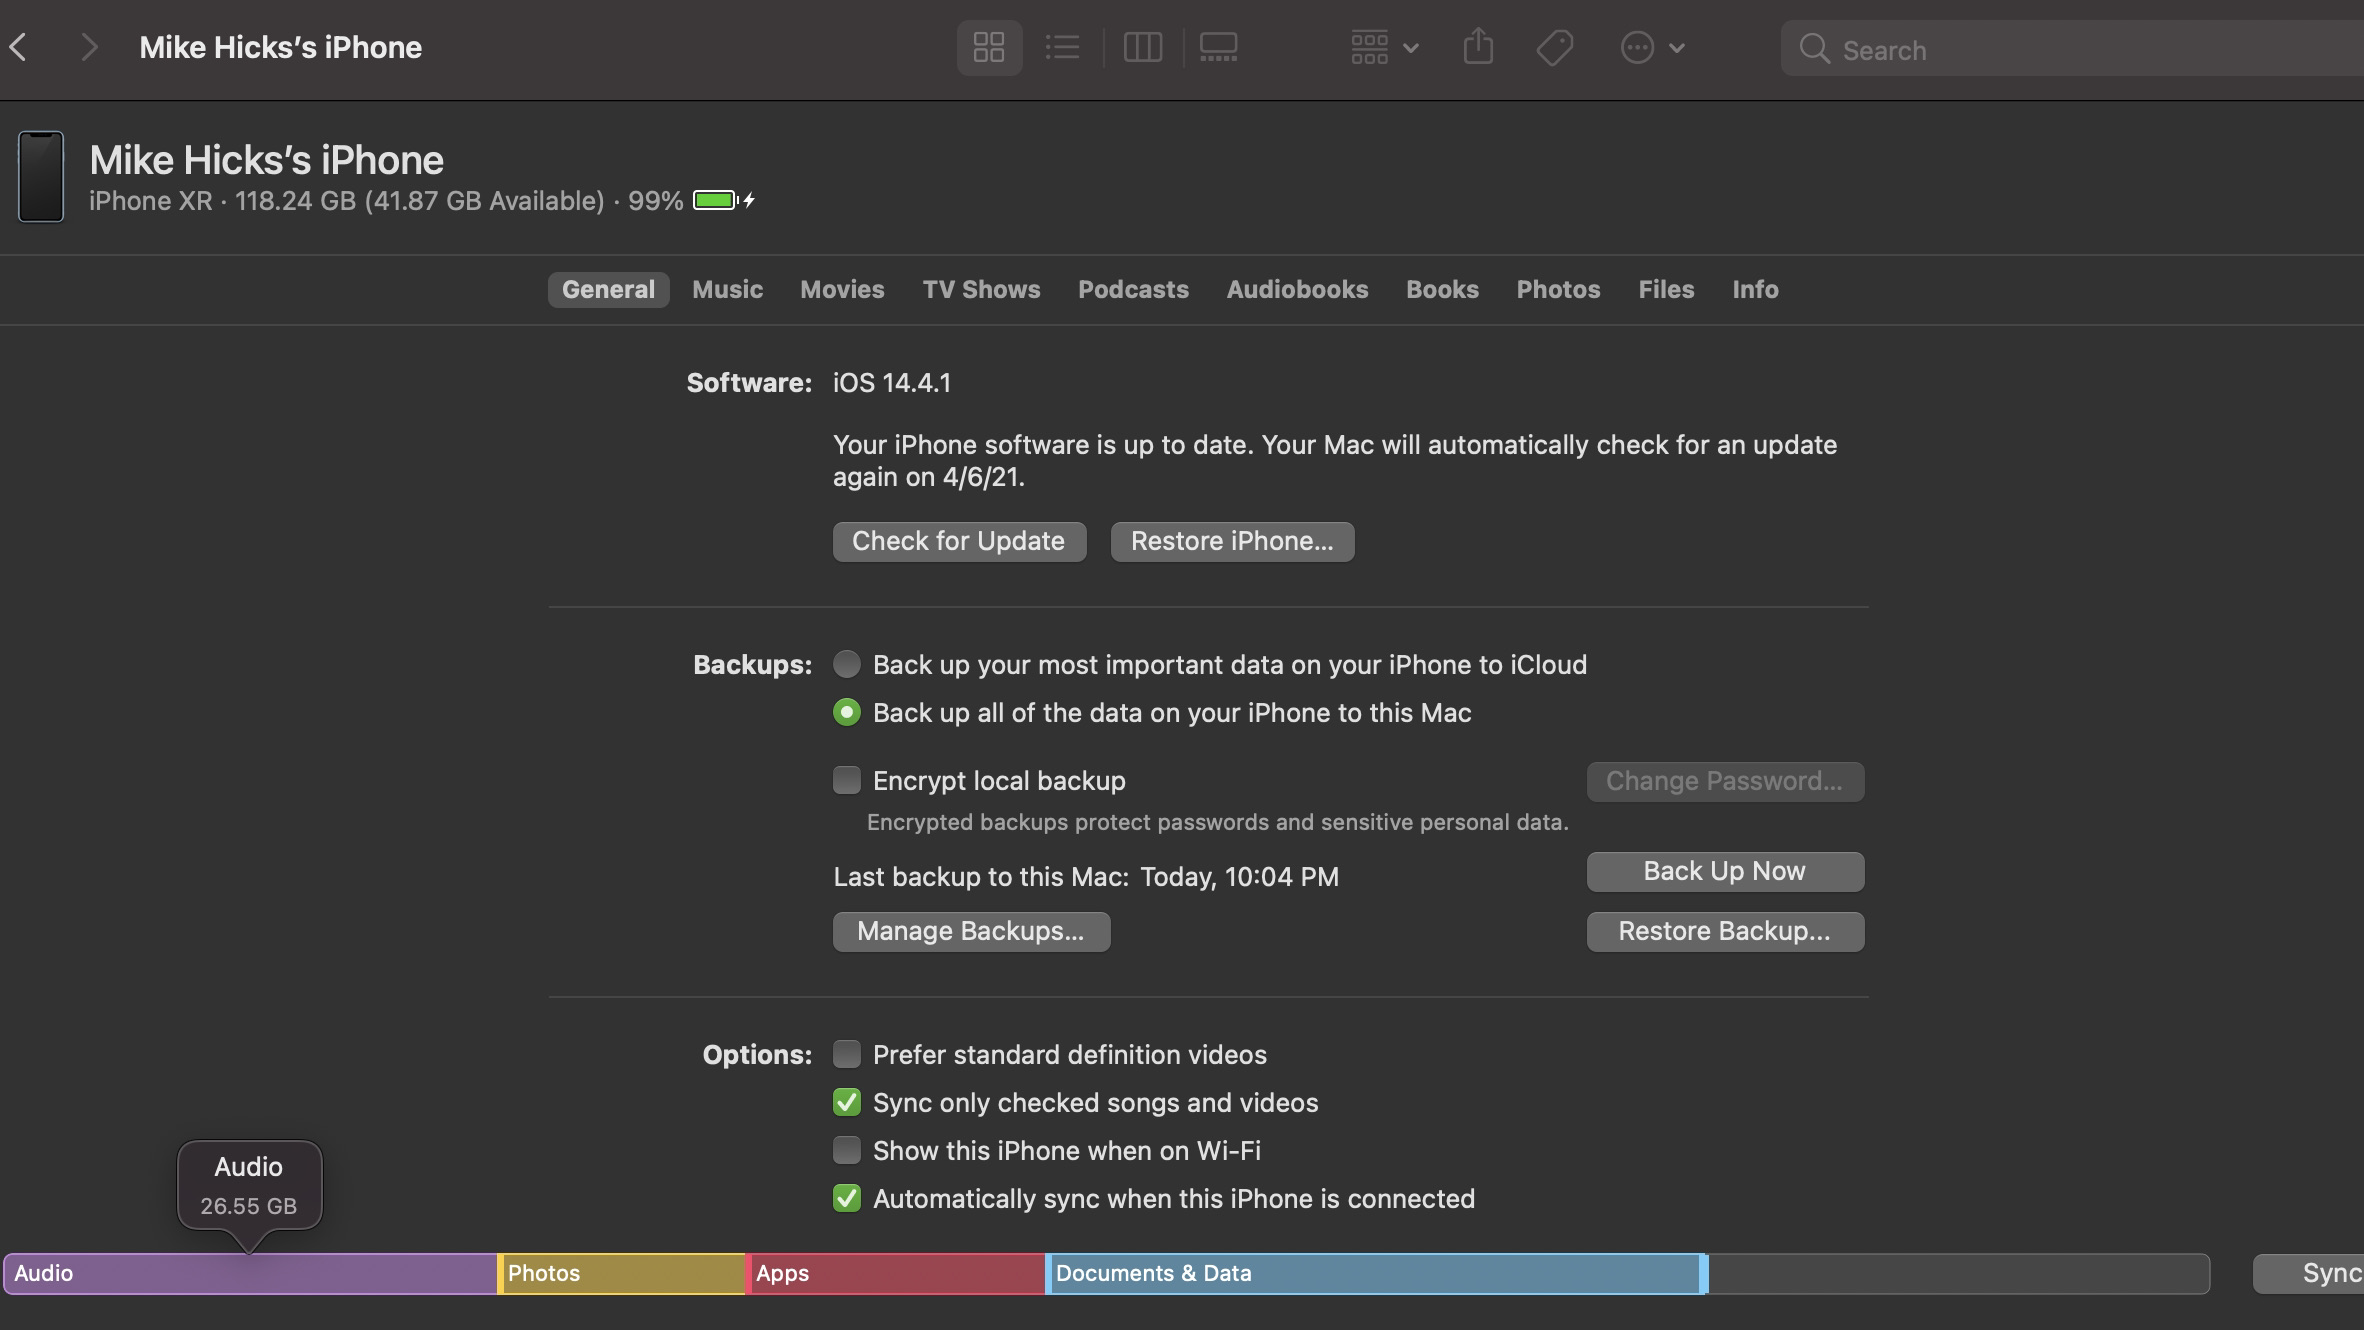
You can also review your phone storage by connecting your iPhone to your Mac computer and opening your iPhone summary in Finder. If you sync music, movies or other files from your MacBook to your iPhone, you can quickly unsync playlists or media from your iPhone without having to delete them one-by-one.
You can also uncheck a playlist or film to see how much storage removing it would save, then decide whether or not to sync the changes or leave those files installed.
Delete music, movies and other media
The best iPhone files to delete in a pinch are those that you are certain you can re-download later. Whether you have tons of Music playlists, Audible audiobooks, Apple TV purchases, or other large downloads, you know for certain that these can all be redownloaded, either from the app or from your computer.
With first-party Apple apps, you can delete files in Settings > General > iPhone Storage. Select an app like Music, and you'll see a list of all downloaded music with file sizes next to them. You can then hit 'Edit' and remove the largest collections of songs, or simply swipe left on any song to reveal the Delete button.
Your other option, as mentioned above, is to manage your media files by syncing your iPhone to your computer. That way, you can add or delete files en masse, instead of having to remove them one at a time.
As for third-party apps, your only choice will be to open them and manually delete downloaded files using the tools available. Look for streaming apps with suspiciously high Data storage numbers: you may have downloaded offline videos for a flight and never removed them.
Remove or offload apps
We can almost guarantee that you have a few apps downloaded that you barely use anymore. Now that iOS 14 has added an app drawer, it should be easy to look through your list of apps to find ones you no longer want or need.
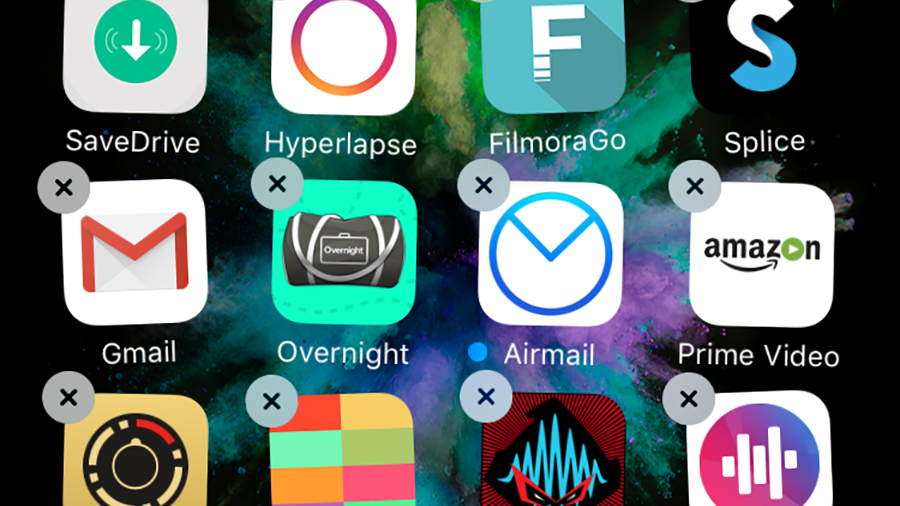
To delete a bunch of apps at once, the simplest solution is to press and hold your finger on an empty space on the home screen. Your apps will begin to dance and shake, and a minus symbol will appear in the corner of each icon. Tap the minus symbol, then 'Delete App' in the pop-up menu that appears.
Deleting apps sometimes feels too permanent and risky, though. Maybe you have a game where you don't want to lose your save data, or an app with old projects you want to hold onto.
In those cases, you'll want to offload the app: uninstall the app from your storage space, but leave the Documents & Data intact for when you reinstall it later.
To do this, go to Settings > General > iPhone Storage and tap on the app in question. You'll see an option to 'Offload App' until you need it later. You can also have Apple do this for you automatically whenever you're running out of space.
To do this, go to iPhone Storage in Settings, tap 'Show All' next to Recommendations, and you'll see an offer to 'Offload Unused Apps' by default when necessary. Hit 'Enable' and you'll have more storage wiggle room.
This tool's main negative is that Apple will decide for you which apps to offload, which can lead to useful apps getting tossed out with the useless ones. But we still recommend trying it out.
Back up or delete your photos and videos
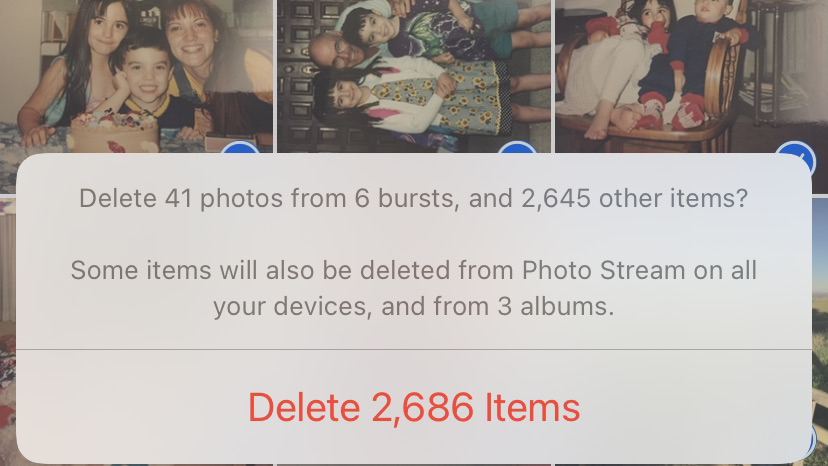
If you've had your iPhone for a while, then the photos and videos you've amassed may well be taking up a substantial amount of space on your handset. If you use iCloud, however, you can keep them all while greatly reducing the amount of space they take.
Go to Settings > [Your Name] > iCloud > Photos. Toggle the iCloud Photos option, then choose 'Optimize iPhone Storage.' This keeps low-res versions of your photos on your device but the high-res originals on the cloud.
That way, you can download the better version later if you need the best quality for a photo book service or photo editor. Plus you can keep looking nostalgically at old photos on your phone, rather than having to dump all of them.
Of course, this only works if you have enough room in your iCloud account, which probably means paying for more space.
Otherwise, you can look into other photo cloud storage options like Google Photos. You can transfer all of your photos to the cloud to look at later, then delete all of your photos afterwards – saving you even more room.
Find other files to back up and/ or delete
Apps, photos and videos will be the biggest offenders when it comes to taking up room on your iPhone, but there are other areas to check too.
You've probably built up a lot of 'Documents' in your Messages or old Mail that's actually just spam, old memes, or files you have saved elsewhere. You can back up your iPhone files to your computer or a cloud storage solution, then just purge everything.
If you select 'Safari' from the Settings app, you can tap 'Clear History and Website Data' to remove all locally cached files from your phone.
What's more, if you tap 'Advanced' and then 'Website Data', you can remove these files on a site-by-site basis. If you've installed other browsers, they'll have similar options.
iOS doesn't give you much access to the file system but if there's any app that you rely on but think is taking up too much room, just uninstall and reinstall it - that should be enough to erase any unneeded temporary files that have built up.
Run a full reset on your iPhone
All of our tips on how to increase storage space on your iPhone involves individually deleting files. The other, more drastic option is to actually reset your iPhone, then specifically add the files and apps you know you need. That link will take you through the steps.
Don't do this lightly though – you need to make sure to back up your iPhone first, so you don't lose anything important. Then you'll need to restore the content you want without re-adding the superfluous junk taking up too much space.
Frankly, this option could be more time-consuming than just deleting content individually, unless you're really planning to trash the majority of your files. Otherwise, the previous sections should give you all the steps you need to increase your disk space.
- Thinking about a new iPhone? Here's everything you need to know about the iPhone 12 lineup

Dave is a freelance tech journalist who has been writing about gadgets, apps and the web for more than two decades. Based out of Stockport, England, on TechRadar you'll find him covering news, features and reviews, particularly for phones, tablets and wearables. Working to ensure our breaking news coverage is the best in the business over weekends, David also has bylines at Gizmodo, T3, PopSci and a few other places besides, as well as being many years editing the likes of PC Explorer and The Hardware Handbook.