If you’re one of those people who never learned how to share screen on Skype because it sounds too technical and intimidating, we’ve got good news for you. Screen sharing – whether on Skype, GoToMeeting or Join.Me – is actually such a no-brainer that even your cat can do it (albeit accidentally).
In fact, to share screen on Skype is as simple as a two-click process that will have you showing off your presentation skills on video conference calls like a pro, or your latest vacation photos with family, even before your plane home hits the tarmac.
Article continues below


How to share your screen on Skype
Because the Skype app interfaces for both macOS and Windows look identical, the process to share screen on Skype on both environments is the same.
First thing’s first, however: unless you have a Skype for Business account, you must be on a Skype call before you can actually start sharing your screen. You cannot setup screen sharing before the call to prepare.
If it’s for a business meeting or presentation, we recommend simply cleaning up your computer desktop prior to your call, so it’s less cluttered and more professional-looking. This way, you’re not scrambling to open or close windows and apps after you’ve shared your screen.
Step 1: When you’re ready to share screen on Skype, go to your Skype call window and click the Share screen button.
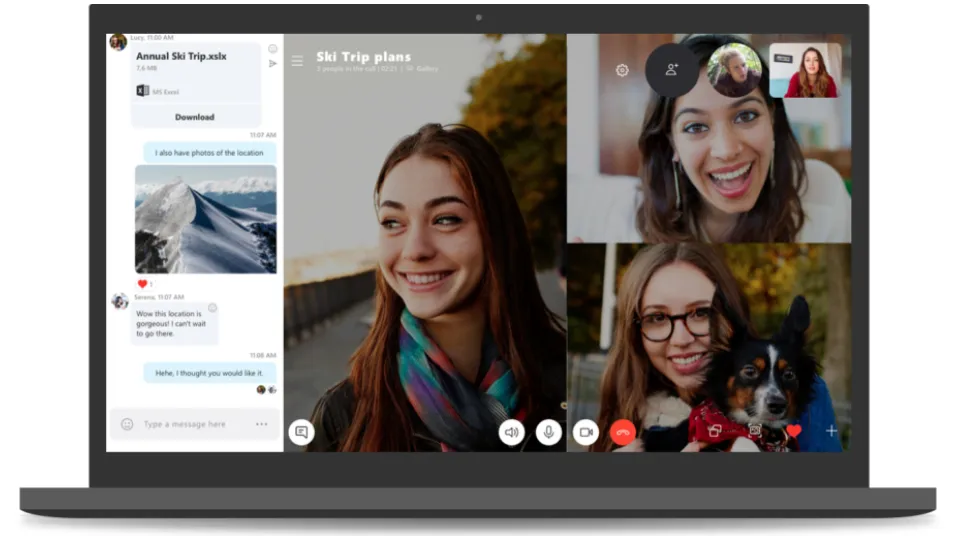
If you have the latest version of Skype, you should find the Share screen button at the bottom right of the call window next to the heart icon (or Show reactions button). It’s the button that looks like two screens, one overlapping the other.
Step 2: Skype will ask you to confirm screen sharing. Click on the Start sharing button.
After confirming, Skype should automatically start sharing your screen with the person or people you’re in the call with. Depending on your Internet access, this will happen immediately or could take a few seconds, especially if your connection is slow.


How to share your application window on Skype
If you are not comfortable sharing your whole computer desktop, or you’d simply rather share one application window at a time, you can do that as well.
Step 1: In the Skype call window, click the Share screen button.
Step 2: Skype will ask you to confirm screen sharing. At the top, click on the dropdown menu and select Share application window.
Step 3: Skype will let you choose the application you’d like to screenshare. Select the application by clicking on it.
Step 4: Click on the Start sharing button.
How to share your screen on Skype for Business
To share screen on Skype for Business might be a longer process, but it’s equally easy if you know what you’re doing.
Step 1: At the bottom of your call window, click on the monitor icon.
This should give you a few options that are available, including Present Desktop, Present Programs or Present PowerPoint Files. Having these options just basically helps you streamline your share screen presentation workflow.
Present Desktop allows you to simply show whatever’s on your desktop, giving you the flexibility to show whatever application, folder and file you want to share. Present Programs, on the other hand, limit you to only sharing a specific program or application, which means that everyone else on your Skype call won’t see anything else that you have open.
And lastly, Present PowerPoint Files allows you to upload your PowerPoint presentation to Skype and play it.
Step 2: Select the option that’s best for your screen sharing needs to start sharing.
If you opt to share a PowerPoint presentation, make sure you have your presentation file on hand.
It’s worth noting that when you have the share screen on Skype for Business activated (in other words, you’re presenting on a call), Skype automatically changes your status to Presenting. This means that you will not be receiving any messages or calls until you click on the Stop Sharing button to end your presentation.
