Photoshop Camera tips: 9 ways to master Adobe’s AI camera app
The best ways to get maximum fun from Photoshop Camera
Photoshop Camera is a new photography app from Adobe with a slightly confusing name. It's not really Photoshop as we know it, instead offering some Instagram-style creative effects and automated editing tools for those who don't want to bother with endless tweaking in full-fat photography apps.
In this sense, it follows the likes of Hipstamatic, PicsArt and Prisma, although it's more than just another 'toy camera' app. Because it uses Adobe's Sensei tech, it can identify different bits of a scene and automatically suggest edits that are (theoretically) in the ballpark of what you'd achieve by fiddling with sliders in Photoshop Express or Snapseed. Only without the hassle.
Of course, this means Photoshop Camera isn't really an app for photography purists. In the main, it offers bold, heavy-handed effects that are ripe for social media sharing rather than pixel-peeping. Those who like a bit more manual control over their photo edits will prefer Photoshop Express, Snapseed or Lightroom.
But this automated approach does also make it a lot of fun and a handy new addition to your photographic arsenal, whatever your level of snapping experience. So how does it work and what are the best ways to get the most out of its 'lenses' – Adobe's name for its filters?
We've gathered together some tips from our experience of using the app so far, along with some handy pointers from the photographers who contributed some of our favorite lenses in Photoshop Camera. Here's how to master Adobe's new 'AI' photography app...
Is my phone compatible with Photoshop Camera?
Before you get too excited about Photoshop Camera, it's worth checking to see if your phone is supported. Right now, this list is quite small, particularly on the Android side.
Your phone needs to be running Android 9.0 Pie or Android 10. The supported phones include the Google Pixel 3/XL and Pixel 4/XL, along with the most recent Samsung Galaxy phones. These include the Samsung Galaxy S9/S9+, S10/S10+/S10 5G, and Samsung Galaxy S20 5G/S20+ 5G/S20 Ultra 5G. If you have the OnePlus 6/6T or later, you're also covered.
Sign up for breaking news, reviews, opinion, top tech deals, and more.
Photoshop Camera compatibility is a little better for older iOS devices. Your device needs to be running iOS12 or iOS13, but support goes all the way to the iPhone 6S and original iPhone SE or later. That said, the app is somewhat demanding, so you'll definitely get a smoother experience on the latest iPhones.
It's also worth noting that, right now, Photoshop Camera currently only supports multiple camera lenses (like zoom or wide-angle selfies) on the iPhone 11 series.
1. Download and organize your filters
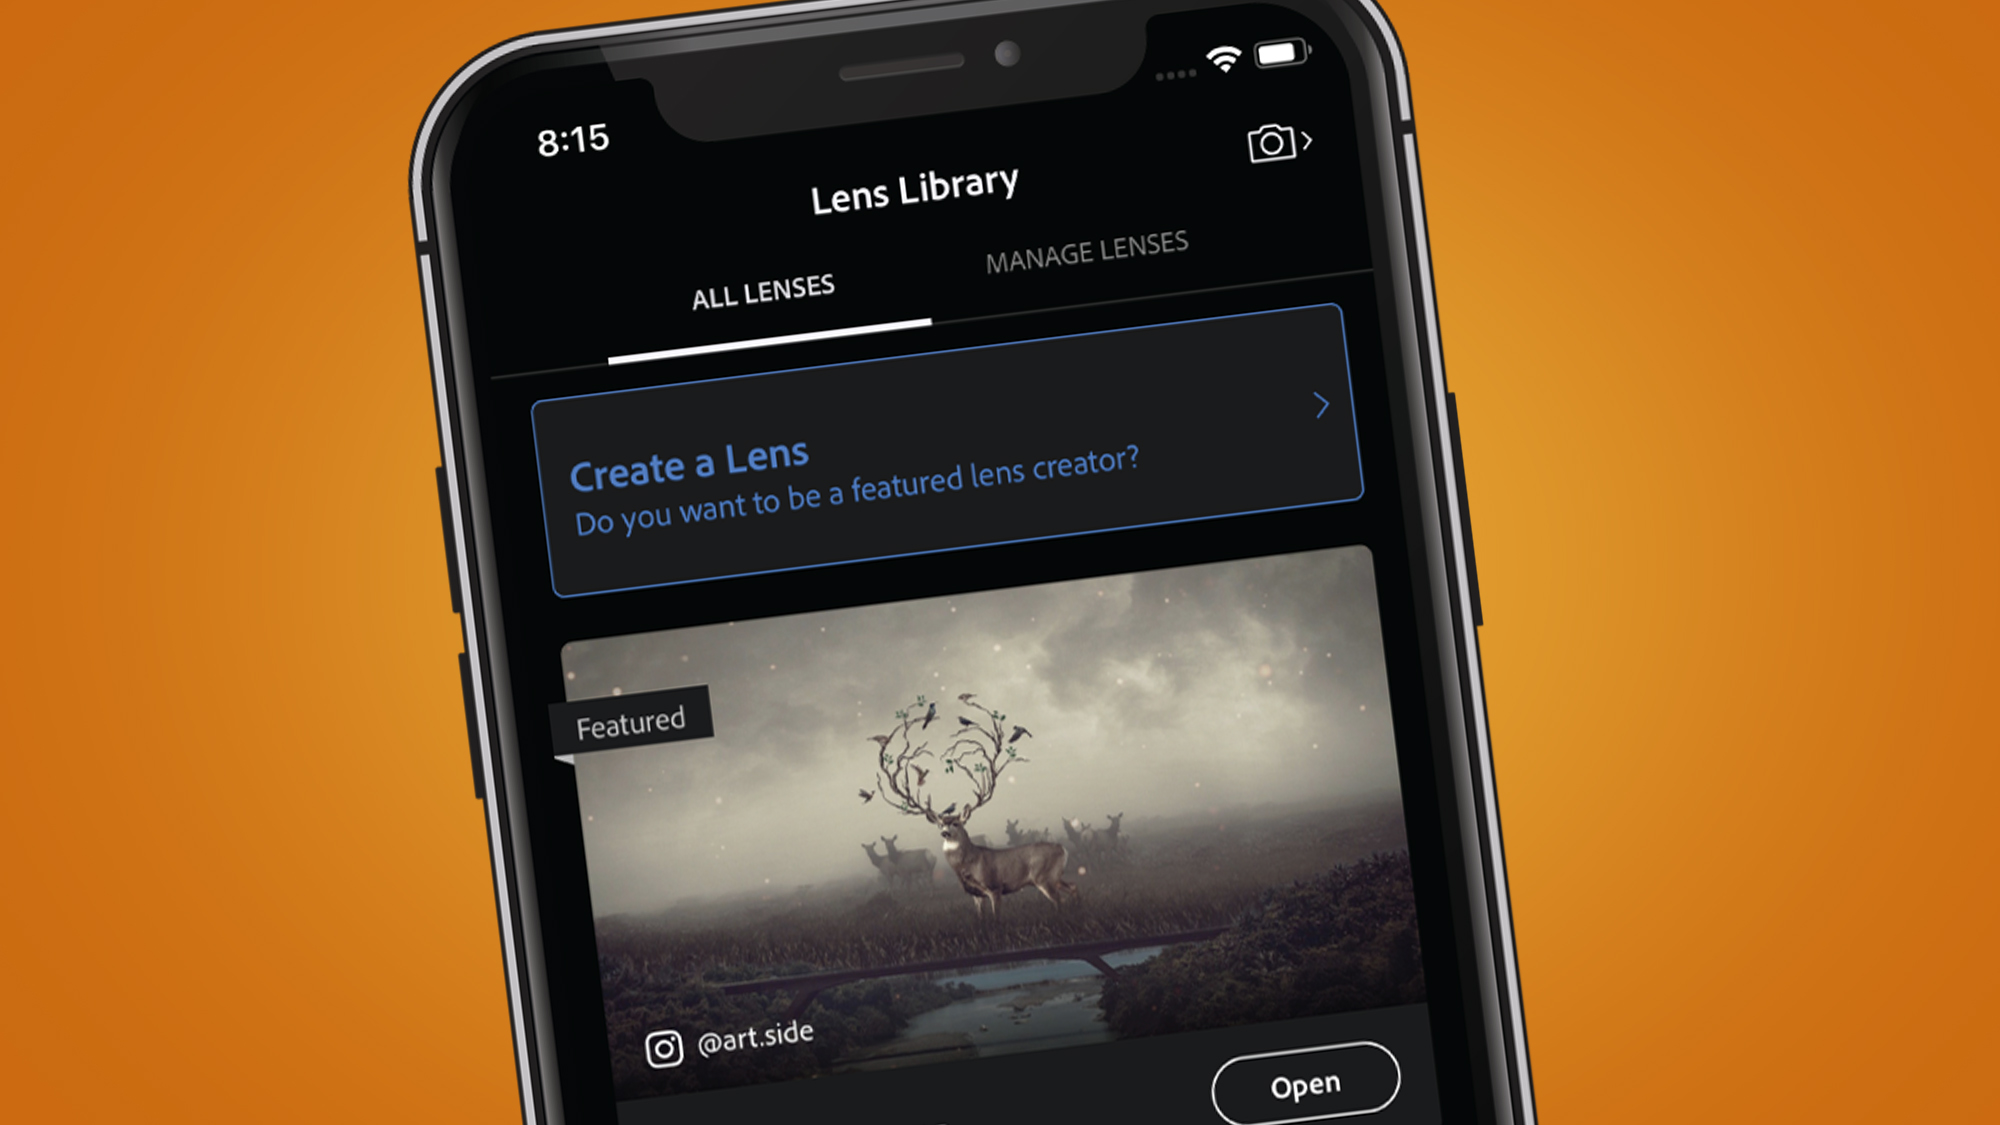
Photoshop Camera calls its filters 'lenses' and you only start off with a handful of these. To grab some more, head to the circle in the top-left corner – this takes you to your 'Lens Library'.
Calling these 'filters' does them a slight disservice, because there is some automatic scene recognition and masking going on. But, as the examples in the Lens Library show, the end result is similar to Instagram and SnapChat's filters – only these ones are a little more advanced.
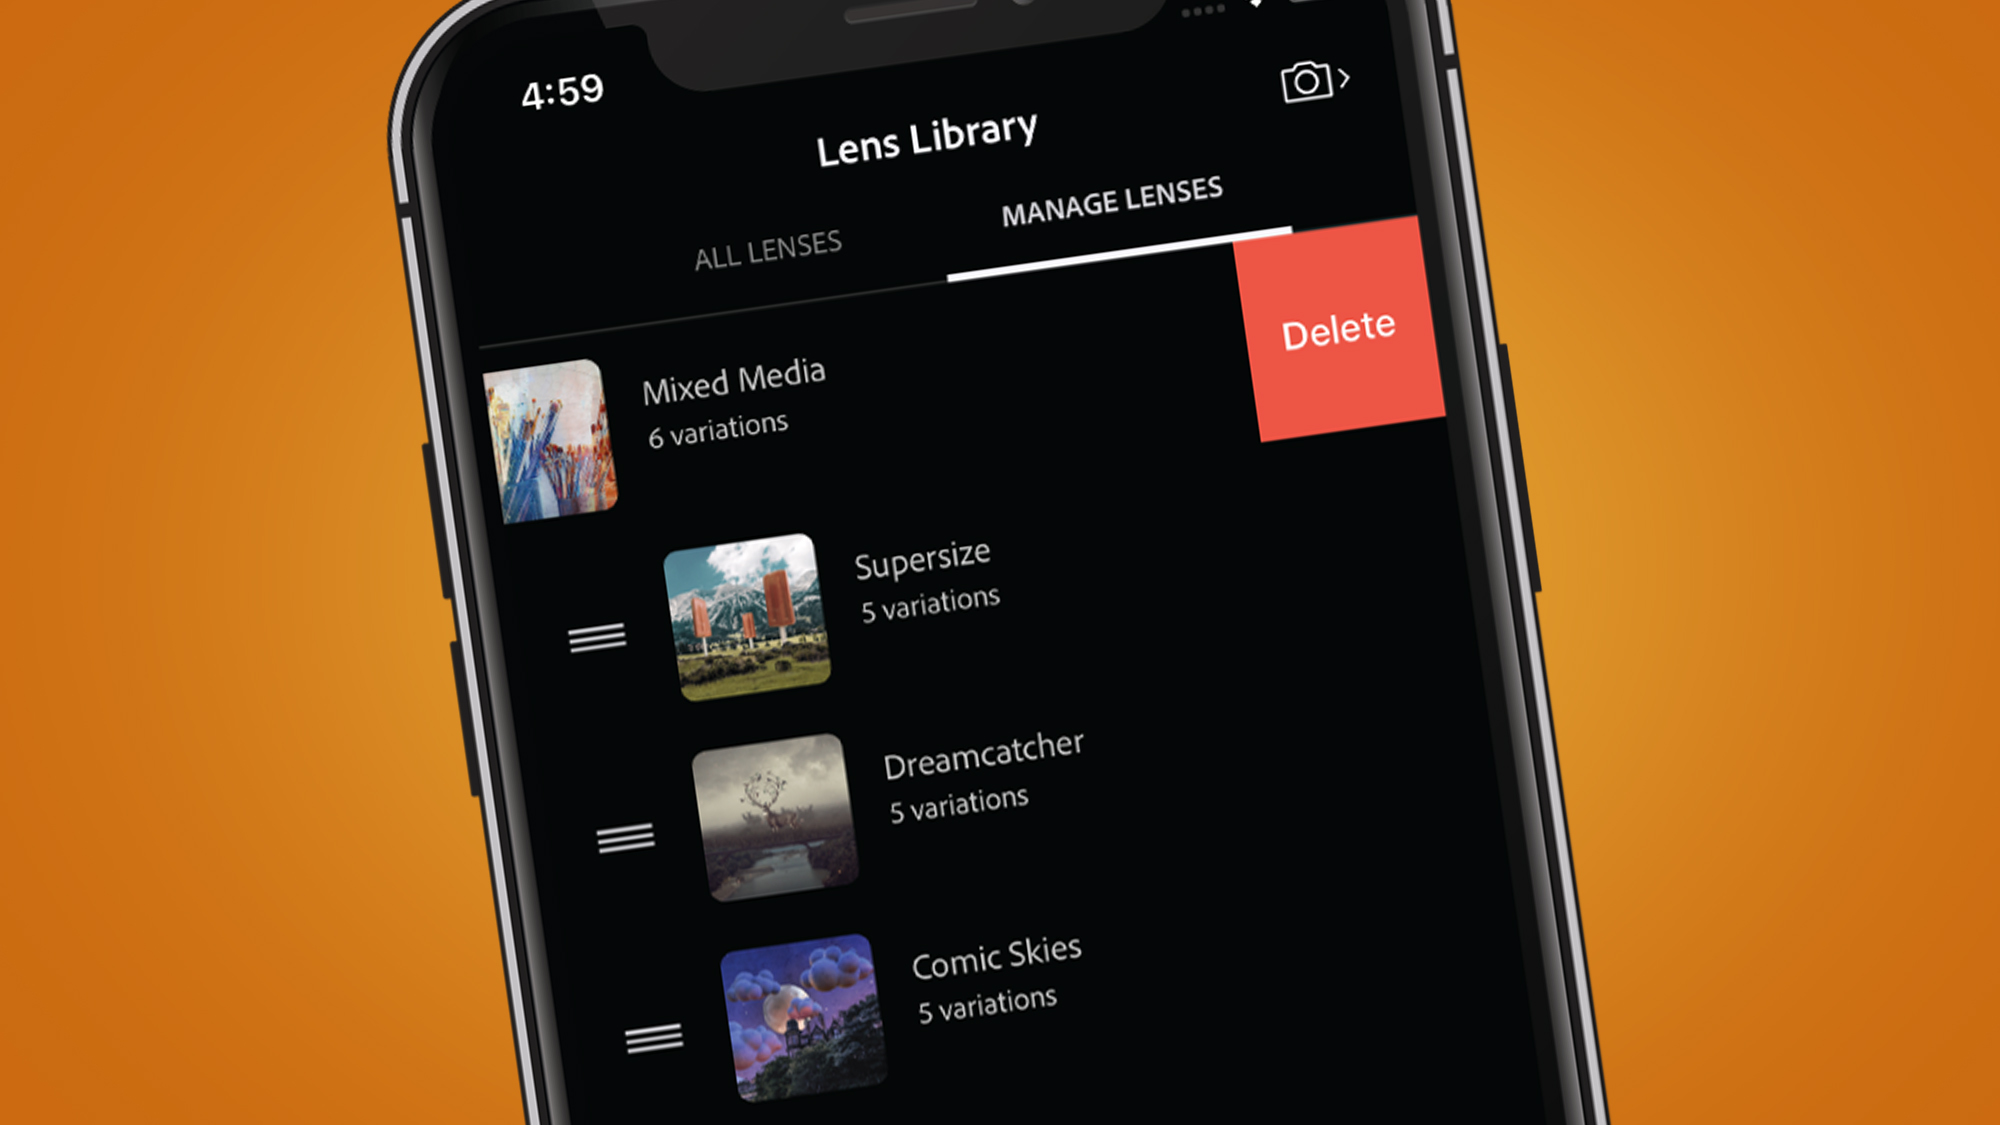
Once you've perused the library and downloaded your favorites (we recommend Spectrum, Duotone and Vibrant), you can organize them into something of a playlist in the 'Manage lenses' section. Drag the best ones to the top and they'll be the first ones you'll see below the app's shutter button.
2. Preserve your image quality
Because Photoshop Camera is designed to be social media-friendly, its first instinct is to compress your photos into a file that's under 1MB, rather than retain their original detail. Right now, the app's built-in camera offers no way to control the level of compression or let you shoot in Raw.
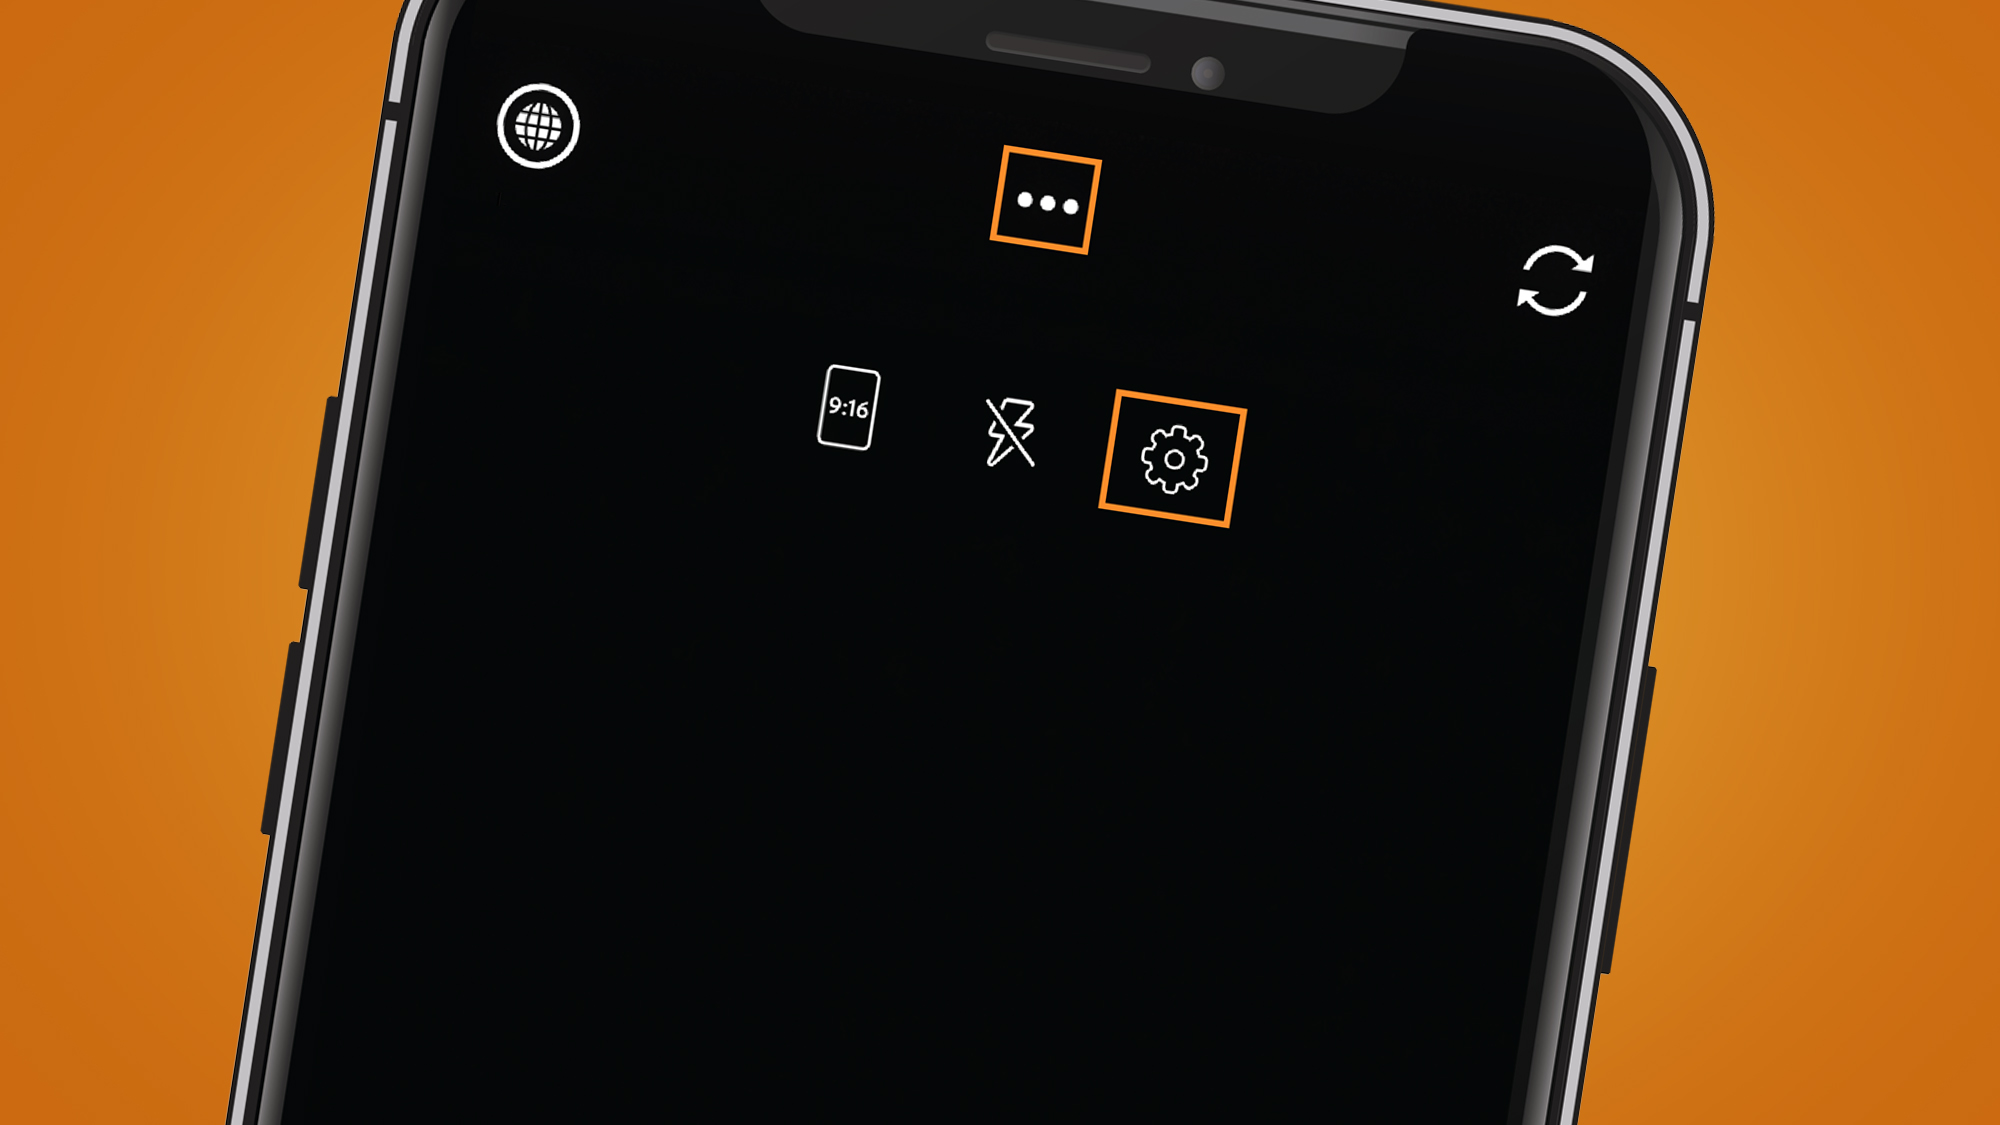
Still, you can make sure it at least keeps a copy of your original photo by heading into the settings (press the three dots at the top of the screen, then hit the gear icon on the right). In here, head to Preferences and make sure 'Save Original to Camera Roll' is switched on.
When you download an image from Photoshop Camera to your camera roll, you'll now see the original, slightly less compressed version alongside it. The alternative, and slightly more involved route, is to take your snaps with another app or your standalone camera, then bring the photos into the app (see point 7 'import your snaps' below).
3. Start minimalist...
For some of Photoshop Camera's more powerful lenses, like 'Celestial', it makes sense to start with a simple, less busy photo to get the best results.
Jaxson Pohlman, who helped Adobe make the 'Celestial' lens, told us that it often makes sense to use an existing photo with his starry night effect, which you can see below.
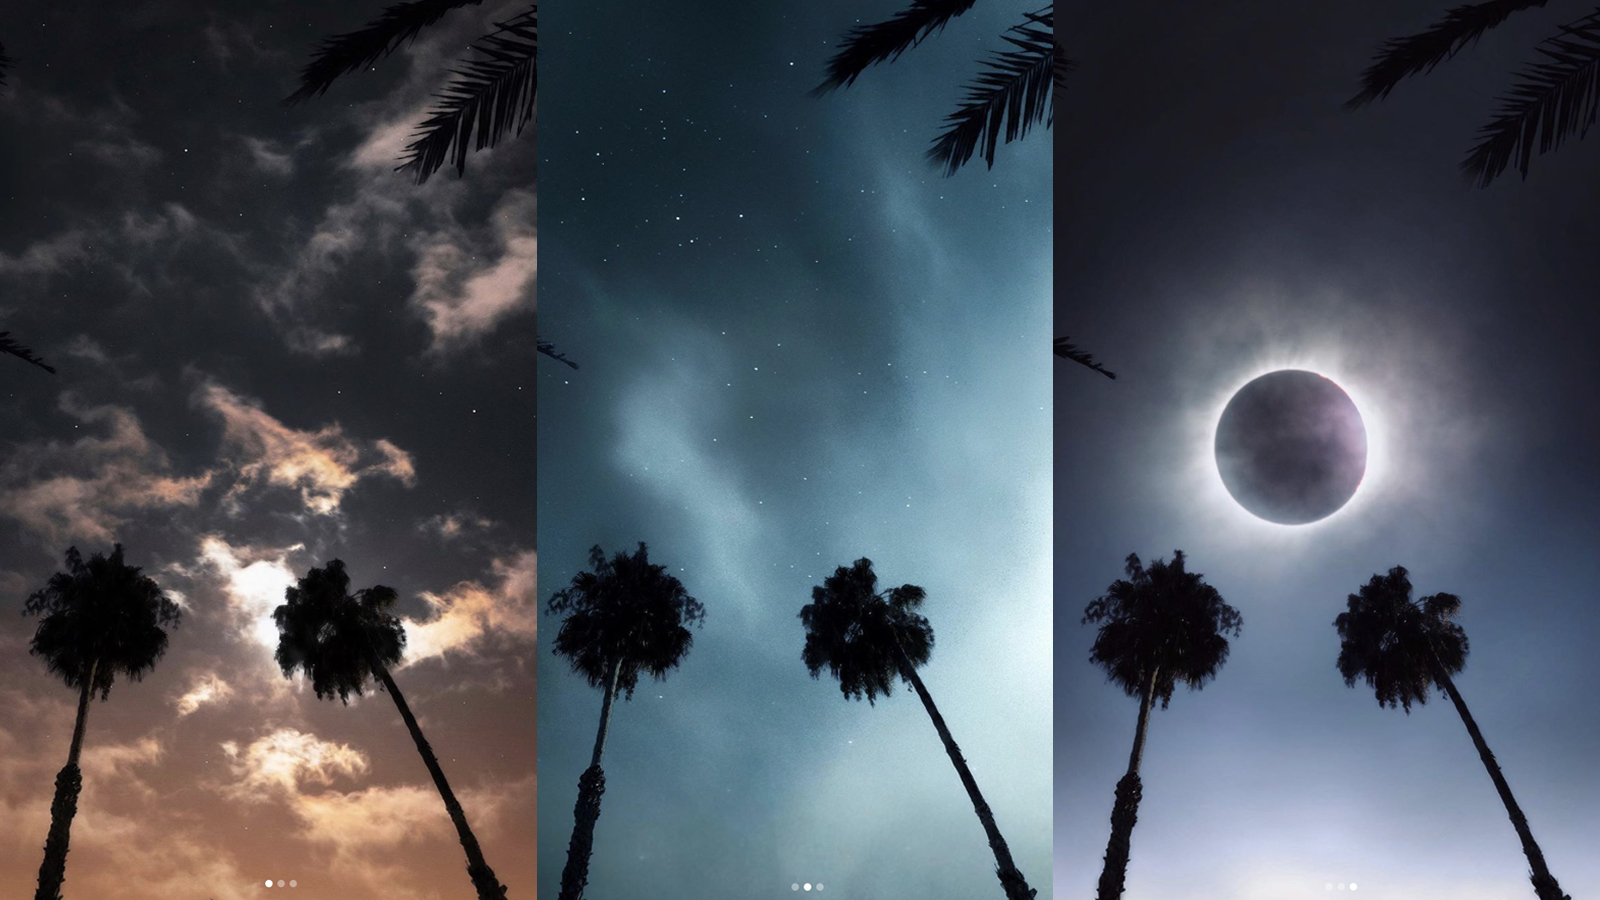
"In Photoshop Camera, it’s helpful to use minimal scenes such as silhouettes or nature landscapes in order to get the best results,' he said.
"It’s fun to play around with the in-app camera, but it may be more helpful to find a photo you already took in order to expand your options and have the most fitting scene. A minimal photo is key!" he added.
4. ..or use an interesting background
Some of Photoshop Camera's most powerful selfie lenses, like Vibrant, tend to obliterate most of your background. But others, like Neon Pulse here, can whip a fairly drab backdrop into something more interesting.
For this shot we stood in front of a pub's archway. On its own pretty unremarkable, but using the second 'variation' in Neon Pulse (each 'lens' gives you several 'variations' to swipe through) has spun the background into a portal while keeping our face (relatively) still. Need a new Twitter profile photo? It's a good place to start.
5. Change the weather
Most of Photoshop Camera's lenses right now are for one of two types of shot – landscapes or portraits. While its sky recognition can help it make subtle tweaks to saturation and color, this features does also let you swap out your heavens for something completely artificial.
Looking to pretend that your day trip was actually full of blue skies rather than the dreary, overcast result of your poor planning? Pick the built-in 'Blue Skies' lens and it'll swap in a disturbingly convenient replacement sky that might just send you down a 'what is a photo, anyway?' philosophical rabbit hole about authenticity.
6. Sort your composition
Different Photoshop Camera selfie lenses benefit from different types of composition. For example, Brandon Woelfel – who contributed the versatile Neon Pulse lens to the app – suggests stepping back a little for the best results for that effect.
Talking about the Neon Pulse lens, Brandon told us: "I’ve come to realize that it is best operated when the user inputs a subject facing forward with recognizable features from the waist up. While good lighting and picture quality are of course recommended, this particular lens transmits you into a totally different dimension with brightly colored hues and tints – so there is no need to worry where you are or which device you're using."
You can see the results below, and others on his Instagram page.
That said, some Photoshop Camera lenses can struggle to cut out your hair properly, particularly if you have a similarly colored background.
If you're seeing that happen in the preview, it's sometime best to crop in for the best results – and in the case of the Vibrant lens, that can also make for a more impactful, interesting portrait.
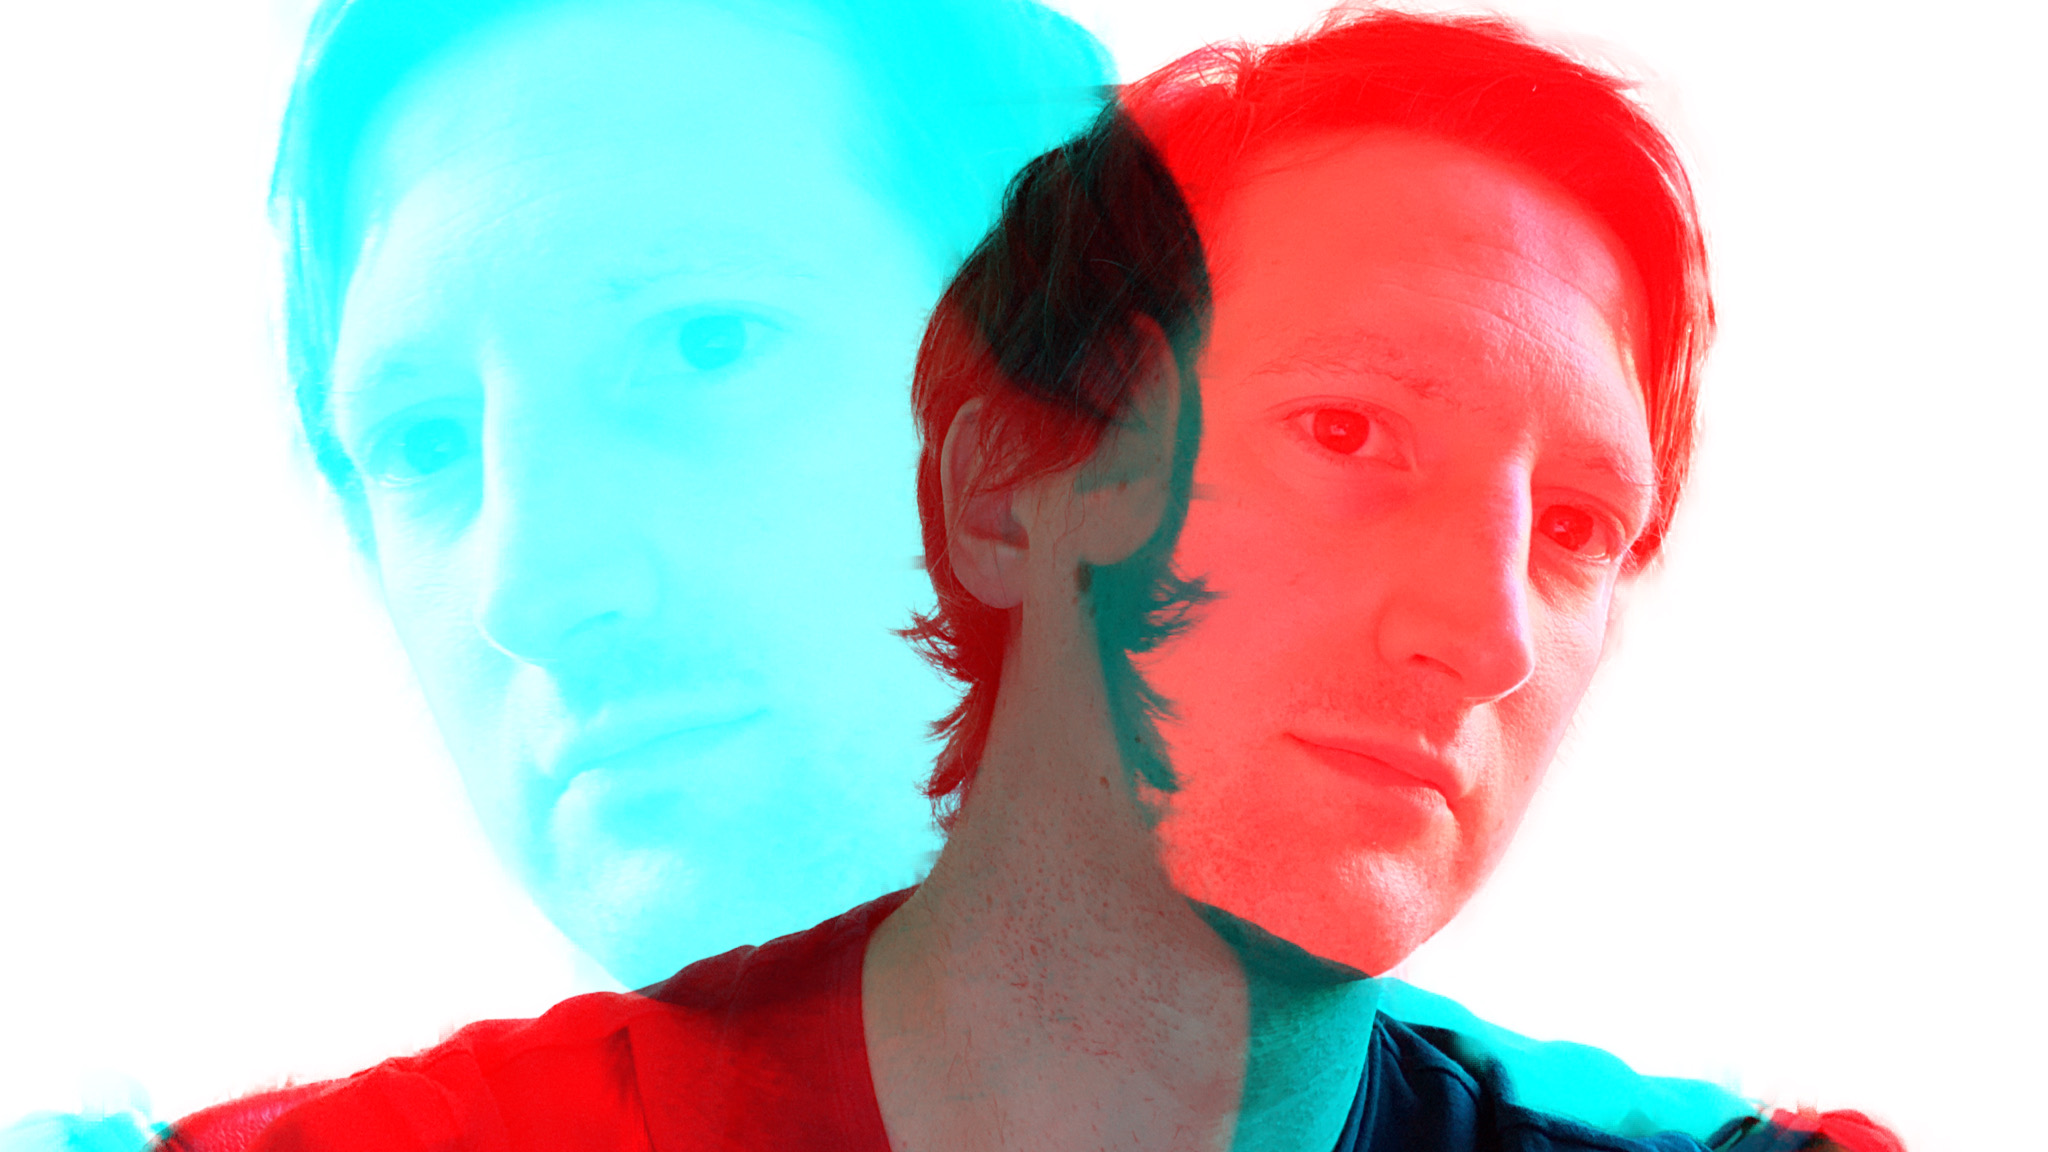
For other effects like Color Echo, though, you're best off pushing your subject or face to the right of the frame, to make room for the echo.
We've found a slight overlap between the two time-delayed images works best and you can also swipe between six different colors in the camera roll section.
7. Import and edit existing snaps
You don't have to stick with Photoshop Camera's built-in camera – you can also edit existing photos from your camera roll or even Raws stored in your Lightroom library (if you're a Creative Cloud subscriber).
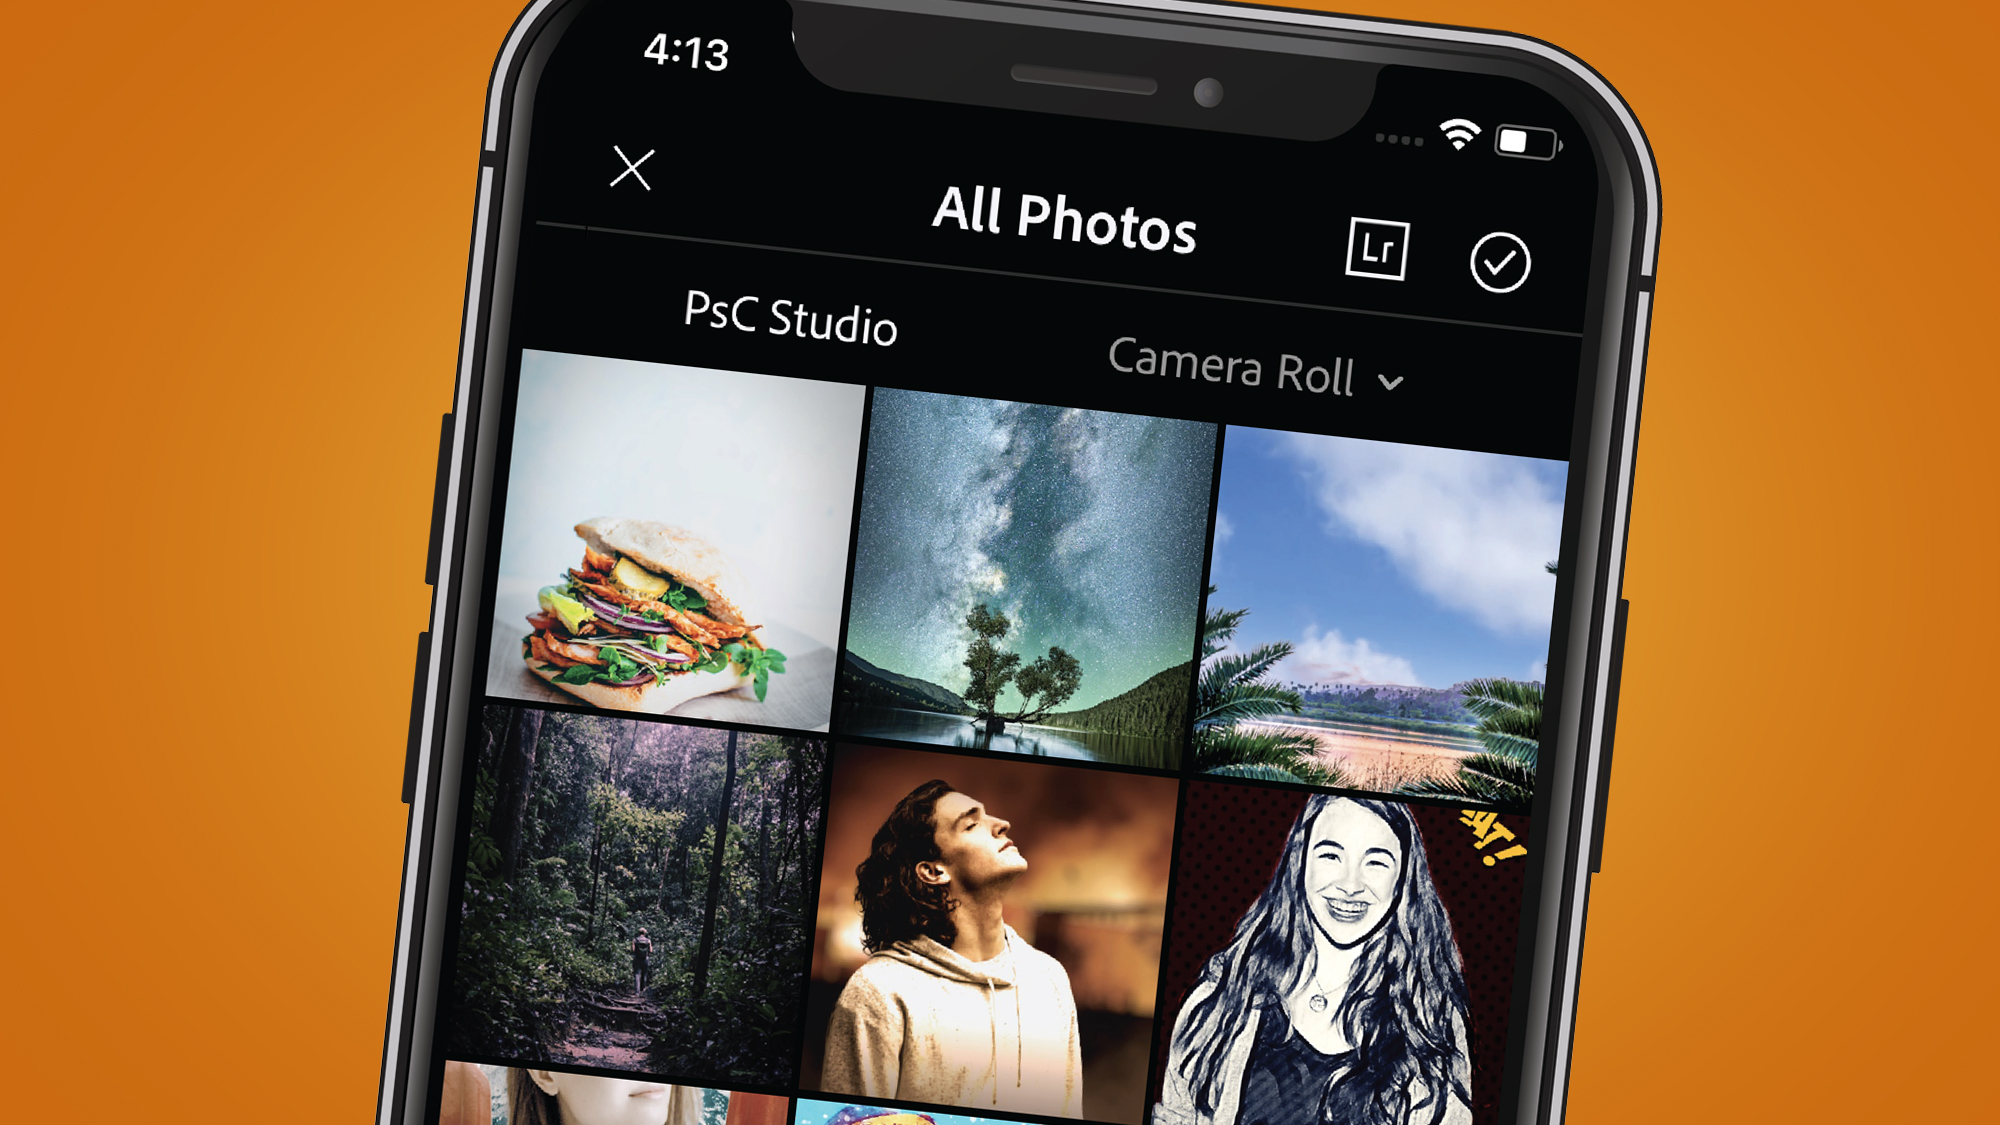
To do the former, press the photo preview icon to the right of the shutter button. This takes you into the slightly confusingly named PsC Studio, which is a temporary place where all the snaps you capture in-app are stored. To bring in a snap from your phone's camera roll, press 'Camera Roll'.
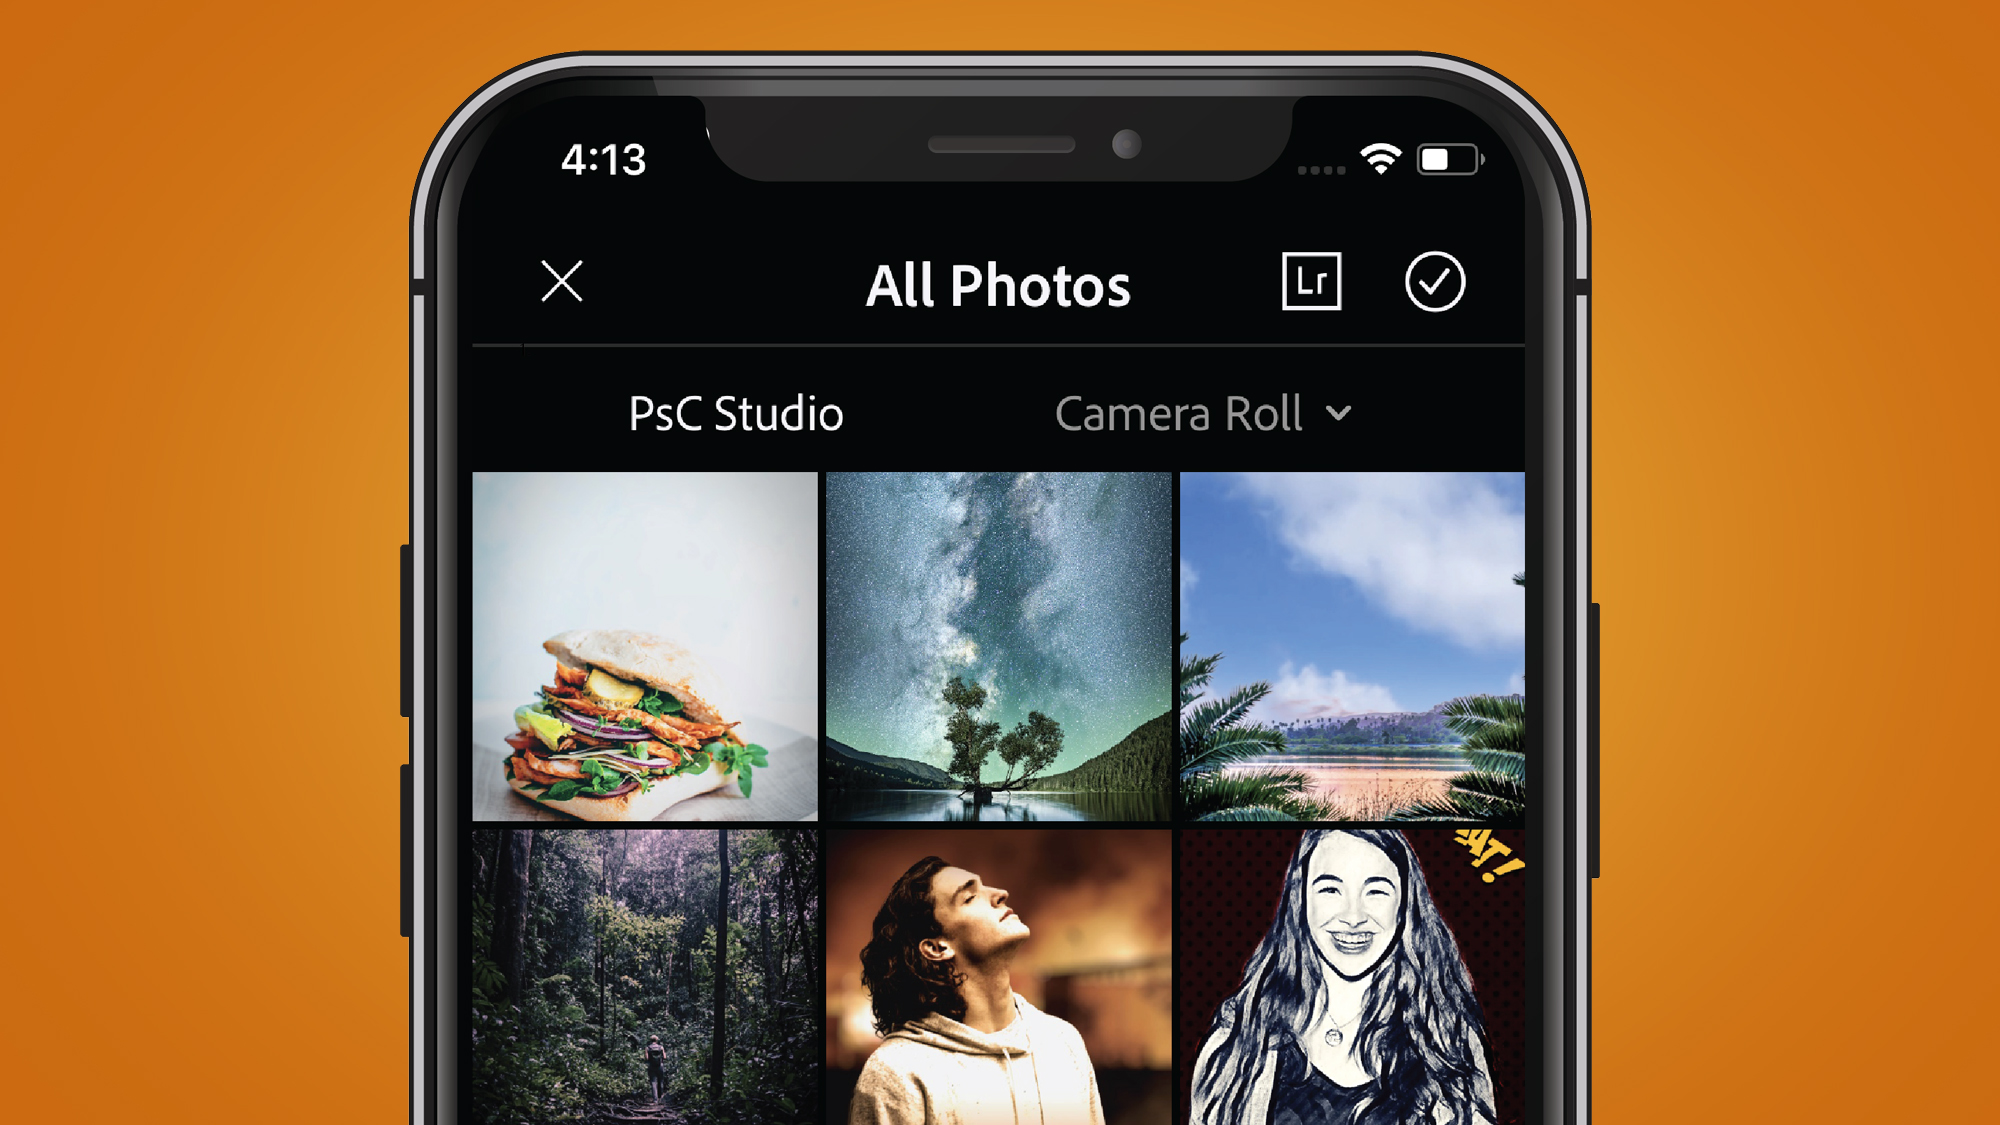
When you do this, Photoshop Camera automatically applies it 'magic wand' edits to your photo, based on Adobe Sensei's analysis of the scene. We've found it generally errs on (quite drastically) lifting shadows and lowering highlights, along with other tweaks like boosting saturation slightly. But you can also apply lenses based on its suggestions in the bottom left-hand corner.

Got a snap in your Lightroom library that you want to blast with Photoshop Camera's lenses? Head to the Lightroom icon in the top-right corner of the 'Al Photos' section and sign into Creative Cloud. You'll now see a grid of your folders in your Lightroom CC library.
Adobe says that Photoshop Camera supports JPEG, HEIC, PNG and still GIF, while also offering limited support for Raw files like CR2, DNG, NEF, ARW and TIFF.
8. Make manual tweaks
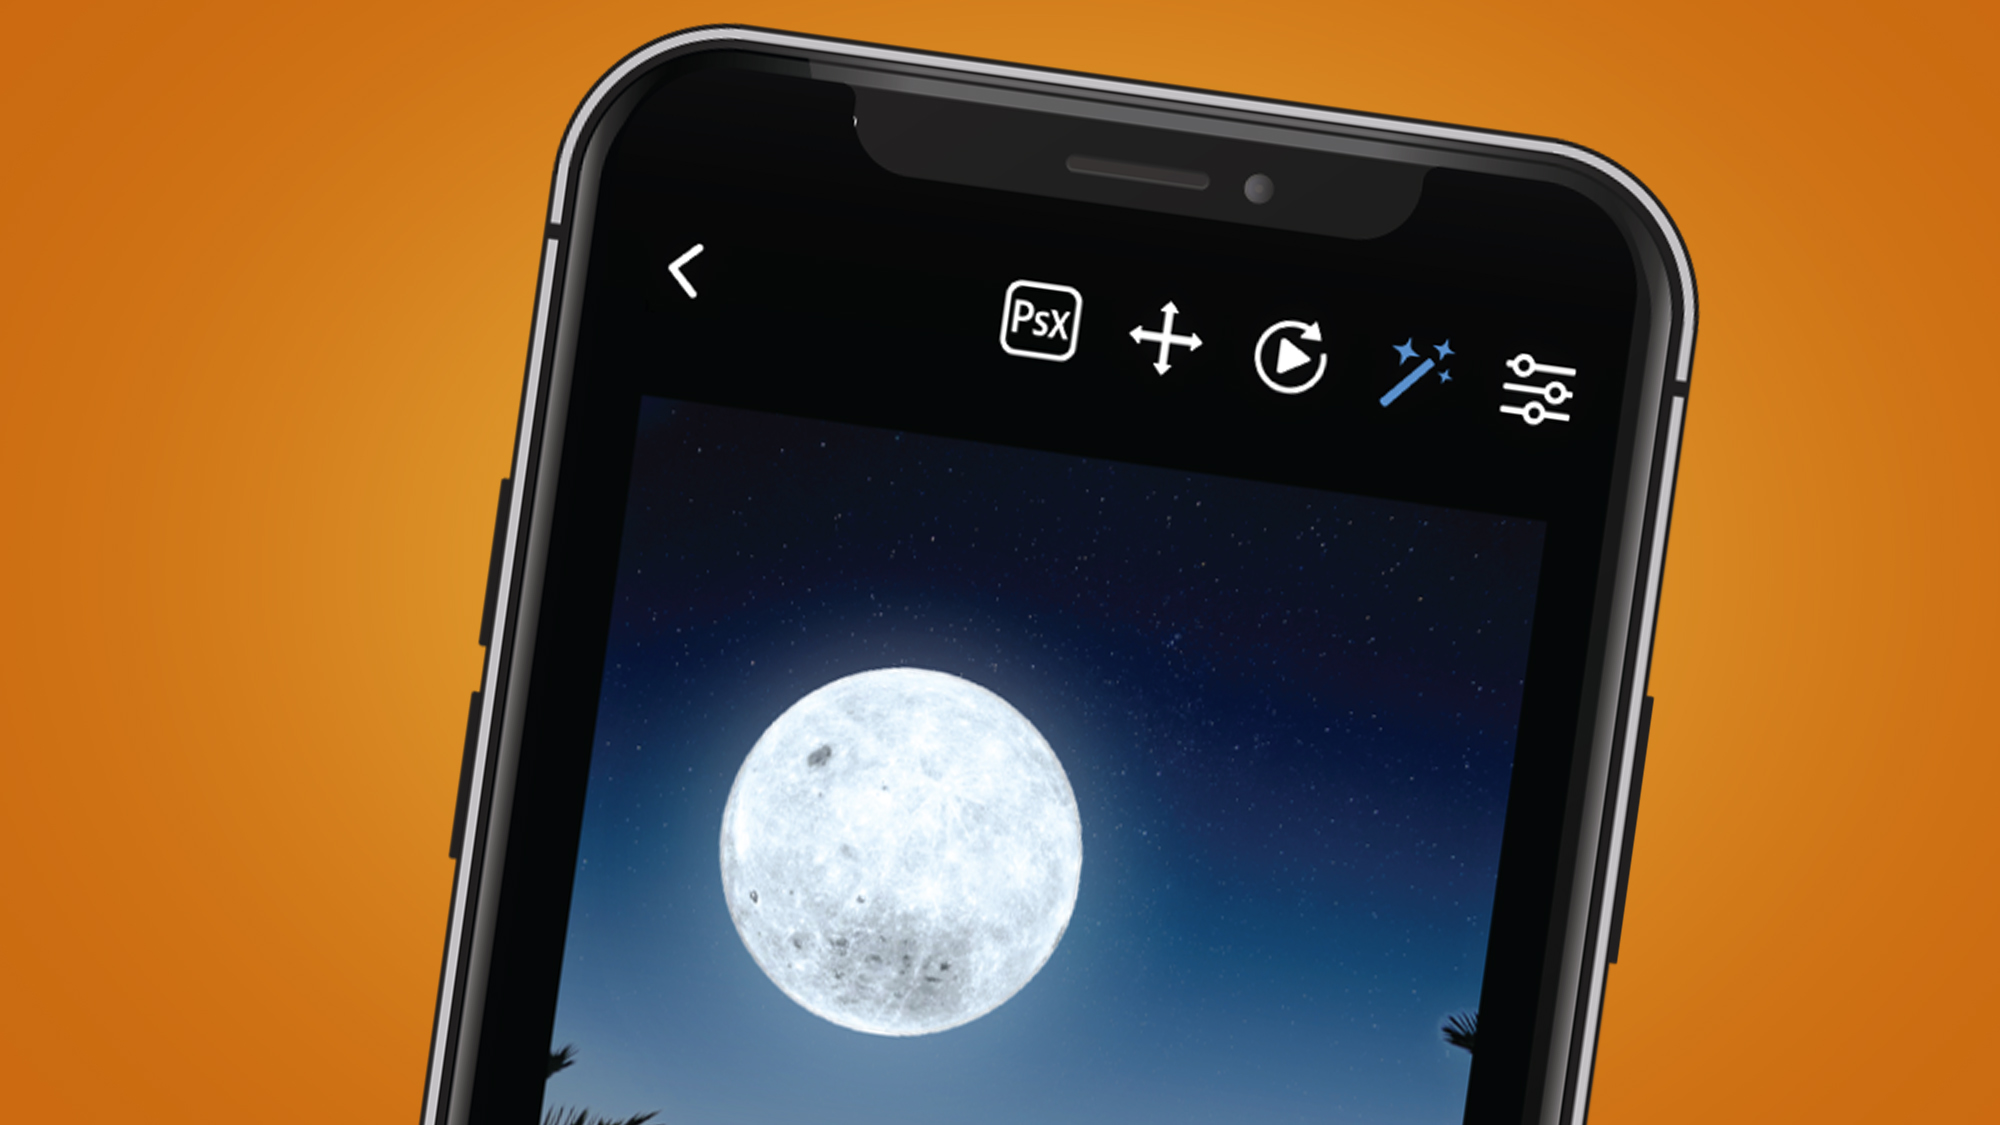
Some Photoshop Camera lenses go the whole hog and use Adobe's machine learning to give you an entirely new sky. This effect might not be to everyone's tastes, but if you're partial to some Studio Ghibli-inspired fantasy, then the Reverie lens (from Photoshop Camera art director Vladimir Petkovic) is worth tinkering with.
The good news is that if you're not entirely happy with the automated results, then you can move the background around to suit. As Vladimir Petkovic explains: "Some of the added elements can be freely repositioned and scaled to better fit the original photo. For instance, you are able to move the Moon around, or even make it bigger or smaller using your fingers."
If you'd rather get a bit more granular with your edits, Adobe naturally also offers a (slightly clunky) link to the free Photoshop Express app in the editing section. Unfortunately, you can't edit the mask or layer that Photoshop Camera creates, but it's a handy option – particularly if you want to add text to your snap.
You can see this option in the top bar with the 'PsX" icon (see below). The app gives you tools to apply extra effects like vignetting, plus 'themes' for adding text – handy if you fancy making a quick thumbnail for your next social media video.
9. Create your own lenses
It's sadly not possible to make your own lenses from within the Photoshop Camera app right now, but you can apply to become a 'featured lens creator'.
To do this, head to the 'All Lenses' section using the icon in the top left-hand corner and scroll down to the 'Create a Lens' banner. This will take you to the Creator's Program, which you can also get to directly by using that link.
Got another question about Adobe Photoshop Camera that we haven't covered here? Head to its somewhat hidden support page, where you'll also find a community for help with bugs and specific questions.

Mark is TechRadar's Senior news editor. Having worked in tech journalism for a ludicrous 17 years, Mark is now attempting to break the world record for the number of camera bags hoarded by one person. He was previously Cameras Editor at both TechRadar and Trusted Reviews, Acting editor on Stuff.tv, as well as Features editor and Reviews editor on Stuff magazine. As a freelancer, he's contributed to titles including The Sunday Times, FourFourTwo and Arena. And in a former life, he also won The Daily Telegraph's Young Sportswriter of the Year. But that was before he discovered the strange joys of getting up at 4am for a photo shoot in London's Square Mile.