How to take a screenshot on an iPhone, including the ‘secret’ back button method
Here's how to take a screenshot on any model of iPhone
Sign up for breaking news, reviews, opinion, top tech deals, and more.
You are now subscribed
Your newsletter sign-up was successful
Learning how to take a screenshot on an iPhone is particularly useful, allowing you to quickly snap whatever onscreen action your heart desires.
iPhones are some of the best phones out there, but for first-time users it can be a little overwhelming to try to learn and remember all the shortcuts and commands. Whether it’s a picture or meme to share with a friend, a still image from a video call, or an important document you want easy access to, it’s fairly essential to know how to take a screenshot on whichever device you’re using.
Newer iPhones with Face ID use a different set of buttons than older iPhones with Touch ID, and there’s also a slightly hidden method using the iPhone’s hidden Back Tap accessibility feature which is available on an iPhone 8 or later running iOS 14, and you can find instructions for all of these methods below
We've even given you a quick rundown of how to edit your screenshots, or save them somewhere other than your Camera Roll.
Want to record your screen instead? Check out our guide on how to screen-record on an iPhone.
How to screenshot on an iPhone with Face ID
1. Find and press the volume-up and side buttons
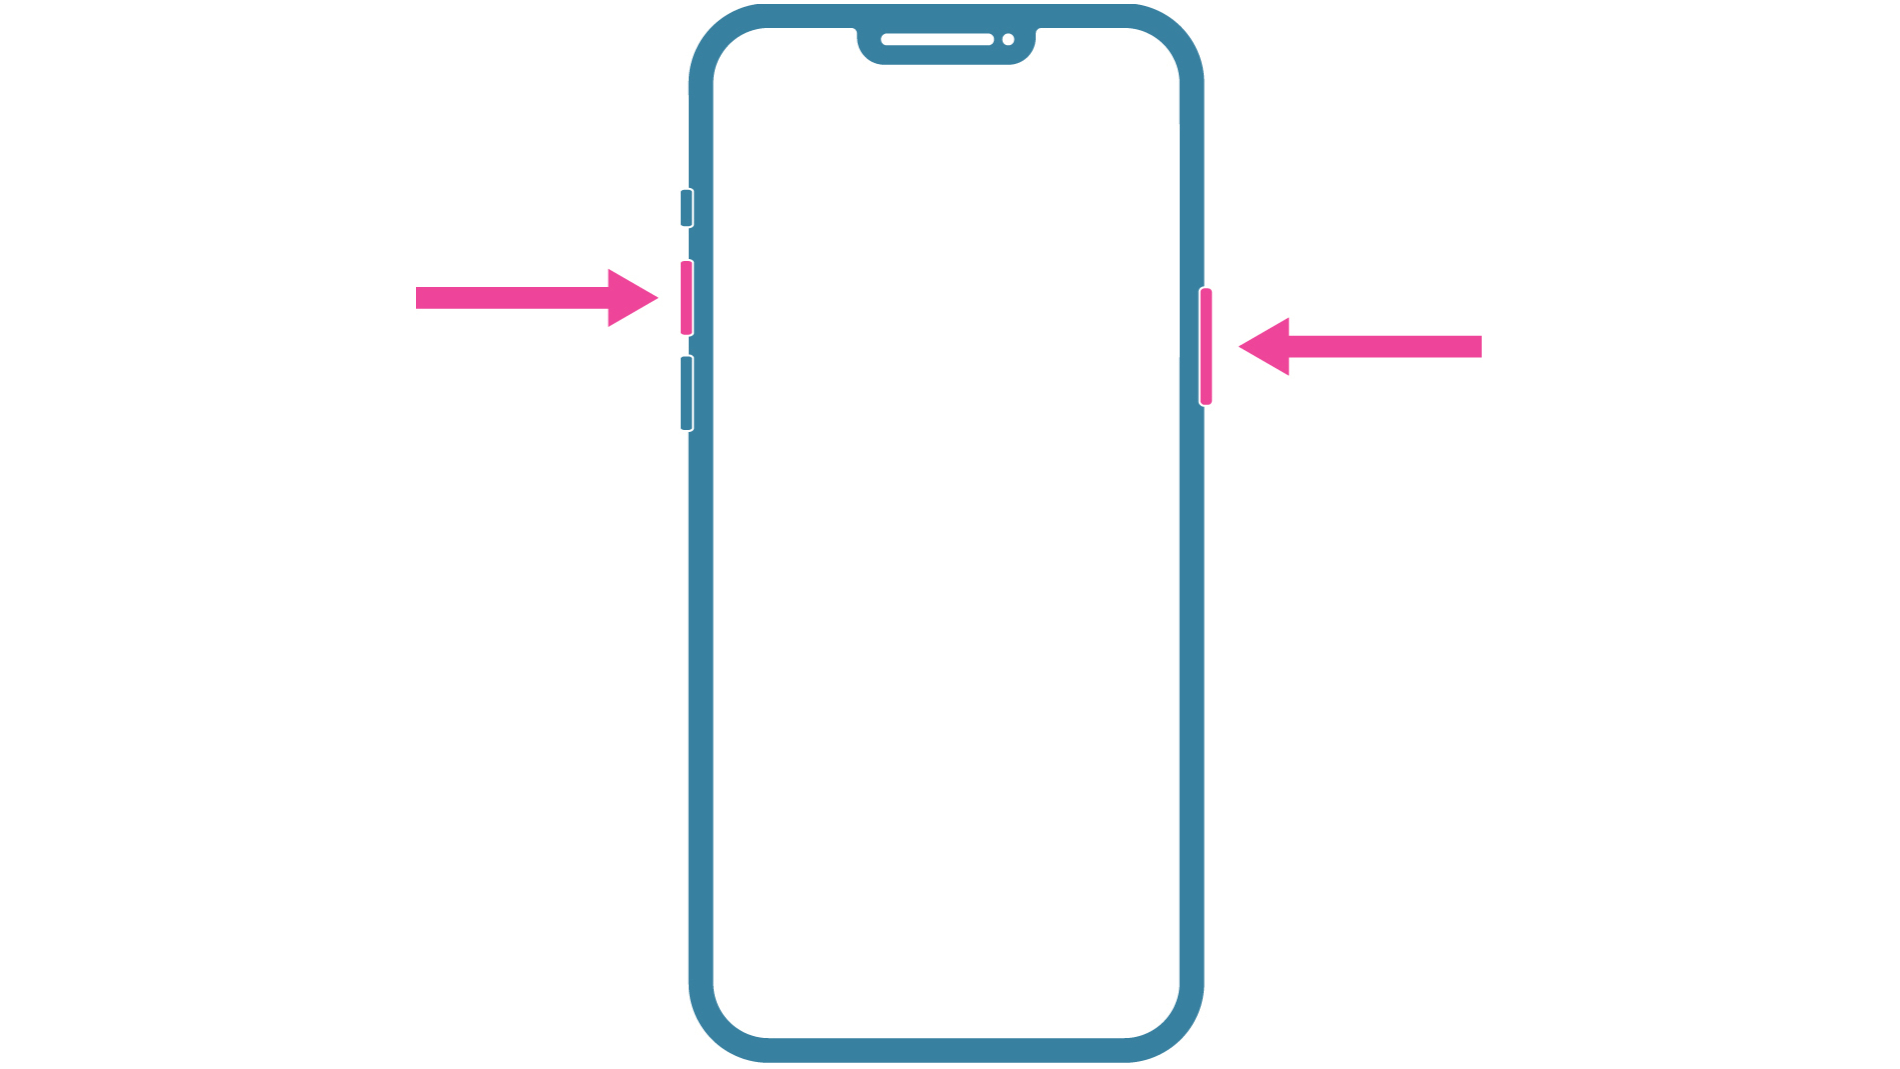
This method is the one you want to follow if you have an iPhone 11, iPhone 11 Pro, iPhone 11 Pro Max, iPhone XS, iPhone XS Max, iPhone XR or an iPhone X.
To take a screenshot, simply press the Volume up and side buttons at the same time – so, the top button on the left-hand side of your phone beneath the Silent mode toggle, and the button on the right-hand side of your phone. Quickly release the buttons and voila, you’ve taken a screenshot.
If you just want to save the screenshot as is, you can ignore the thumbnail that will appear in the bottom corner of your screen, or swipe it away. You can also tap the thumbnail to edit your screenshot.
How to take a screenshot on iPhones without Face ID
1. Find and press the Side/Top and Home buttons
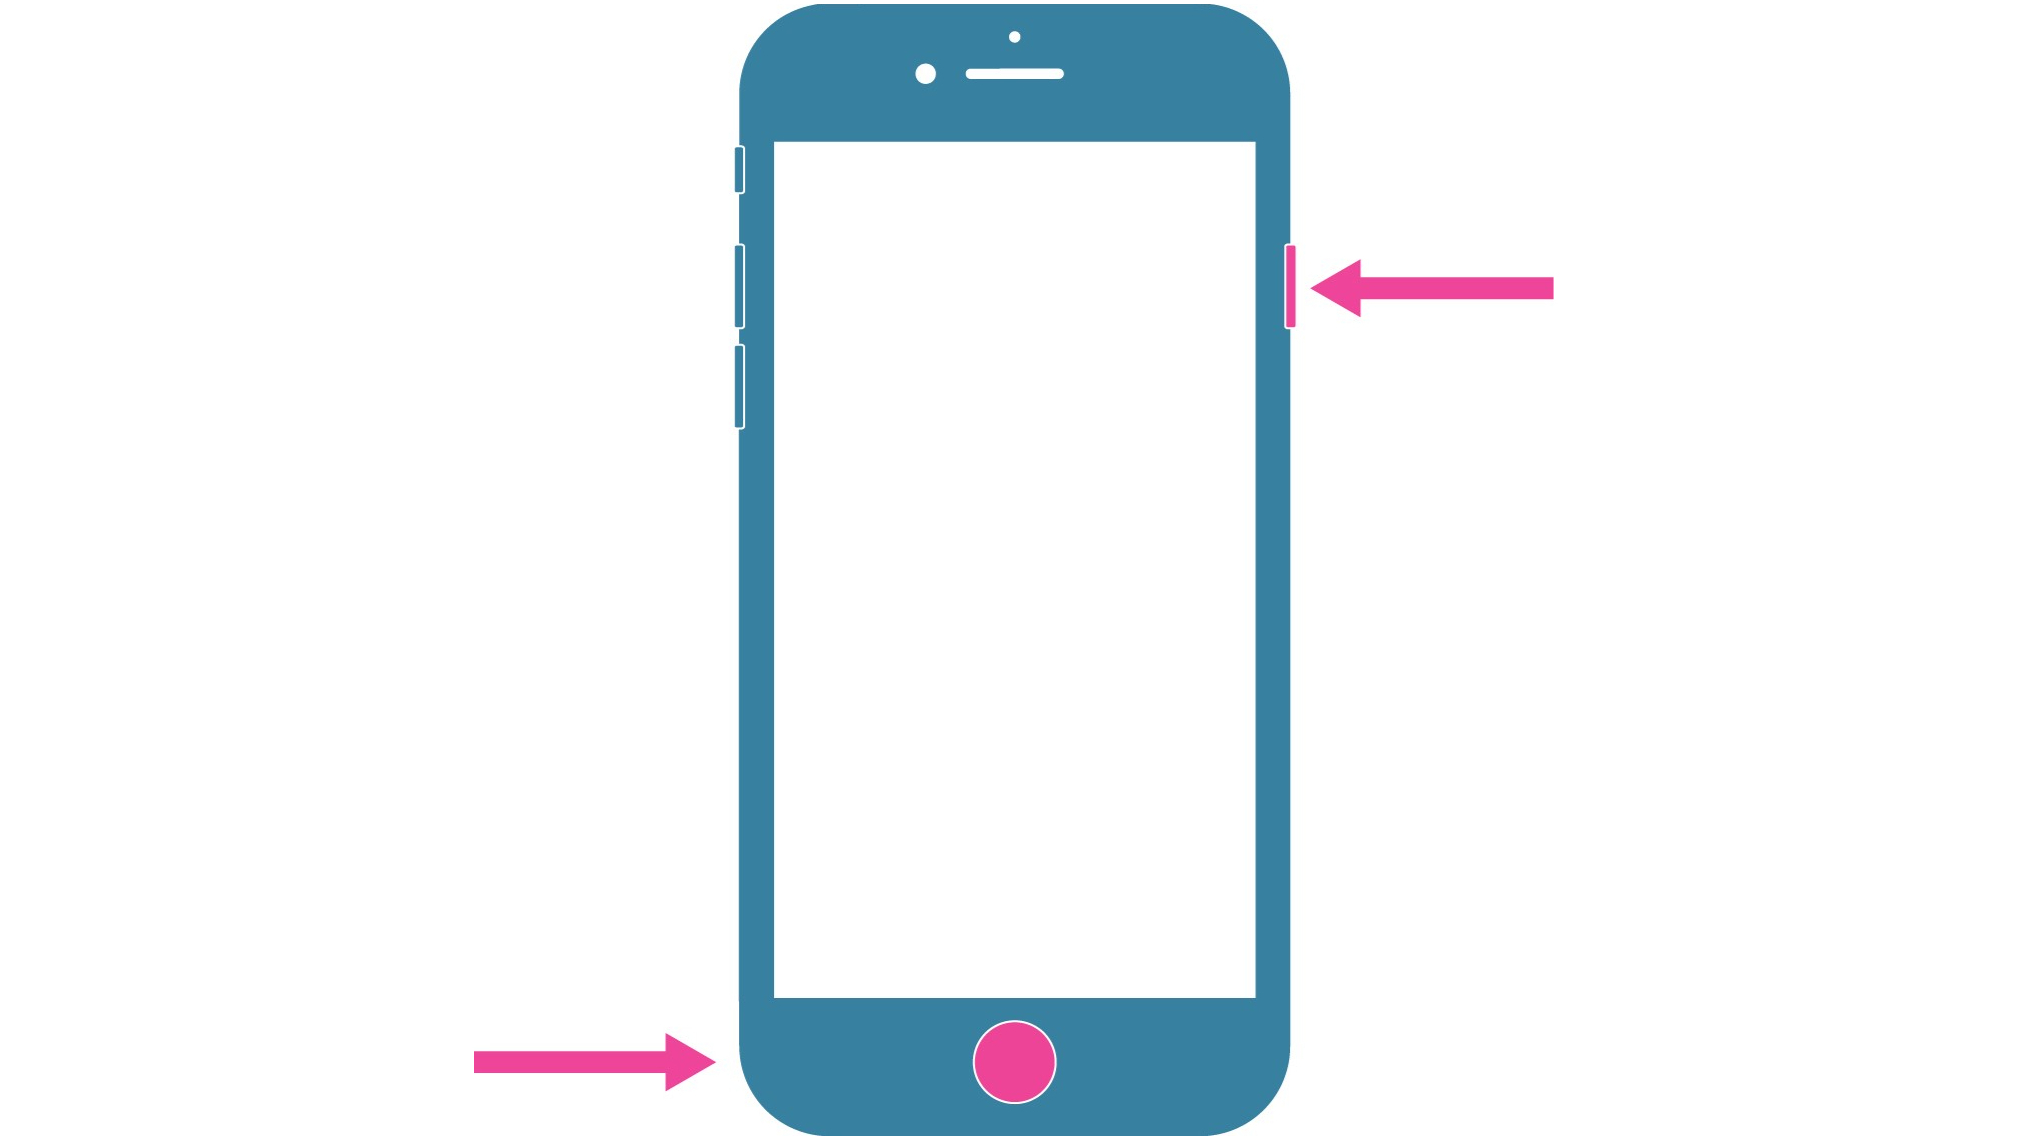
If you’re using an iPhone 6S, iPhone 7, or iPhone 8, your phone will have a side button on its right-hand side (previously known as the sleep/wake button). Press this at the same time as the Touch ID home button to take your screenshot.
If you’re using an older iPhone, your phone will have a top button. Press this at the same time as the home button to take your screenshot.
How to take a screenshot on an iPhone with the back button
1. Enable the Back Tap feature
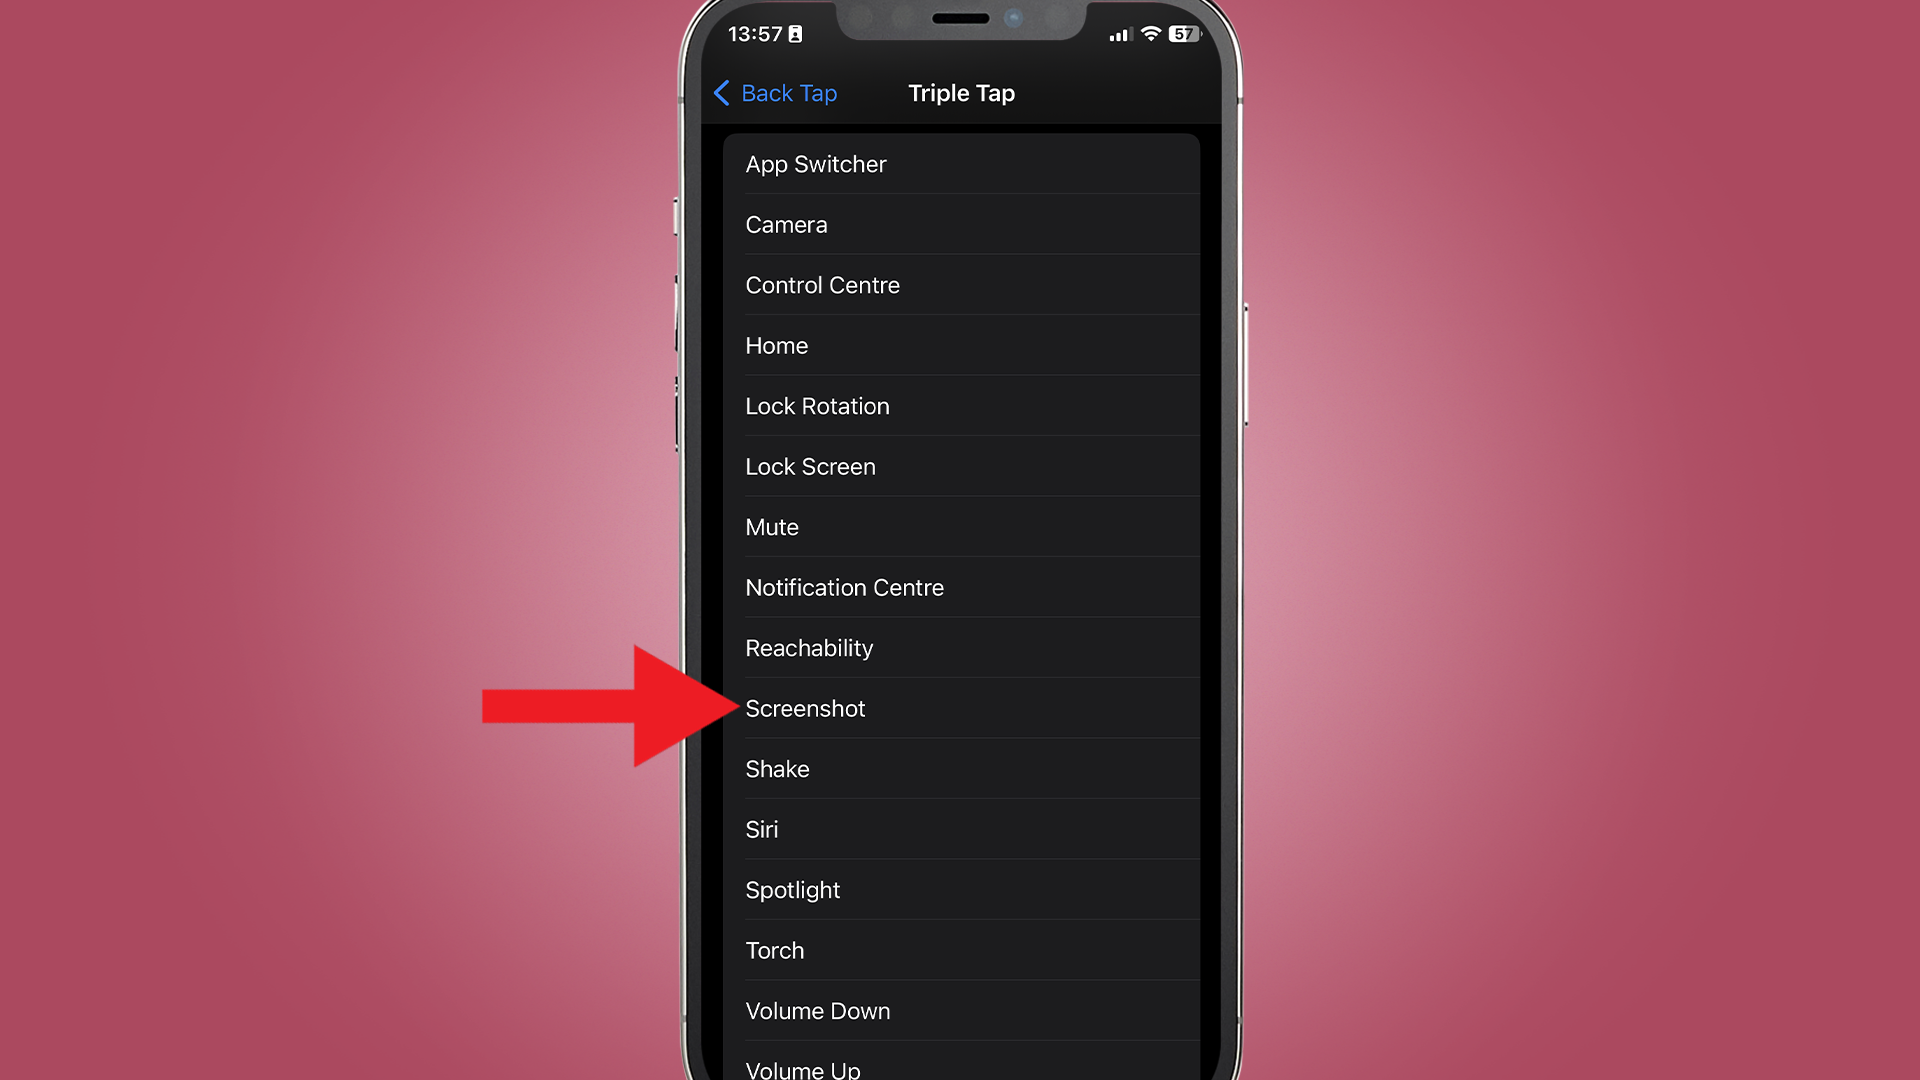
Head to your Accessibility settings and enable the Back Tap feature – we’ve got full instructions for how to enable the iPhone’s hidden rear button if you’re unsure how. We’d recommend assigning the screenshot feature to a triple tap, as even with a double tap it’s fairly easy to accidentally trigger it.
To take a screenshot, tap the rear button on your phone and you’ll see the screenshot thumbnail appear in the bottom corner of your phone screen, signaling a successful snap.
How to edit screenshots on an iPhone
1. Tap the screenshot thumbnail
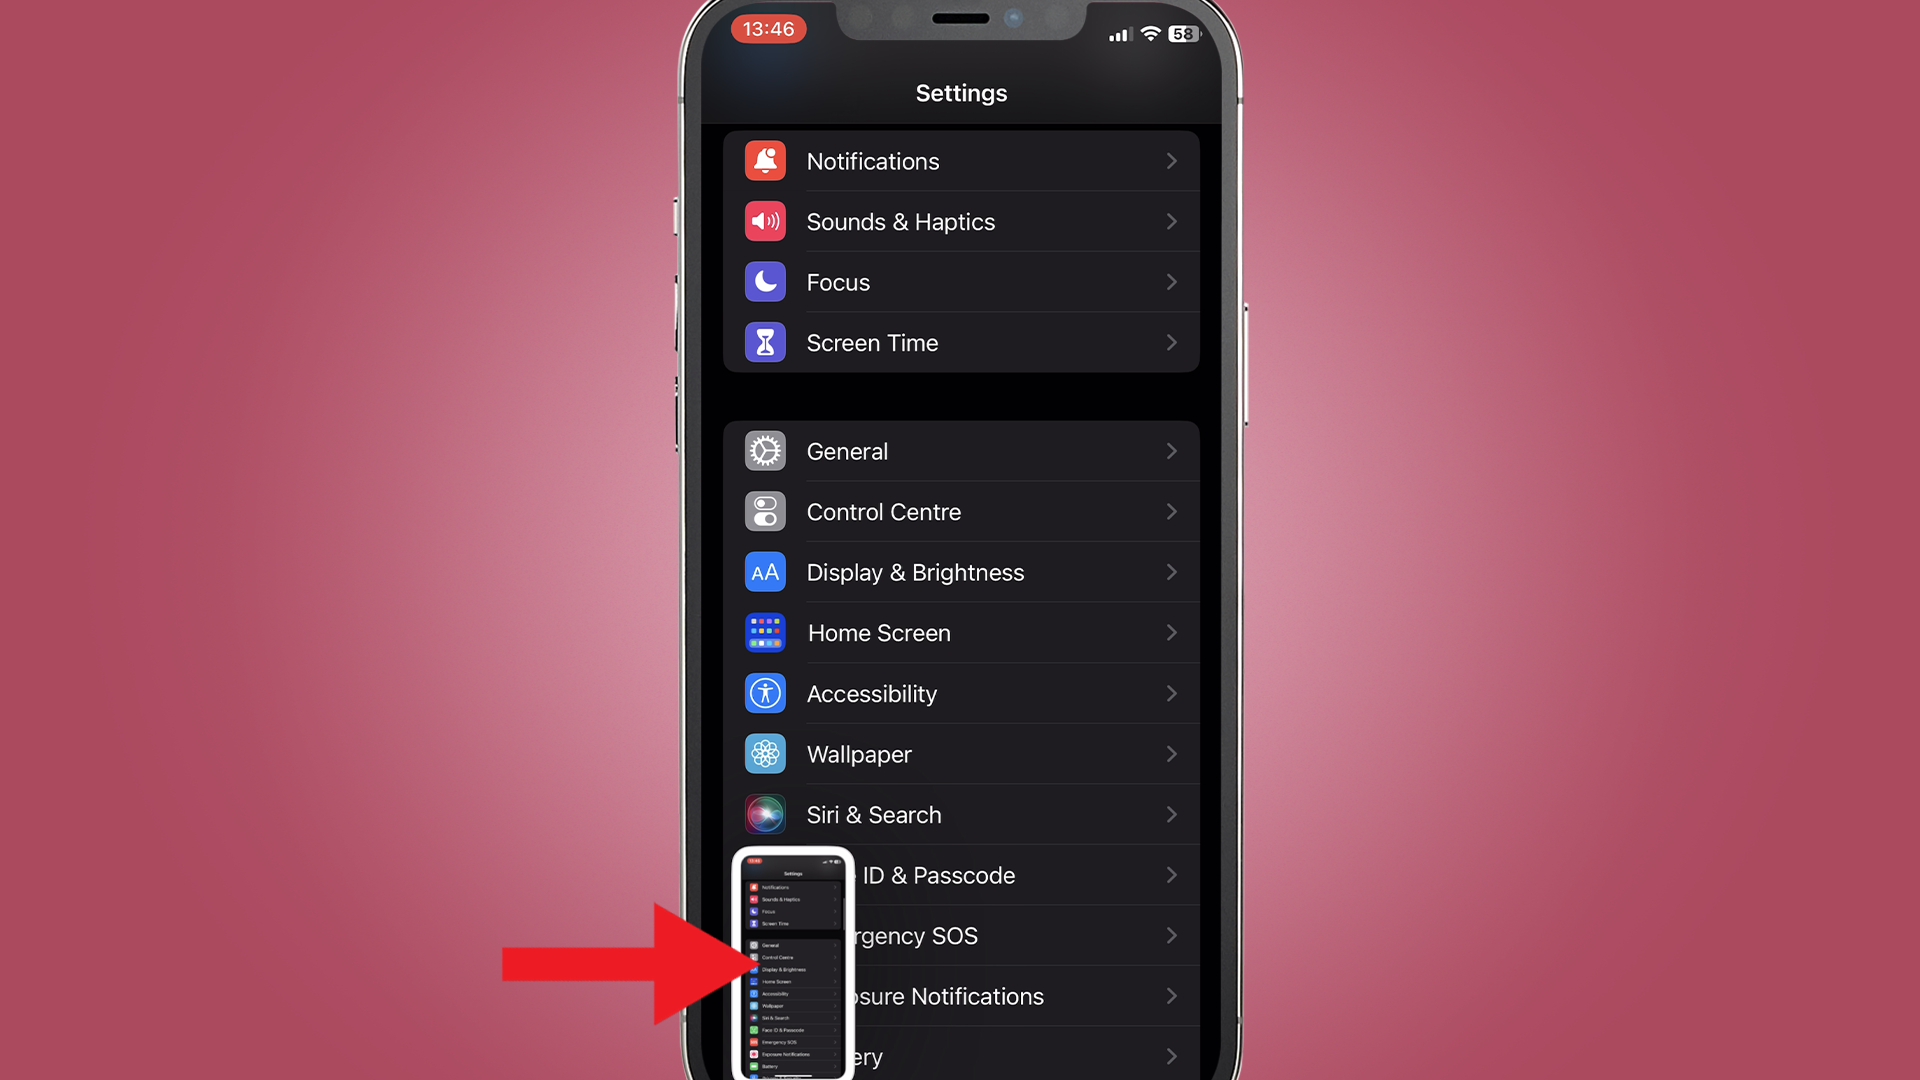
If you want to instantly view and adjust your screenshot, tap the screenshot thumbnail and you’ll be taken to a popout where you can open and edit the results.
From this screen, you can add annotations, crop your image and apply filters.
2. Edit and save the screenshot
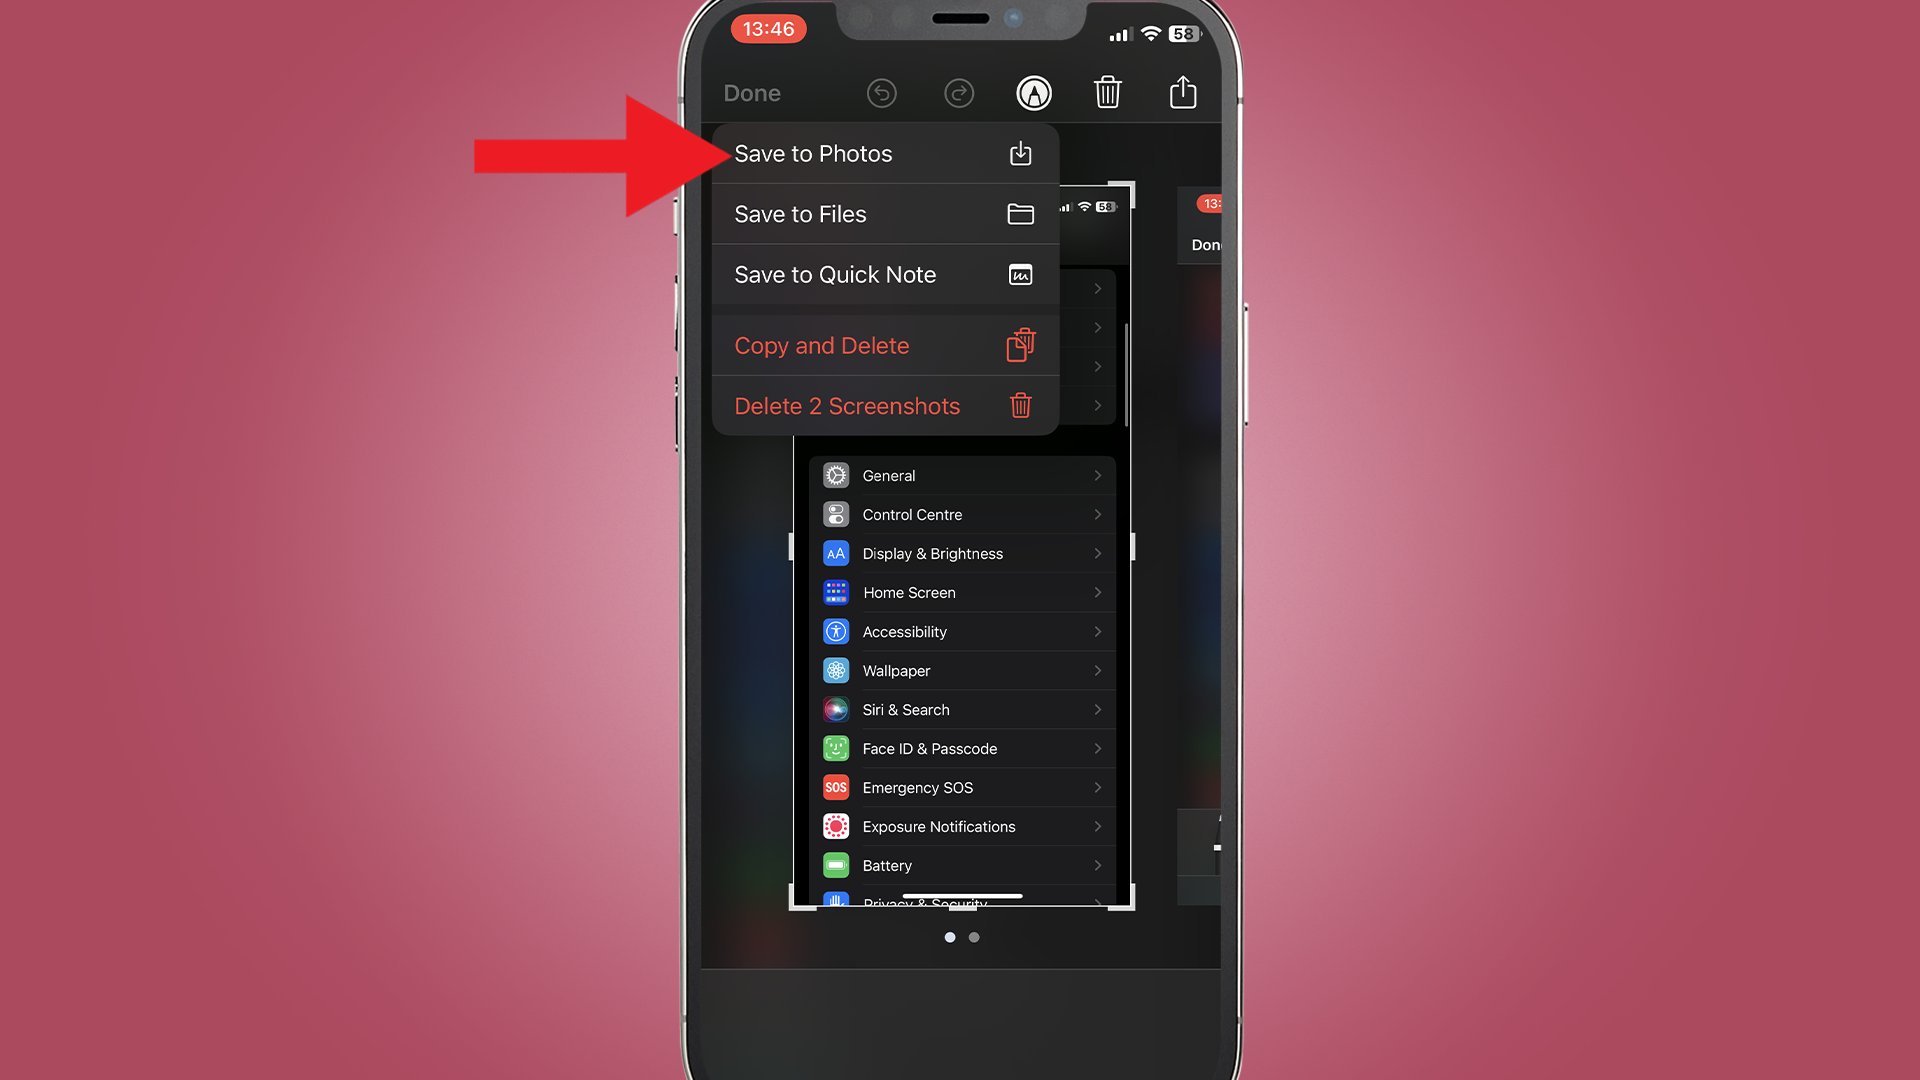
When you’re done, you can tap Done, then choose where you want to save the screenshot to. From this menu, you can also choose to either copy and delete or just delete the screenshot.
Final thoughts
One of the greatest things about Apple's iOS is how user-friendly and intuitive it is. The steps for how to capture and edit screenshots are a fantastic example of this, and once you've done the process a few times it becomes second nature.
We've also written helpful guides on how to reset an iPhone, how to hotspot on an iPhone and some tips and tricks to help your iPhone run faster.
Sign up for breaking news, reviews, opinion, top tech deals, and more.

Josephine Watson is TechRadar's Managing Editor - Lifestyle. Josephine is an award-winning journalist (PPA 30 under 30 2024), having previously written on a variety of topics, from pop culture to gaming and even the energy industry, joining TechRadar to support general site management. She is a smart home nerd, champion of TechRadar's sustainability efforts as well and an advocate for internet safety and education. She has used her position to fight for progressive approaches towards diversity and inclusion, mental health, and neurodiversity in corporate settings. Generally, you'll find her fiddling with her smart home setup, watching Disney movies, playing on her Switch, or rewatching the extended edition of Lord of the Rings... again.