


Virtual reality is taking the world by storm, and for good reason. It's a great way to experience games in a much more immersive way – and many consider it to be the future of gaming.
The HTC Vive is one of the most popular virtual reality headsets out there, offering an excellent balance between price and performance.
Of course, you didn't come here to find out how great the HTC Vive is – you're reading this because you already have one, and now need to set it up. Thankfully, it's not an overly difficult process – though we do recommend dedicating at least 30 minutes to it.
Time requirements aside, really anyone can tackle the HTC Vive setup for normal use – it doesn’t require professional installation like some other products might. Still, it's not as easy as just plugging it in – the Vive in particular uses external sensors to track things like hand movements, which means it will require a little extra time.
- HTC Vive price: how does it compare to other VR headsets?
We'll also cover the HTC Vive Pro, which is more powerful than the standard Vive, but thankfully isn't much more difficult to set up. You're also only needing to deal with fewer cables since the Vive Pro replaces three of the Vive's cables with one multi-use cable.
No matter how tech-savvy you are, we've got you covered – here's how to setup the HTC Vive and HTC Vive Pro.
- HTC Vive vs Oculus Rift: which VR headset is better?
HTC Vive requirements
Since the Vive connects to your computer, you'll need to make sure that your computer has the required minimum specs.
Thankfully, the minimum requirements for the HTC Vive and HTC Vive Pro are largely the same with only minor differences, which not only makes things less complicated, but also means you can upgrade from the Vive to the Vive Pro without getting a new system.
Here's a quick rundown of the specs you'll need for the HTC Vive and HTC Vive Pro:
- Intel Core i5-4590 / AMD FX 8350 or better
- 4GB RAM or more
- NVIDIA GeForce GTX 1060 / AMD Radeon RX 480 or better
- HDMI 1.4 (Vive), DisplayPort 1.2 (Vive Pro), or newer
- 1 USB 2.0 or newer (Vive), 1 USB 3.0 or newer (Vive Pro)
- Windows 7 SP1 (Vive only), Windows 8.1 or later, Windows 10
Before running through the installation process, make sure your computer is set up and the latest drivers for your graphics have been installed.
Of course, this is a list of minimum requirements – so if you have more powerful components, like an i7 chip instead of the i5 chip, then those will work, too.
It's important to note that HTC recommends an NVIDIA GeForce GTX 1070 rather than a 1060 for the Vive Pro – so if you're planning a PC build or can afford the slightly more powerful chip, it may be worth buying.
Computer requirements aren't the only requirements you'll need to think about for the HTC Vive and HTC Vive Pro.
You'll also want to think about the size of your room. HTC recommends setting the Vive up in a room that's no smaller than 6'6" x 5', and with 16'4" between base stations at most. Safe to say, measuring out your room before buying the Vive or Vive Pro is definitely a good idea.
- HTC Vive tips and tricks: get the most out of your VR system
How to set up the HTC Vive
Now that you have your headset and the hardware needed to properly run apps and games on your system, it's time to set up the hardware so you can start using the device. Follow the steps below to ensure your HTC Vive is successfully installed.
Installing the base stations
1. Make sure your room is at least 6'6" x 5', with no more than 16'4" between base stations. Also make sure the ceiling is high enough that you don't hit it when you're gaming.
2. Unpack your base stations and make sure there are two, with two power cables and adapters, two mounting kits, and one sync cable. The base stations will be placed at opposite corners of the room, and most people choose to mount them to the wall – but if you don't want to mount them you can use ¼ -20 UNC threaded mounts as an alternative.

3. Using the mounting hardware, mount the base stations above head height and angled 30-45 degrees down. HTC mentions that you can also try placing the base stations on high bookshelves, though you may experience mixed results with this technique.
4. Plug your base stations into power outlets.
5. Put each base station into syncing mode. To do this, press the mode button on the back of one so it reads "b" on the front, then press the button on the other until it reads "c." It doesn't matter which station is in which mode.
6. The LEDs on the base stations should turn a solid white. If they do not, head to this page and consult the troubleshooting instructions under section 2G.
Installing the headset
1. Make sure you have the headset, link box, USB cable, HDMI cable (or DisplayPort cable for the Vive Pro), and link box power cord.
2. For the HTC Vive, look at the link box and find the side without the orange ports. For the Vive Pro, you'll simply be using the ports on the back of the Link Box.
3. Plug the HDMI cable into the Link Box for the HTC Vive, or the DisplayPort cable for the Vive Pro. Plug the other side of those cables into your computer, ensuring that you plug them into your graphics card's ports.

4. Plug the USB cable into the Link Box, and then into an available port on your computer. The Vive supports USB 2.0+, while the Vive Pro needs a USB 3.0+ port.
5. Plug the power cord into your Link Box, then into a power outlet. After doing this, make sure you don't unplug anything – your computer will be downloading and installing drivers, and unplugging the cables too early could create issues.
6. Connect the headset to the Link Box. For the Vive, this means connecting three cables – USB, HDMI, and Power – into the orange ports. For the Vive Pro, simply plug in the headset's cable to the Link Box. Once plugged in, press the power button on the Link Box, if you have a Vive Pro.
Installing Steam and Steam VR
1. Download and install Steam. Then create an account. Then, download and install Steam VR.
2. In Steam, head to the Library, right click on Steam VR, and press Properties. Select the Betas tab, then, using the drop-down menu, press "Steam VR Beta Update" and wait for it to update.

3. Once updated, launch Steam VR by pressing the VR icon in the top right-hand corner of Steam.
4. Once SteamVR launches, you'll see the state of your system. Green means that everything is working properly. Flashing green means the headset can't see the base stations. Grey means the headset is off.
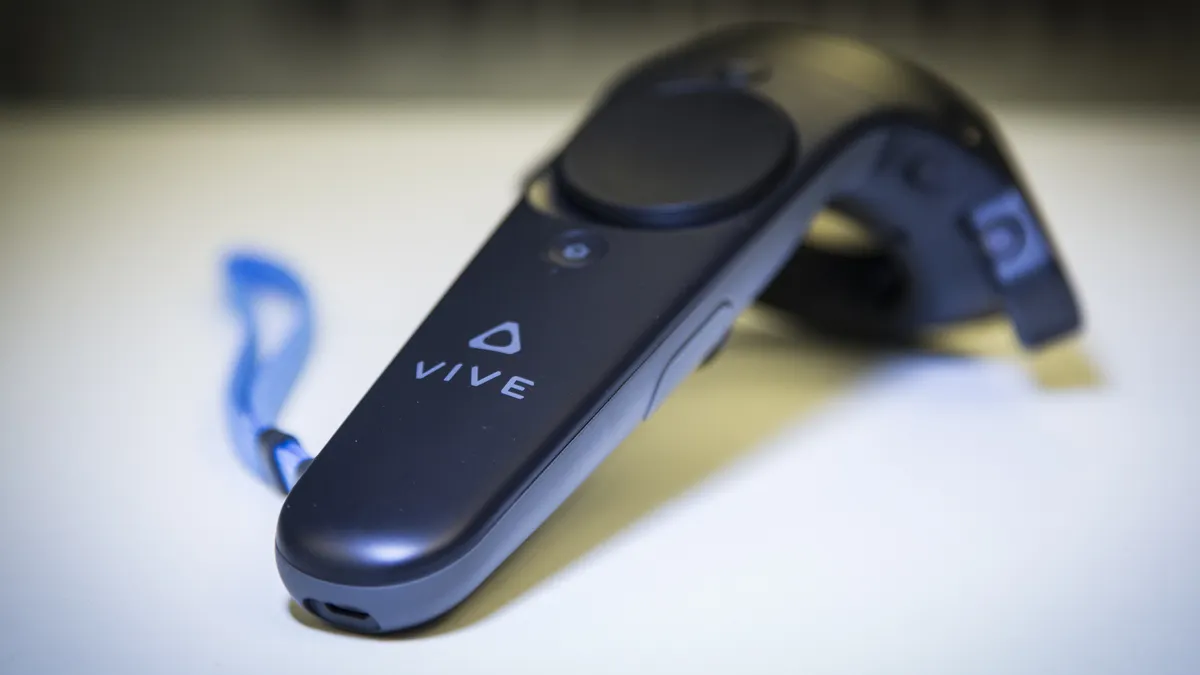
Connecting the controllers
1. Press the system button on the controllers, which is the bottom button on the front of each controller.
2. The status icons should change to green, indicating that the controllers have paired properly. If the icon remains grey, click on SteamVR menu, then press Settings. Click Devices, then hit the "Pair Controller" button and follow the on-screen instructions.
That's all there is to it. Assuming you've done everything correctly, your headset should be ready to go. You can launch games from Steam, or from the Dashboard in virtual reality.
Other things you need to know
If everything went according to plan, you should now be enjoying virtual reality – though if you're new to it, there are a few tutorials you can use to get acquainted with the system.
For starters, you may want to run Room Setup by heading to the Steam VR menu and pressing the Room Setup button. After Room Setup, a tutorial will launch teaching you how to use the system.

Apart from that, you'll likely want to adjust the headset with the straps on the headset or the knob on the back of the HTC Vive Pro. Making the headset fit well will ensure that the headset doesn't move around too much while you're gaming, which could interrupt the experience.
You'll also want to adjust the Interpupillary Distance, or IPD, which is the distance between your pupils. The headset has a knob on the bottom right, which you can turn to adjust the IPD to what feels most natural.
Audio is also a little different depending on the headset. The standard Vive features a headphone jack on the back, which you can use to plug in any of your favorite headphones, while the Vive Pro offers built-in headphones.
Once everything is set up, your VR experience should be a good one. HTC is known for its awesome VR headsets, and both the Vive and Vive Pro have a lot to offer.
- Now it's time to game! These are the best HTC Vive games