How to make your wired speakers go wireless
Here’s how to turn any speakers into wireless speakers for music streaming

Sign up for breaking news, reviews, opinion, top tech deals, and more.
You are now subscribed
Your newsletter sign-up was successful
Wired speakers can easily be converted into wireless speakers by making a few basic hardware additions to your audio setup. The best wireless speakers make music streaming incredibly easy by having that capability already built-in. That’s why models like the Sonos One and Apple HomePod have become such popular speaker options – you simply connect them to your home’s Wi-Fi network, download an app or two, and start streaming from the best music streaming services.
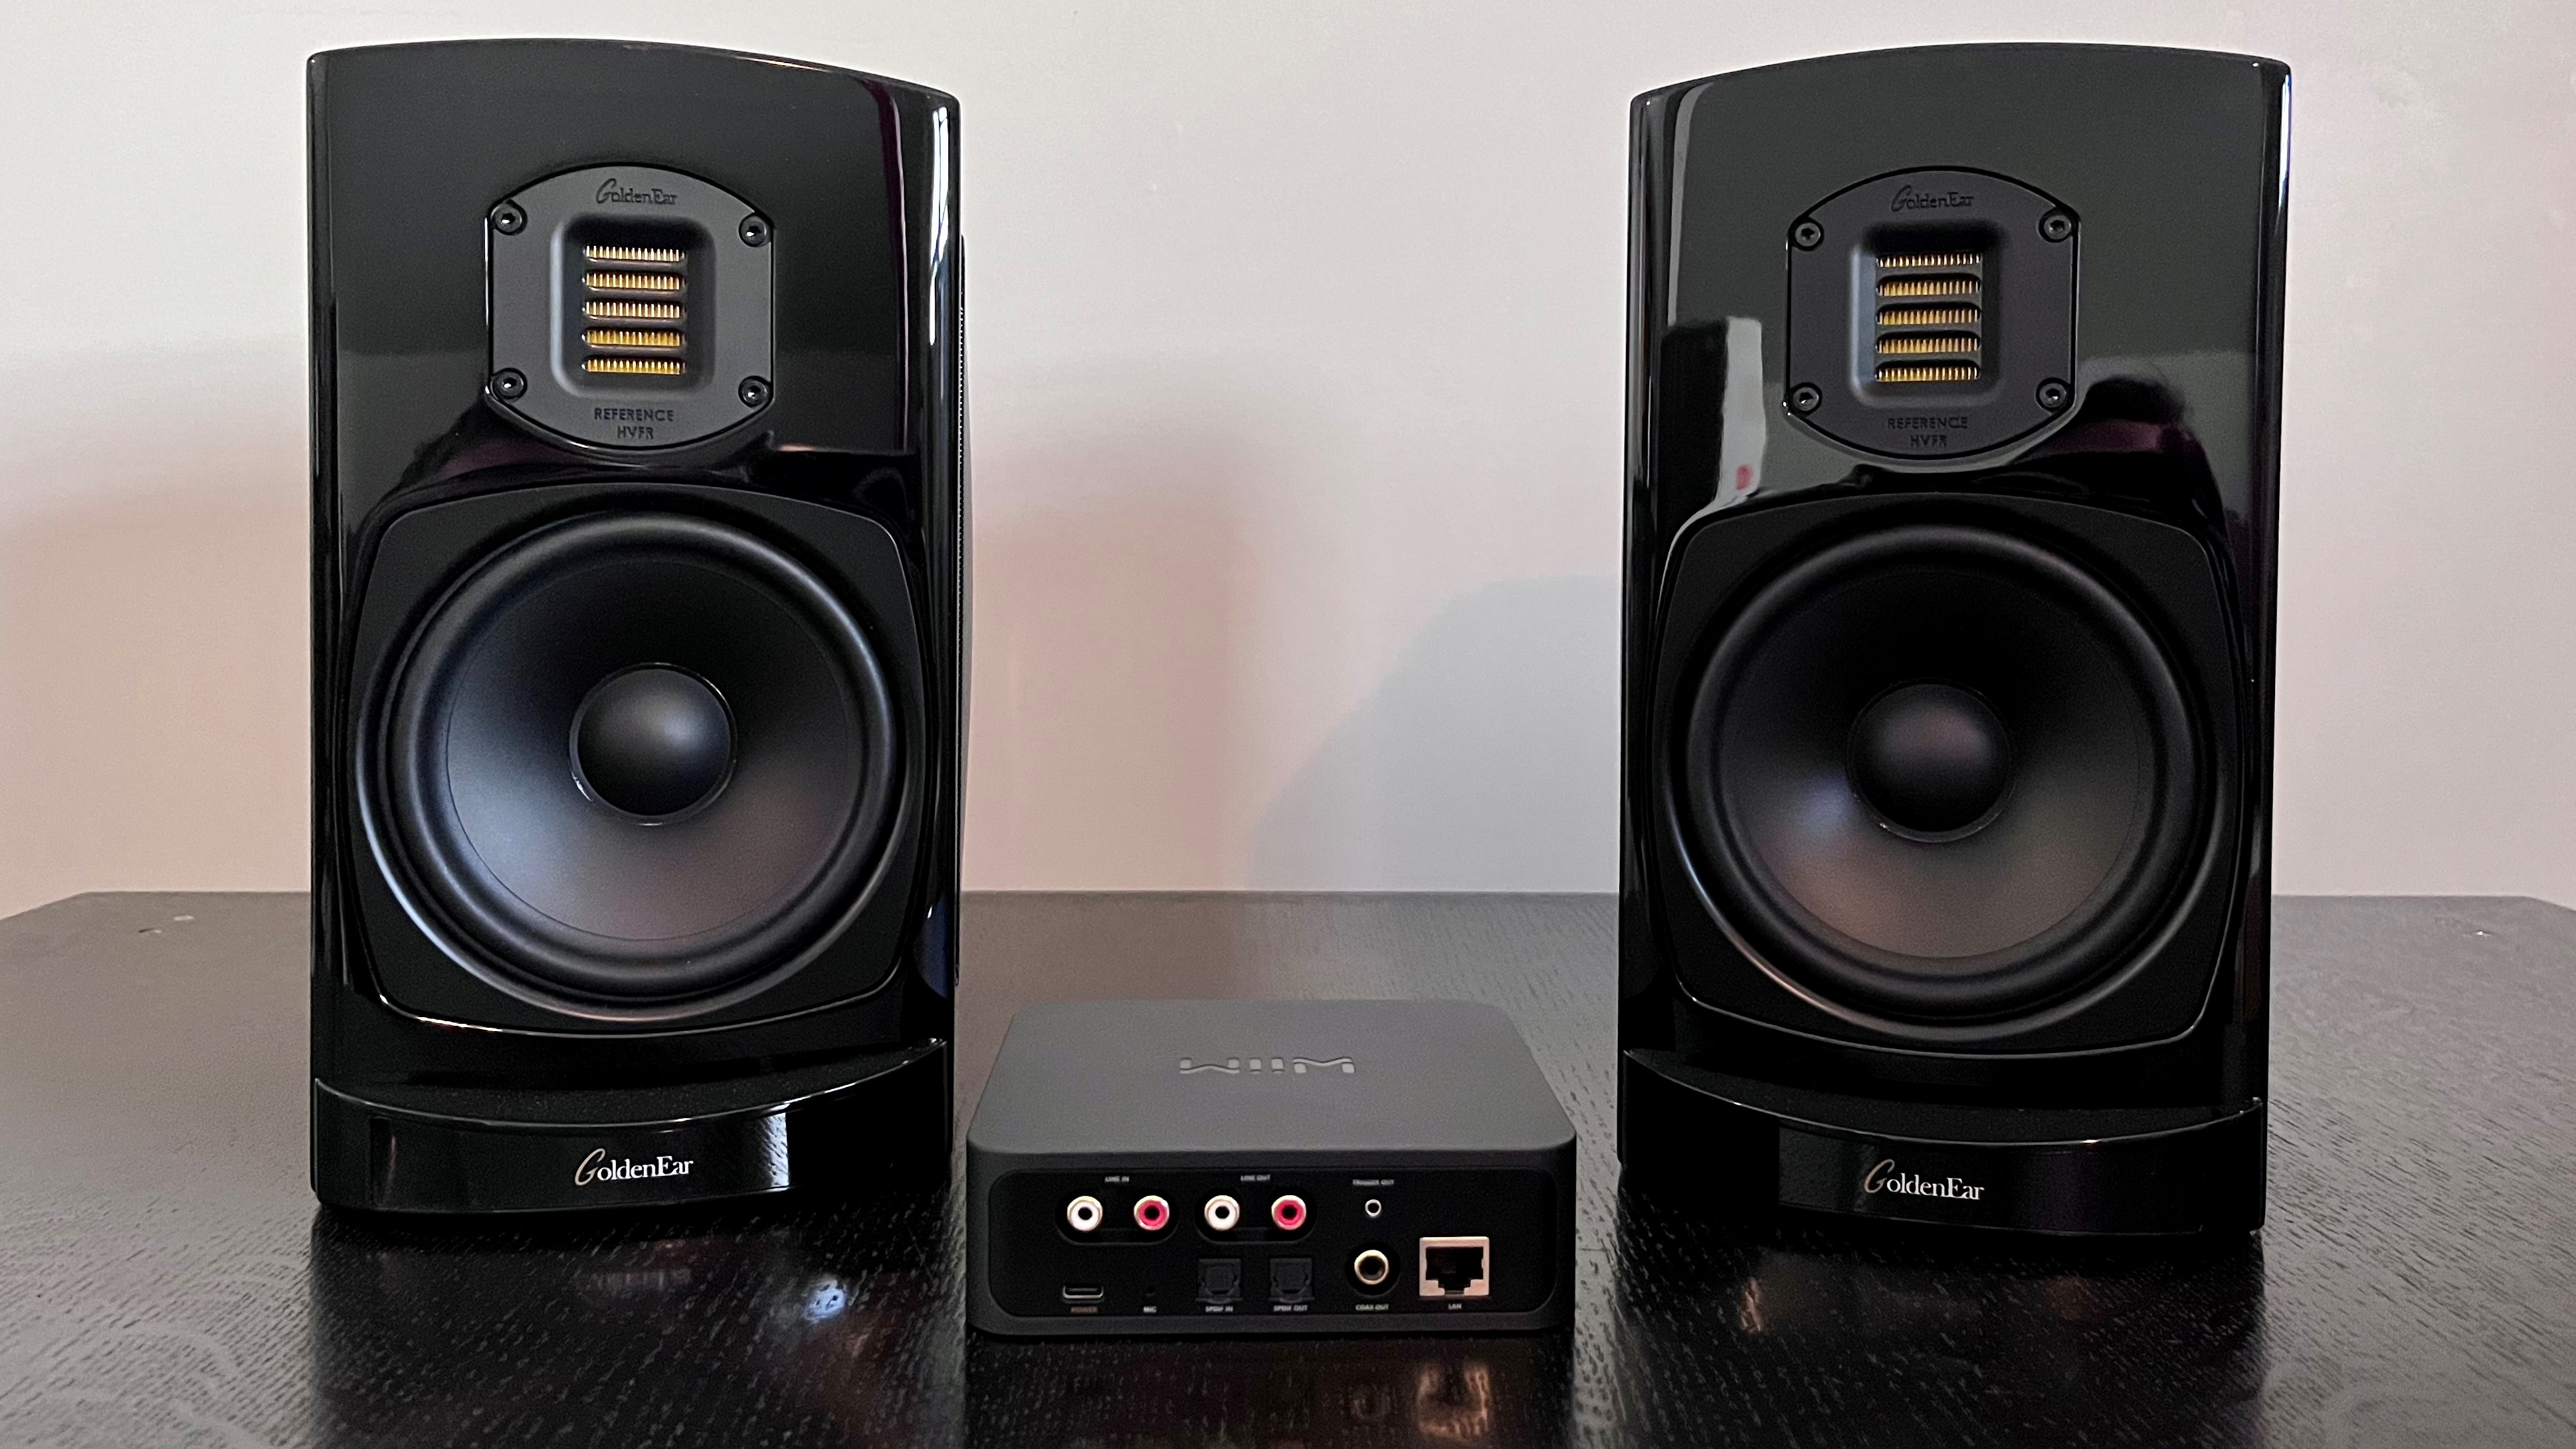
But what if you already have a pair of perfectly good speakers and want to continue using them? There are two scenarios here for adding streaming capability to speakers. In the first one, you’ll need to connect an external wireless music streamer to an existing amplifier or receiver. Two of the more affordable options here are the Sonos Port ($449) and WiiM Pro ($149), both of which link up to your home’s Wi-Fi and connect to your amp using an analog stereo or coaxial or optical digital audio connection.
The second case involves connecting the speakers to an amplifier with built-in streaming capability. Amplifiers such as the Sonos Amp and SVS Prime Wireless Pro SoundBase (both $699) connect to your home’s wireless network and let you wirelessly stream Lossless-quality music from a wide range of services. They also provide outputs for connecting cables between the amplifier and your speakers.
Both of these scenarios can be easily tackled without much tech knowledge, and the upgrades you’ll have to make aren’t necessarily that costly. We’ll walk you through exactly what you’ll need to buy, and how to connect everything up below.
Steps for how to make wired speakers wireless
- Connect to your amplifier using stereo RCA, optical digital, or coaxial digital cables (wireless streamer)
- Connect to your stereo speakers using speaker cables (streaming amplifier)
- Download the wireless streamer or streaming amplifier’s control app to your phone
- Follow instructions in the app to connect the wireless streamer or streaming amplifier to your Wi-Fi network
Tools and Requirements
- Wi-Fi network
- Phone or tablet
- Analog stereo RCA cables (for wireless streamer)
- Speaker cables (for streaming amplifier)
Step by step guide to how to connect a wireless streamer to an amplifier
1. Connect cables between streamer and amplifier

To make an analog connection from the wireless streamer to an amplifier or receiver, use stereo RCA cables to link the streamer’s RCA audio outputs to its RCA audio inputs. Make sure to properly follow left and right connections, and also make sure the cables are fully inserted to ensure a proper hookup.
To make a digital connection between the wireless streamer and amplifier or receiver, use an optical or coaxial cable (white cable shown above) to link the two units.
3. Download and configure control app

After downloading the manufacturer’s control app (see instructions included with product) to your phone or tablet, use the app’s settings tab to select your home’s Wi-Fi network and enter your password.
Once the app has confirmed a network connection, configure available music service selections by entering your login information for each. Many streamers also support AirPlay and/or Chromecast, so those protocols give you another streaming option, one that lets you play music directly from a service’s app.
4. Play music

You’re all done. Play away!
Step by step guide to how to connect a streaming amplifier to speakers
1. Connect the amp to the speakers

Connect the streaming amplifier to your stereo speakers using speaker cables. Be careful to match the positive and negative terminals on each to ensure correct polarity or the sound quality will suffer.
2. Download and configure control app

Follow the instructions detailed in step 2 above to connect the amp to your Wi-Fi network and configure music apps.
3. Play music

You’re all done. Play away!
Final thoughts
We tried to keep this how-to guide general, but you may find that different wireless streamers and streaming amplifiers have different set-up steps for connecting to your home’s Wi-Fi network. This can be the most tricky part of the installation process, and in some cases may require temporarily placing the streamer near your wireless router for initial setup (I’m looking at you DTS Play-Fi).
In addition to streaming over Wi-Fi many streamers and streaming amplifiers also let you use Bluetooth, which can be a convenient, though lower-quality option for quick streaming without having to use a control app. You’ll also often be able to stream music files stored on your phone, or from a networked computer using protocols like DLNA and SMB.
Sign up for breaking news, reviews, opinion, top tech deals, and more.
When using a wireless streamer like the WiiM Pro that provides both digital and analog connections, you’ll need to use your ears to determine which connection provides the best sound quality – a factor that comes down to which device has the better digital-to-analog converter (DAC), the streamer or your amplifier. Also note that an optical digital audio connection has limited bandwidth compared to a coaxial connection, which makes coaxial a better choice for High-Res audio streaming from services like Tidal and Amazon Music Unlimited.

Al Griffin has been writing about and reviewing A/V tech since the days LaserDiscs roamed the earth, and was previously the editor of Sound & Vision magazine.
When not reviewing the latest and greatest gear or watching movies at home, he can usually be found out and about on a bike.