


When you need to convert a video to a different format, you could download and install a dedicated program, but it's quicker and easier to use an online tool.
Part of the challenge is choosing the right website for the task. Some online tools will apply watermarks to your converted videos, take ages to process them, or are full of obnoxious ads that make them unpleasant to use.
Here we'll be using Apowersoft Free Online Video Converter – the top-rated tool in our roundup of the best online converters. It's powerful, adaptable and surprisingly simple to use. It offers a huge choice of export formats, plus simple editing tools and the ability to convert multiple videos at once. Here's how.


1. Get the Apowersoft launcher
Before we begin, note that the link that reads 'Download desktop version' actually downloads a trial version of Apowersoft's premium video conversion software. It's not the same as the online converter, which we're using here.
Visit Apowersoft Free Online Video Converter and click 'Select files to start'. When prompted, download and run the small launcher application. This will only take a moment. When it's done, click 'OK'.

2. Upload your videos
You're now ready to select a video from your PC. Apowersoft Free Online Video Converter supports a huge range of formats, including MP4, AVI, MOV, WMV and many more. Choose a file and click 'Open'.
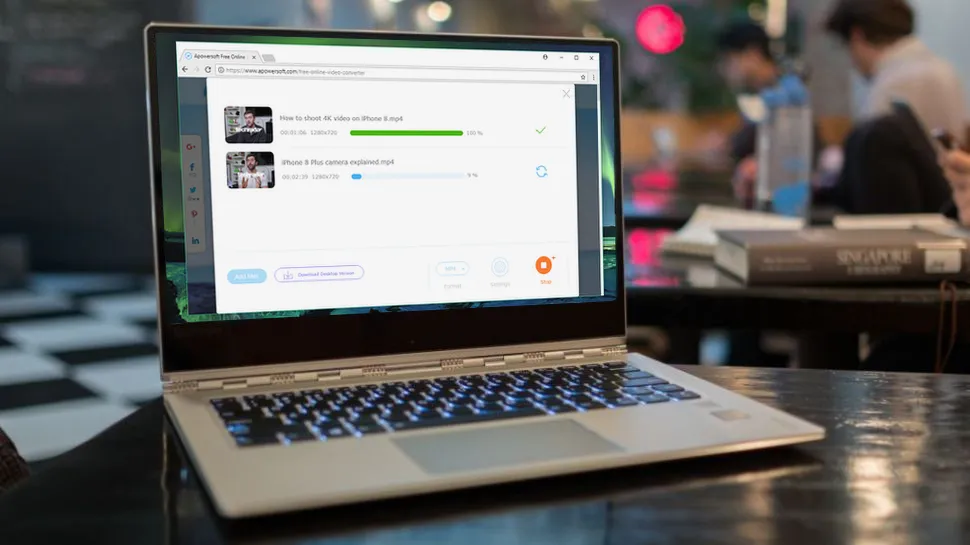
After a couple of seconds, your video will be added to a queue, with a thumbnail image, running time and dimensions. Clicking the 'i' button will reveal further information about the file.
You can queue up more videos using the 'Add files' button on the bottom left. All the videos in the queue will be converted using the same output settings. If you want to convert a bunch of videos to different formats, you'll need to do them separately.

3. Edit and trim
Apowersoft Online Video Converter includes a set of handy editing tools to get your clips in great shape, eliminating the need to use a separate editing program afterwards. Click the pencil icon beside a video to access the advanced settings.
Here you can trim the video by specifying a start and end point, use an image file to create a custom watermark, apply stylish filters, adjust the volume and crop it. The latter option is particularly useful if you're planning to upload it to Instagram and would like to cut it down to a square. It's also possible to rotate the video (ideal if you forgot to rotate your phone when recording), flip or mirror it, and change the play speed. When you're done, click 'OK'.

4. Convert your clips
Choose the output format for your clips using the drop-down menu. There's a huge selection of formats available, including MP4, AVI, MKV, MOV and many more. You can also strip the audio from your video and save it as a sound file.
Click the cog icon to access the settings menu. Here you can adjust the resolution, bitrate and frame rate of the video, plus the bitrate, channels (mono or stereo) and sample rate of the audio. When you're done, click 'Convert' and pick an output folder.

5. Save or share
Once your videos have finished processing (you'll see a progress bar for each one), you can either open them immediately in the output folder, or share them directly to Facebook, Twitter, Google+ or Pinterest. That's it!
- You can edit your clips further with our pick of the best free video editors
