
 Become a TechRadar Insider


You're looking to protect yourself on public Wi-Fi and/or spoof the location of your IP address, so you've just signed up with a VPN. Smart move. But what next?
It's tempting to just launch your provider's app, hit 'Connect' and get on with your new privacy-protected life. It's quick, easy and hassle-free: what's not to like?
The trouble is that rushing into action with a new VPN could mean you miss crucial first steps that cost you money and compromise your security - and that's just for starters.
Here we'll explain the five things to do in your first few moments with a new VPN, how to avoid common pitfalls, improve your privacy and get the most out of the service.
1. Find the auto-renewal option
Sign up with most VPNs and you'll get an auto-renewing subscription, which essentially means the provider keeps taking your money for each new term until you tell it to stop.
Companies use all kinds of tricks to keep this agreement going. Some hide any web 'Cancel' option; others don't allow online cancellations, forcing you to send an email. But the sneakiest tactic is to renew a subscription a few days before it expires, so anyone who leaves cancellations to the last minute will find they're too late.
To avoid all of this pain, go looking for any Auto-Renew or similar billing option just as soon as you sign up, and make sure it's set up to suit your needs. Or if you're on an app store trial, cancel it right away. You'll still be able to use the trial until it expires, you just won't be billed unless you explicitly sign up again.

2. Check your VPN's default settings
VPN websites often make all kinds of impressive claims about their advanced features and bullet-proof privacy technologies. The kill switch, the DNS leak protection, the malware blocking - how could you possibly be at risk with so many layers of protection?
While that seems to make sense, there's a problem. Your VPN might have the longest feature list in the business, but there's precisely zero guarantee that any of them are turned on by default. And unless you enable them yourself, they won't offer you any protection at all.
So, before you hit Connect on any new VPN app, tap the Settings icon, browse through the options and check they're set up as you'd like.
A good starting point is to make sure the kill switch and any leak protection settings are turned on. But beware, some VPNs use an extreme form of kill switch which prevents you using the internet at all unless you're connected to the VPN. If you find your internet dies when you enable the kill switch, turn it off again and check your VPN's support site for advice.

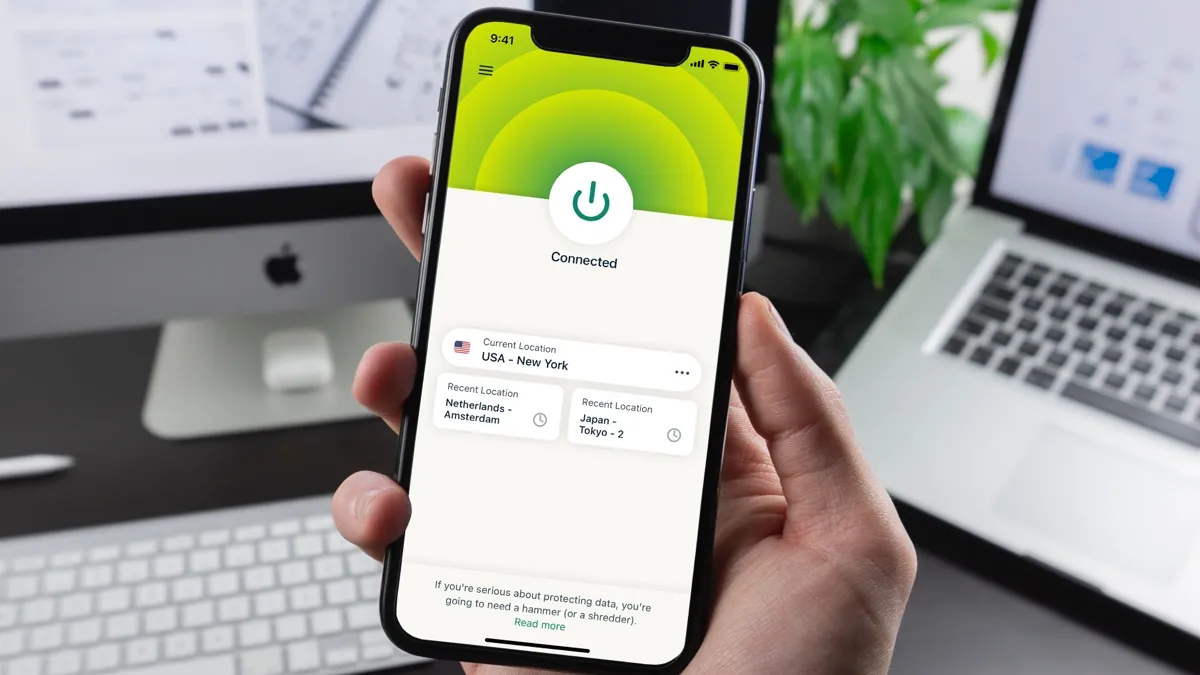
3. Confirm your VPN server locations
Changing your location in most VPN apps seems easy - just choose a country name from a list and click Connect. But sometimes there's a complication. You might choose a server in one country, but the app actually connects you to another, cutting your speeds and preventing you accessing the streaming sites you expected.
You can spot this early on and avoid hassles by checking your VPN's IP address and location. Choose a server in your VPN app, hit connect, then point your browser at MyIP.com and confirm it's the location you expected.
If you see a different country, don't rush off to cancel your account immediately. Geolocation (figuring out the real-world location of an IP address) is tricky, and sites occasionally make mistakes. Verify any odd-looking results by checking them with a couple of other IP location tools: ExpressVPN has one here, NordVPN has another here, or you could try IPLocation , IPGeolocation or ipstack .
4. Test VPN support
Launch any VPN for the first time, try to find your way around, and you're sure to have a few questions. Where's the location list? Can I choose cities, or only countries? How do I set up the VPN to connect when my device starts?
This is such a normal part of the learning process that you'll probably just accept it, tap a button or two and go looking for the answers. And normally that makes a lot of sense.
If you have a question that isn't totally trivial, though ('which of these three icons gets me to Settings?'), drop it in an email and send it to your VPN's support. A couple of sentences are enough. Even if you figure out the answer yourself, two minutes later, you'll learn a lot about the service - how quickly you get a response, how friendly and helpful it is - and that could help you decide if you want to stay with the provider long-term (or take advantage of the VPN's free trial period instead).

5. Install on all your devices
Test a VPN on your Windows laptop and you'll have a good feel for the sort of service you'll get: connection times, download speeds, usability and more.
Beware, though. Just because a VPN is great (or rubbish) on one platform, doesn't mean it'll be the same on others. Switch from one device type to another and you'll often see different interfaces - sometimes very different - as well as huge variations in speeds, feature lists and more.
When you sign up for a new VPN, then, install and try it out first on the device where you'll be using it most often. But if you plan to use it on several platforms, make sure you test it carefully on all of them while you're still within your trial (or money-back) period. You might be surprised at just how different they can be.
- See how to install a VPN on your router
- Stream more with a working Netflix VPN
- Not sure about that provider? Quickly investigate your new VPN
