In the dark days before iOS 8 introduced Family Sharing, one parent couldn't access the other's go-to playlist when the kids got cranky in the car. Now, up to six people can share purchases made in iTunes, the App Store, and iBooks, plus family photo libraries, calendars and more. Setup is simple if you avoid a couple snags - here's all you need to know.
How Family Sharing works
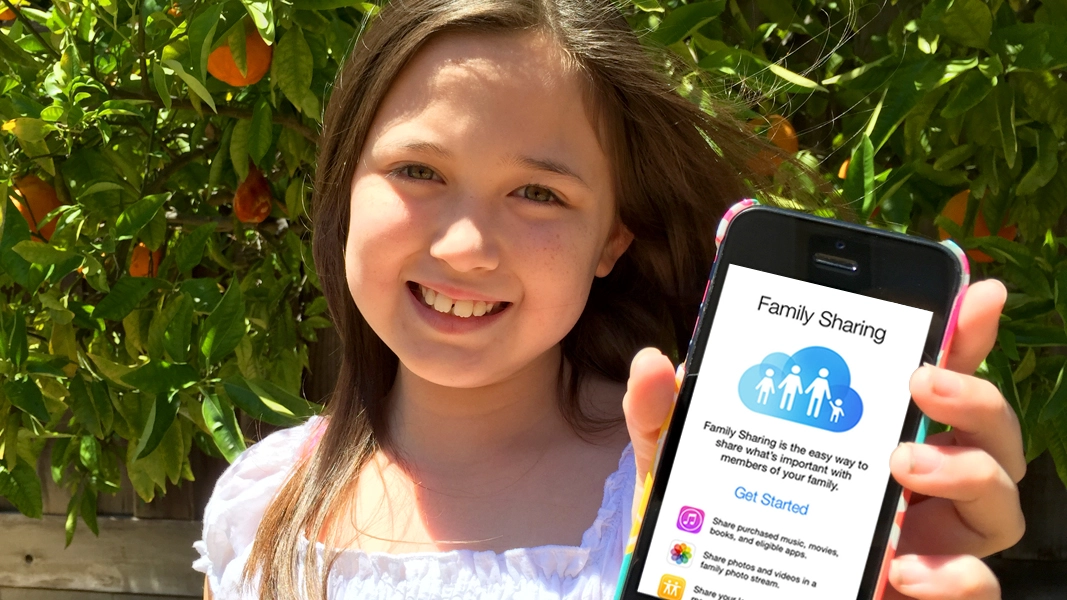
Getting started

Family Sharing on an iPhone, iPad or iPod touch requires iOS 8. To set up an iOS device, go to Settings > iCloud > Set Up Family Sharing. You'll get a brief overview of the feature; when you're done reading, tap Get Started. A couple of screens explain your role as Organizer, then you're asked to add a credit card to your Apple ID if you haven't done so already. If you plan to add a child to Family Sharing, a debit card won't do - since those can be given to minors, Apple requires a credit card to prove you're a grown-up. BUT! If you prefer, you can switch to a debit card after adding the child to the group.
Article continues belowTo set up Family Sharing using a Mac, first make sure you're using OS X Yosemite, then open System Preferences and click iCloud. Next, click the Set Up Family button in the left column and follow the on-screen instructions. (Note: The Set Up Family button will change to Manage Family once you've gone through the initial process.)
Adding members

In iOS 8, the list of family members you share with can be easily managed in Settings > iCloud > Family. A new member can be added by simply tapping Add Family Member and typing in their email address. If you're adding any children, tap Create an Apple ID for a child to set up set up an iCloud email account and password for them. On a Mac, go to Settings > iCloud > Manage Family and click the + button in the lower-left corner.
And that's it!

You've now set up a group for Family Sharing. You may want to consider putting restrictions on any children's devices to prohibit them from accessing any objectionable content, such as rated-R movies or songs with explicit lyrics. (To do so, visit Settings > General > Restrictions on the child's device). It's also possible to hide purchases made through iTunes, iBooks, or the App Store so they aren't even visible to the people you share with. For more information on everything Family Sharing allows you to do, check out Apple's official page.
Have fun accessing all your family's content without having to buy anything more than once!