TV settings explained: picture modes, motion enhancers, sharpness and more
Get picture perfection with the best picture settings for your TV

There’s not much point in buying an amazing smart TV if you’re not going to get the best possible picture, and when it comes to setting up your TV screen, there’s more to it than simply just plugging it in and switching it on.
This guide will cover the most important settings and adjustments you can make to help you get the best possible picture and to increase your viewing pleasure.
Before you start making adjustments, make sure you check all your sources such as your streaming device, set-top box, or Blu-ray player are set up correctly, as they should automatically adjust their settings to make sure they match your TV – but this isn’t always guaranteed. Just click the info button on your TV to check you have your resolution set to 1080p – or 2160p, if you have a 4K capable TV – and away you go.
If you want to know what your TV settings actually do, what they're called, and whether they're worth playing around with, here are the five aspects of TV calibration you need to consider.
1. Picture modes
Almost every TV has a mix of picture mode settings, with different presets such as cinema (known as 'movie' on some models), dynamic, standard, sports, and more. Just a quick cycle through these options will show that the picture changes dramatically between them.
These five main settings get adjusted by changing the picture mode; colour temperature, backlight, motion enhancer, gamma and edge enhancement. Most TVs are automatically set to a 'standard' mode, which strikes a median balance between the above metrics. Whilst that’s perfectly ok for daytime viewing, cinema or movie mode is the setting that will more accurately represent colours meaning it makes the image look as close as to what the director intended.
Here’s a quick rundown of some of the most popular settings.
Sign up for breaking news, reviews, opinion, top tech deals, and more.

Cinema/Movie: If you’re looking for an easy, one-stop setting that’s likely to give you a great picture, you may want to check out movie mode (which on some models can also be called cinema or warm). This mode tends to give more accurate color recreation, if you’ve been using another setting, you may find this setting will display the colours in a softer way, even adding a slightly reddish or amber hue (being less harsh without all that blue light). It’s often better to use this setting if you’re watching your TV in low light too. If you watch TV more during the day or in an extremely light room, you may find another setting suits you better.
Standard: This is usually the default setting that you’ll find on your TV when you take it out of the box. It often has more of a bluish hue, and you’ll find the contrast, sharpness and brightness are firmly set in the middle – it’s great for everyday TV, but you should probably give it a miss if you’re settling down to watch a movie and want a more cinematic feel. This mode is also great if you have a room that’s filled with a lot of natural light, as it’s a good balance between movie and vivid mode (below).
Dynamic/Vivid: As the name suggests, this mode makes colours pop, ramping up the saturation to exaggerate contrast. The downside is that this can make images look oversaturated. It’s the polar opposite of the cinema mode, and rather than giving a warm/reddish hue, it’s more of a cold/blue hue which can make the image look unnaturally bright.
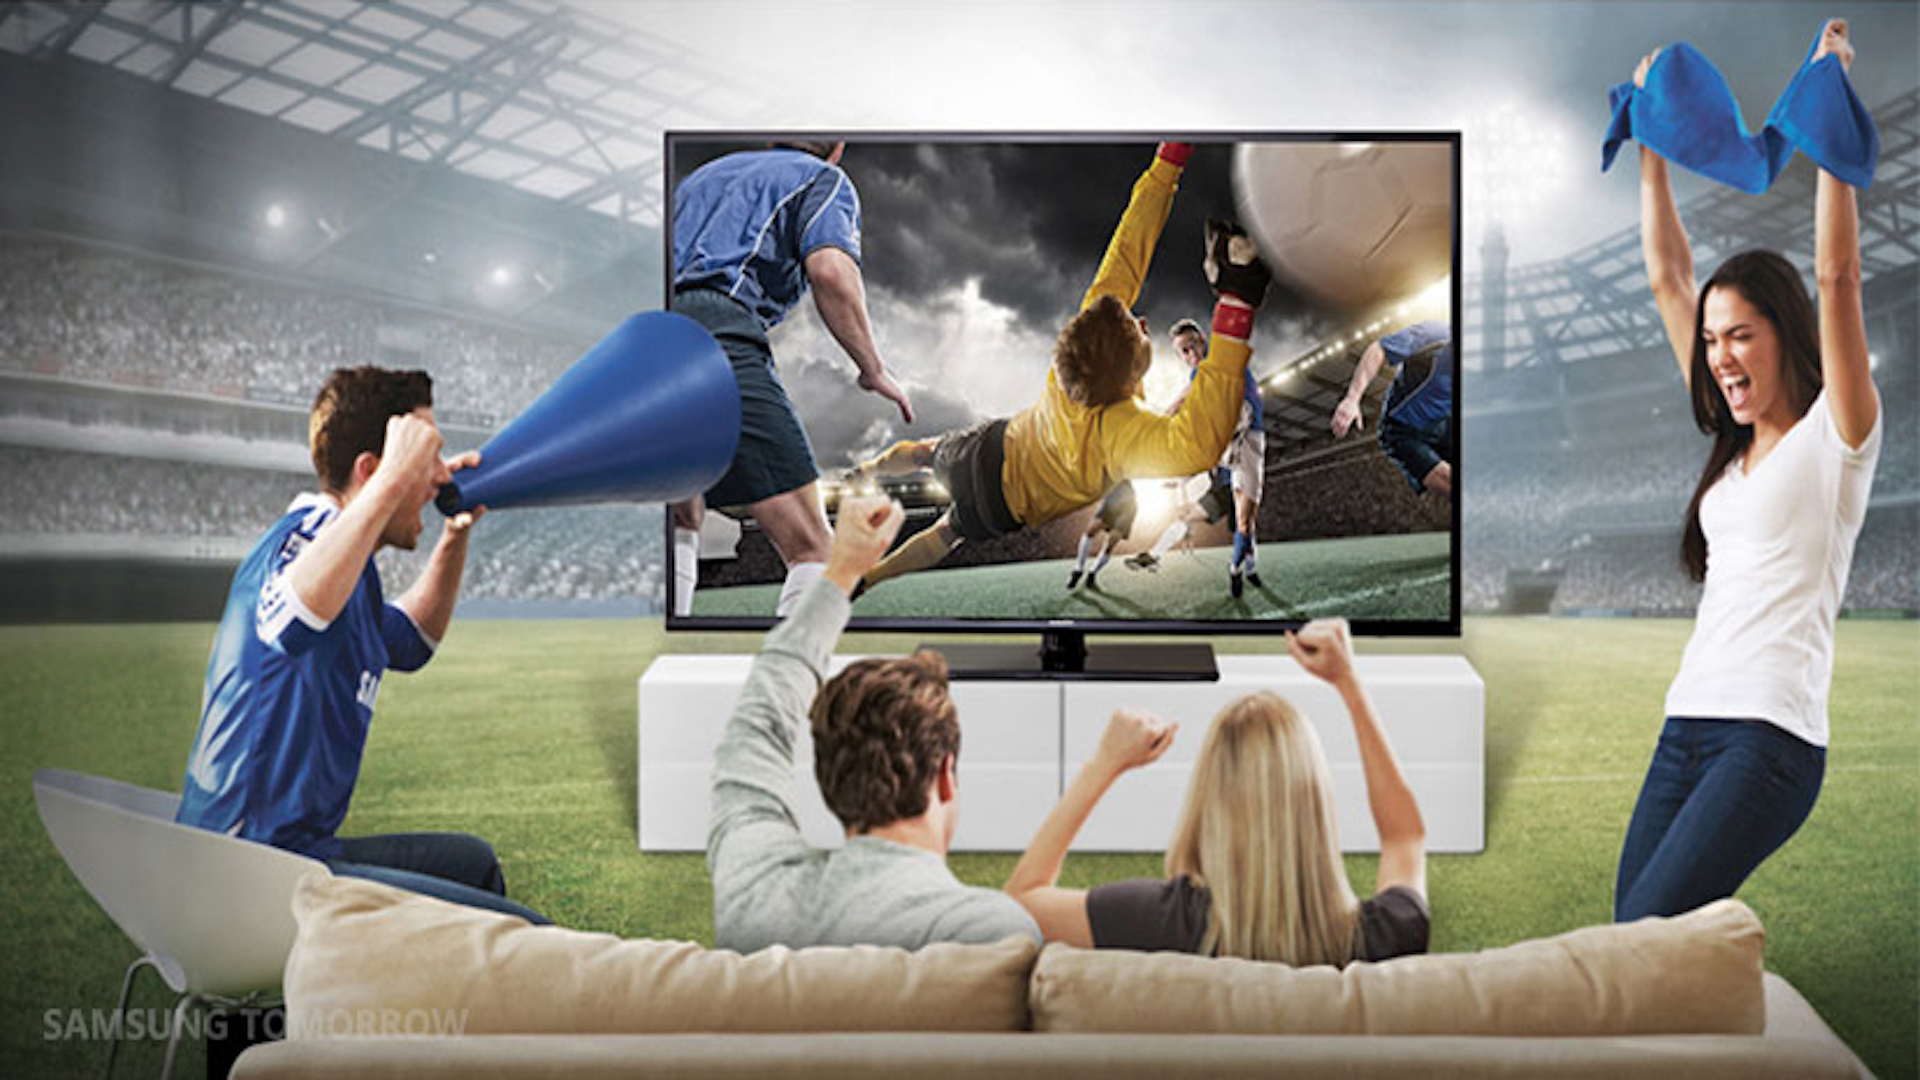
Sports: If you’re a fan of sport (any kind) then you may want to consider the sports preset for watching the next game. Sports mode is a little like the dynamic setting, which artificially boosts the colors and contrast – in this case, in order to help pick out players, goals, and the likes against the background / pitch. It can be a little glaring, but you’ll usually find some motion enhancers employed to make fast movements look that little smoother – like the Motion Flow setting used in Sony Bravia TVs to prevent motion blur. Sports modes on some Samsung TVs, too, calibrate audio settings to better recreate the sound of a stadium.
Gaming: If you want to improve your gaming experience, then opting for game mode may be your best option. This mode works by cutting out nonessential video processing to reduce lag, while upping color and contrast to make in-engine graphics look brighter and more colorful.

2. Motion enhancers
This setting can have many different names, including motion smoothing or frame interpolation, but they all do approximately the same thing. The motion enhancer process helps to eliminate ghosting and blurring that occurs from fast-moving images by artificially inserting more frames into the video.
If you’re watching live TV or sports then this feature should work well, as they are usually filmed at 30 frames per second. However, if you’re watching a movie filmed at 24 frames per second, it can result in unnatural motion (also known as the soap opera effect).
Luckily, it’s quite easy to turn this feature off when you don’t need it. Where you find this setting depends on the manufacturer but the word ‘motion’ is usually present. Samsung calls it Auto Motion Plus, LG calls it TruMotion, Sharp calls it Fine Motion/AquoMotion and Sony calls it MotionFlow.
3. Sharpness
You may think the best way to get a super sharp picture is to turn this setting up high – but in fact it’s the opposite. If you’re using the movie or cinema presetting then chances are that it’s already been turned down for you.
The sharpness setting doesn’t increase the sharpness of the image; instead it increases edge enhancement. When the edges on an image are enhanced, it leaves it looking as though there’s a halo or shadow around them which results in the whole picture looking unnatural.
To get your sharpness setting spot on, simply turn down the sharpness until you can no longer see the halo. The picture will become noticeably soft when the setting is around zero; if it’s too soft for your liking, just turn it up one or two notches to make sure you’re not losing any essential detail.

4. Contrast and brightness
These two settings go hand in hand. Contrast adjusts the bright part of the image whilst the brightness adjusts the dark parts. By setting the contrast too high you’ll find that you lose some of the detail but if you set it too low, your image will look drained. Likewise, if you set your brightness too high your image will look washed out.
The best way to adjust these two settings is to download a calibration pattern or you can purchase a DVD that will walk you through adjusting your brightness, contrast, and other variables correctly. But it is worth noting that different channels or even streaming options can all look slightly different – so your contrast settings may be spot on for Eastenders but look totally off when it comes to Netflix.
5. Backlight and light sensors
The backlight in an LCD – or the panel itself in an OLED TV, which emits its own light – will change the intensity of the lighting source for the TV. In low light, the backlight should be set lower, whereas in bright light the backlight needs to be set to high. Making sure that your backlight is set correctly can reduce the risk of eye strain and headaches – and ensure the image is visible relative to its environment.
Some Samsung TVs offer an Ambient Light Detection function (or ECO sensor on older models) which measures the light in your room and changes the screen brightness automatically to reduce power consumption. You’ll find a similar feature in Dolby Vision IQ, which adds a light sensor to certain Panasonic and LG TVs to adjust picture calibration for Dolby Vision footage depending on the level of light in the room. Panasonic’s new OLED TVs also have an Intelligent Sensing feature that extends this light-dependent calibration to non-DV content.
We've only covered a fraction of the different settings in this guide, but as you can see, just making a few simple changes to your TV settings can result in a better viewing experience.
- Check out the best OLED TVs