Netgear router login: how to log in and tweak your settings
Netgear router login via your PC or smartphone app
Sign up for breaking news, reviews, opinion, top tech deals, and more.
You are now subscribed
Your newsletter sign-up was successful
In this Netgear router login guide, we show you how to log in to your router, and what options you should be tweaking to ensure you're getting the fastest – and most secure – wireless internet speeds possible.
Maybe you bought your Netgear router, set it up, and haven’t ever had any reason to go back into the router’s setup or configuration menus ever since. And now you need to pop back in to change something – maybe you’ve stuck with the same broadband provider for ages, and finally decided to switch to a better deal – but you’ve entirely forgotten how to log in to the Netgear device.
This article is for those who are in this or any similar predicament. Whatever your reason for wanting to log in to your Netgear router, we’ll show you how to do this in clear and easy steps.
Following that, we’ll take a bit of time to go over some common settings you might want to tweak once you’re in the router’s menus, such as adjusting QoS options for example.
There are two main ways you can log in to your Netgear router: either from your PC using a web browser, or from your phone (or tablet) using a dedicated app. Let’s tackle those options in that order.
- Netgear makes some of the best routers of 2019
How to log in to your Netgear router from a PC
1. Primary Netgear router login method
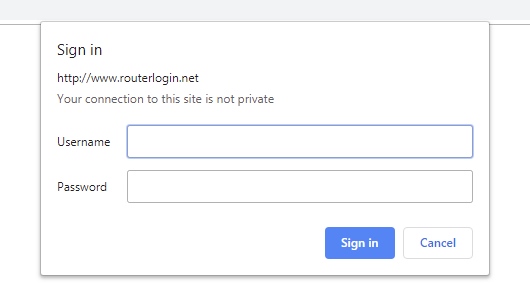
First of all, you’ll need to open your favorite web browser (it doesn’t matter which browser, any will do fine). Then simply type the following into the address (URL) bar of your browser and press Enter:
http://www.routerlogin.net
Sign up for breaking news, reviews, opinion, top tech deals, and more.
Alternatively, you can also type:
http://www.routerlogin.com
You should then see the router login window, which asks for your username and password. If so, skip to step 3. If your router login window fails to appear, proceed to step 2 which is an alternative method of logging in.
Note that Orbi mesh networking routers use http://www.orbilogin.net or http://www.orbilogin.com.
2. Alternative Netgear router login method (via IP)
Alternatively, you can type in the IP address of your Netgear router in the URL bar of the browser.
The IP address is a four figure number, with periods between each number, and you can think of it as a digital address showing where your router is located on the local network. Typically, it will be something like 192.168.xxx.xxx where those last two numbers (xxx) can differ slightly.
This IP address might be written down in your router’s instruction booklet somewhere, but if not, you can find it out easily enough using your PC.
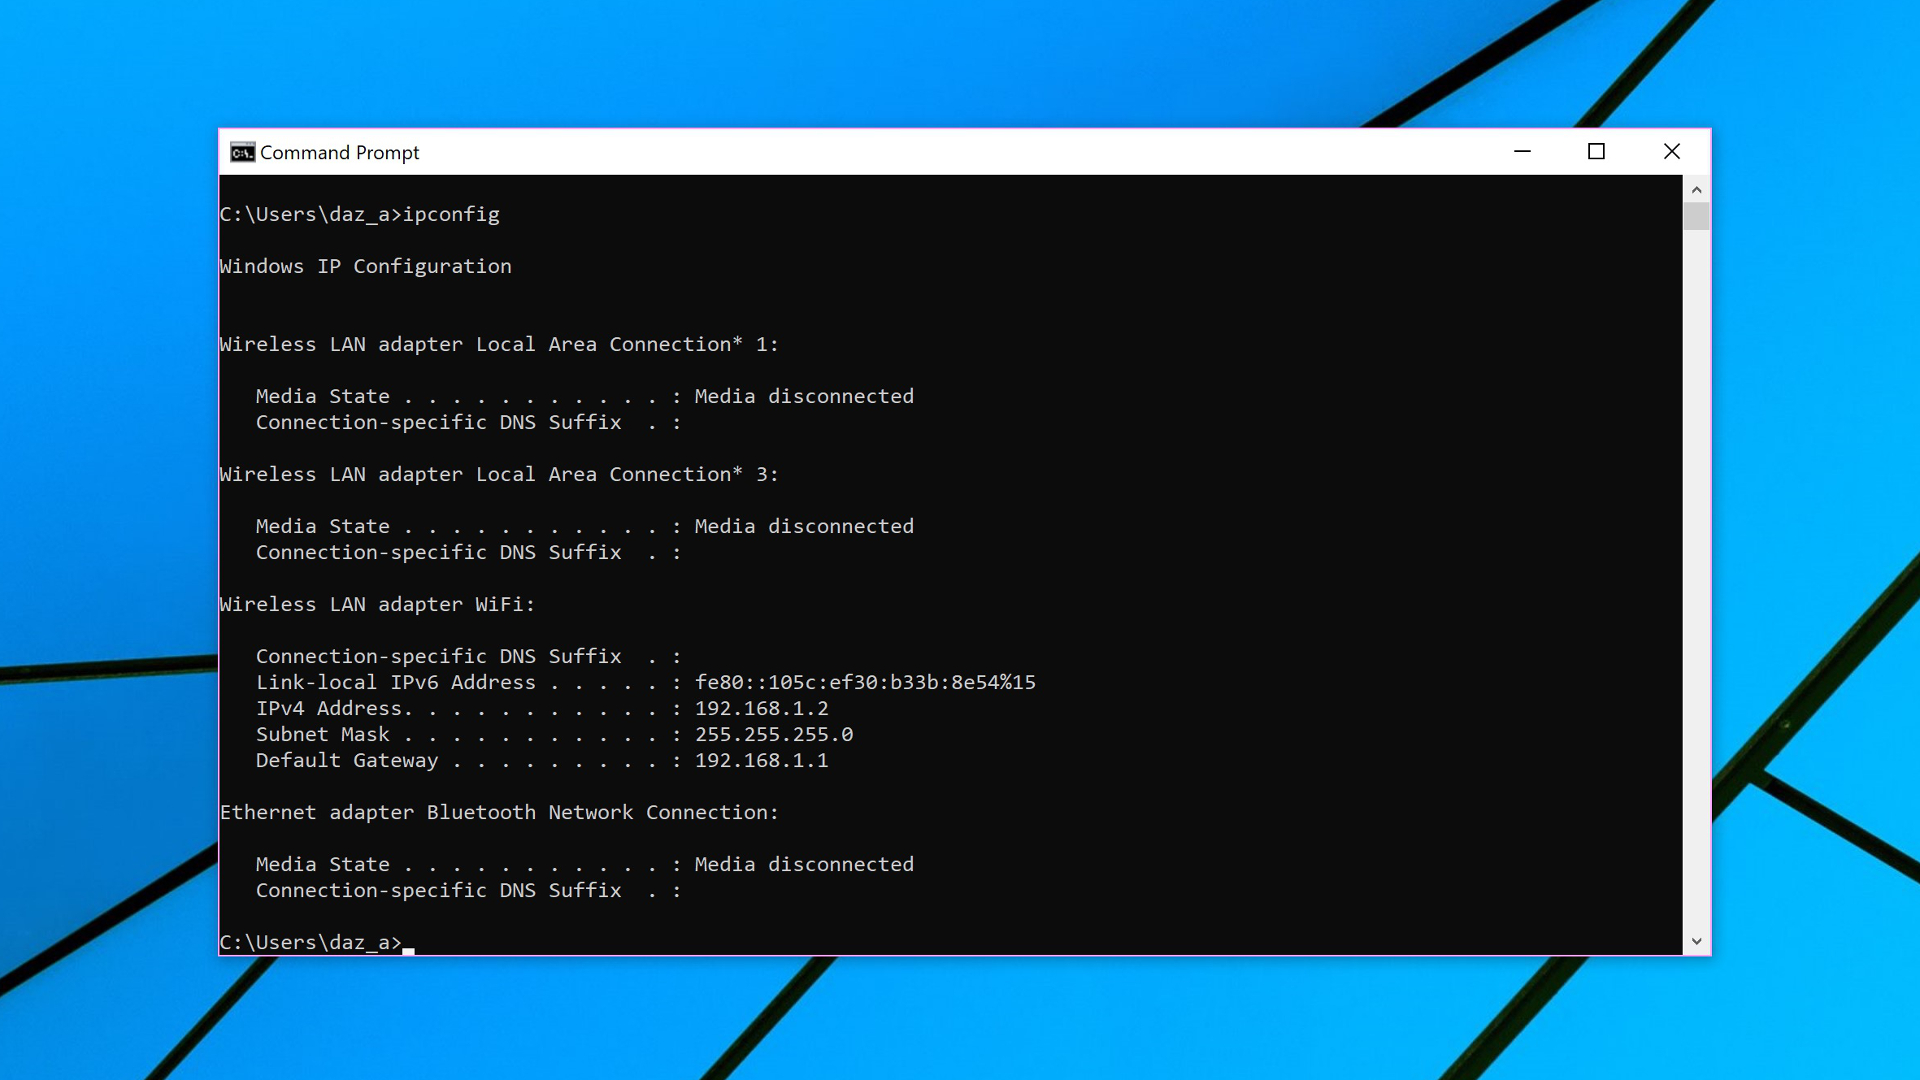
In Windows 10, go to the search box (just next to the Start button), type in ‘C’, and suggestions beginning with the letter ‘C’ will appear above: click on Command Prompt. (On earlier Windows versions, click Start, click in the search field – or on the magnifying glass icon – and type in cmd then click Command Prompt).
A window will pop up – simply type the following into that window (known as the command line) and press Enter:
ipconfigA string of numbers will appear below. Make a note of the one which is labelled Default Gateway (it’s usually at the bottom).
Simply type this number exactly as it is written (including the periods between the numbers) into your browser’s address bar, and you’ll be golden.
3. Enter user credentials
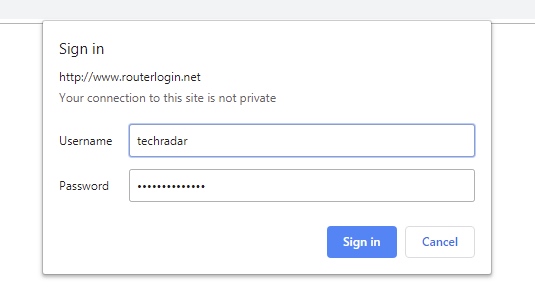
At the Netgear router login window, which requests your username and password, type in your credentials, then click 'Sign in', and there you go – you’ve successfully logged into your Netgear router.
You can now move on to the (optional) section at the bottom of this article on common settings to take a look at once you’re inside the Netgear router’s menus.
There’s one potential stumbling block here, and that’s if you’ve forgotten either your username or password. You did change these from the default values, right – or at least the password?
Those default values are username ‘admin’ and the password is ‘password’ (these defaults are written on the bottom of your router somewhere) – but because they’re so insecure (and known to anybody), you should always change them.
Nevertheless, if you’re not sure what on earth your password details are, you might as well try these default values just in case. Just be sure to change them afterwards. Failing that, you’ll need to perform a password recovery.
4. Password recovery
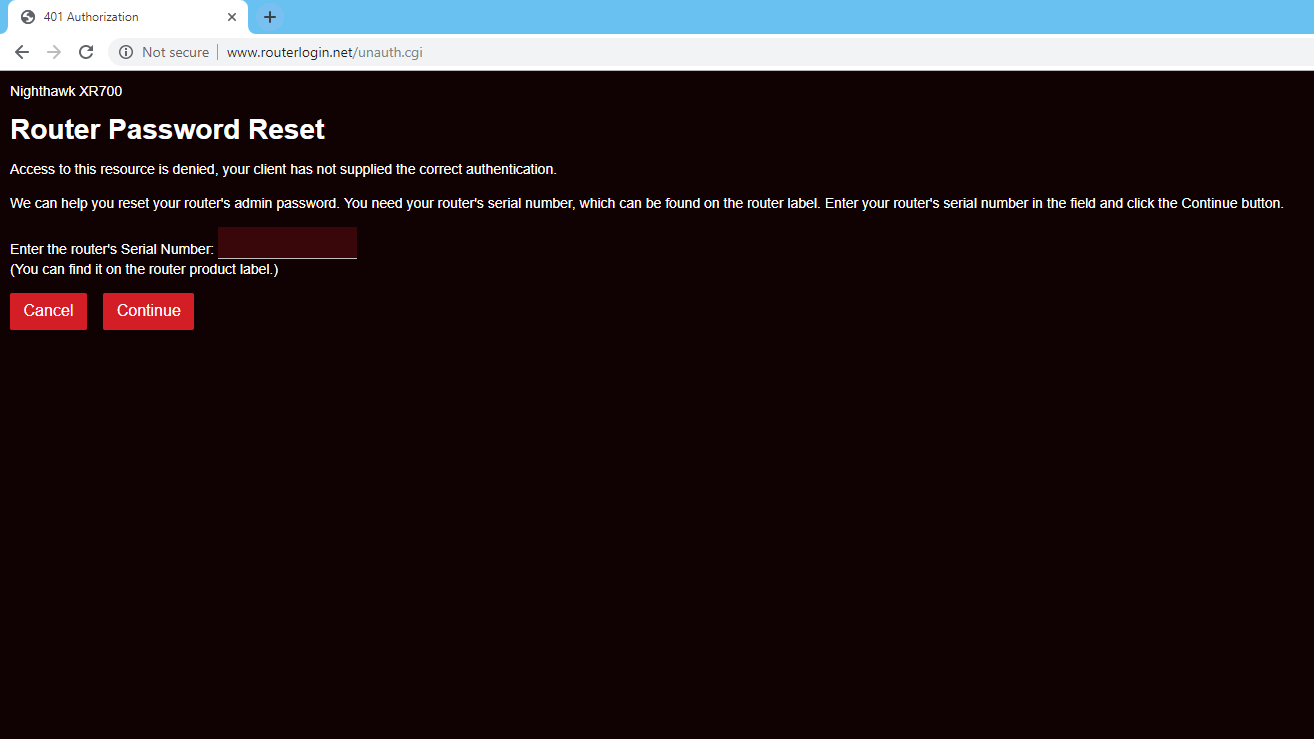
On the Netgear router login window that requests your username and password, click Cancel. Now, if you’ve previously enabled password recovery, the Router Password Recovery screen will appear.
You’ll need to fill in your router’s serial number (written somewhere on the device, likely the underside), and answer some security questions. Once that’s done, the password will be displayed for you to see.
If you didn’t enable password recovery, or have forgotten the answers to the security questions, then we’re afraid you’re out of luck. You will simply have to start from scratch by performing a factory reset on your Netgear router, which will reset the username and password to the defaults (as discussed above).
To carry out a factory reset, make sure the router is turned on, then find the reset button (it will almost certainly be on the rear of the device). This is a small hole which you have to insert a paperclip into and press down for seven seconds (maybe a few more for good measure).
The router will then be reset, but note that you will have lost all of your settings (you will need to set up the device again from scratch).
Netgear router login via mobile app
1. Install the Netgear app
Locate the Nighthawk app (which has replaced the old Genie app, so you’ll need to ditch that and upgrade if you previously ran Genie) on Apple’s App Store or Google Play.
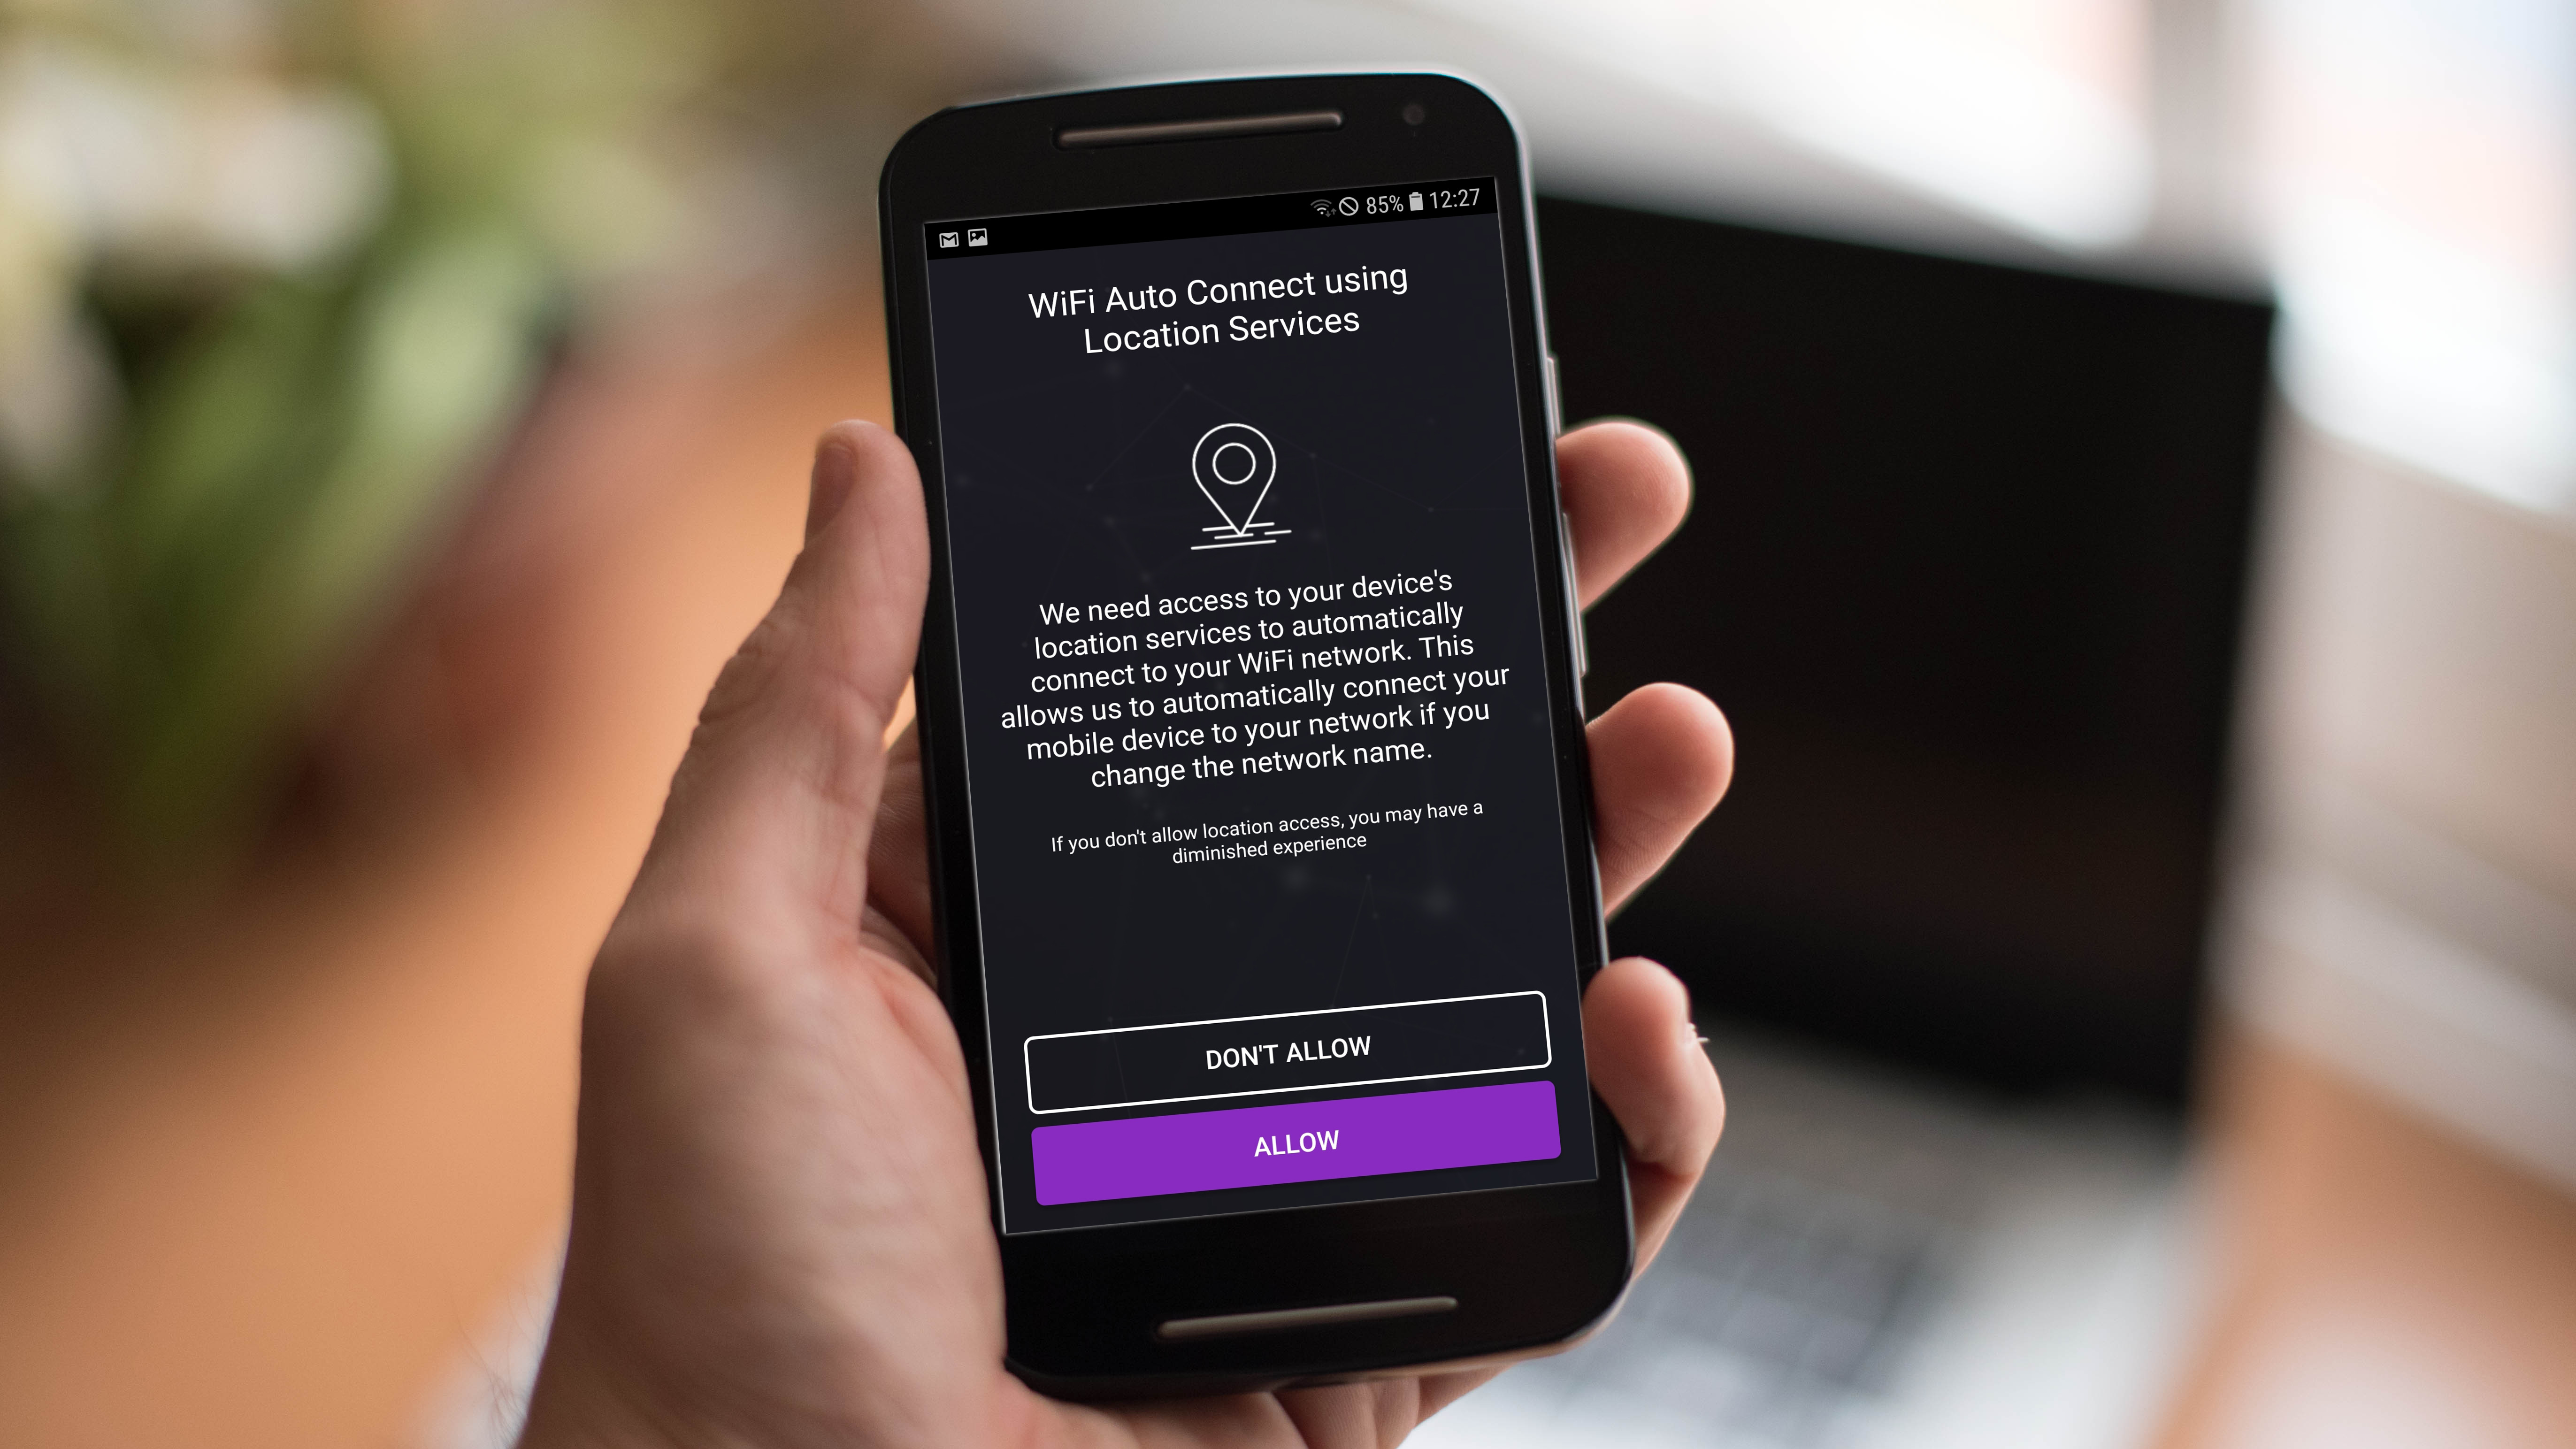
Download and install it on your phone or tablet. After it’s installed, run the application, and agree to the terms and conditions. You must also then decide whether to allow the app to access your device’s location services (which enables the app to automatically connect your phone to your network if you change the network name).
Orbi router owners should use the Orbi app, of course, which is employed when first setting up the mesh networking system.
2. Log in to or create a Netgear account
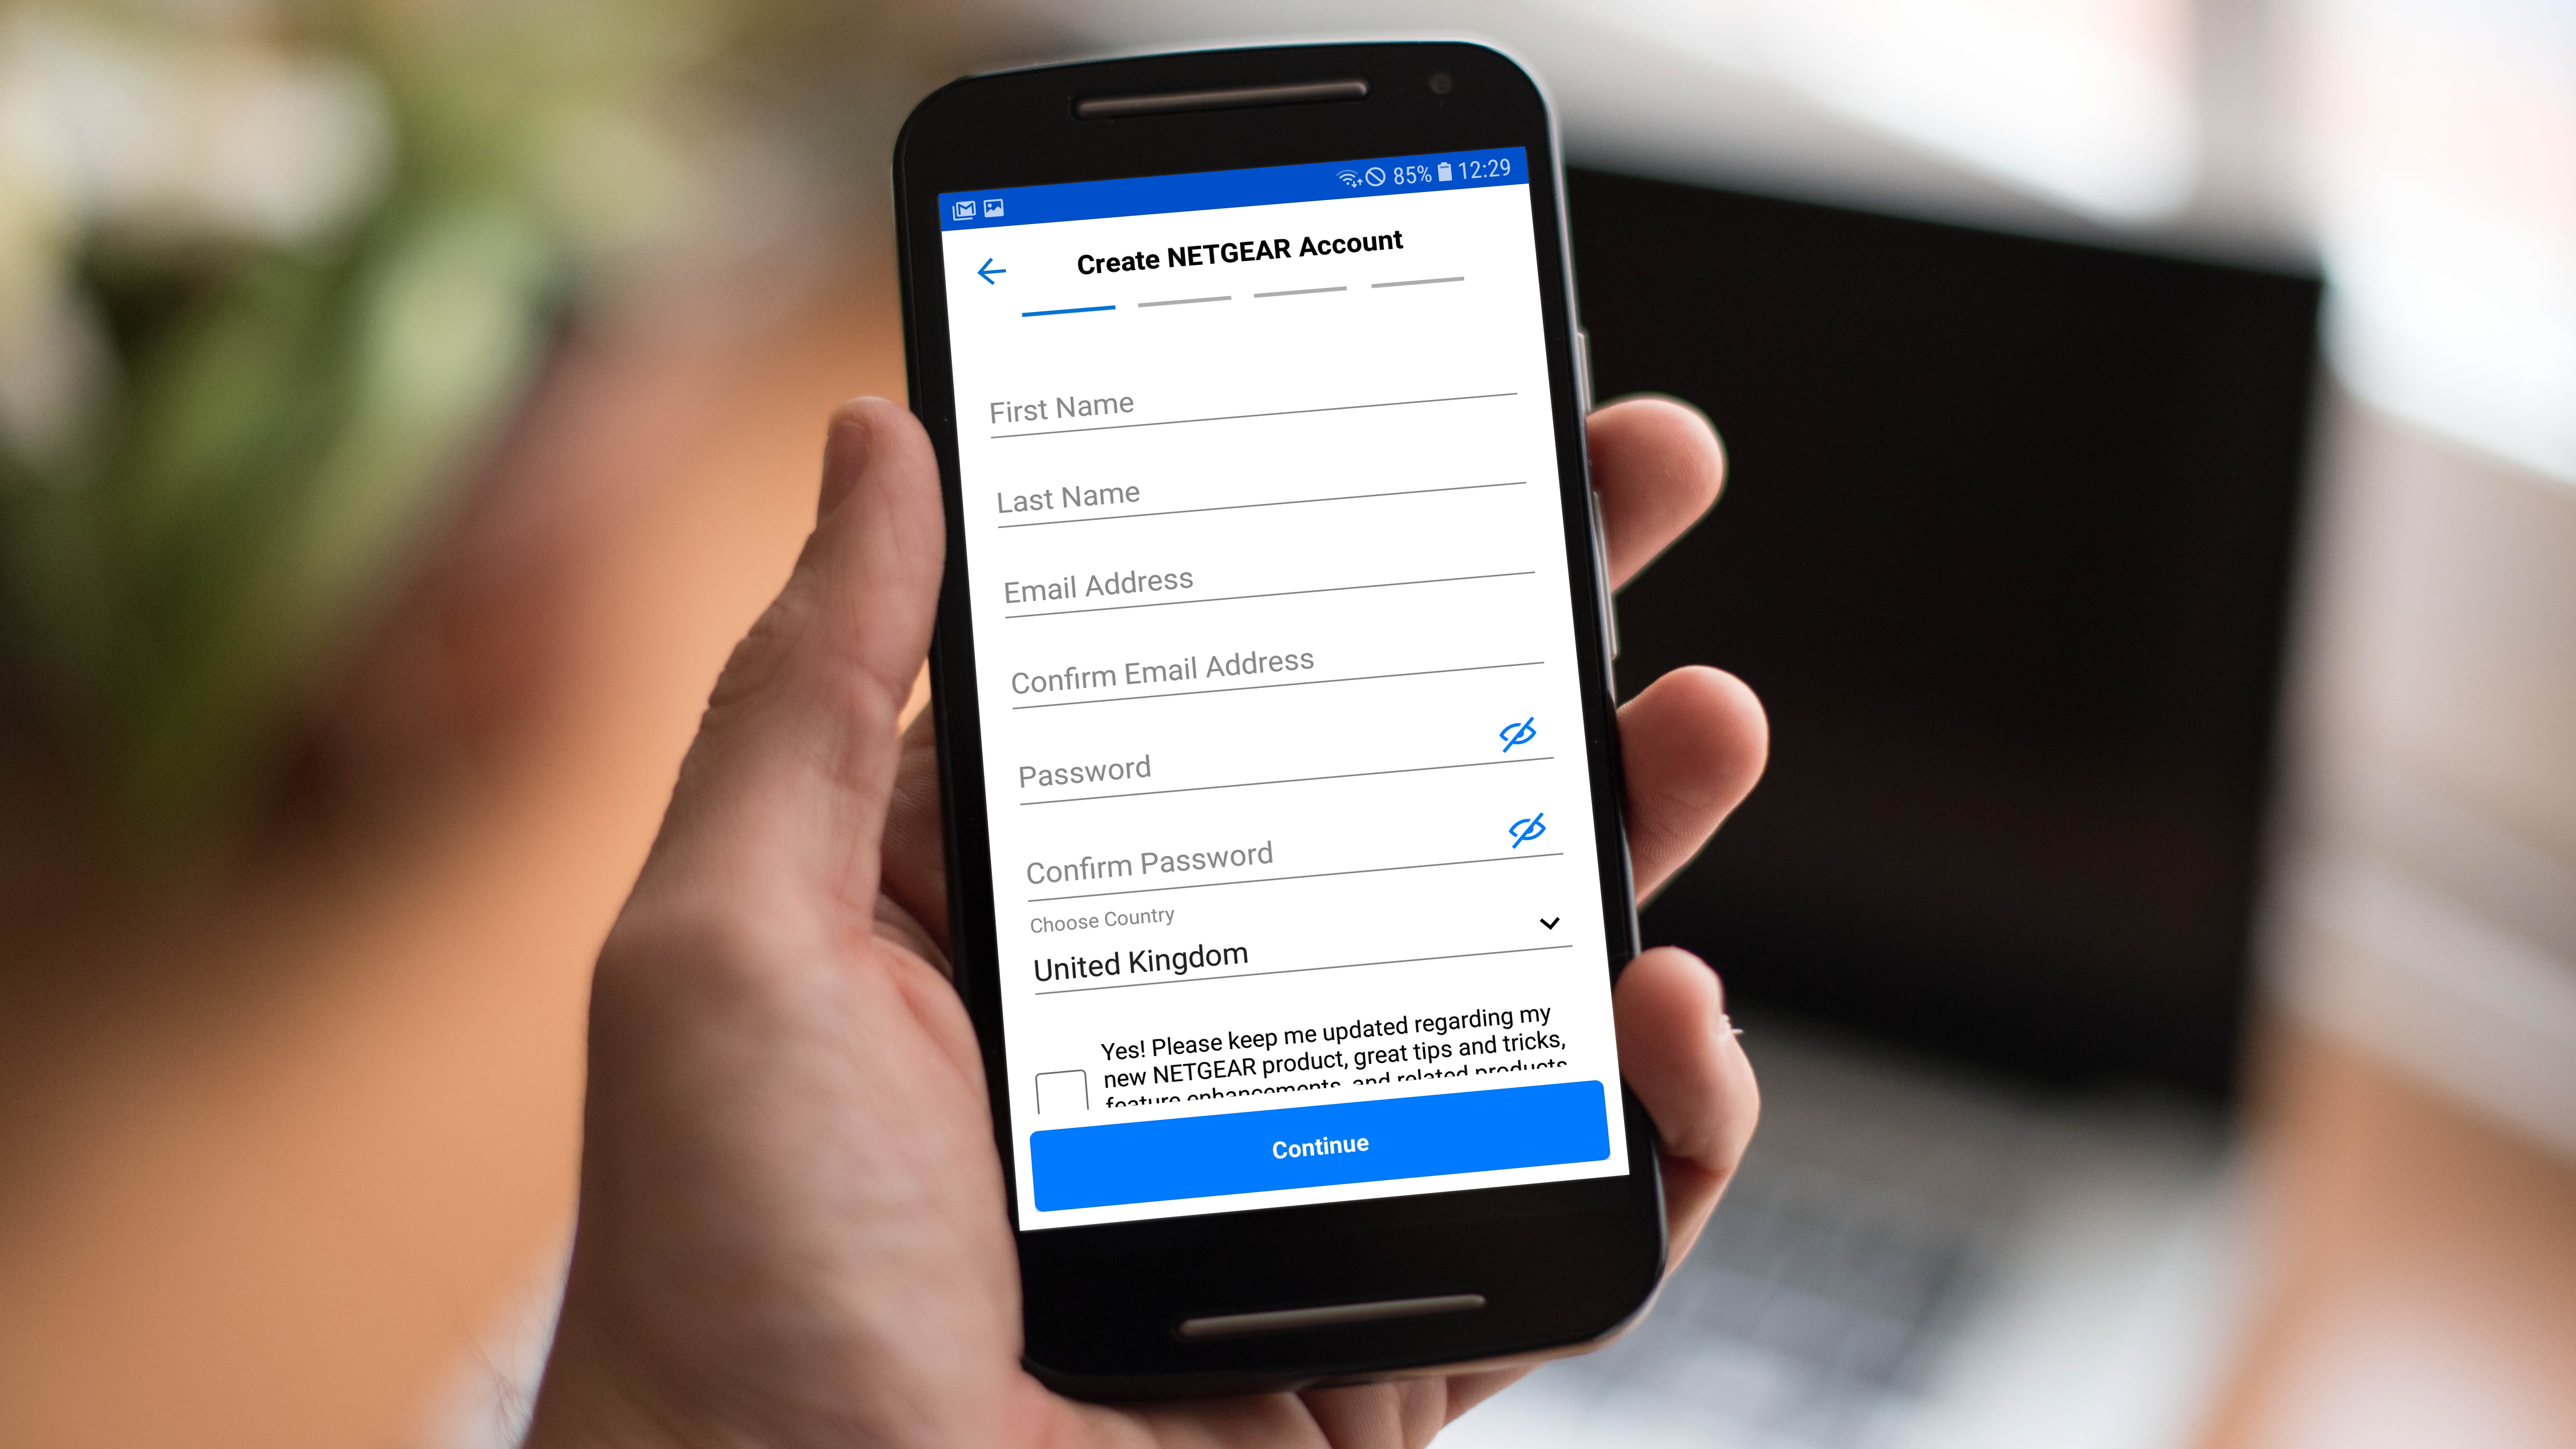
The next step involves logging in to your Netgear account – if you already have an account, press the 'Login' button, fill in your email address and password, then press 'Log In'.
Otherwise, press 'Create Account' and provide the appropriate details (name, email, password).
You will then be asked if you need to install a new router – unless you are setting up your router for the very first time, you should select 'No'.
3. Log in to the router
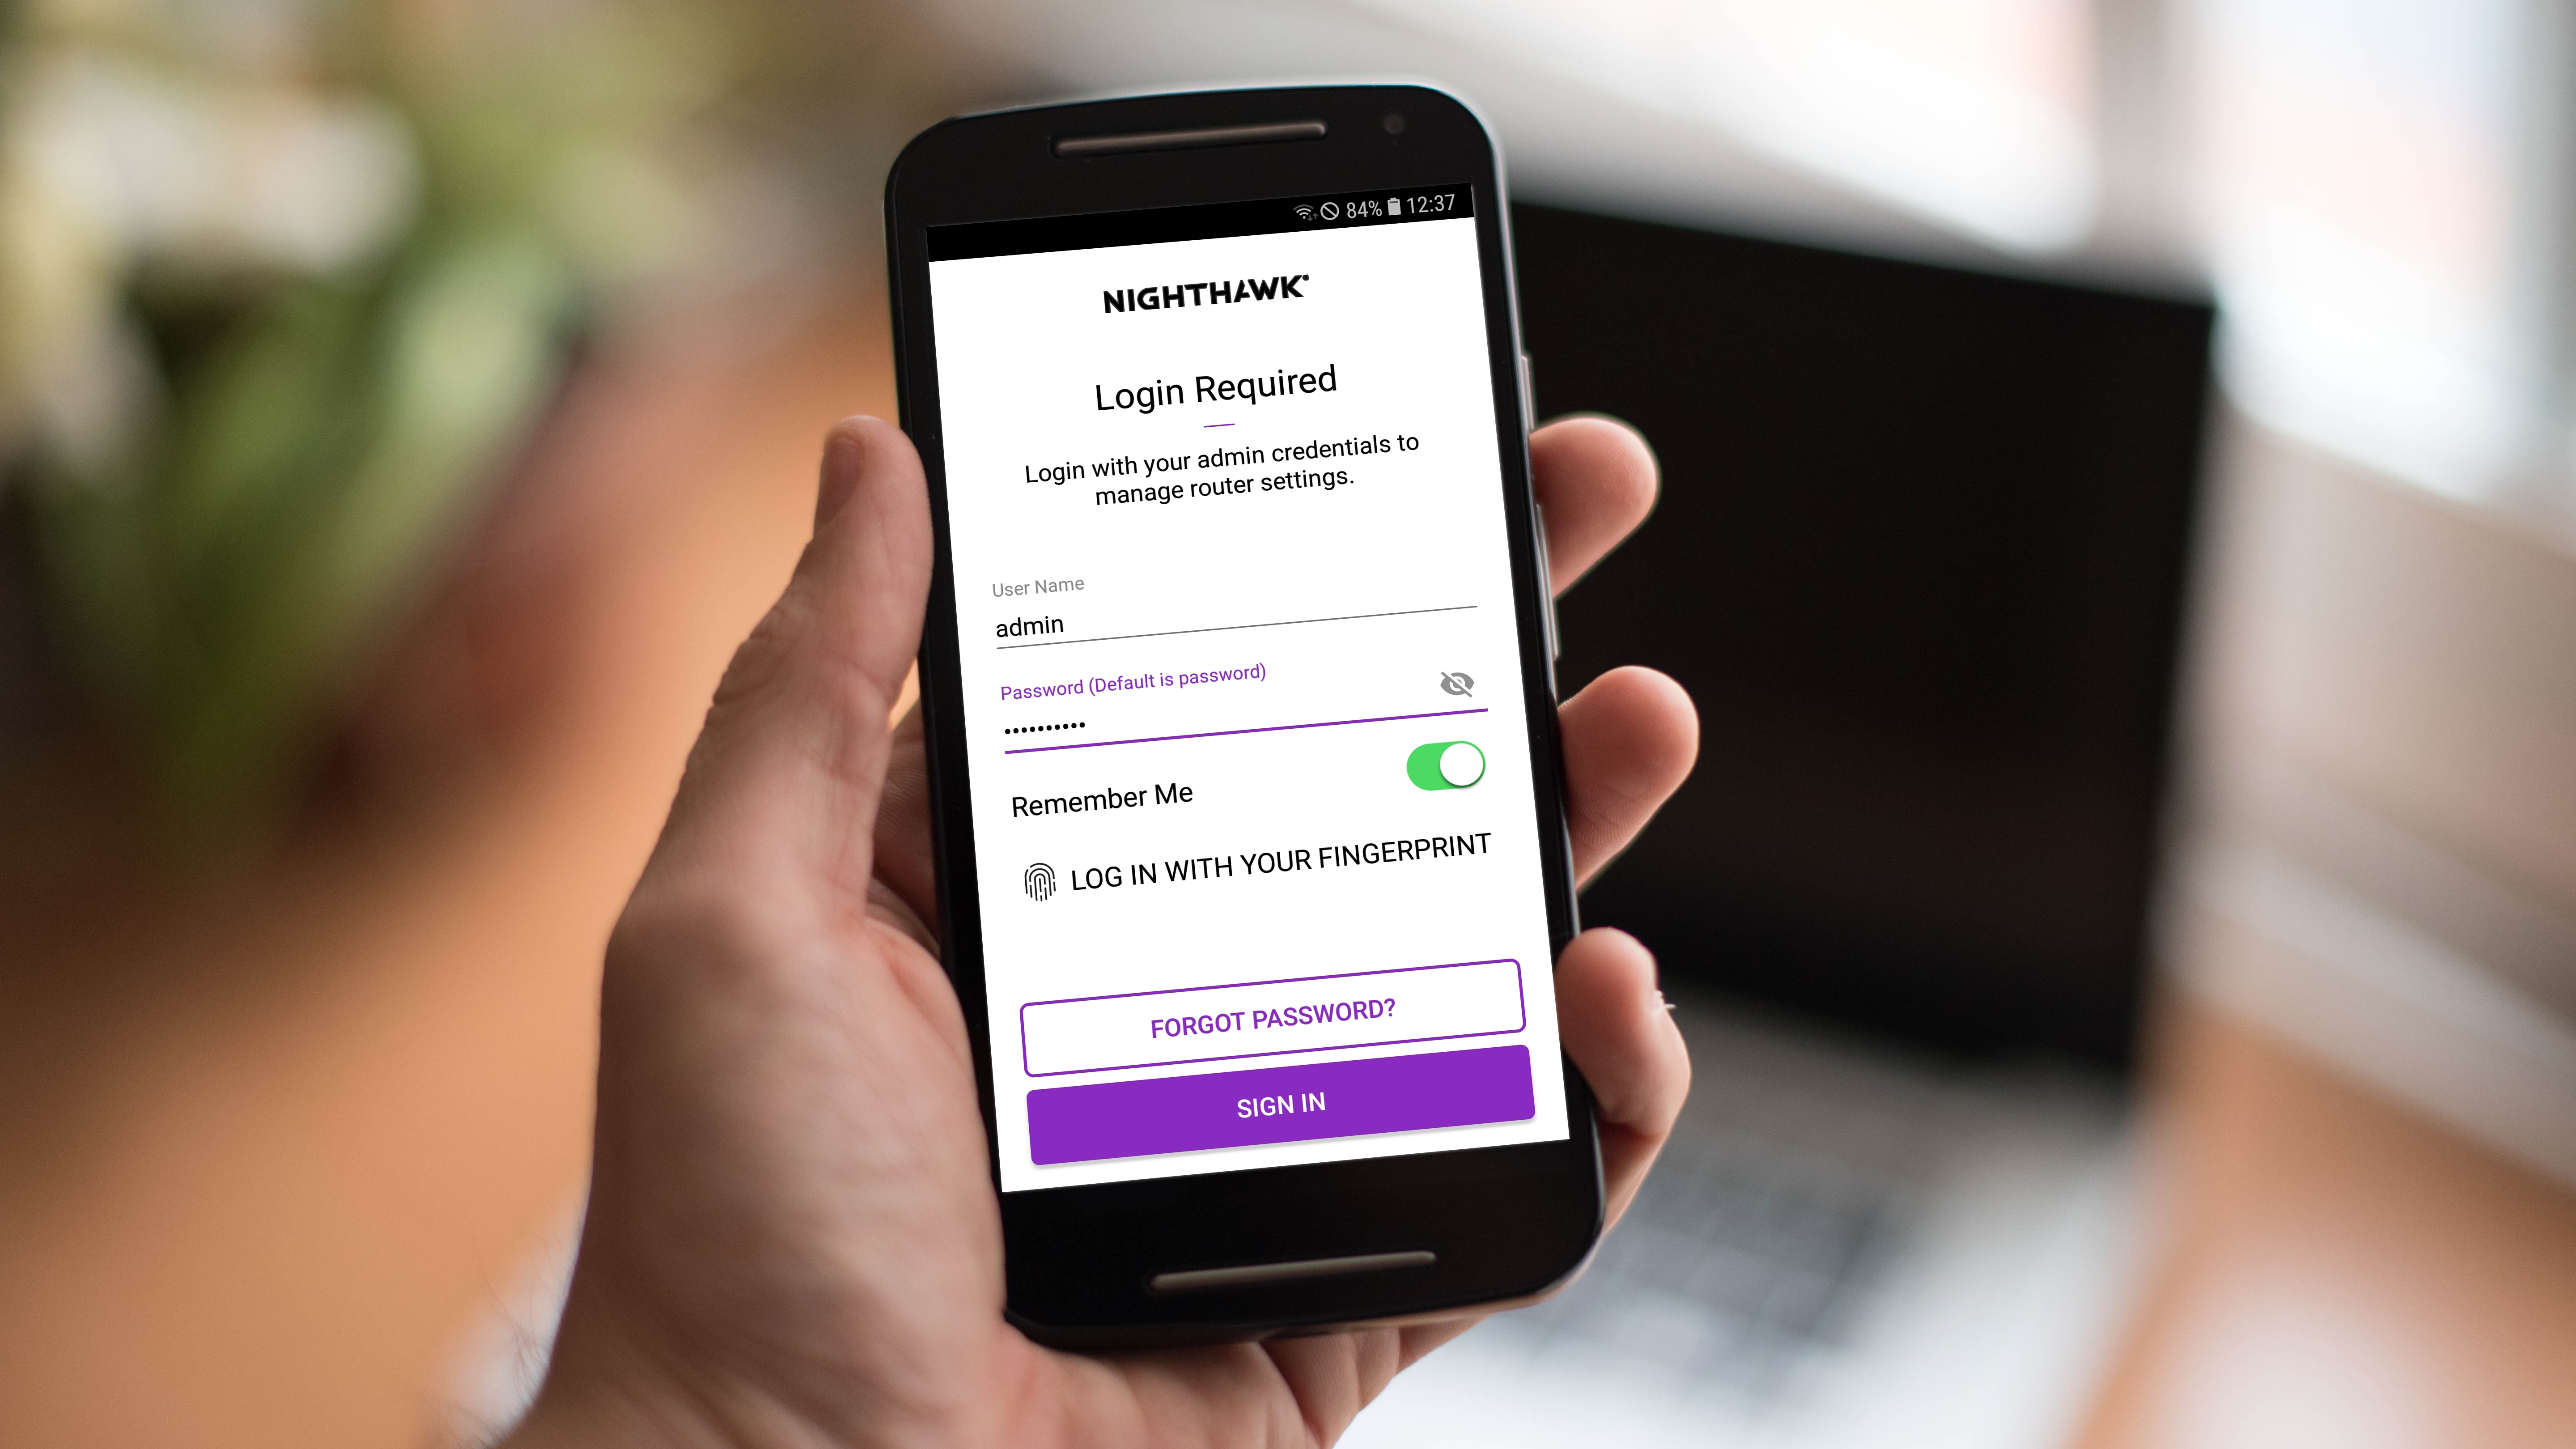
Now you will be asked to log in with your admin credentials for the router. As is the case when logging in from a PC, you’ll need the username and password for your router (not your Netgear account, which is something entirely separate). Enter these details and press Sign In, and that’s it: you’ve logged in to your Netgear router.
If you’ve forgotten your password, there’s a link presented to a Netgear support article which discusses what to do next – but you can also see the help advice in steps 3 and 4 in the above instructions for logging in to your Netgear router from a PC, as you’ll be following the same procedure.
Common settings
Okay, so you’ve successfully logged in to your Netgear router, and sorted out whatever you need to sort. While you’re here, it might be helpful to outline a few commonly used options you can look at and potentially tweak (we’ve a few useful tips on why it might be handy to do so, as well).
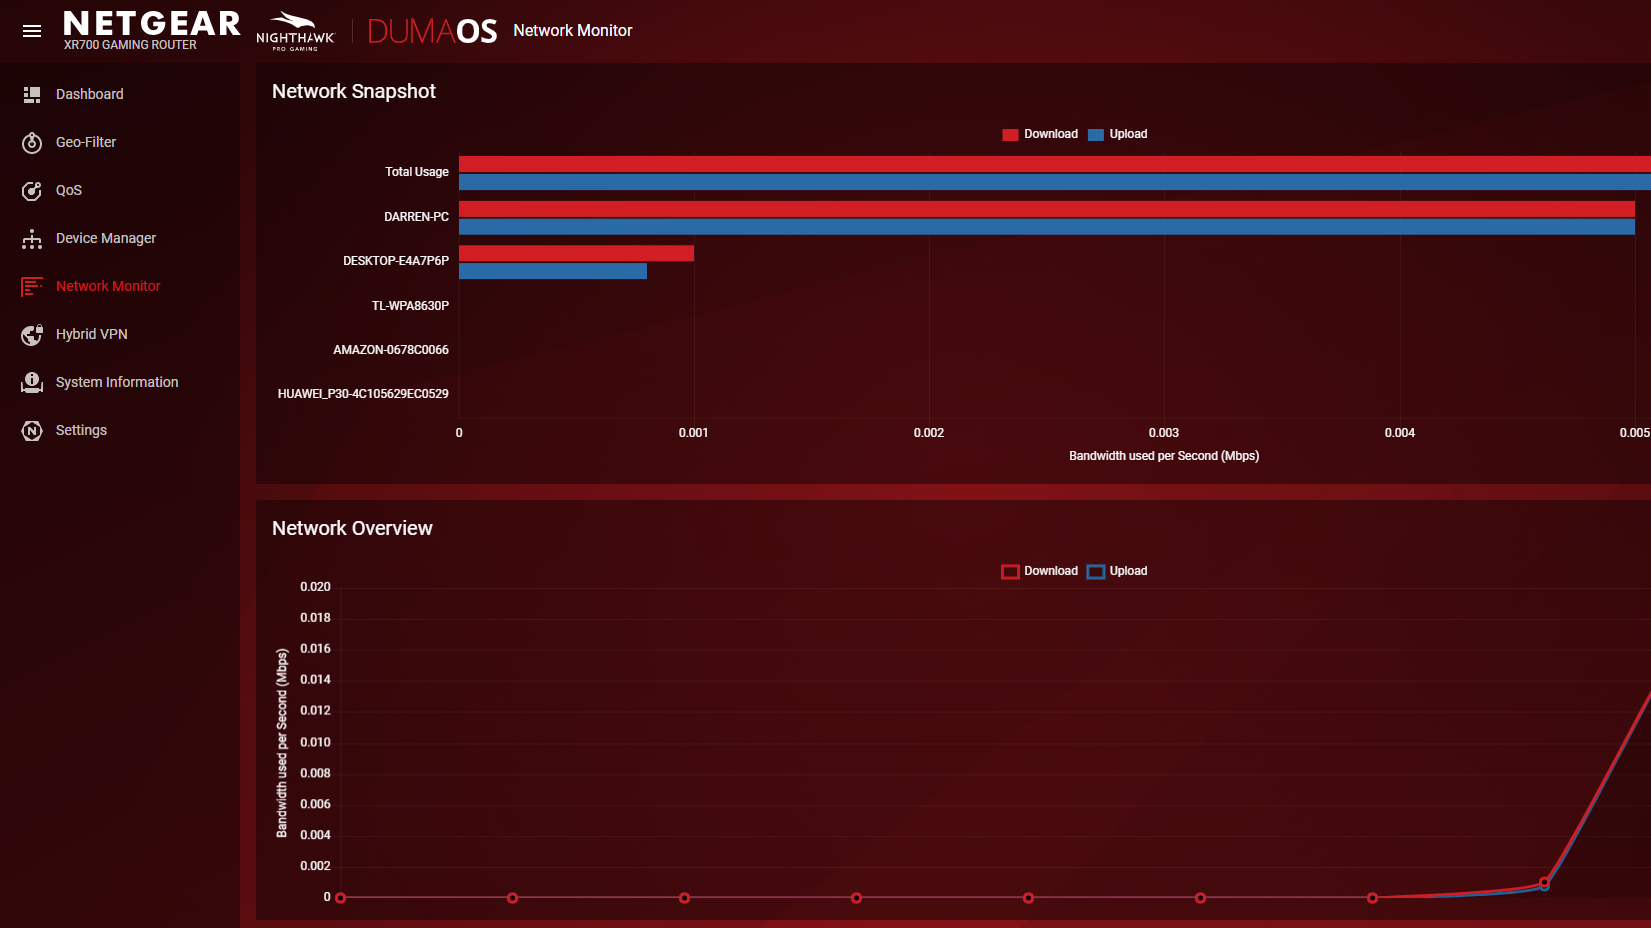
Here, we are using a Nighthawk XR700 router which runs DumaOS, and while the interface for your particular model of Netgear router may look different, the core options should be the same or very similar, broadly speaking.
If you’ve logged in to your router from the Nighthawk smartphone app, the UI will of course be very different, but the settings use the same (or similar) names. However, do note that there’s one exception in that you can’t reach QoS from the mobile application.
1. Device Manager
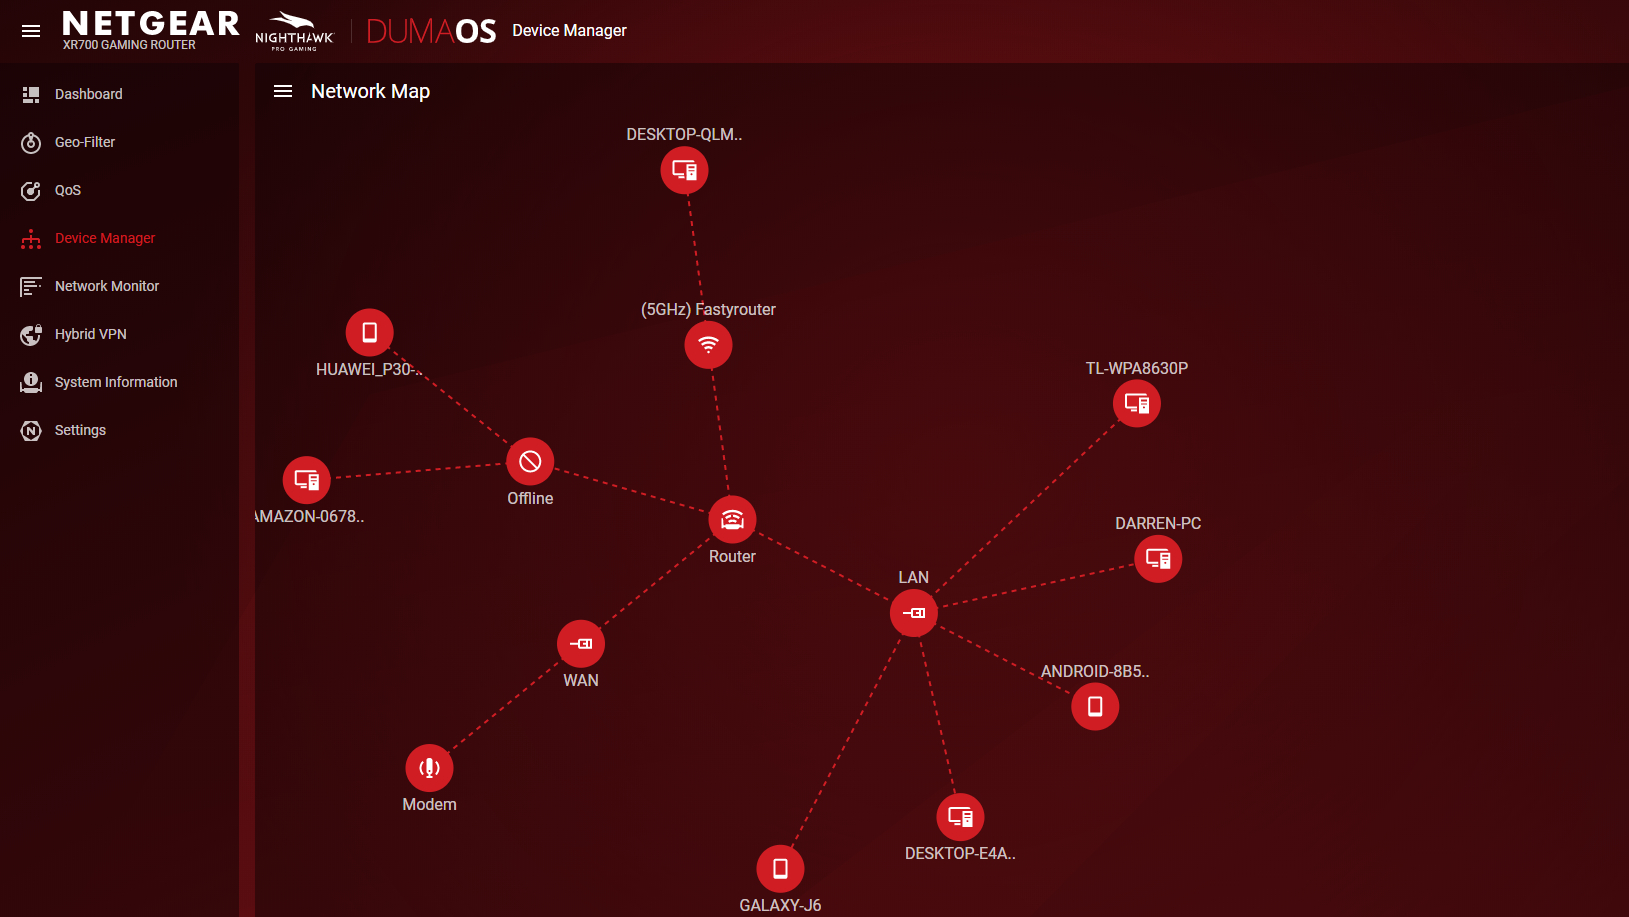
This may also be called Attached Devices, and it shows you a visual illustration (or a simple list) of all the devices hooked up to your router and home network. It can be interesting to see exactly how many devices your family uses, but perhaps more importantly, you could also potentially pick up on devices that shouldn’t be connected to your network. If you click on any particular device, there’s an option to block it, if needed.
2. QoS
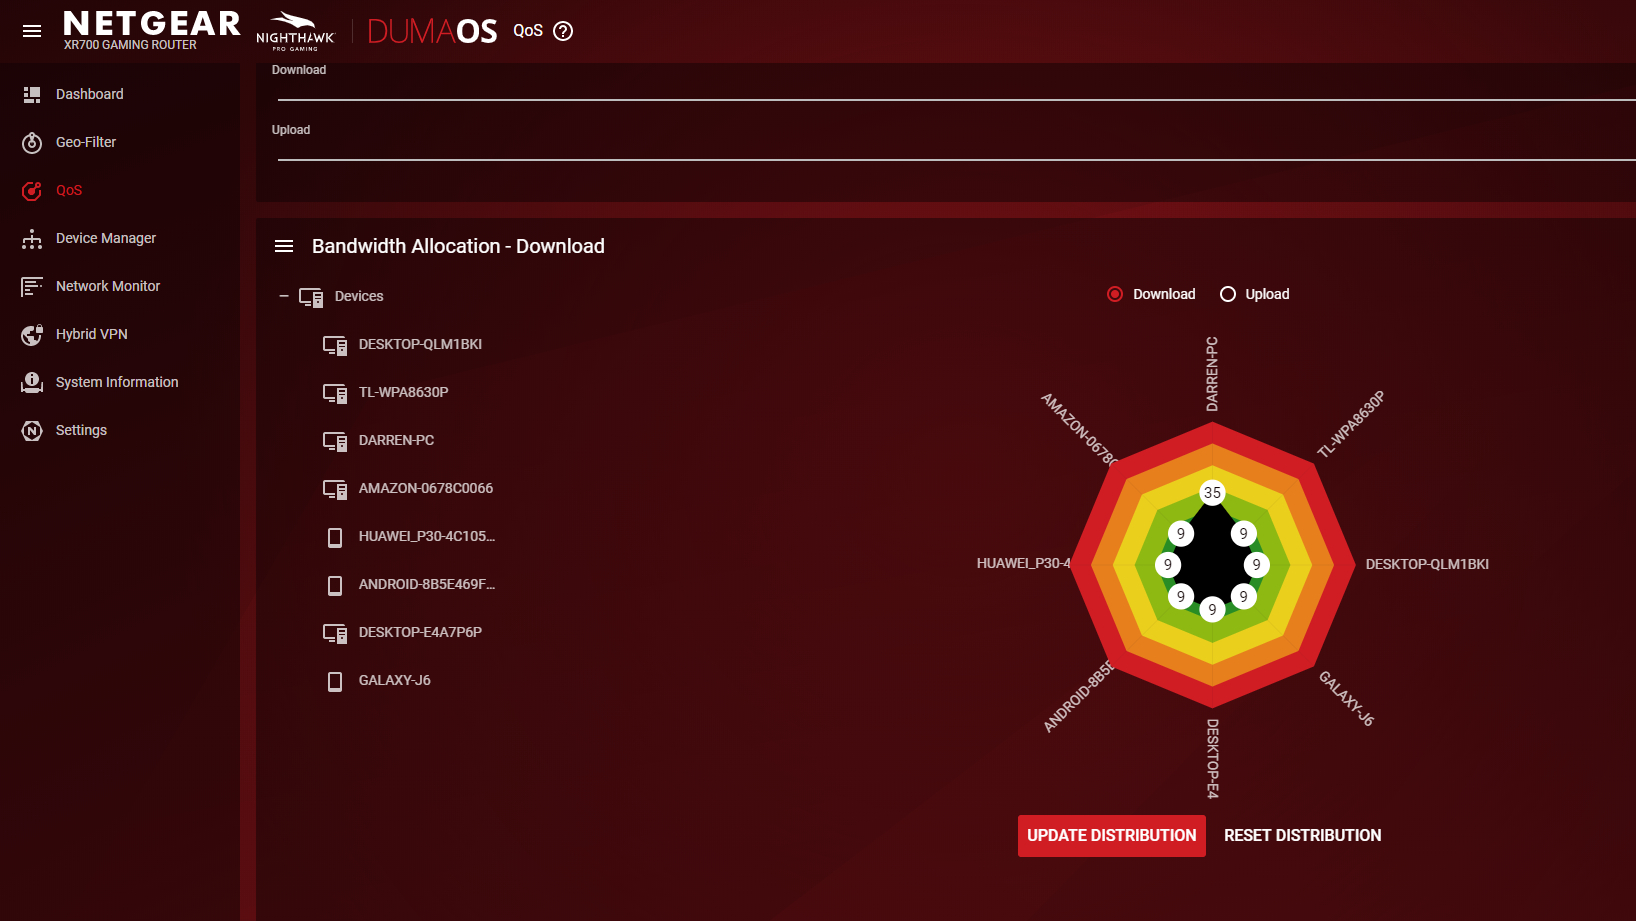
QoS stands for Quality of Service, and this allows you to prioritize different devices in terms of the (download or upload) bandwidth they get. For example, if you want your console to perform better for, say, downloading a large game – or perhaps online gaming – simply give this device a greater share of the bandwidth.
In DumaOS, you can simply click-and-drag any of the percentage numbers for any device outwards to give it proportionally more bandwidth (or even 100% of the bandwidth). Remember, though, that what you’re giving to any particular device, you’re taking away from the others. By default, everything is balanced equally between every piece of hardware, and you can click on Reset Distribution to go back to this default picture.
3. Guest Network
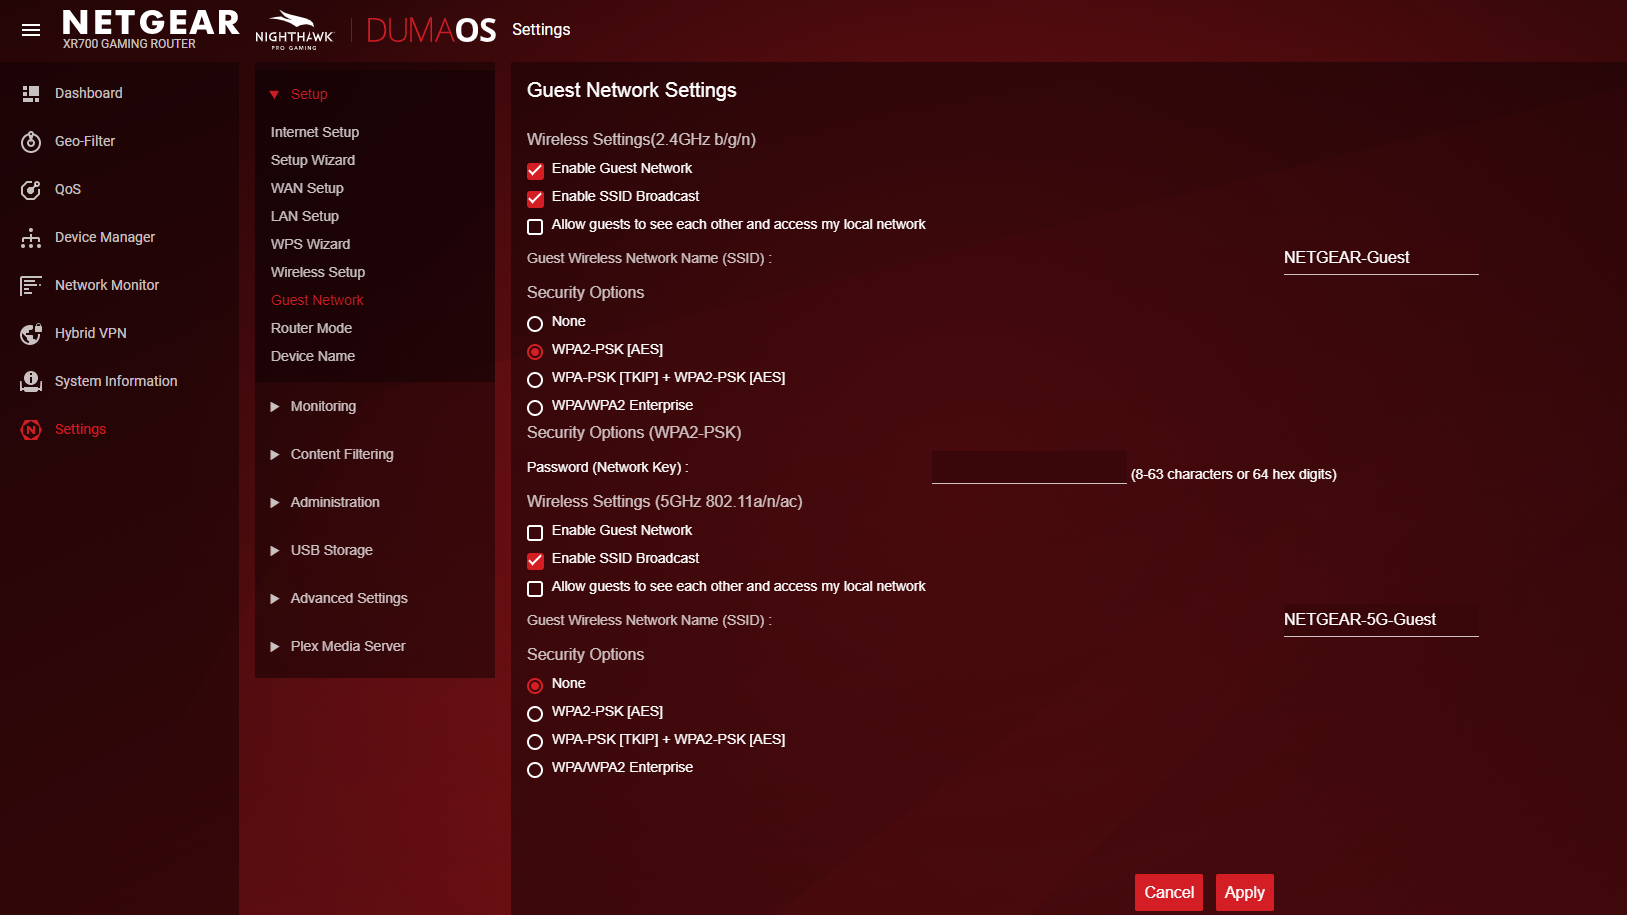
As the name suggests, this is a secondary network you can set up on your router that visiting folks can use, without having to let them loose on your main home network. Another potential application is that you could use the guest network for your smart home gadgets, which typically may have less tight security levels than other hardware, thus if they are afflicted with any potential exploits, you can keep them away from your PCs and other critical devices on your main network.
To set it up, simply head to Guest Network (Guest Wi-Fi on the smartphone app) via the main menu (although in DumaOS, you’ll find this option under Settings > Setup > Guest Network). Just click Enable Guest Network to do just that (which can be either a 2.5GHz or 5GHz Wi-Fi network), rename the network if you like, and choose WPA2 [AES] for security (or whatever WPA2 option is present).
Darren is a freelancer writing news and features for TechRadar (and occasionally T3) across a broad range of computing topics including CPUs, GPUs, various other hardware, VPNs, antivirus and more. He has written about tech for the best part of three decades, and writes books in his spare time (his debut novel - 'I Know What You Did Last Supper' - was published by Hachette UK in 2013).