How to transfer Spotify playlists to Apple Music, Deezer, Tidal, and more

Sign up for breaking news, reviews, opinion, top tech deals, and more.
You are now subscribed
Your newsletter sign-up was successful
Ever wanted to try out a music streaming service other than Spotify, but were put off by the hassle of building up your favorite playlists again? Fear not, as it's actually possible to transfer your Spotify playlists to streaming services like Apple Music, Deezer, Tidal and Amazon Music without the added stress of trawling through each app's catalog.
It's reasonable to feel compelled to check out other streamers. The ongoing Joe Rogan podcast controversy at Spotify - understandably - has left some subscribers feeling uncomfortable with where there money is going. Not to mention the fact that artists like Neil Young and Joni Mitchell have had their music libraries removed from Spotify in protest.
Even if you steer clear of the drama, you may be considering a move to a music streaming service that offers higher quality streams. Apple Music offers spatial and lossless audio support, lending a growing selection of its tracks a more detailed and immersive sound. Deezer, Tidal, and Amazon Music also offer hi-res audio options for paying subscribers. Meanwhile, we're still waiting for a Spotify HiFi release date - that's the company's new streaming tier, which was expected to bring higher quality streams to the platform (but not hi-res audio).
Spotify isn't the only player in town when it comes to worthwhile music streaming services, but if you were ever keen on listening to the competition, you may want to be armed with your own arsenal of music in order to take these other apps for a proper spin. Read on to find out how you can transfer your favorite Spotify playlists to Apple Music, Deezer, Tidal and more.
Getting started
There's unfortunately no official method provided by the big streamers in order to conveniently transfer your playlists from app to app, and that's a real shame. However, it is a realistic limitation. Not every streamer has the exact same library of music, and not necessarily the same file format, even. That can naturally cause conflicts between individual songs and their metadata.
Thankfully, a reliable and safe third-party method exists to carry your Spotify playlists to Apple Music, Deezer, Tidal and more. A website named Soundiiz makes the process relatively stress-free, and while similar playlist transferring sites exist - such as Tune My Music, Soundiiz is the most polished and user-friendly site that we've tried.
This is largely down to Soundiiz's easy-to-understand user interface. Upon logging in to Soundiiz, you'll see a list of the best music streaming apps lined up in a sidebar to the left of the page. This sidebar easily lets you connect your accounts, thus prepping them for transferring playlists between each. And of course, it doesn't just work from Spotify's end, as you're also able to transfer playlists to Spotify from any other streaming app available on Soundiiz, too.
Sign up for breaking news, reviews, opinion, top tech deals, and more.
How to set up an account with Soundiiz
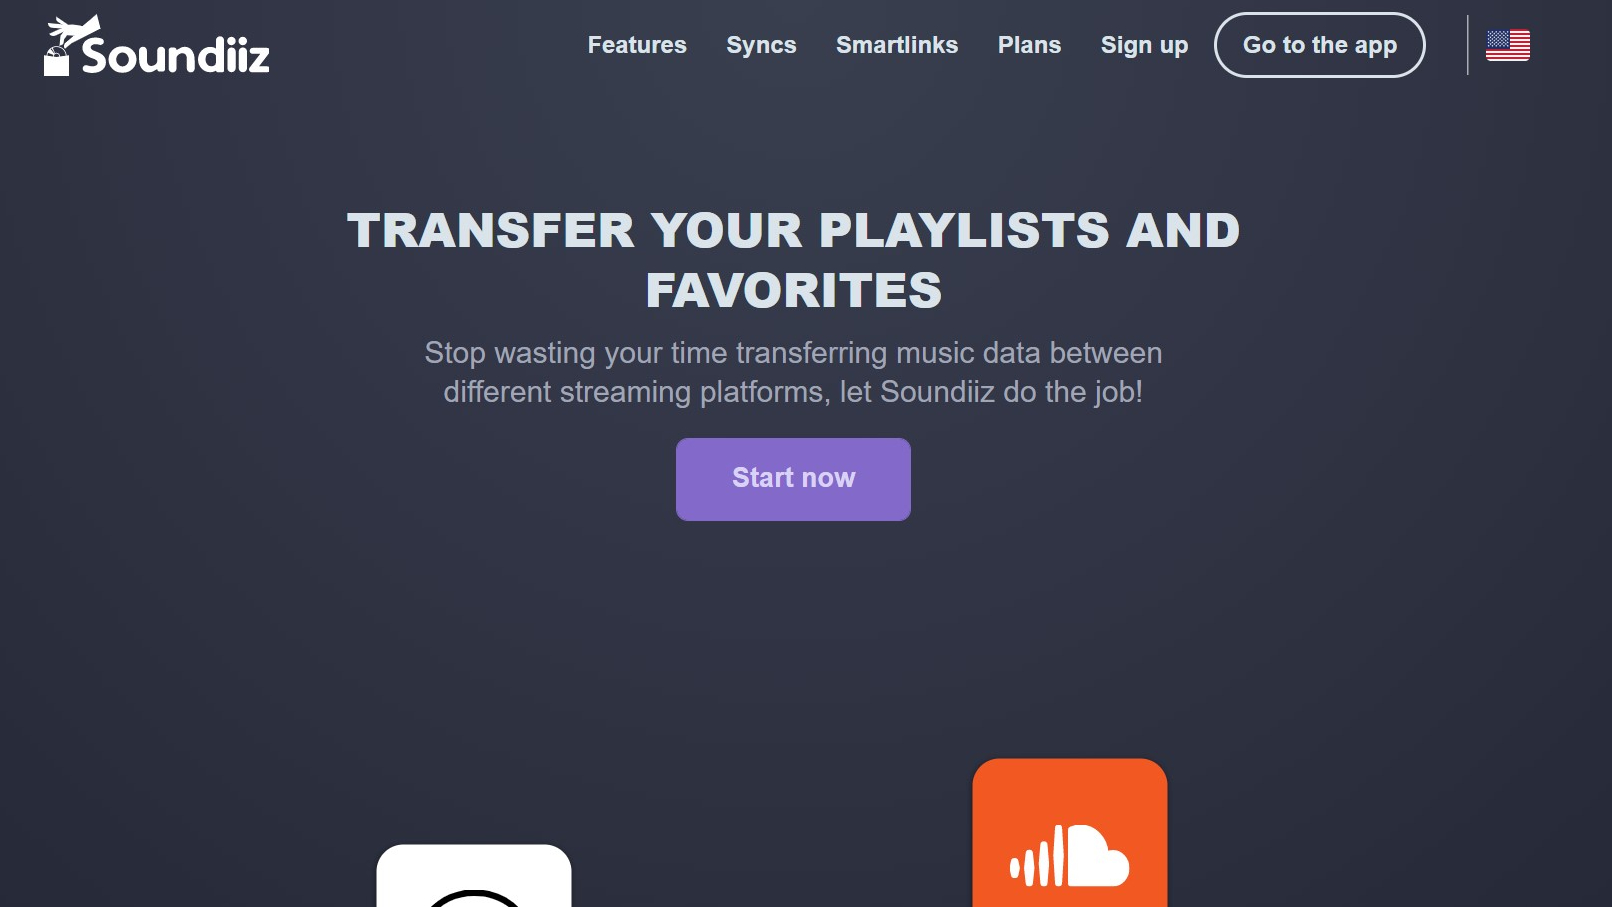
When you first visit the Soundiiz website, you'll be greeted by the homepage that breaks down everything you can do with the service. To get started, you'll need to set up an account, but don't worry - the basic Soundiiz account is completely free, and you will not be charged unless you opt into the Premium plan.
First, click the 'Start now' button on the homepage, and you'll be taken to the sign-in page, where you can choose to sign up with any of your existing Google, Facebook, Twitter, Apple or Spotify accounts. If you don't have any of these - or simply don't want to link Soundiiz to any of them, you can scroll down a bit and click on 'Sign up' to create an individual Soundiiz account.
Once you're signed up, you can begin the playlist transferal process.
How to connect Soundiiz to your Spotify account
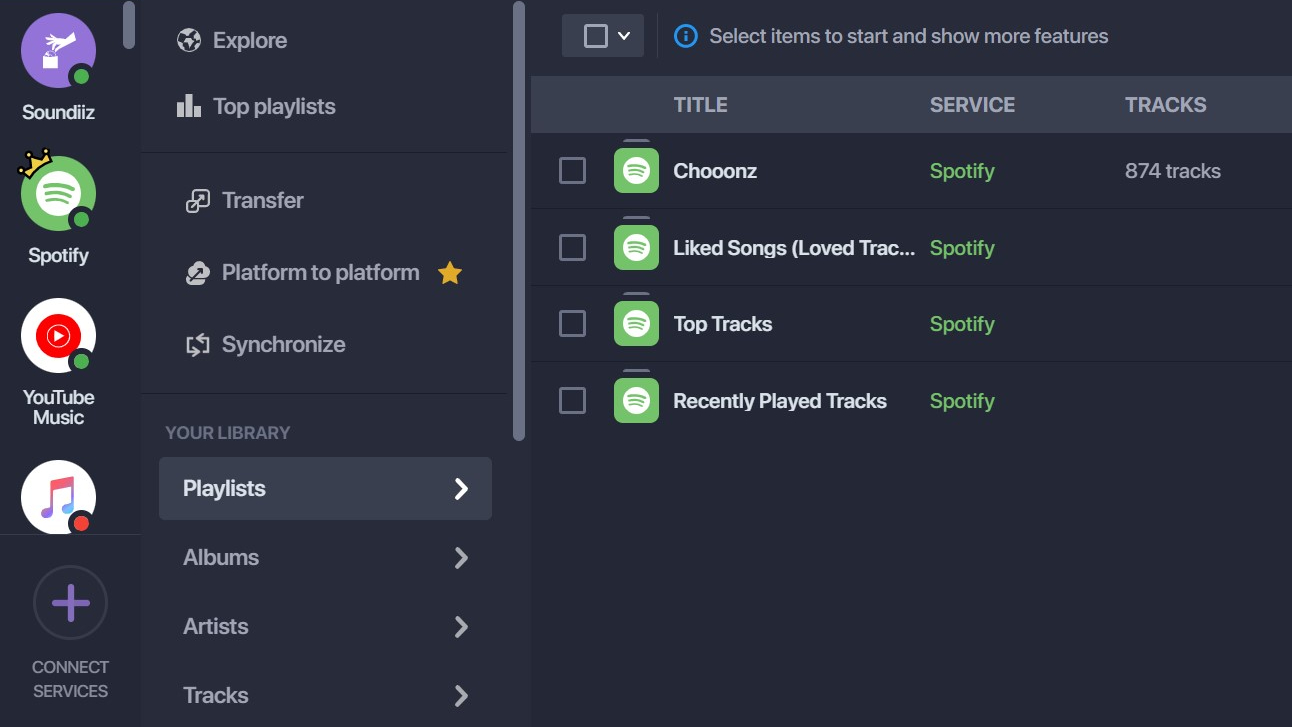
As mentioned, the sidebar on the left of the Soundiiz dashboard displays a list of the most commonly used music streaming services. Spotify, Tidal, Deezer and more are present and accounted for, but Soundiiz supports a total of 47 different apps, meaning you're likely to be covered even if you use a less popular service.
Our first port of call, though, is getting your Spotify account connected to Soundiiz. To do so, find the Spotify icon on the sidebar to the left (it should be towards the very top of the list). Click it to bring up a prompt to connect your account. By clicking 'Connect' here, a separate Spotify login window will appear, where you can enter your Spotify login details.
If you're a little worried about connecting your Spotify account to a third-party site, rest assured that Spotify recognizes Soundiiz as a legitimate tool, and you'll be prompted to agree to authorize Soundiiz before it will connect to your Spotify account.
With your Spotify account now connected to Soundiiz, you'll see that the red dot next to the Spotify icon has changed to green, indicating that your accounts are connected. Click the Spotify icon once more, and you'll see that Soundiiz has listed all the playlists you've created on Spotify. Now you're almost ready to transfer our playlists.
First, though, you'll need to repeat the process you just performed for Spotify with the streaming service you wish to transfer your playlists to. To do so, simply follow the steps we just did for Spotify with your desired transfer location, be that Apple Music, Tidal or another. Do keep in mind, though, that any app with a blue arrow icon next to it only supports transfers from the app, and not to it. Amazon Music is one example of this on the sidebar.
That said, Soundiiz seems to be an outlier here. Other playlist transferring sites like Tune My Music do seem to support transfer from Spotify to Amazon Music, so if you ever need to do that in future, we'd suggest using that website to do so, or waiting until Soundiiz offers this as a feature.
Once you've got Spotify and at least one other streaming service connected to Soundiiz, we can finally begin the playlist transferal process.
How to transfer playlists from Spotify to another app
Now that you've got Spotify and at least one other account linked up to Soundiiz, you can start transferring your music from Spotify to another music streaming service. From the dashboard, click 'Transfer' on the left-side menu, and a new window will pop up.
Of the options that appear, you can only select 'Playlists' on the free account. It's worth noting that Premium Soundiiz accounts can transfer individual artists, albums and tracks - something to think about if you want to really get your Spotify experience on another platform.
Click 'Playlists', and then you'll then be prompted to select your source platform. This is the app you'll be transferring your playlists from, which in this case is Spotify. Go ahead and select Spotify from the list of options.
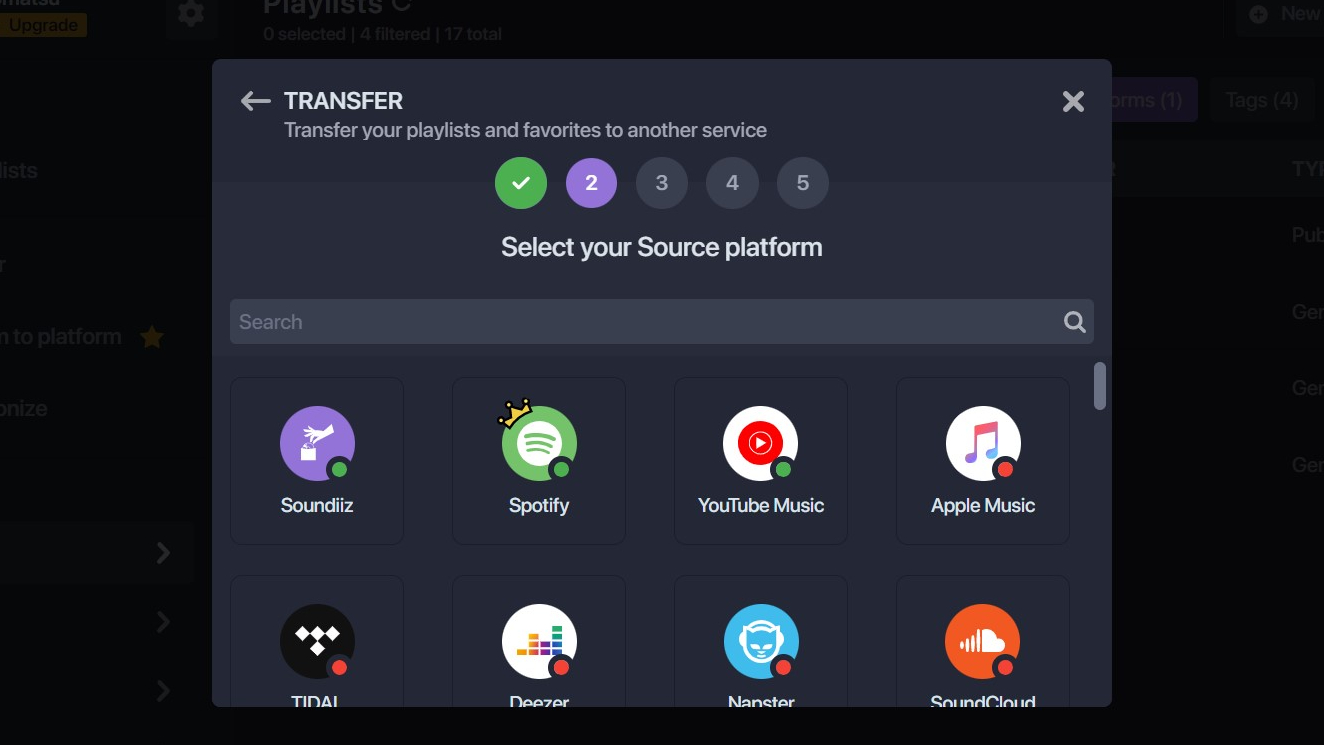
The next menu prompts you to select the playlist you wish to transfer. To do so, simply click the checkbox next to your desired playlist followed by 'Confirm and continue'.
You can then edit the name of the playlist, enter a description, delete duplicate tracks and choose to set the playlist's privacy. However, only a title is required to proceed, so confirm any changes you want to make, then click 'Save configuration'.
The next menu unfortunately reveals another limitation of the free Soundiiz account: you can only transfer a maximum of 200 songs at a time. If your playlists are larger than that, then you'll need a Premium Soundiiz account to transfer the whole lot at once. You've also probably gathered that, with the free account, you can only choose to transfer songs from one playlist at a time.
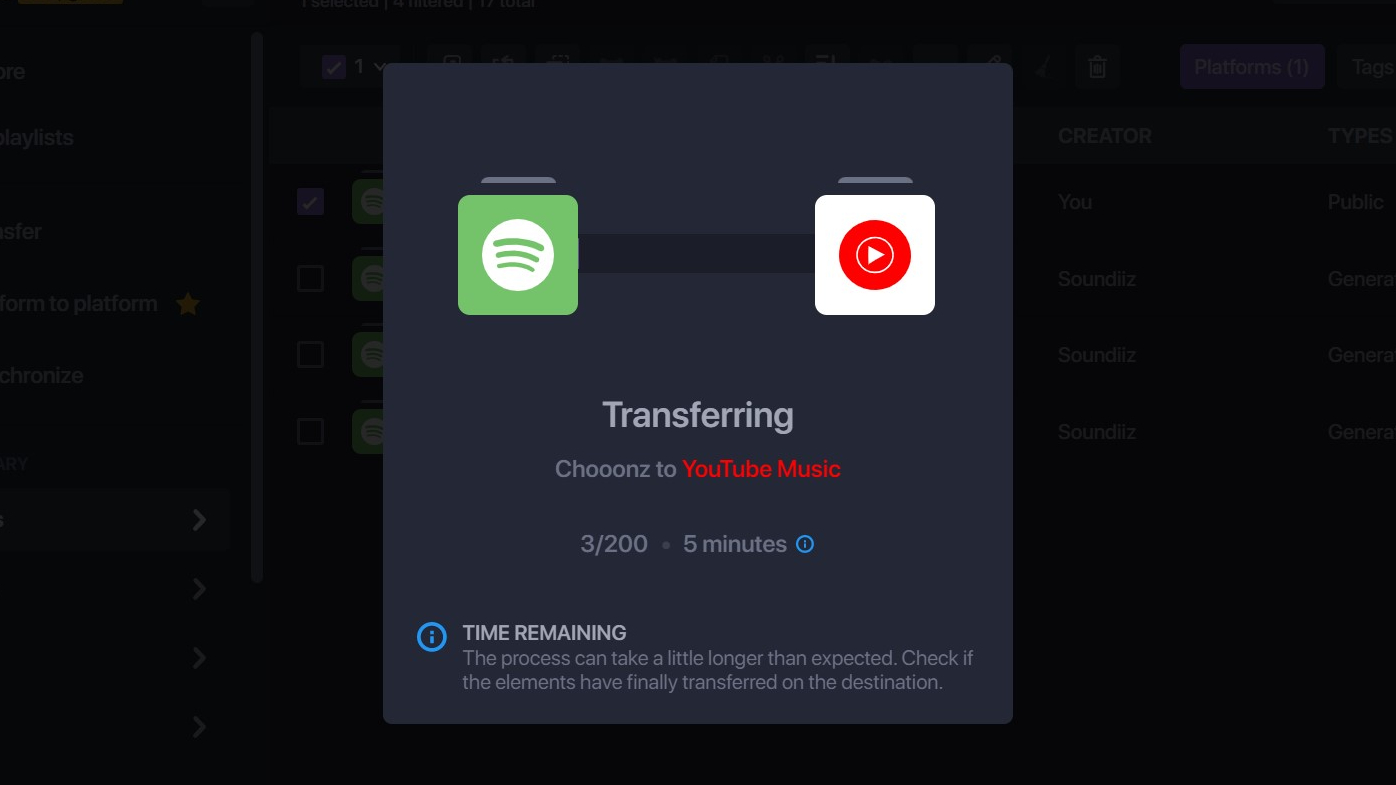
Double check your desired songs are there, then click 'Confirm'. Finally, you'll be asked to choose your destination. This will be the app that your playlist is transferred to. And that's everything. Soundiiz will display a progress bar showing how far along the transfer process it is, alongside an estimated completion time. You can then head over to your selected destination app to make sure the transfer completed successfully.
Final thoughts
Until the biggest music streaming services band together to form an official standard for transferring music between apps, third-party tools like Soundiiz are your best bet at getting it done with relatively few substantial drawbacks.
Obviously, some annoyances arise with features being locked behind a Premium account, or some apps strictly supporting a transfer-only option, but Soundiiz and apps like it are a reliable and easy-to-use option, nonetheless.

Rhys is TRG's Hardware Editor, and has been part of the TechRadar team for over four years. Particularly passionate about high-quality third-party controllers and headsets, Rhys strives to provide easy-to-read, informative coverage on gaming hardware of all kinds. As for the games themselves, Rhys is especially keen on fighting and racing games, as well as soulslikes and RPGs.