Sign up for breaking news, reviews, opinion, top tech deals, and more.
You are now subscribed
Your newsletter sign-up was successful
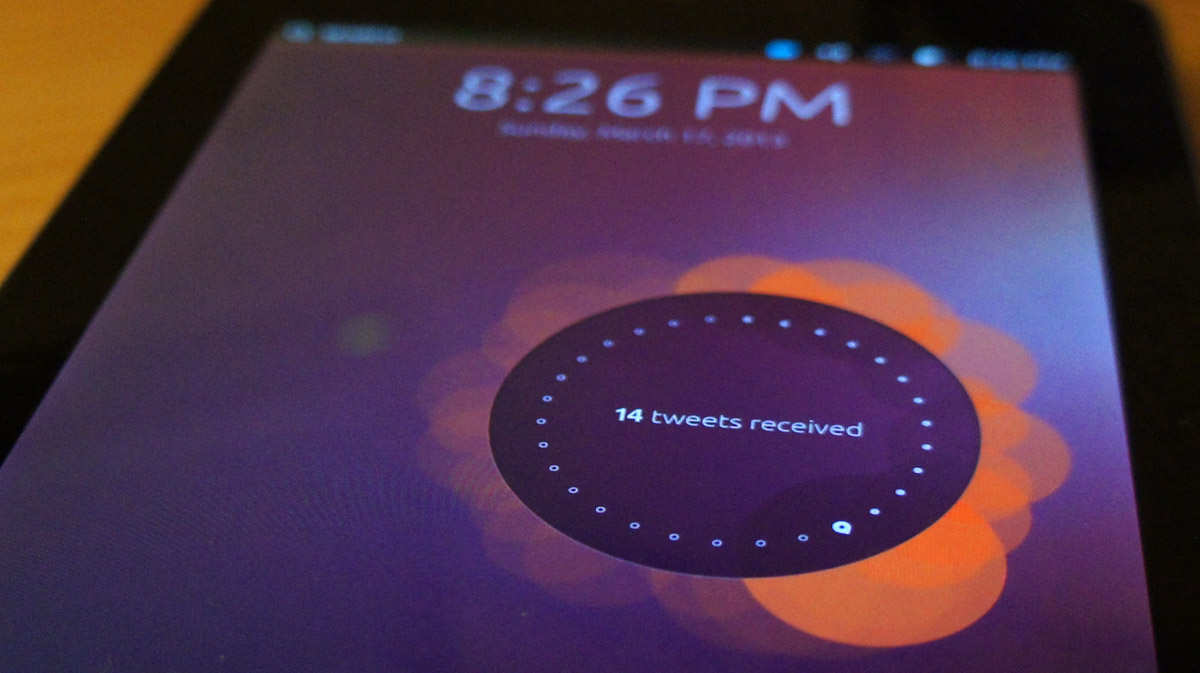
Not to be outshone by the big-boys, the GNU-Linux distributor Canonical has developed its very own touch-optimised build of its Ubuntu desktop operating system suitable for ARM devices.
Before you go any further this is the Ubuntu Touch Developer Preview. We think even calling it a Preview is a stretch, as there's little you can do with it other than build your own apps. Put another way, if you're not a developer or enthusiast this isn't for you.
We also want to emphasis this process REQUIRES that you entirely wipe your Nexus device. There's no getting around that, so if there's anything precious on your Nexus, again this isn't for you. We'd also say the OS is currently not in any day-to-day usable state, it looks lovely but lacks all the basic applications and tools. So it's likely you'll give it a whirl, have a bit of fun and go back to Android.
If you've installed a custom ROM on a tablet or phone before then the process is effectively identical to that, but slightly more official. The main steps that we'll take you through are switching Android to its developer mode, unlocking the bootloader, rooting the device and finally flashing the new Ubuntu Touch image. As we're nice, we'll also explain how you can use the same tools to restore your Nexus 7 back.
Disclaimer: Future Publishing Limited provides the information for this project in good faith and makes no representations as to its completeness or accuracy. Individuals carrying out the instructions in this project do so at their own risk.
Be prepared!
Let's note some details about your Nexus down. Select Settings > About and note the version of Android it's running and the Build Number at the bottom. We're also going to be heavily using Google Nexus 7 Toolkit created by the geniuses over at XDA Developers, download and install it.
Before starting you might want to have on hand, the correct Google Android default image for your device. Note the Build Number and download the right replacement from Google.
Sign up for breaking news, reviews, opinion, top tech deals, and more.
Back up your Nexus now, copying off any photos, documents, files and so on that are not saved elsewhere, as these will all be destroyed as part of this process. You could also do this using a back up app.
1. Get Unlocked
You need to switch your Nexus 7 into Fastboot Mode, this is its bootloader from which you can do recovery and flash procedures. Power down the device, once off press and hold the power button and the volume up and down buttons. After a second or two the Fastboot menu appears don't select anything, plug the device into your PC using a USB cable. If you've never done this type of thing, you may have to wait for the debugging drivers to install.
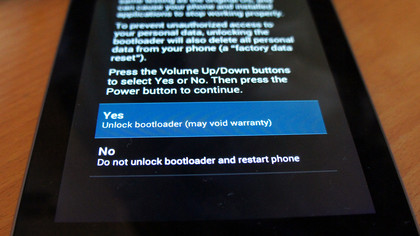
Run Nexus Toolkit, only people that have donated can check for updates, but don't worry when prompted just select the nearest version of Android, as long as it's within a point-build it'll be fine. Select three to Unlock/Lock from the menu, it'll offer a lot of advice but type "yes" and accept the warning that appears on the Nexus screen. Be aware this will WIPE ALL OF YOUR DATA.

2. Debuggers
It's best to have Android in its developer mode with USB debugging mode enabled. This enables you to access the device from your PC, with the drivers installed from the Nexus Toolkit. With Android running select Settings > About and tap the bottom Build number seven times to enables Developer mode and access to its options. Go back to the Settings and select Developer options > USB debugging. With Android 4.2.2 a key needs to be accepted on the tablet.