3. Root it
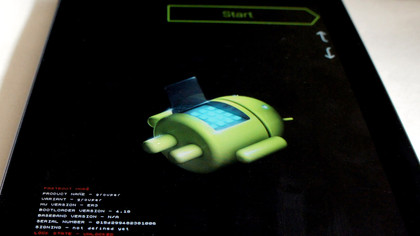
Ubuntu can only be flashed to a rooted device, again Nexus Toolkit can do this for us. The Nexus needs to be in Fastboot mode and connected to the PC. Select option four Root/Unroot and within here the basic Rooting option one. There's an option as to the Super User tool to use, we'd suggest option two for SuperSU, but it's not really important.
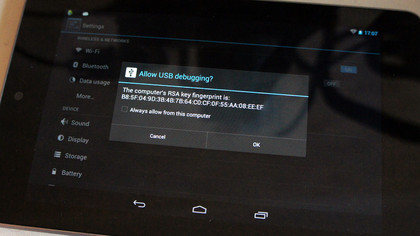
USB Debugging needs to be on, but if you haven't booted into Android and set USB Debugging, Nexus Toolkit can do this for you. Read its directions and type "no" at the prompt about USB Debugging. This requires an extra automatic reboot but takes care of everything. It's so helpful!
4. Bootloaders
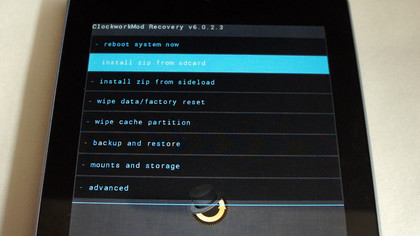
Ubuntu Touch does provide a bootloader but you don't need it. In fact we going to say in the Nexus ToolKit use option six to install the CWM Touch custom Flash Recovery, with the Nexus is in Fastboot mode. ClockWorkMod is an advanced recovery bootloader, accessed via the Recovery Mode in the Fastboot menu. Let the Nexus ToolKit install this, we'll use this later to flash the Ubuntu files.

5. Files to flash
At this point your Nexus is ready to be brain wiped with Ubuntu. All the Ubuntu Touch Preview stable-build files for the various Nexus models can be found here. Th latest nightly builds can be found here.
For the Google Nexus 7 the ones to download are:
- quantal-preinstalled-boot-armel+grouper.img
- quantal-preinstalled-armel+grouper.zip
- quantal-preinstalled-phablet-armhf.zip
We're only going to use the two ZIP files, the IMG is for a replacement bootloader that's not actually required. You need to copy these to a location on your Nexus 7, the easiest option is boot into Android, connect it, then copy these across using the standard USB connection to the default location.

6. Flash and Go
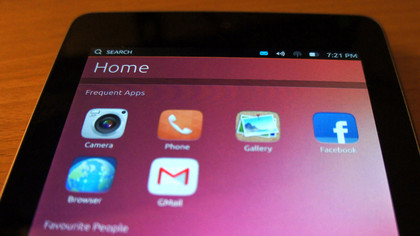
With the files on the Nexus, reboot into the Fastboot, select Recovery mode to start CWM Touch. Select Install zip from sdcard > Choose zip from sdcard. Where it is depends on your version of Android, it's likely under 0/ and then scroll down to see the two zip files. Install the smaller "armel+grouper" zip first and then the larger "phablet-armhf" zip. Reboot and enjoy what there is of Ubuntu Touch to enjoy.
Sign up for breaking news, reviews, opinion, top tech deals, and more.
These aren't real apps.

7. Android please!
Putting Android back using Nexus Toolkit is a breeze. Using option nine it'll download the latest factory build from Google and install it automatically. If you've already downloaded the ROM just copy this into the Google_Factory folder within the Nexus Toolkit folder, found in the root of your boot drive and let it do the rest. As mere cats are taken to say, simples.