Power retro gaming with a Raspberry Pi
Use the Raspberry Pi to take a trip down memory lane
Sign up for breaking news, reviews, opinion, top tech deals, and more.
You are now subscribed
Your newsletter sign-up was successful

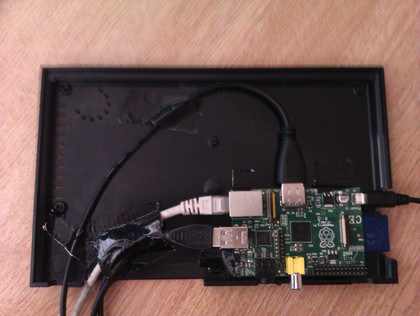
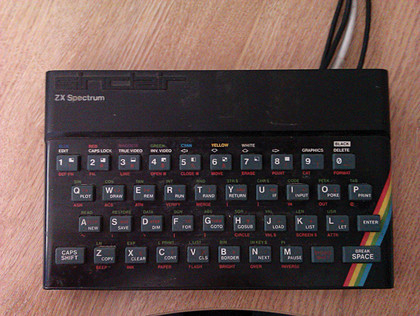
Next came the dismantling of the ZX Spectrum, easy enough once the five screws on the bottom of the machine had been removed and the keyboard ribbons detached. The motherboard had a single central screw, which after being removed left only the bare plastic casing. The RPi is considerably smaller than the original Spectrum motherboard, so some careful placement was needed to make sure the RPi was situated conveniently and securely within its new housing.
To that end, we found that the RPi's RCA Video and Audio ports lined up nicely with the Spectrum's original Mic and Ear ports, but the RPi's SD card ran into the side of the plastic casing. A quick snip from the pliers made a slot that would allow us to swap SD cards, even when the case was screwed back together, and extending the homemade slot also gave us access to the power via an HTC charger.
Next, we hooked up the HDMI and Ethernet, and with the help of some ever-faithful black electrician's tape, we secured the RPi to the base of the Spectrum case, and taped the cables to the chassis to stop them from ripping the RPi out of its allotted place should they ever be moved.
Now we had the problem of the keyboard. Although there was a project previous to us trying this out, whereby a chap called Brian rebuilt a ZX Spectrum using a BeagleBoard, and successfully managed to get the keyboard working, our attempts fell somewhat short.
In other words, we failed miserably, making a bit of a mess of the keyboard ribbons and the USB interface we shanghaied from a USB keyboard for just the purpose. Still, never mind, we simply caved in and ran a traditional keyboard and mouse through the Spectrum's large IO port.

Once the case was back on, the ZXRPi didn't look too bad, albeit something that would send Heath Robinson spinning gaily in his grave. However, when hooked up to the TV and stylishly, yet discretely, placed in the TV cabinet, things didn't look too bad.
The only thing left now was to install a decent Spectrum emulator and get hold of some old games. The Spectrum emulator itself was easy enough to install and get running; for this project we're using Fuse Emulator, and to get it working do the following:
Sign up for breaking news, reviews, opinion, top tech deals, and more.
Drop in to a terminal and type: sudo apt-get install fuse-emulator-common and press Enter. Type, 'y' to confirm the download and install.
Once Fuse has been installed, and you are returned to the prompt, type: sudo apt-get install spectrum-roms fuse-emulator-utils and press Enter. When, once again, you return to the prompt, type in: sudo amixer cset numid=3 2 and press Enter.
This will allow the sound through HDMI, although it's rather flaky, so replacing the '2' with a '1' will force the sound through the audio port on the RPi.

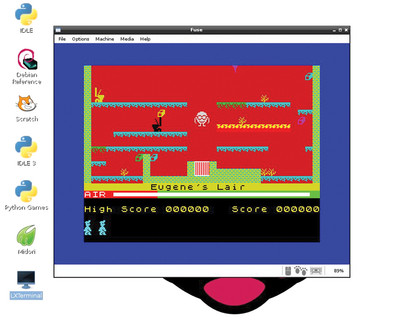
When you're ready, come out of the terminal, and click the Start LXDE button, and navigate to Games > Fuse Spectrum Emulator (GTK+ Version). Click on this and expand the window by dragging one of the corners.
Next, download a Spectrum game, from somewhere such as World of Spectrum; once it's downloaded, from the Fuse top menu select Media > Tape > Open, then in the Spectrum window type, 'J' for Load, followed by 'Ctrl+PP' for "".
Your game should now load up, with sound coming from the audio port, which can be hooked up to a stereo or headphones. All that's left now is to try to complete Manic Miner, which you failed at nearly 30 years ago.
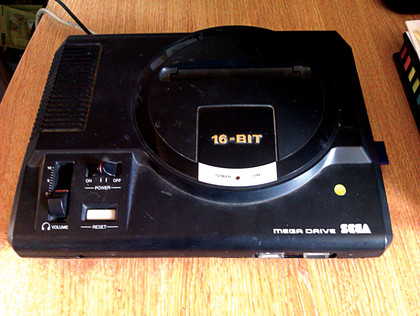
MegaPi

The thought of having a retro-styled case for our Raspberry Pi appealed to us greatly, despite the lack of hardware hacking to get 100% functionality, so we started to look around for other retro machines that tickled our fancy.