
 Become a TechRadar Insider


Nothing is sacred. Companies used to know their place. If you make computer games, that's what you stick to. You don't start building a vast empire of digital distribution that dwarfs anything the competition can offer.
You don't decide to take on the big boys of the operating system game, thinking you can do better. For free. And you certainly don't stick two fingers up at the hardware industry and start making your own PCs.
Well, someone in Seattle didn't get the memo, and so tendrils of Valve-ness are sneaking into places you'd never have expected the developer of Half-Life to reach when you were bashing in headcrabs with a crowbar. The first prototype Steam Machines - Valve's very own bespoke PC builds - have recently been released to a very select few beta testers. How few? Some 300.
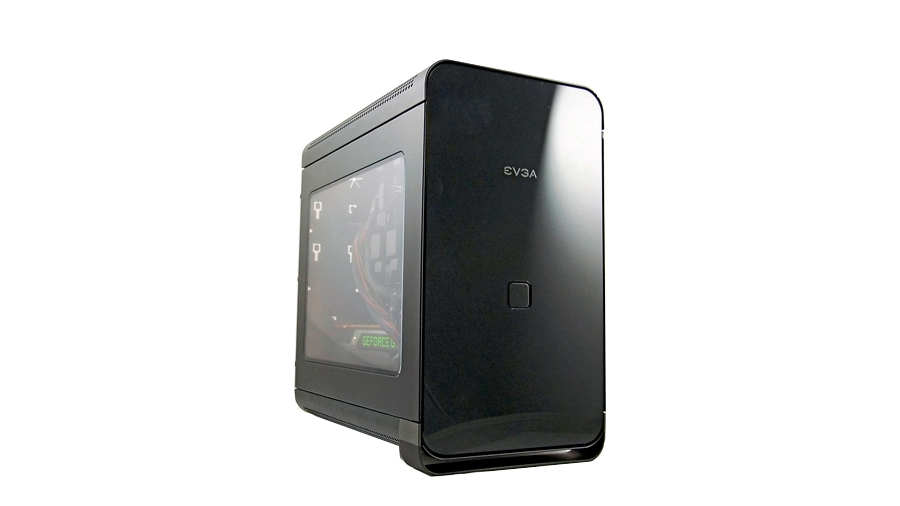
But, aside from the custom chassis, these prototype machines are going to be built from off-the-peg parts, and are being designed to be fully configurable and upgradable once they're loose. And that means we can go ahead and make our own versions right now.
But what's the point? Well, the 300 prototypes will also be beta testing the SteamOS platform, and this means we'll see a more widespread beta test of the open source software once the hardware gets out. But even if you don't want to take the risk of going for Valve's Linux-based operating system, or actually want total access to the vast back catalogue of games Steam has in its increasingly bloated library, then the same hardware will perform brilliantly in the familiar surrounds of Windows, and you can get the same Big Picture fun when you're plugged into your telly box.
So how exactly do you go about putting together the perfect parts for your little Steam PC? Well, allow us to show you…
1. Patience, young one...

The temptation is always to throw all your new components straight into your PC case immediately and then flick the switch, but if anything is wrong it's going to be a right pain pulling it all out again. First, stick the mobo on top of its box and plug in the CPU, RAM and graphics card in preparation for a test boot. This way you can tell if any of the main components have an issue without wasting time and sanity screwing things into a fi ddly chassis.
2. Power it up

With the graphics card in the primary PCIe slot, attach the power cables to both motherboard and GPU. You don't need to connect up the SSD yet because we're just going to check that the machine reaches the BIOS stage. Plug your screen into the graphics card, plug a keyboard into the mobo and power up your bare bones system. If all is well, the monitor will burst into life and you'll be able to get into the BIOS. Power down and let's get building properly.
3. Fit the PSU

The Hadron Air has a built-in PSU, but if your new chassis doesn't then it's worth sticking that in first to get the bulkiest component out the way. So, get it seated, making sure the intake fan is sucking from the vent in the base of the chassis, and screw it into the case from the rear. Now collect all the cables from the back of the PSU and make sure they're not cluttering up the space inside. You don't want to accidentally screw in the mobo on top of anything.
4. Seat the mobo

Hopefully your chassis will have the copper risers already in place. If not, attach those first. Depending on how your cooler attaches, it might be easier to remove it first, but if you need to screw it into a backing plate from behind you're going to have to leave it. You can leave the low profile RAM in place too. Make sure you're not covering up any cables, such as from case fans or the front panel, and screw the board down.