How to make your own 'Netflix and chill' button
Set the mood in an instant

Sign up for breaking news, reviews, opinion, top tech deals, and more.
You are now subscribed
Your newsletter sign-up was successful
The term ‘Netflix and chill’ was coined to describe inviting someone around to watch a movie, possibly with romantic intentions.
If you’re in a romantic mood, you can gather together some smart home kit and build your very own 'Netflix and chill' button that can bring up Netflix, set the mood by dimming your lights and even automatically send a text to the person you want to woo.
Even if romance isn’t in the air, this is still a cool project for making a button that can automate your smart home – and you don’t need to get your soldering iron out to do any fiddly wiring, as it can all be done with a few gadgets and a free app.
What you’ll need
There are a number of devices you can use to create your 'Netflix and chill' button.
For the button itself, we used the Logitech POP switch. This clever little clickable button can be used to control your various devices.
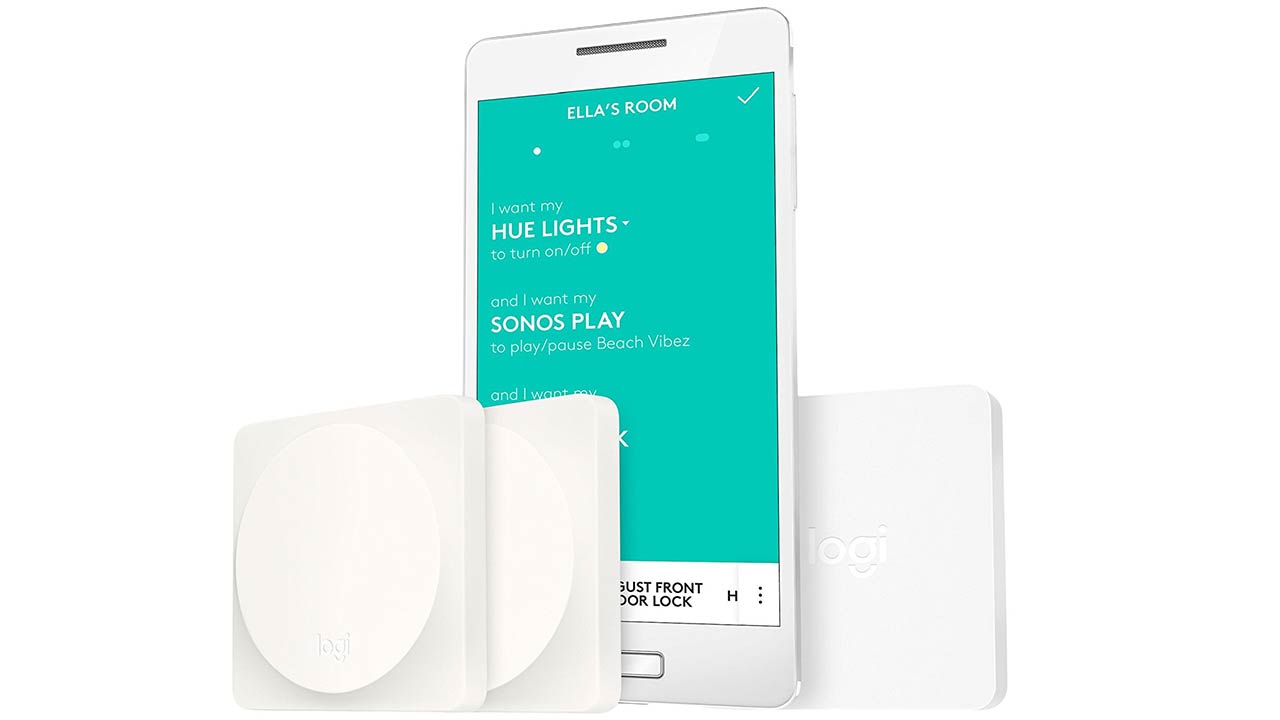
You’ll also need a Logitech Harmony Hub. This allows the Logitech POP switch to communicate with the various appliances in your home. You can buy the Logitech Harmony Hub separately, or get it in a bundle with the Pop switch as the Pop Home Switch Starter Pack and Harmony Hub Bundle.
You can also get the Harmony Hub bundled with one of Logitech’s fantastic Harmony universal remote controls.
Sign up for breaking news, reviews, opinion, top tech deals, and more.
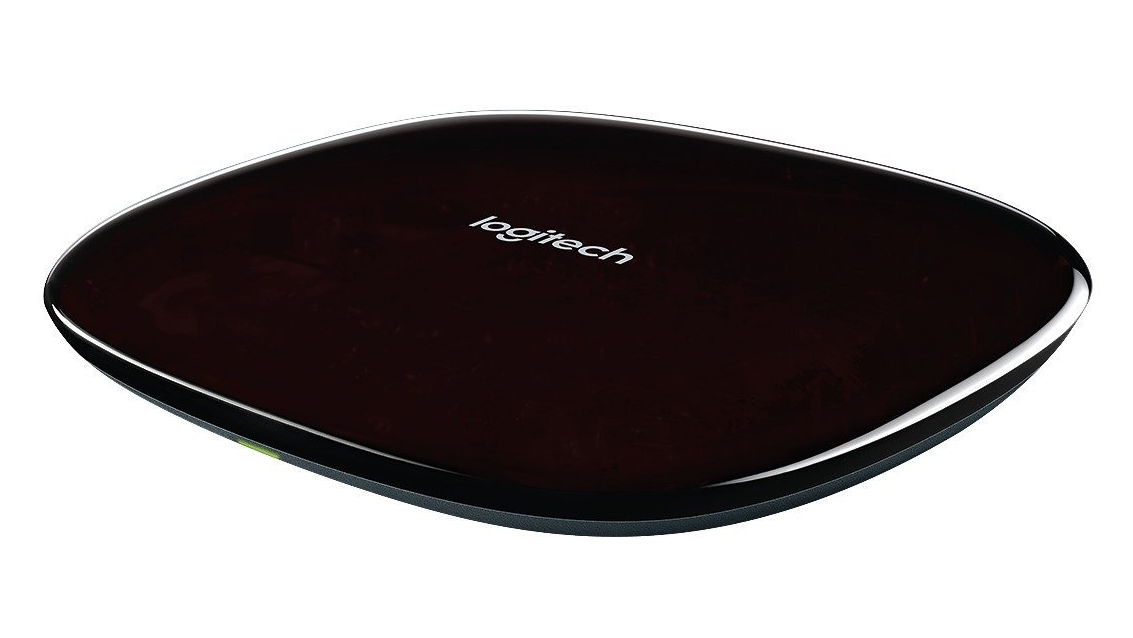
The Harmony Hub connects to your home network and the internet, and comes with infrared and Bluetooth technology, enabling it to communicate with a wide range of entertainment and smart home devices.
For watching movies you’ll want a TV and media player. Many smart TVs have Netflix, Amazon Prime Video and other streaming apps built in.
If your TV doesn’t have a streaming media app, then your Blu-ray player, home console or set-top box may have one. If not, a media streaming device such as the Roku Streaming Stick is an affordable way of adding Netflix, Amazon and more to your TV, and can be used with the Logitech Harmony Hub.
We also want to set the mood when we press our 'Netflix and chill' button, and we can make the Logitech POP switch control our lights by installing Phillips Hue lightbulbs, or other smart light bulbs such as Hive Active Lights.
Thanks to the free IFTTT (If This Then That) app, we can also get our smartphone to automatically send a pre-written text when we push the 'Netflix and chill' button! Read on to find out how.
Getting started
First of all you’ll need to install the Logitech hub and create a Logitech Harmony account. You no longer create a Harmony account through the web browser, so you’ll need to download the app on either Android or iOS.
You can also download the MyHarmony desktop software on Mac and Windows PCs, and create a Harmony account that way.
We’ll assume that you have your TV and media player (if needed) already set up. You’ll also need to install your Hue lighting system if you haven’t already.
How to set up Phillips Hue
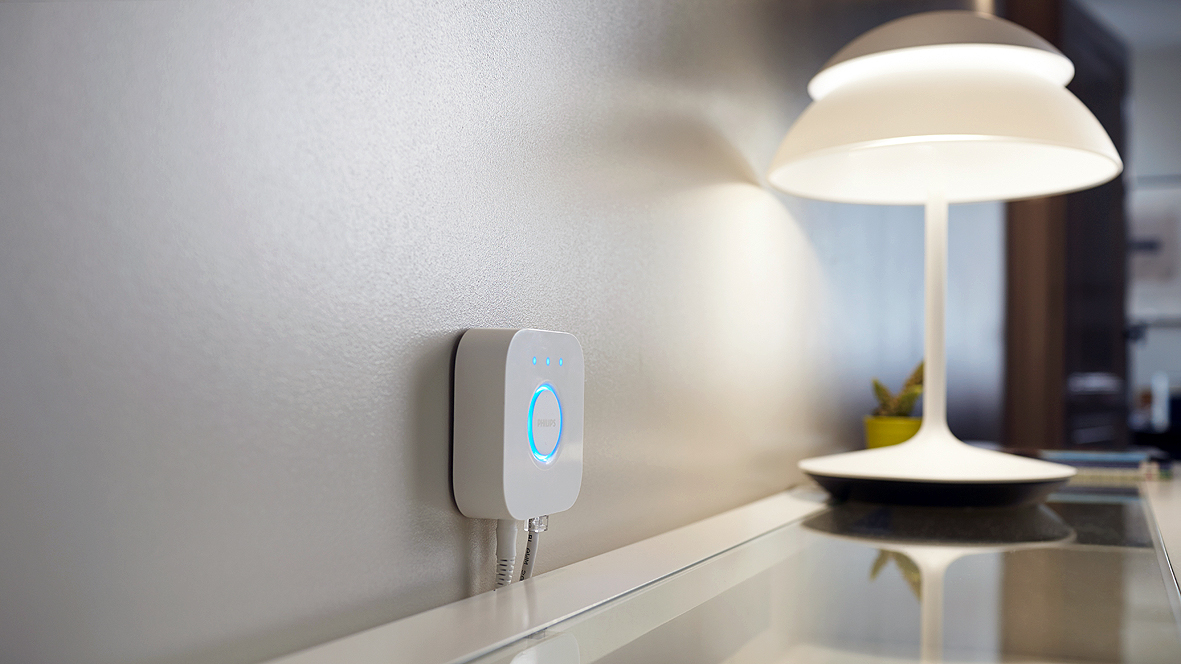
To set up Phillips Hue, you’ll need to plug the Hue Bridge into a power socket and into your router with an Ethernet cable (the Hue Bridge isn’t wireless), then fit the Hue lightbulbs in your light sockets. Hue lightbulbs usually come with Edison Screw (also known as E27) connections.

If your light sockets or lamps have a bayonet (B22) connection (compatible bulbs have small pins poking out of either side of the connector), you can buy additional Hue bulbs with that connection – however a cheaper alternative is to use a E27 to B22 adaptor (£1.03 from Amazon), which work with Hue.
It’s unlikely that you’ll need that sort of adaptor in the US (and in Australia), but the same applies – if you don’t have a fitting with an Edison screw, it's likely that there's an adaptor available for only a few dollars that will allow you to install the Hue bulb into the fitting.
With the Hue bulbs and Hue Bridge installed, use the Hue app (available for Android and iOS devices) to connect to the Hue Bridge (you’ll need to press the button on top of the Bridge when prompted to securely connect the app to the Bridge).
In the Hue app tap on the Cog icon, then select ‘Light setup’. Press the ‘+’ icon and the app will search for your lights.
Once found you have the opportunity to rename the lights – and it's a good idea to do so, as it will make it easier for you to identify individual lights when setting the mood.
If you have (or are planning to get) an Amazon Echo or Amazon Echo Dot, then you can use these friendly names to control the lights with your voice!
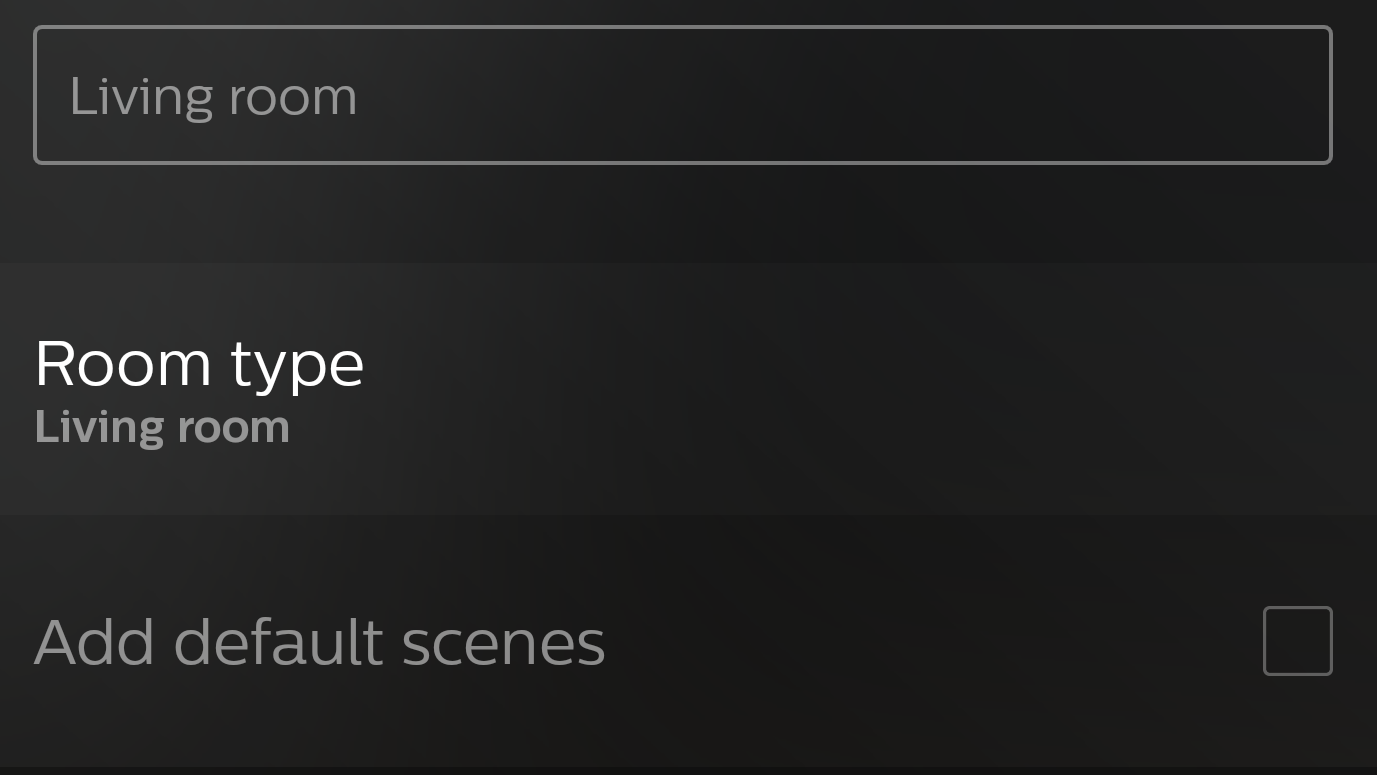
With the app, Bridge and bulbs all connected, press the Home icon, then ‘+’ to add the lights to a room. Type in the name of the room, for example ‘Living room’, then put check marks next to all of the lights.
With that done you can now create a setting for your lights to dim (or turn off). Hue refers to these as ‘scenes’, so follow the instructions in the app to set the mood (including the color of the bulbs), then save your scene as something memorable, such as ‘Netflix and chill’.
Adding your devices to Harmony
Back in the Harmony app you’ll now be able to add your TV, sound system and other devices you use to watch Netflix, or other forms of media, so that the Harmony hub – and the Logitech POP button – can control them.
Logitech has a huge database of products, so unless you have an incredibly obscure device you should be able to find your make and model, and the Harmony app will do the rest, including offering you the right commands for the device.
Once you’ve added your devices, you can create an ‘Activity’, which tells Harmony to turn on your devices and set the correct inputs. The process of creating an Activity will vary depending on the devices you’ve got, so we won’t outline them here. Instead, follow the steps in the Harmony app – it will ask you a number of questions about your setup, such as what devices you use. Answer these to create an activity and name it something like ‘Watch Netflix’.
Harmony can also control your Hue lights, so set the Watch Netflix activity to change your lights to the ‘Netflix and chill’ scene when it runs.
All being well, when you run the Watch Netflix activity, your TV and other media devices will now turn on, Netflix will start and your lights will dim!
Controlling the activity with the POP button
Now it's time to make the 'Netflix and chill button'. Install the Logitech POP button, and download the Logitech POP app for Android or iOS.
Once installed, log in with your Logitech Harmony account, then follow the set-up instructions to connect the app to the POP button.
With that done, set it so that when you press the POP button it runs the 'Watch Netflix' activity.
Sending the text
Now we can get our smartphone to automatically send a text message when the Watch Netflix activity starts.
To do this we’ll use the IFTTT app, which is available for Android and iOS devices.
With this app we can set a rule that sends a pre-written text to a pre-defined number when the Watch Netflix activity is run.
Click ‘My Applets’ in the IFTTT app, then press the ‘+’ icon to add a new rule. Select ‘This’ and search for Logitech POP. In the ‘Select trigger’ screen, choose what type of press you want to perform on the POP button to run the activity. You may need to log in to your Logitech Harmony account again. Once done, set up the trigger so that when you press the POP button to run the Watch Netflix activity, IFTTT is triggered.
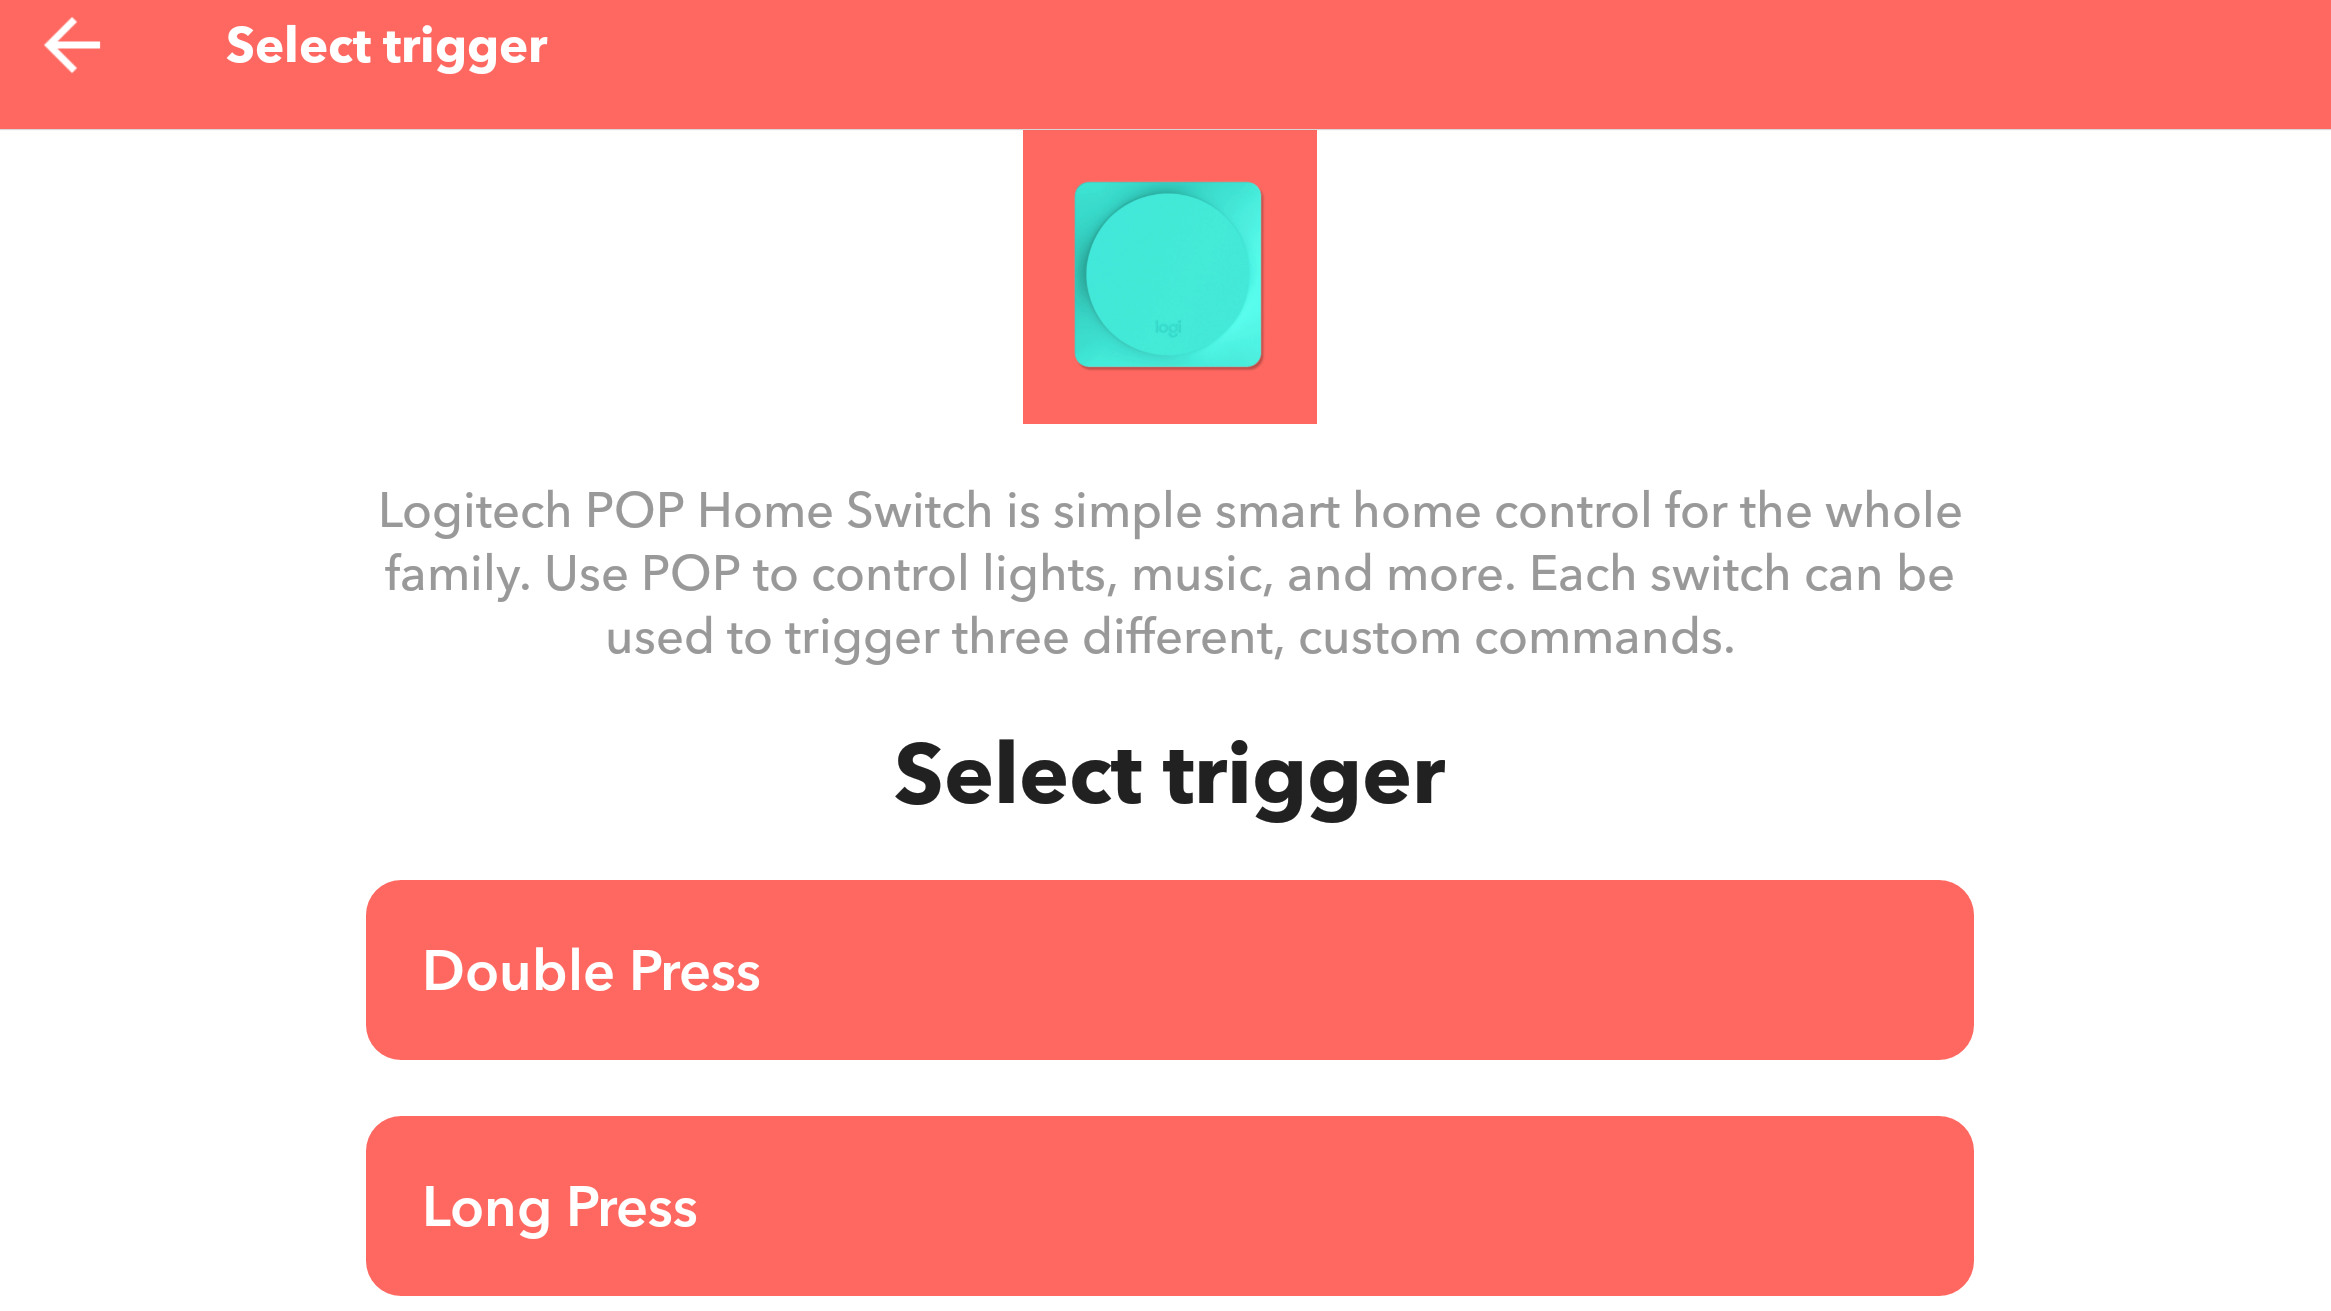
Now that we’ve set the trigger, we’ll need to set the action (also known in IFTTT as ‘That’). Scroll down until you see ‘Android SMS’. Tap it, then tap ‘Send an SMS’. Add the phone number you want to send the text message to, then enter in the message, such as ‘Want to Netflix and chill?’. Of course we should point out that you must make sure you only enter in the phone number of someone who doesn’t mind getting a request like that from you!
Complete the action, and then save. Now, when you press the Logitech POP button your TV will turn on, Netflix will load, the lights will dim and you’ll automatically send a text inviting someone to Netflix and Chill with you!
- Looking for something to watch? Here's our list of the best shows on Netflix

Matt is TechRadar's Managing Editor for Core Tech, looking after computing and mobile technology. Having written for a number of publications such as PC Plus, PC Format, T3 and Linux Format, there's no aspect of technology that Matt isn't passionate about, especially computing and PC gaming. He’s personally reviewed and used most of the laptops in our best laptops guide - and since joining TechRadar in 2014, he's reviewed over 250 laptops and computing accessories personally.