8 essential tips for levelling-up your drone videos
From in-camera setting to flying techniques
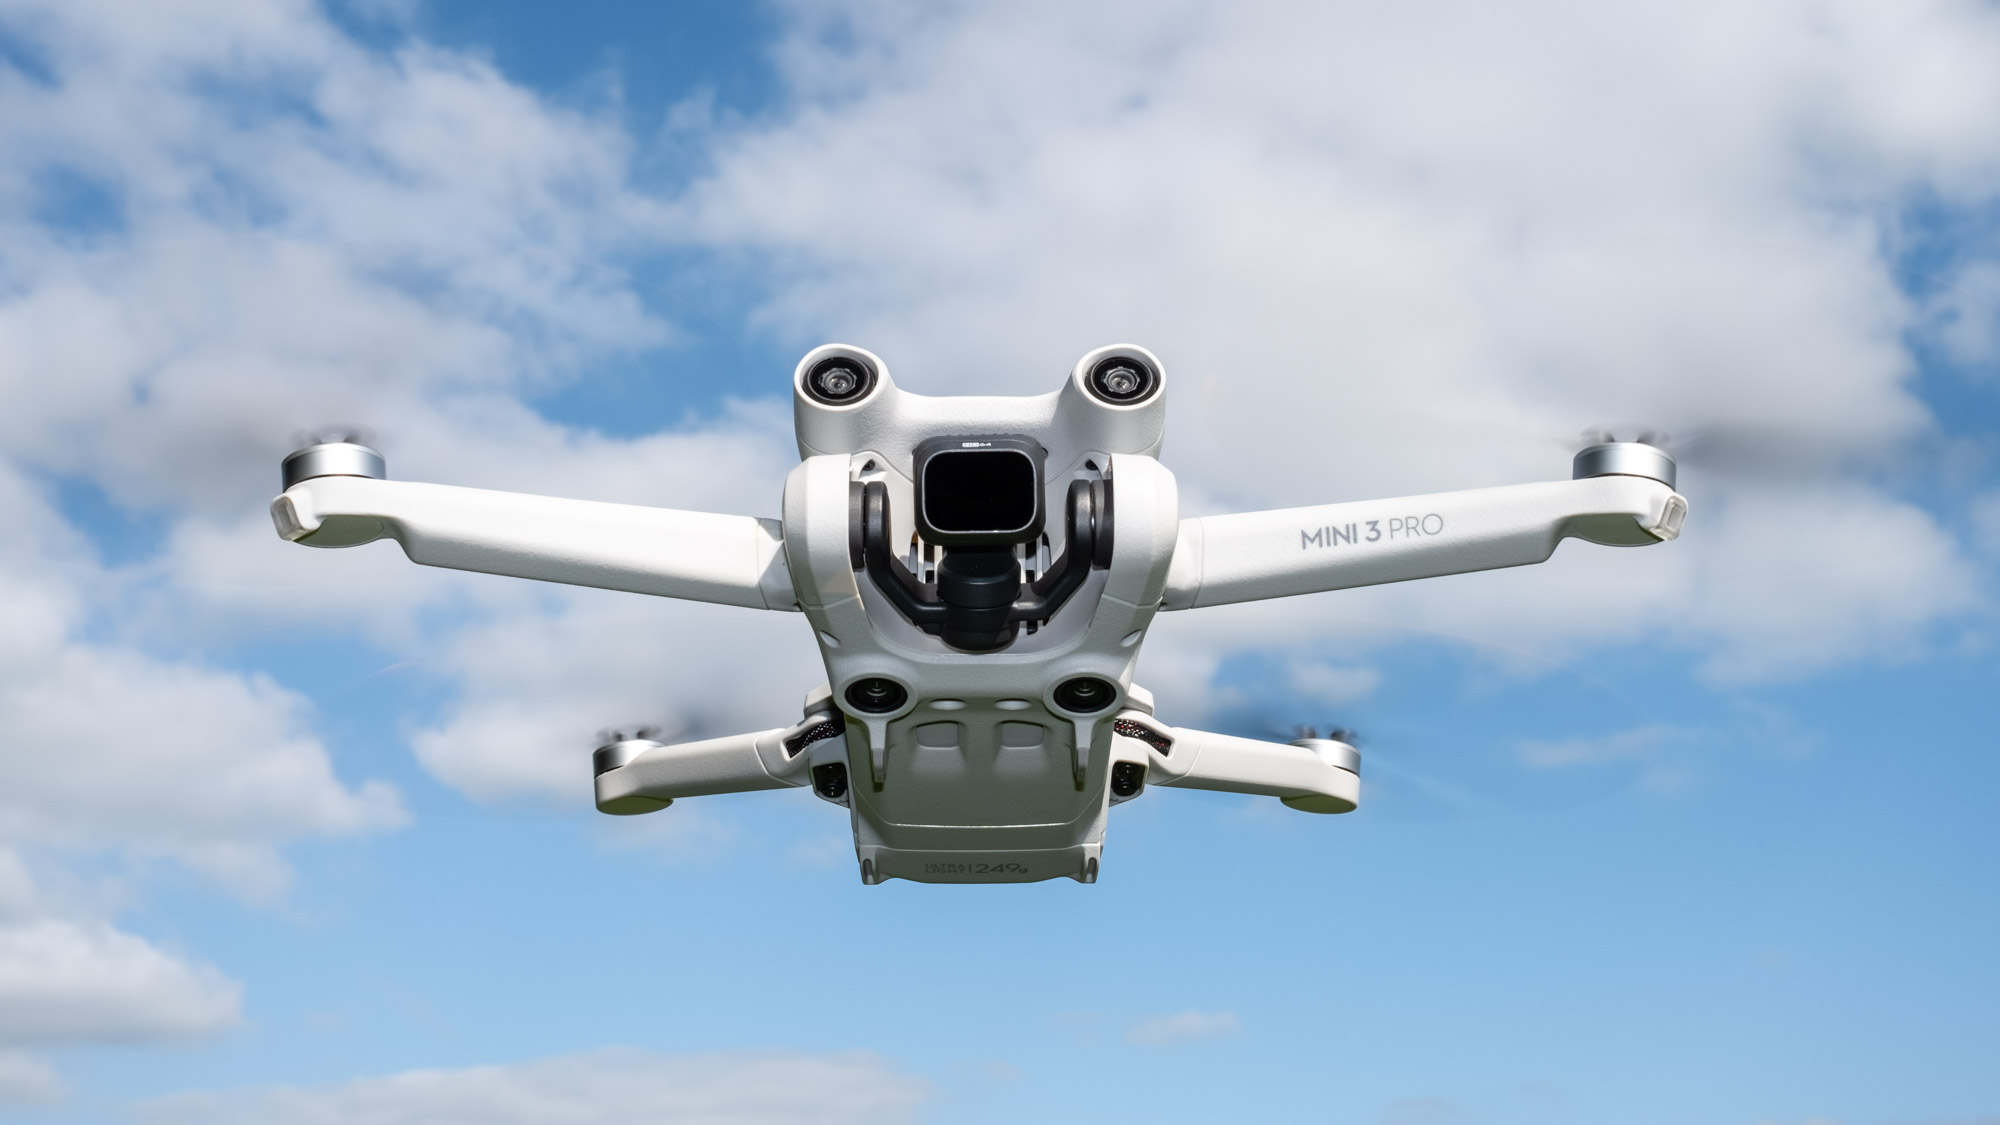
Whether you’re starting out in aerial video with one of the best beginner drones or an experienced pilot using one of the best drones available, the idea of capturing video while flying can be a daunting prospect. But don’t let the apparent complexity put you off, capturing aerial video is much easier than you may think and once you read through these tips, you’ll be capturing sublime aerial videos in no time.
Drones are essentially flying cameras, allowing you to reach locations inaccessible by foot and to capture scenes from elevated and often exciting viewpoints. There are many similarities between drone photography and video, but the difference for video is that rather than simply holding the drone in a hover while you shoot, you’ll often need to fly at the same time to capture the most interesting footage possible.
The video was shot at a simple location to illustrate how the tips we cover can be combined to create aerial videos that are much more interesting than a single clip with no sound.
I’ve previously shared how to improve your drone photography but video requires additional techniques to photography that you need to know, which is exactly what we’ll cover here and more. So, buckle up, and let’s get started.
1 Select your color profile
With drones, there are typically two types of profiles for video capture: flat profiles such as Log or Cinelike – which DJI calls ‘D-Log’ and ‘D-Cinelike’ – and standard color profiles which DJI calls ‘Normal’. Some advanced models, such as the DJI Mavic 3 Pro, also offer Raw shooting in Apple ProRes format, but for most people, the main decision will be whether to shoot in a flat or standard profile.
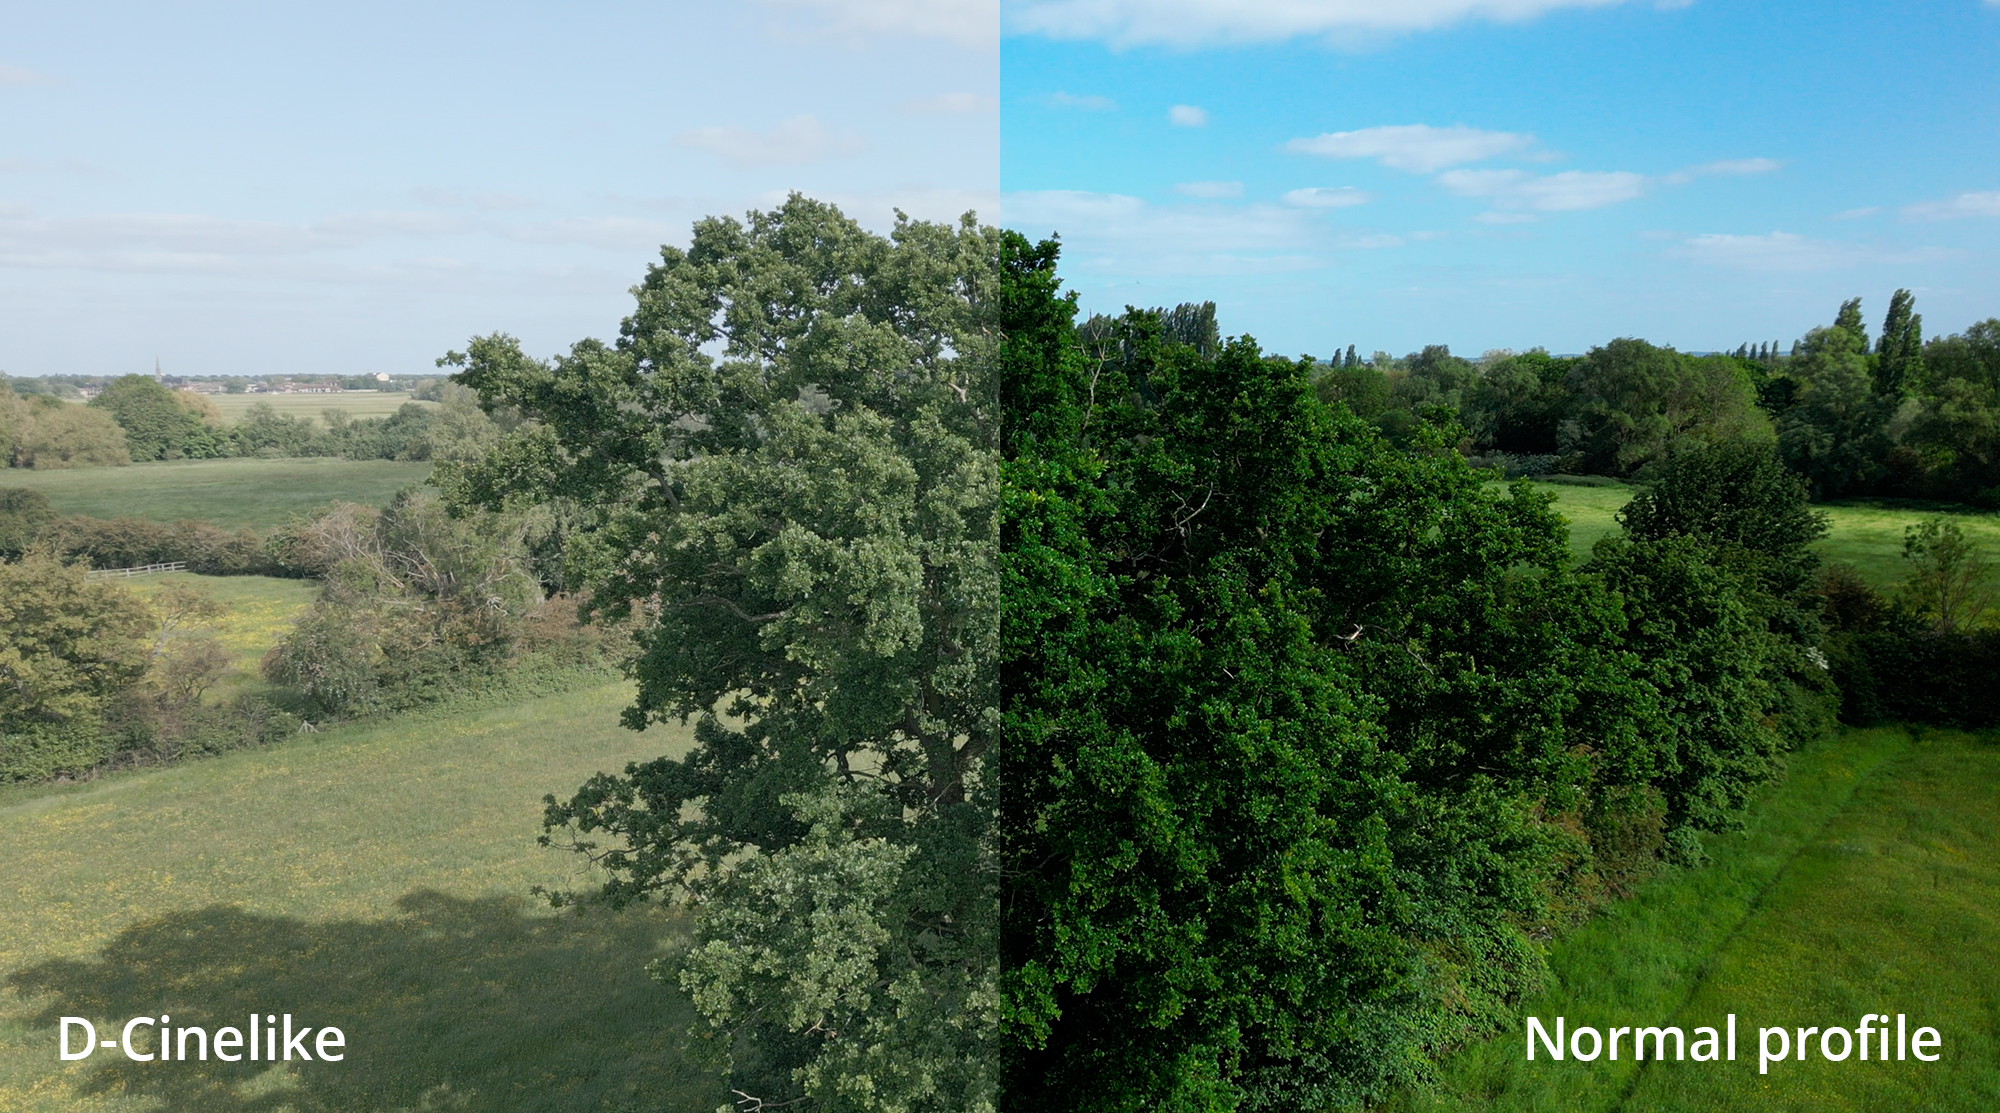
Cinelike and Log are flat profiles that capture a wide dynamic range and large color gamut and need to be processed and colour graded during editing. Standard profiles are easier to manage, creating a straight-out-of-camera look that skips the color grading editing process. But if you desire more creative freedom and improved image quality overall, flat profiles are the way to go if you can process the footage in video editing software.
2 Consider resolution and frame rate
Most people these days have 4K televisions and computer monitors, so shooting in 4K allows you to take full advantage of that resolution with no need for interpolation (enlargement of the image by the viewing device). Also, even if you intend to export your video at FHD (1080p), you’ll get better results by downsizing the 4K footage to FHD. One example of when you may choose to shoot natively in FHD, however, is for capturing slow-motion footage because many drones can shoot at a higher framerate when capturing video at this resolution.
Sign up for breaking news, reviews, opinion, top tech deals, and more.
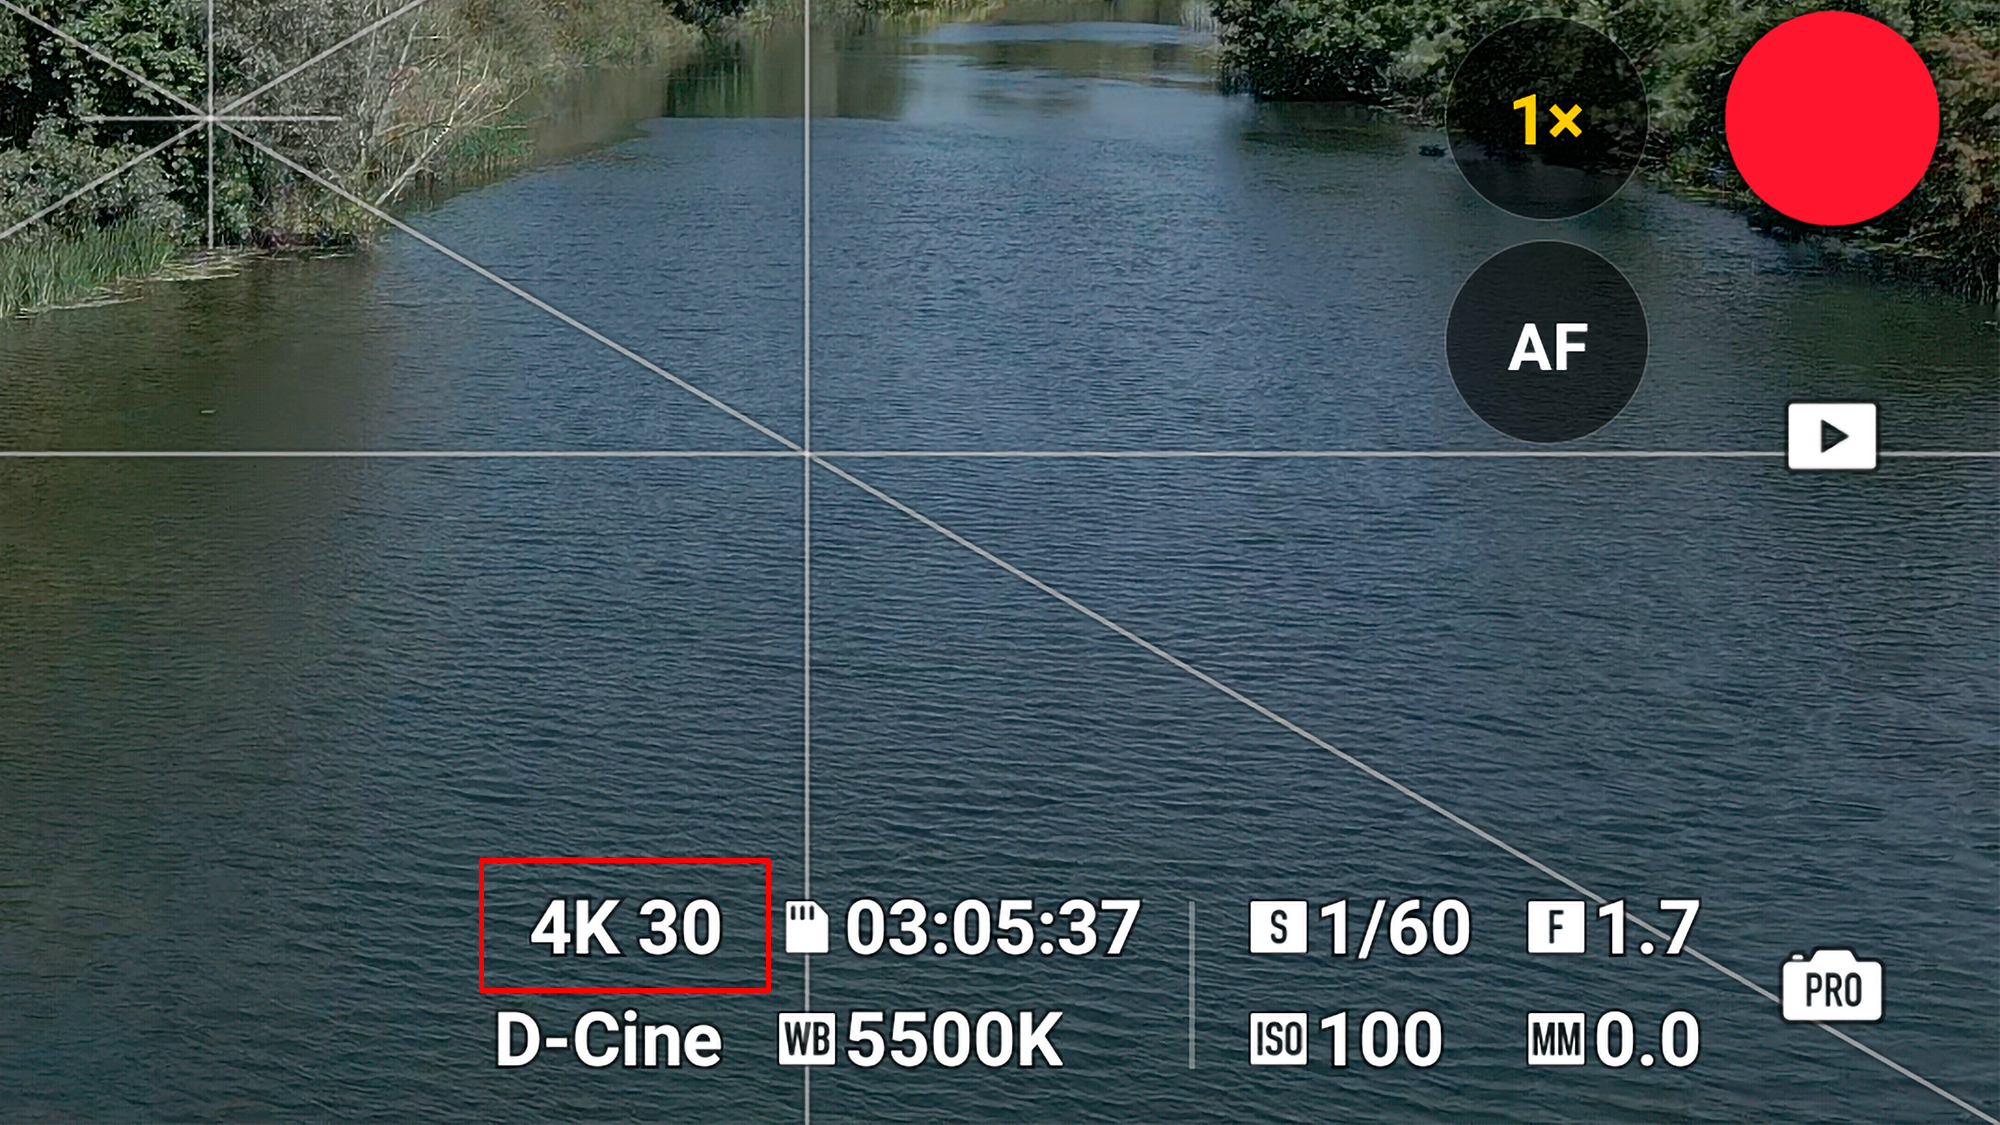
As for frame rate, 24fps will provide the most cinematic results because this is the framerate movies are most often shot at, although 30fps isn’t hugely different. In addition to slow motion footage, 60fps can be useful if your strongest ND filter can’t provide a correct exposure at the lower framerates in bright light, because it allows you to use a faster shutter speed.
3 Stay consistent with manual exposure
With the exception of situations when you’re flying between light and dark areas where exposure is significantly different, it’s best to shoot aerial video with manual control of the camera to maintain exposure and white balance consistency.
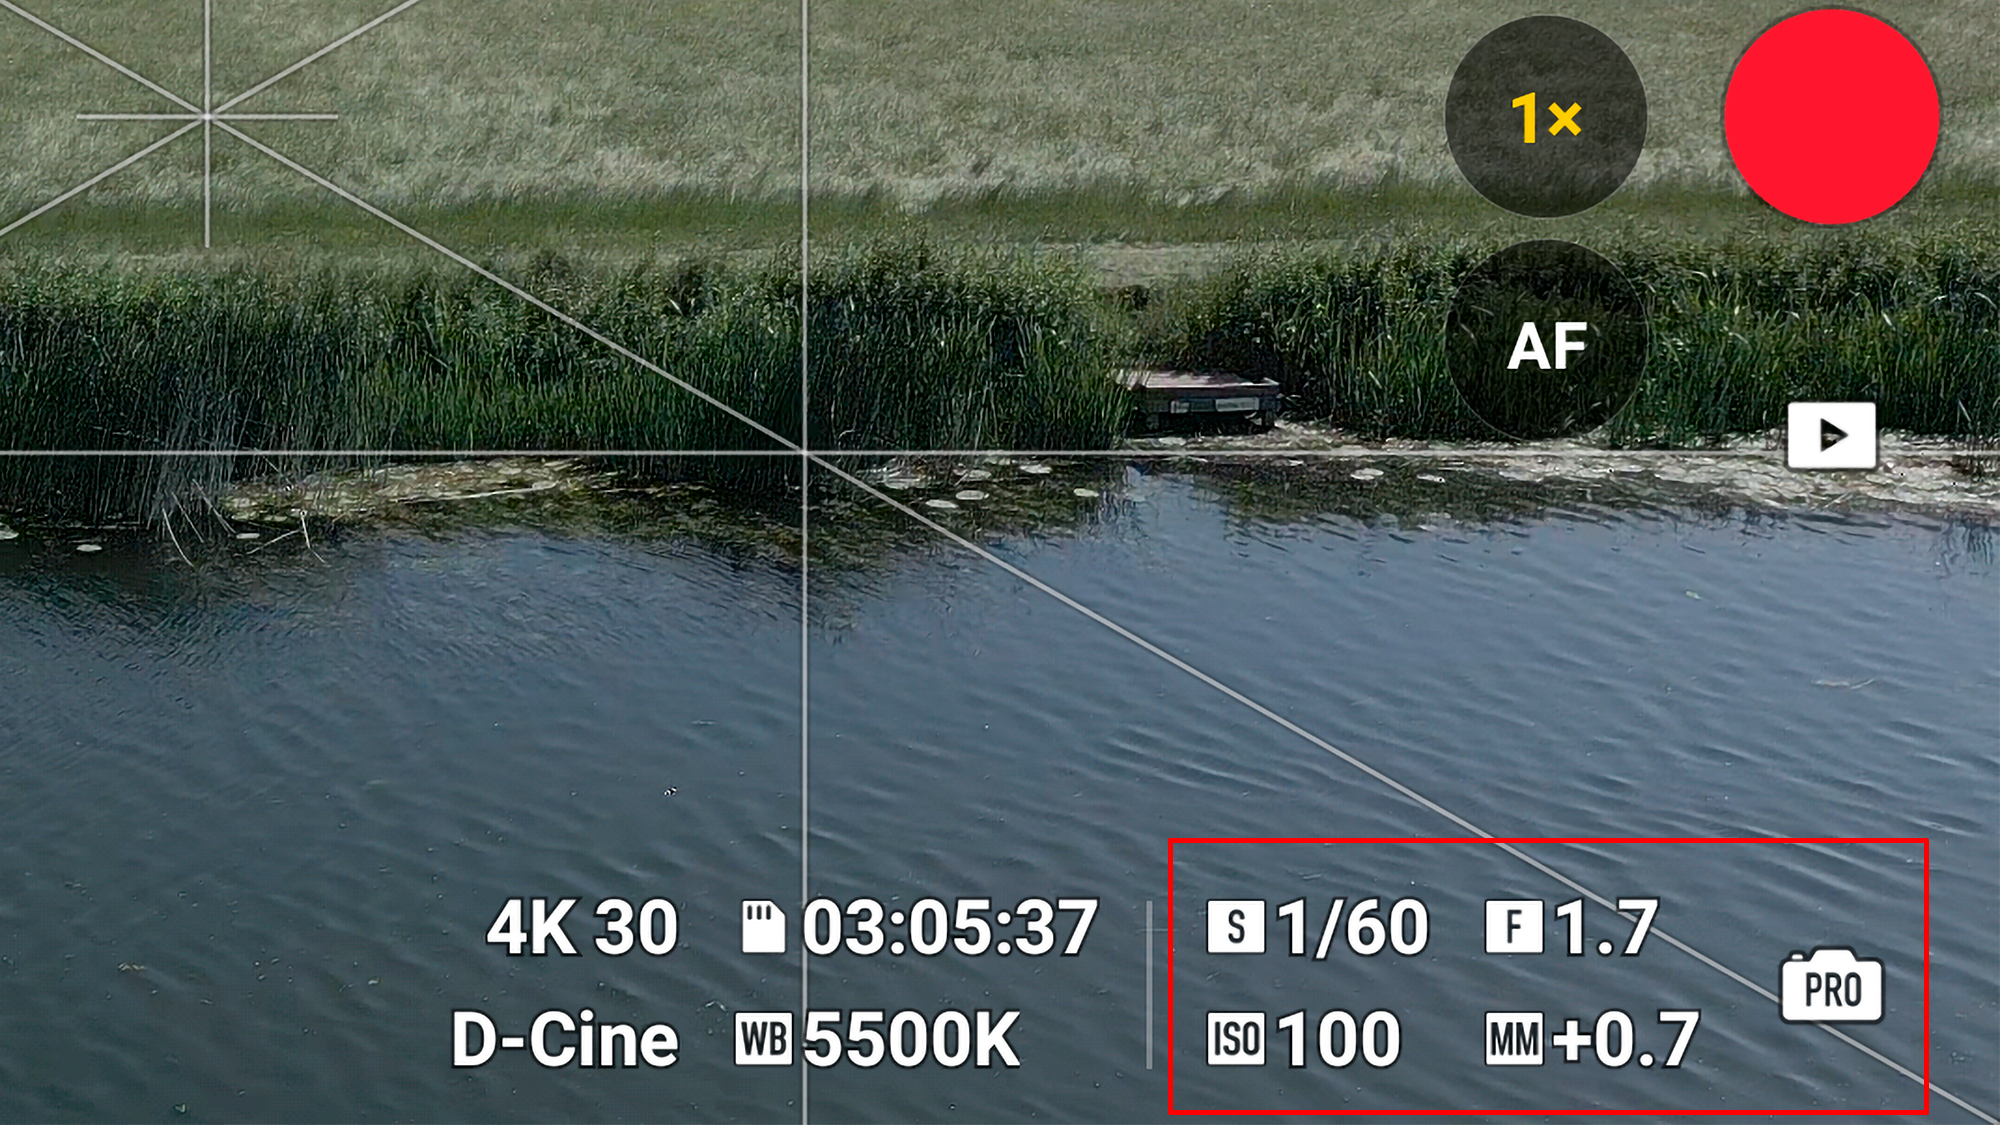
This means setting ISO, shutter speed, aperture (if your drone has an adjustable aperture) and white balance manually rather than using any of the Auto options. This ensures that all of these variables remain the same because changes in any of them will be noticeable in video footage, and are hard to correct afterwards, which will ultimately reduce the quality of your aerial videos.
4 Apply the 180-degree shutter rule
To capture natural-looking movement in video with just the right amount of blur, there’s a simple ‘180-degree shutter rule’ to follow. All you need to do is set the shutter speed to double the framerate you’re shooting at, so for 25fps it would be 1/50 sec, for 30fps it would be 1/60 sec and so on.
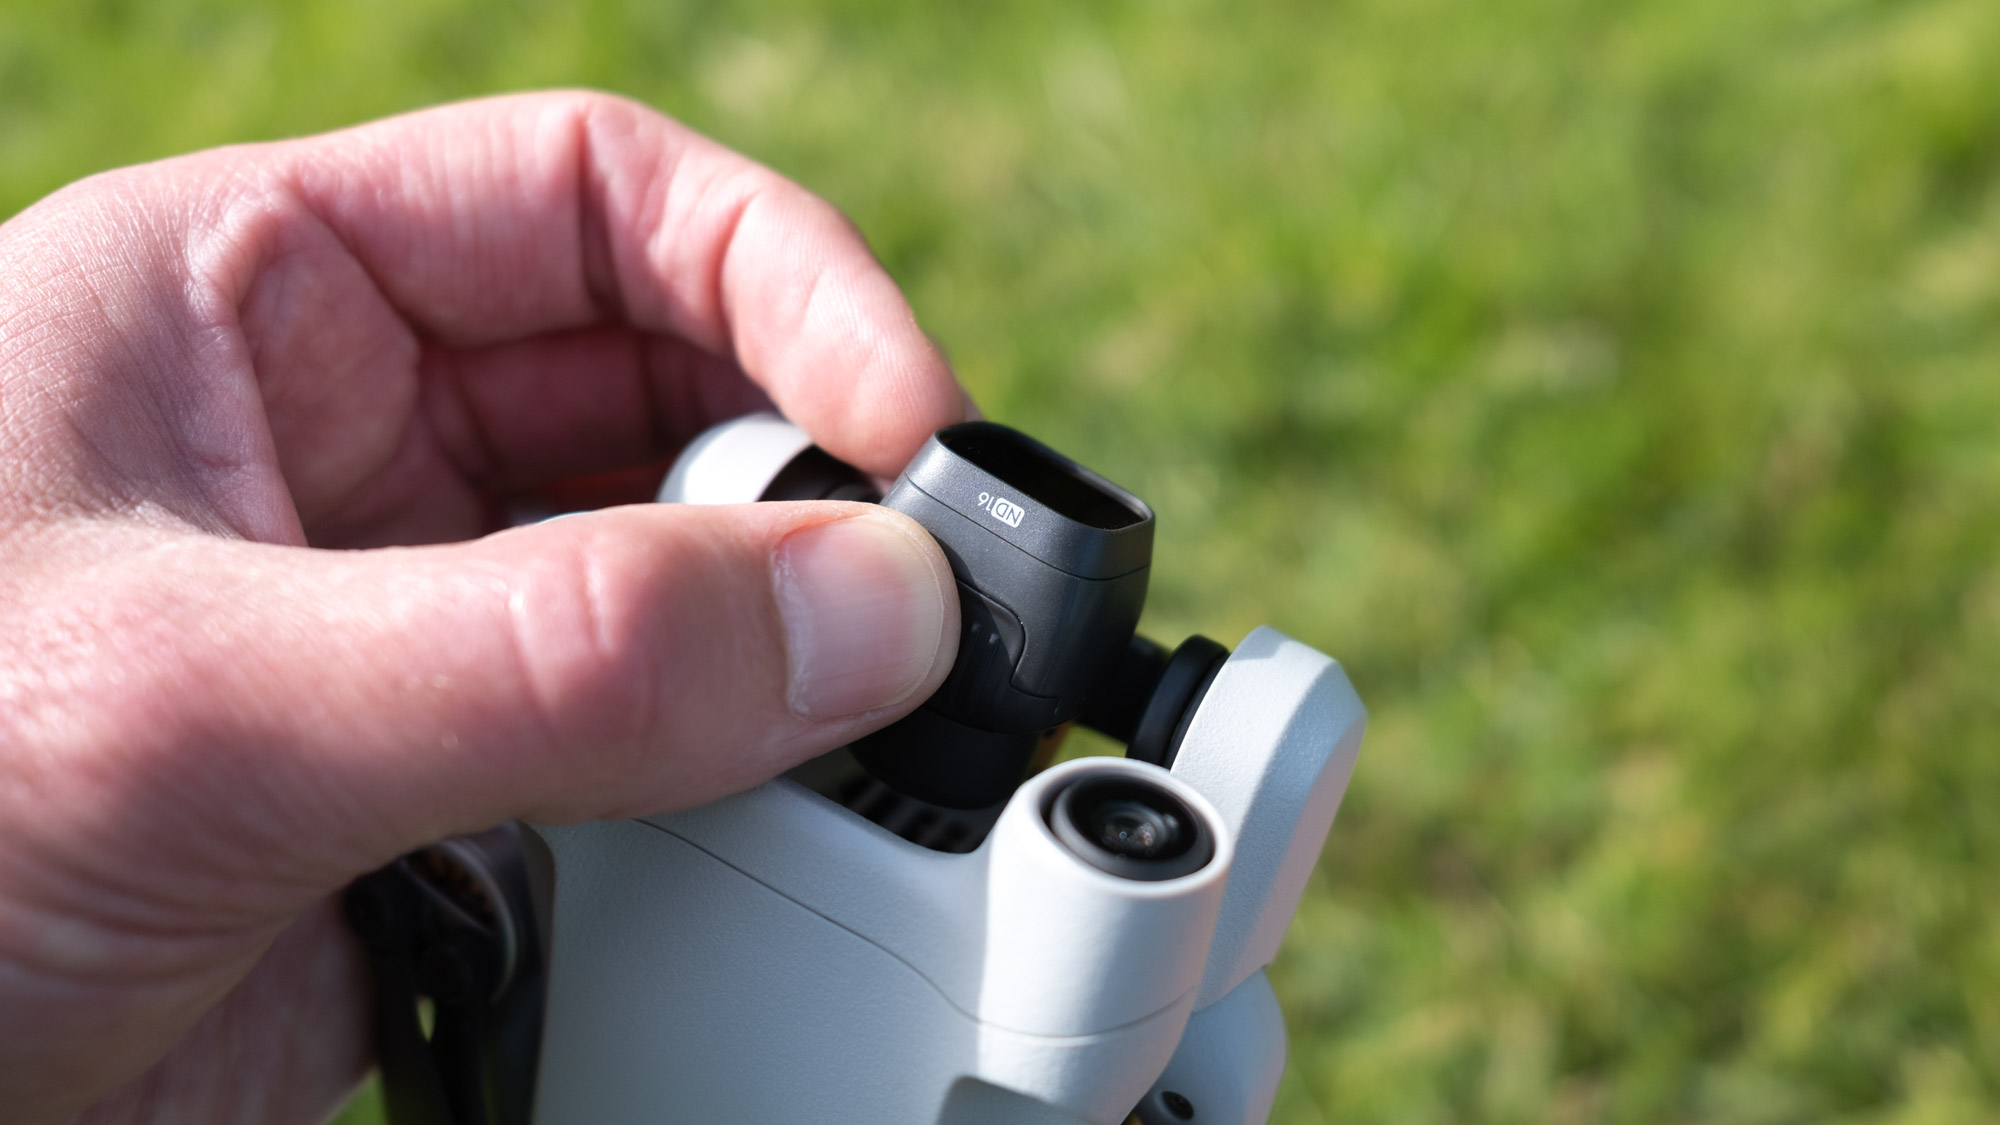
Set the ISO to the lowest level you can with the shutter speed set as above. If your drone has an adjustable aperture set this to the desired value – this can be changed in the air if the light changes to control exposure. If the on-screen image looks too bright, use an ND filter to reduce light entering the lens to obtain a correct exposure. And if the image is too dark, simply increase the ISO.
5 Make use of visual guides
Whether you’re using a smart controller or your phone attached to a drone controller, every drone app has several visual guides that can make shooting quicker, easier and more precise. And even if you’re a highly experienced videographer or photographer, it makes sense to activate them.
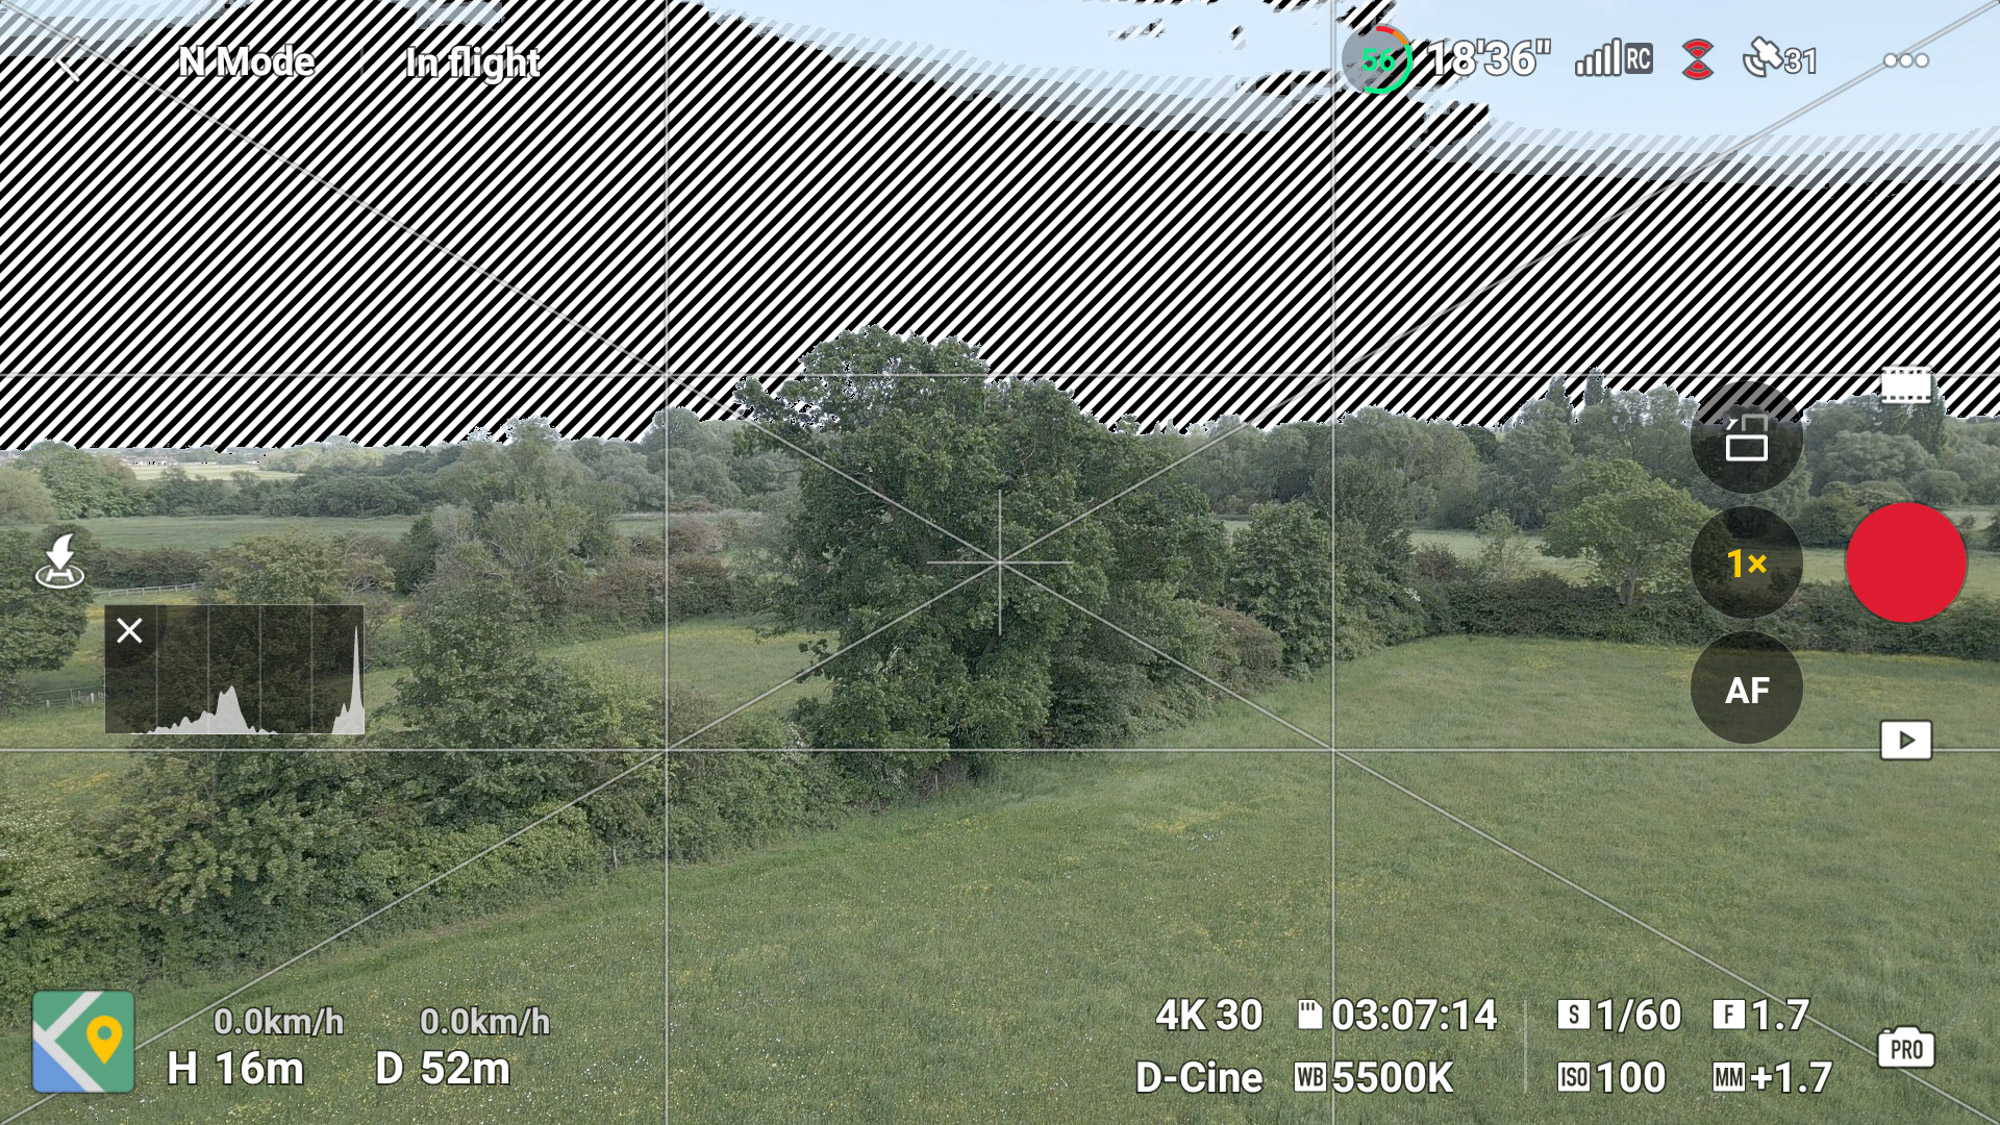
Gridlines are excellent for guiding composition and assessing where to stop or start a gimbal tilt, while ‘Peaking’ is essential if you set focus manually for video and I suggest choosing the normal setting. Overexposure warning on the best DJI drones shows zebras when highlights are blown, and the histogram is the best way overall to assess exposure and the tonal values of the scene you’re shooting.
6 Understand the histogram
Zebras are a clear and instant visual reference warning you that highlights are overexposed, but this is all that they show. The histogram on the other hand is a graph that shows all of the tonal values of the scene you’re shooting; the left third represents darker tones, the middle third represents the midtones and the right third represents lighter tones.
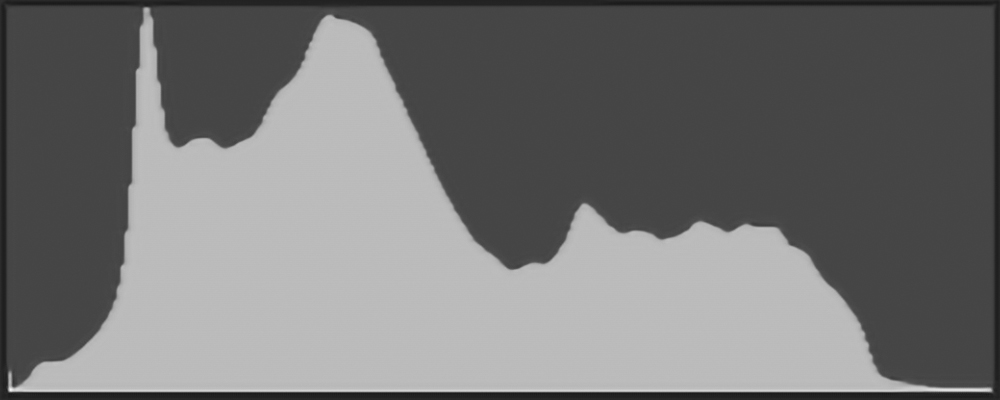
If the histogram graph is touching the left side of the box it means that the shadows have clipped, and most importantly, if the graph is touching the right side of the box the highlights have blown, and it’s blown highlights that should be avoided whenever possible because that detail is much harder to recover.
7 Experiment with flight manoeuvres
The default video recording manoeuvre is to fly forwards while shooting. There’s nothing wrong with this, but there are lots of other manoeuvres you can experiment with, too, beyond the camera facing forwards, tilted at any angle or straight down at the ground.
Orbits are where you circle a subject, reveals are where you fly backwards over or between objects to reveal them, crane lifts are an increase in altitude that can be paired up with a rotation, and you can also mimic dolly movements of traditional cameras.
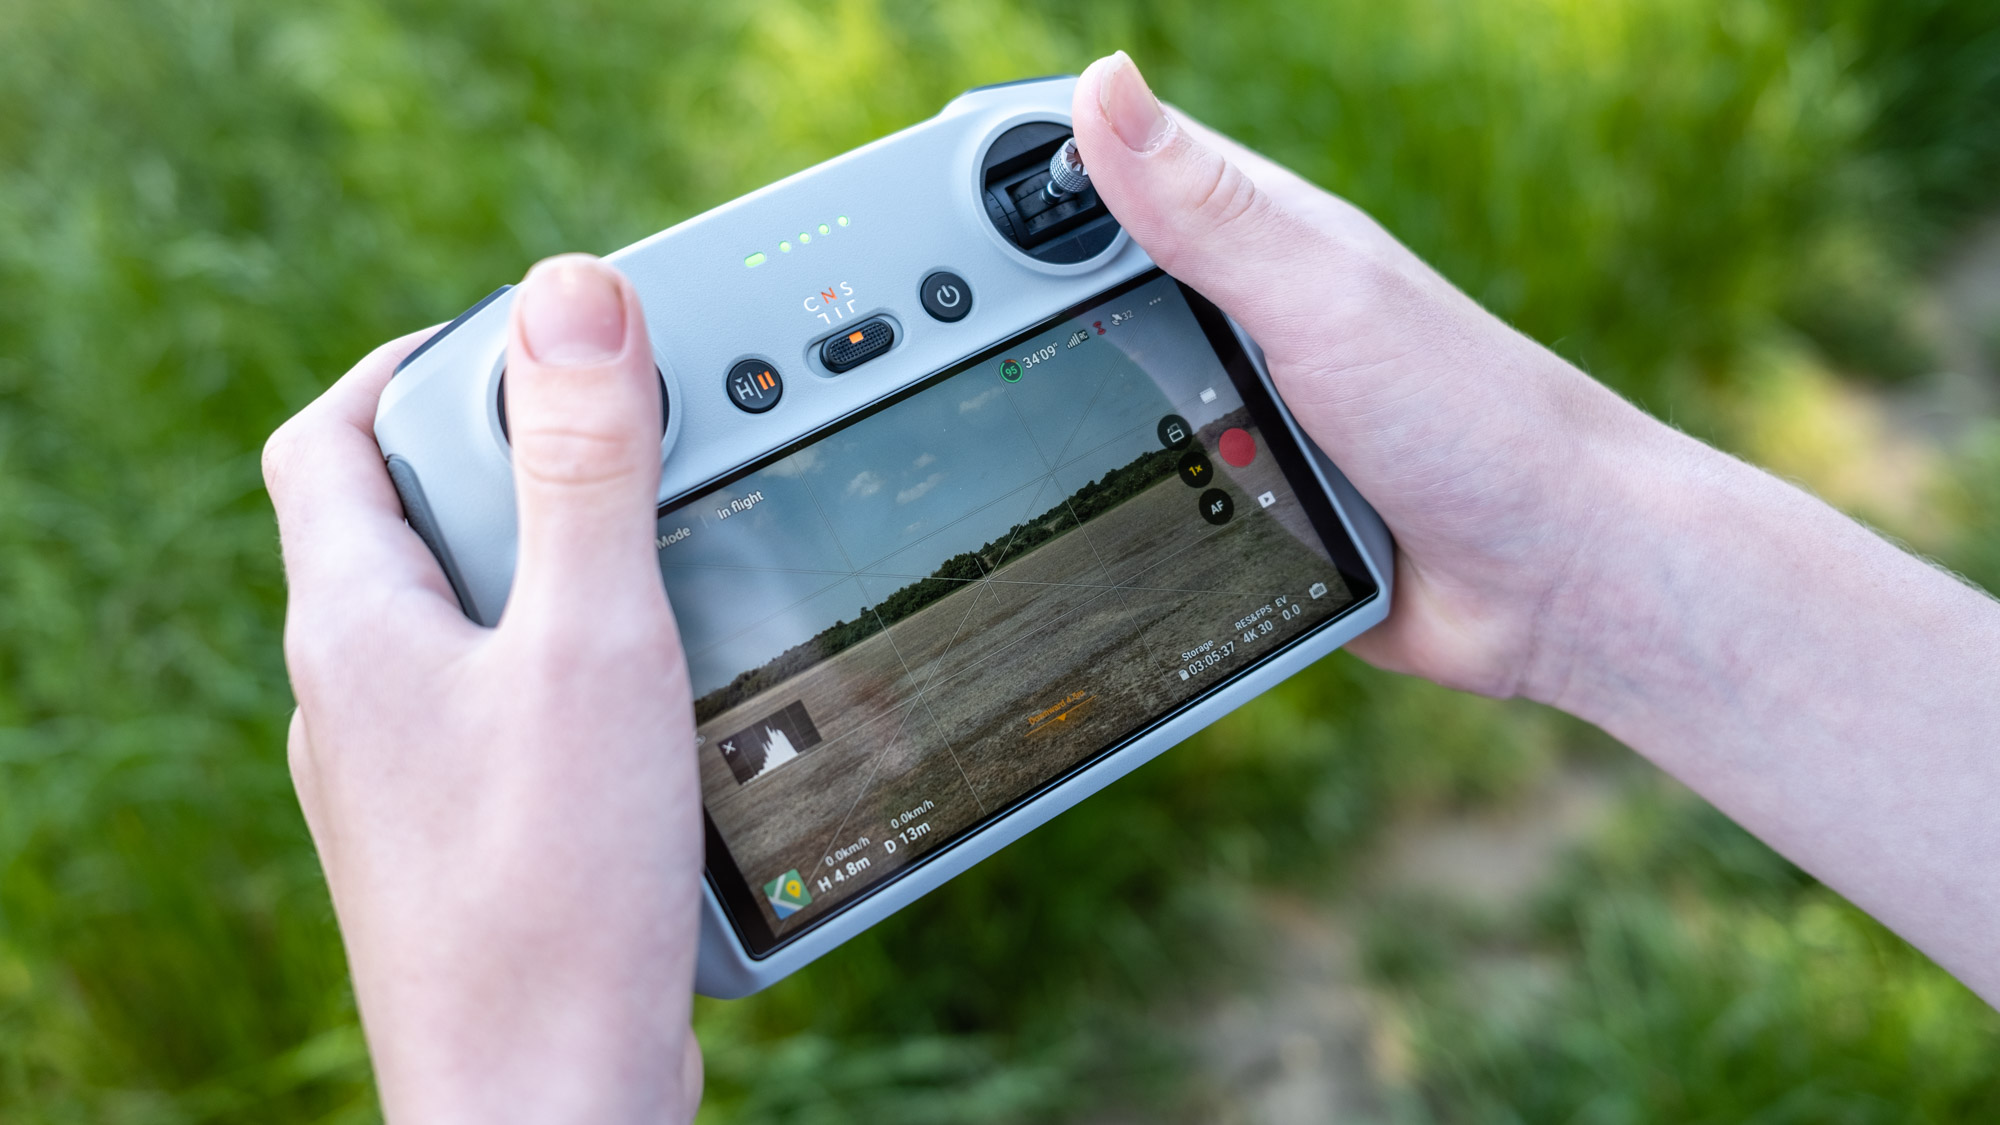
These are just a few of the manoeuvres you can use to capture shots of a subject or location to shoot short clips that can be edited together to create visually interesting videos. A quick and easy way to achieve interesting results if you’re not a confident or experienced pilot is to take advantage of Quickshots, which are automated flight patterns for capturing cinematic-looking videos.
8 Think about sound
Drones typically don’t record sound, and who would want to hear the buzz of a drone that sounds like a swarm of angry bees, anyway? However, sound remains an important element of aerial videos because it can help to set a mood, reflect the location you were shooting as well as adding audio interest that ultimately helps to bring videos to life.
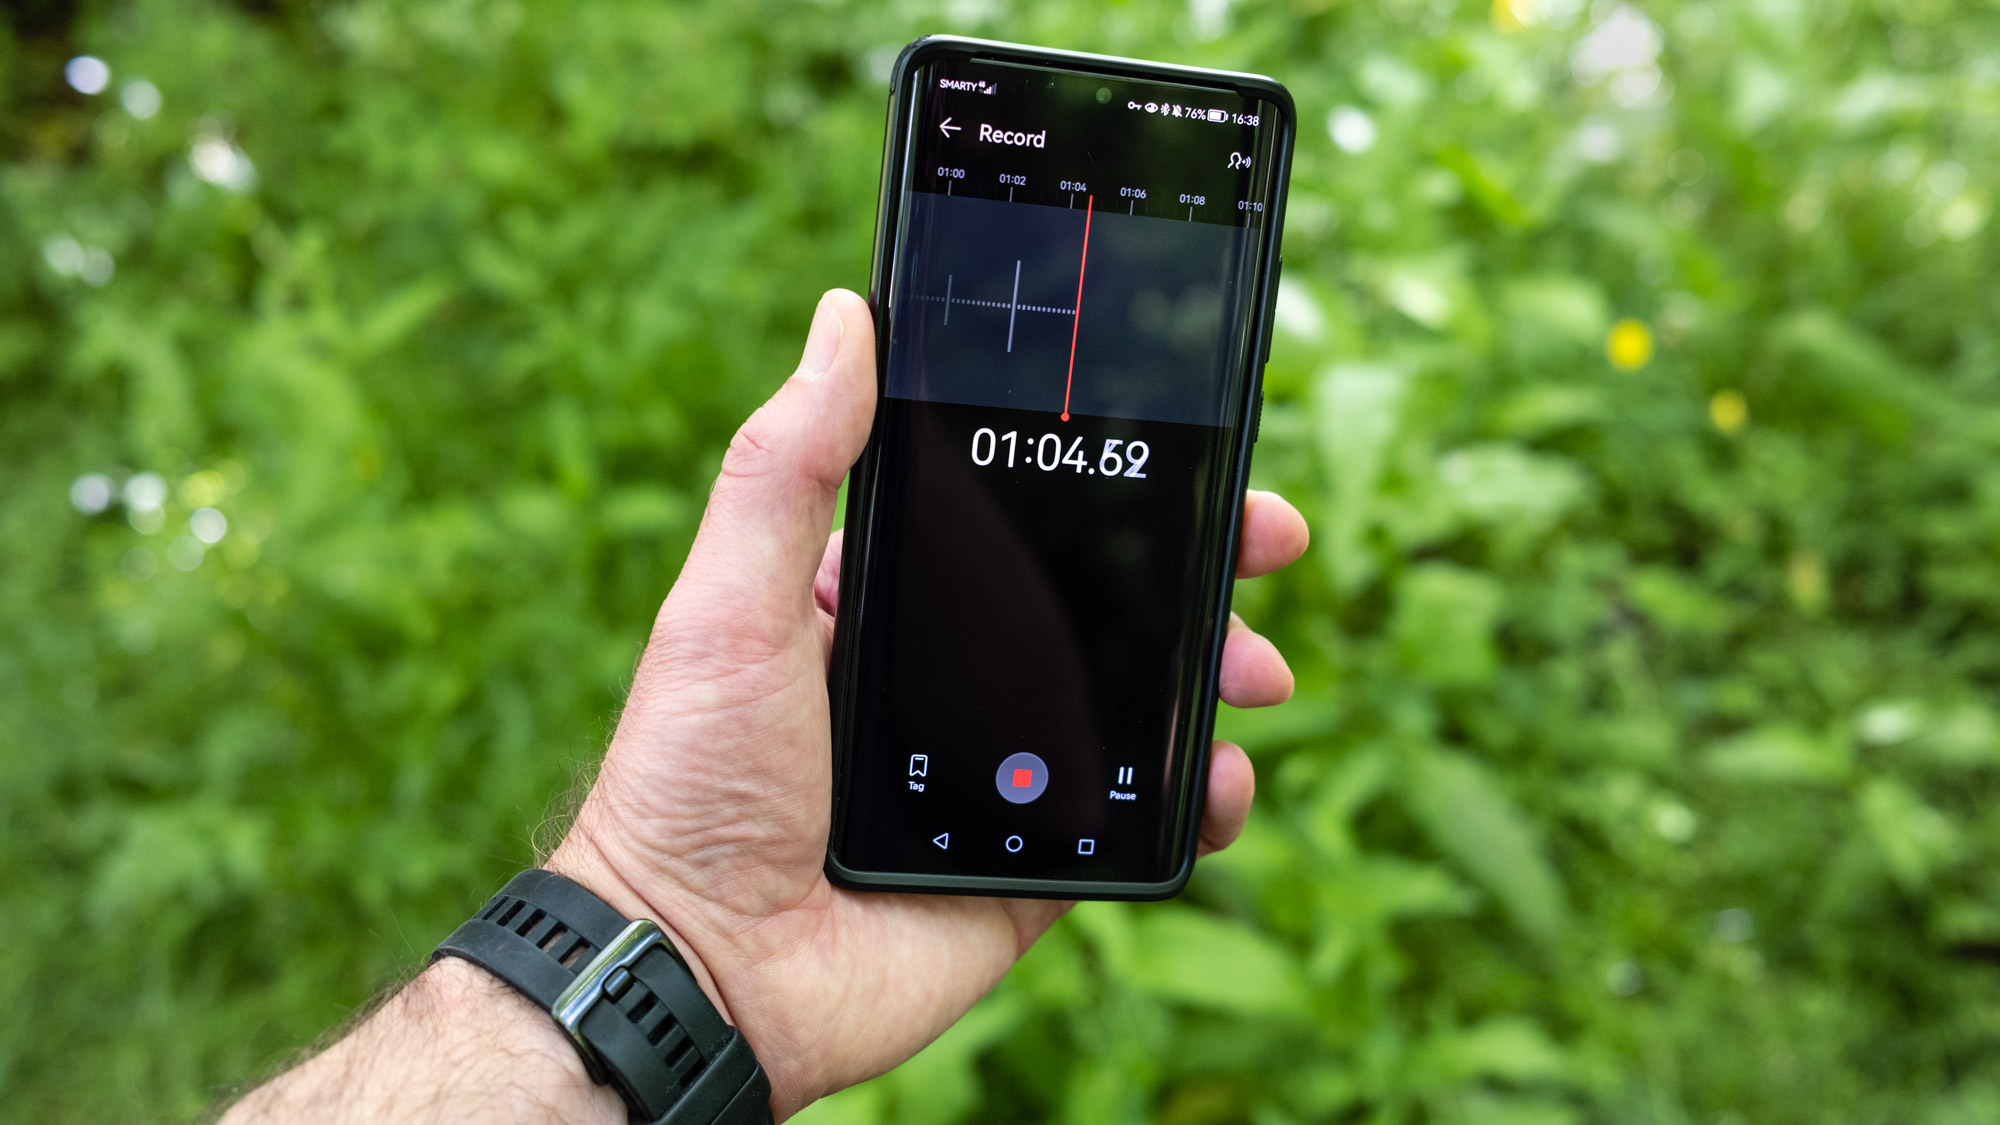
Music is a great way to add mood, and it’s best to use royalty-free music to avoid copyright infringement. Sound effects can also be added to make the video more dynamic and these can also be purchased royalty-free, too, but use them sparingly.
An extremely simple method of applying sound to videos is to use your phone or a sound recorder to capture ambient sound from the location where you’re shooting, which can then be added to videos during editing. Music, sound effects, ambient sound; all three can be used together, or any combination of the three.
James Abbott is a professional photographer and freelance photography journalist. He contributes articles about photography, cameras and drones to a wide range of magazines and websites where he applies a wealth of experience to testing the latest photographic tech. James is also the author of ‘The Digital Darkroom: The Definitive Guide to Photo Editing’.

 Become a TechRadar Insider


