How to improve your drone photography
Lift your drone photography to new heights with our expert tips
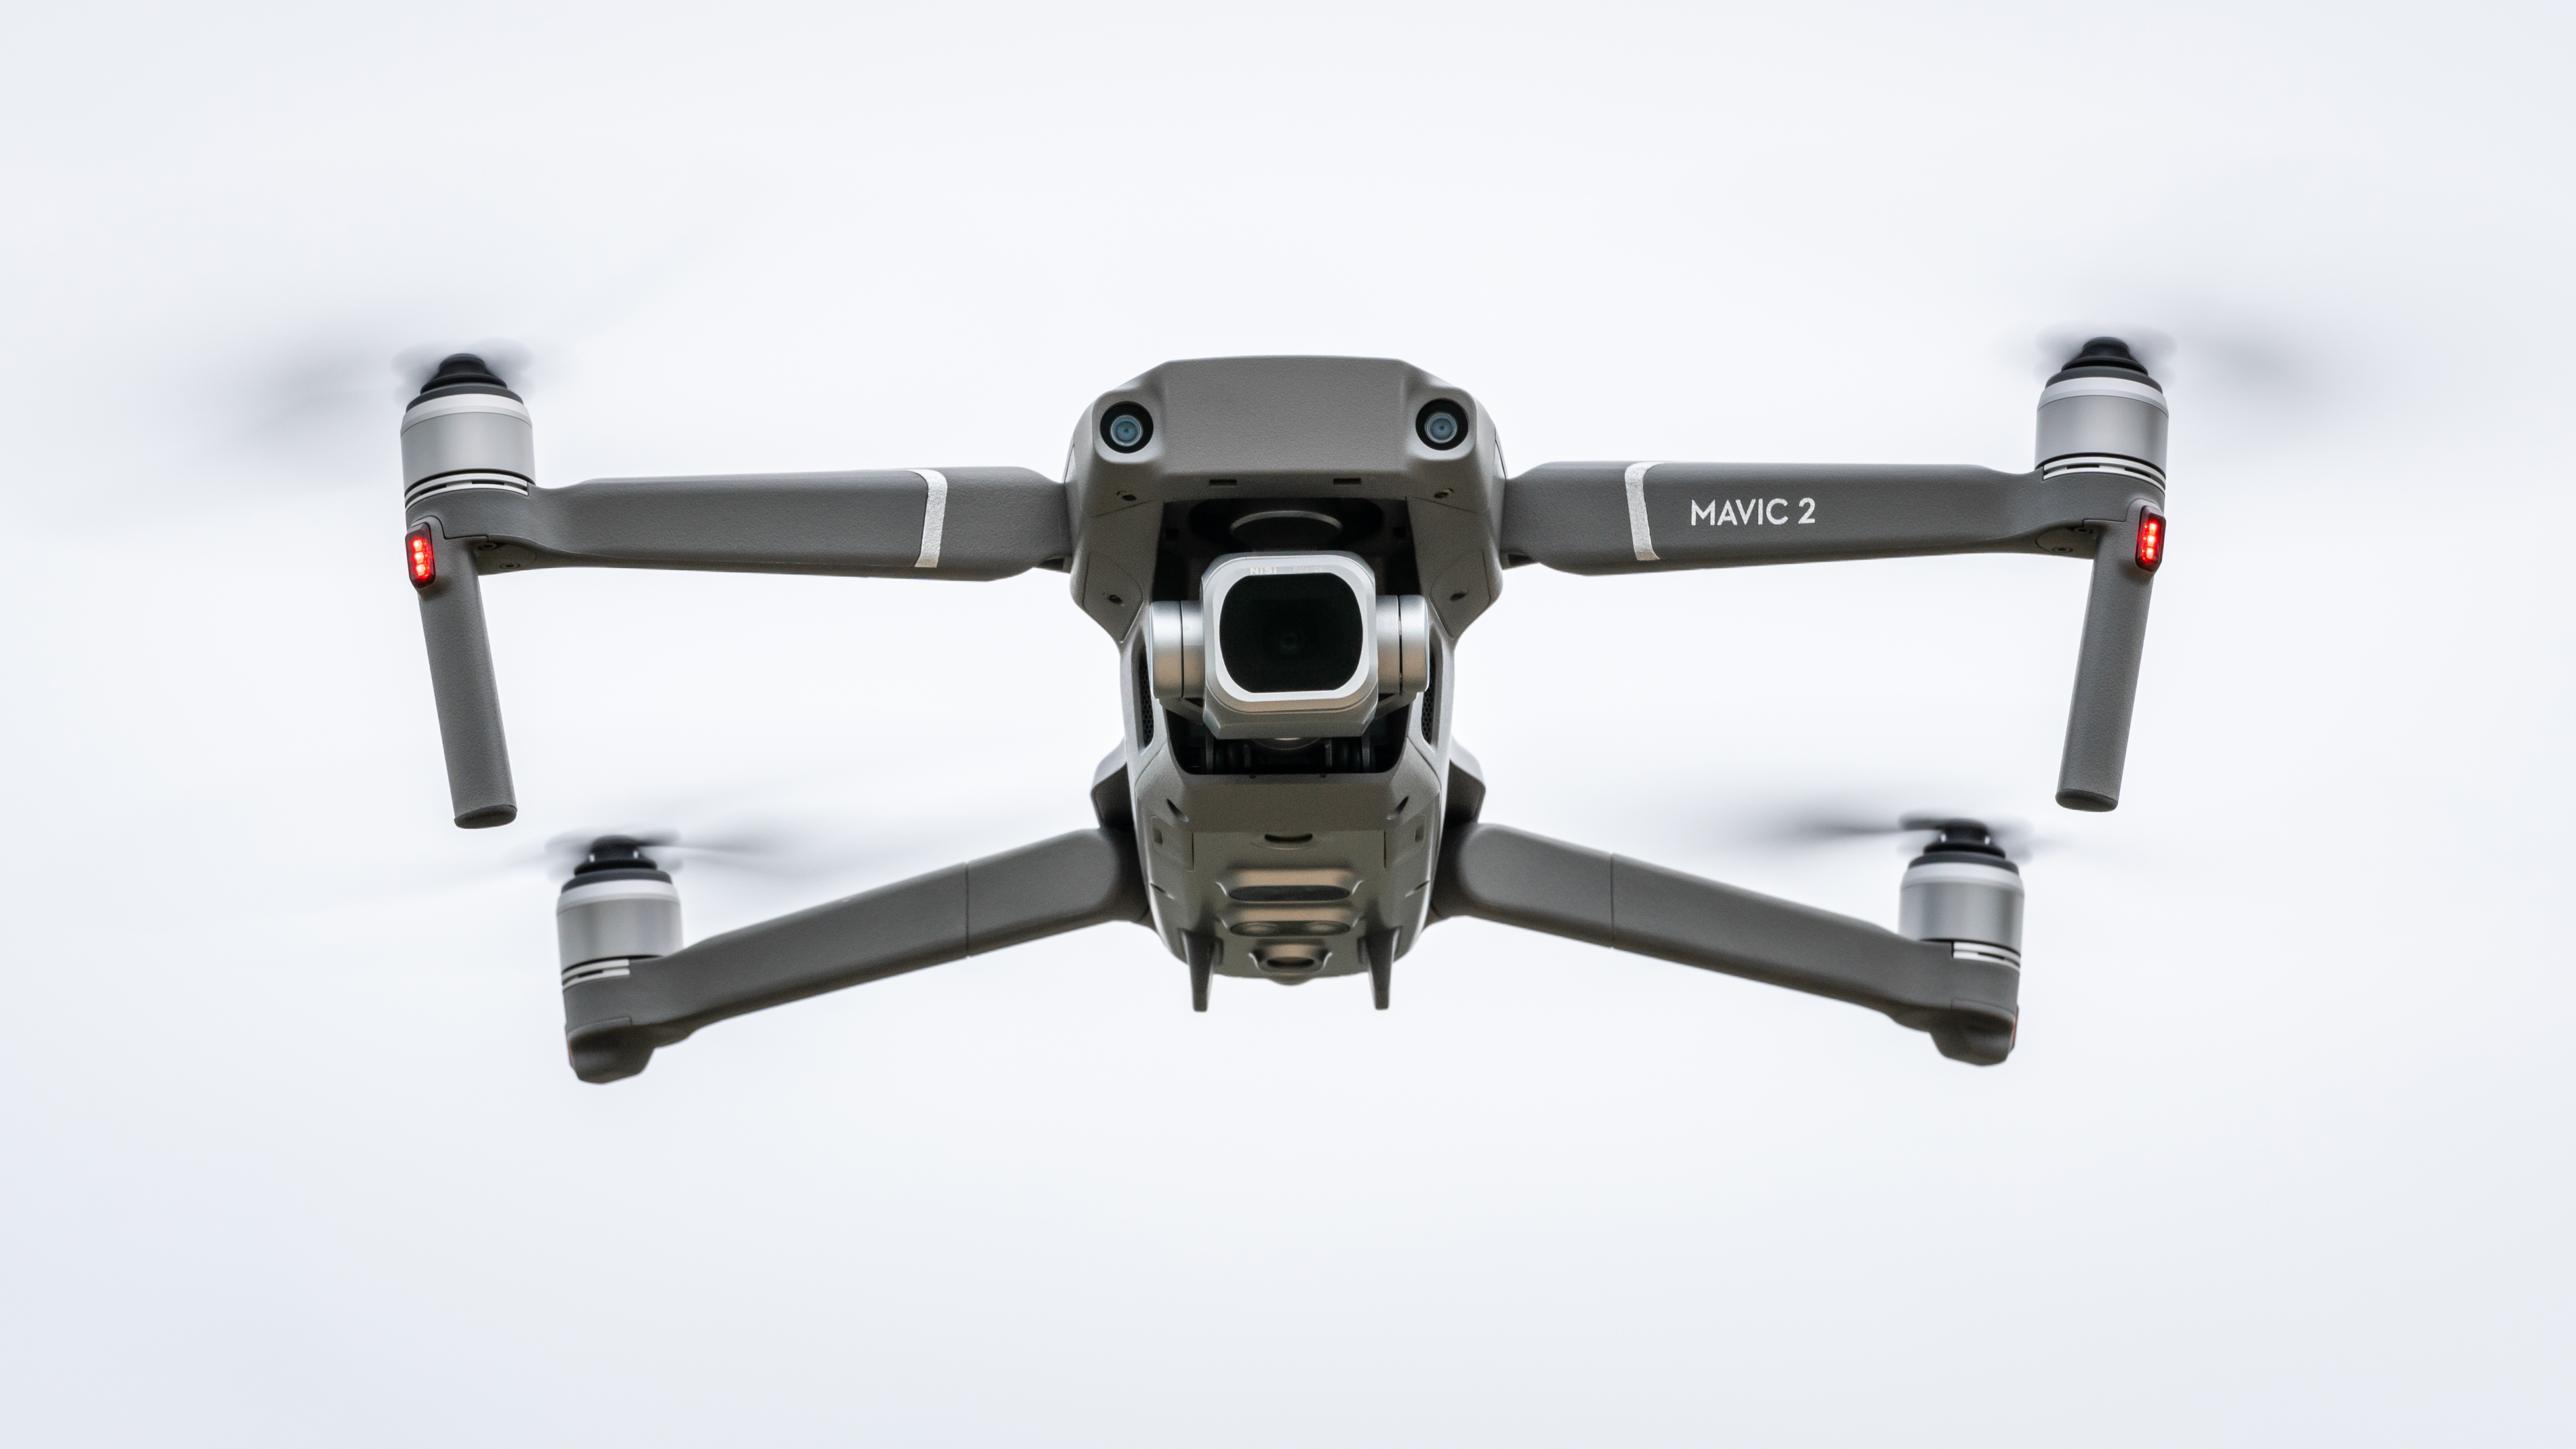
Sign up for breaking news, reviews, opinion, top tech deals, and more.
You are now subscribed
Your newsletter sign-up was successful
Drone photography has really taken off in the past few years, thanks to the arrival of compact, powerful models from the likes of DJI, Autel and Skydio. Who'd have though such high-quality flying cameras would be possible a decade ago? But that’s exactly what we have now, and it’s safe to say that the world's best drones have revolutionized photography.
The unique perspectives made possible by drone photography open up a wealth of creative opportunities. But just because everyone can now shoot high-quality images from the air, it doesn't mean that buying a drone is a guarantee of great results. Just like shooting with a regular camera on the ground, there are many things you can do before, during and after a drone shoot to give yourself a greater chance of capturing visually interesting images.
All types of photography require planning, technical and creative knowhow, and drone photography is no exception. Aerial photography relies on many of the same camera settings and techniques as standard photography – it’s just a case of knowing how, when and why to use them. With these eight drone photography tips, that’s exactly what we’re going to explore.
Article continues below1. Research and plan your shoots
Research is key to any photoshoot, and knowing where you’d like to shoot is just as important with drone photography as it is with traditional ground-based photography.
Not all locations are suitable for aerial photography because of restricted airspace – areas close to airports, critical infrastructure and military installations require special permissions to fly. To identify these, free phone apps such as Drone Assist (£free, iOS and Android) and AirMap (iOS and Android) are ideal, but what about location planning on a visual level?
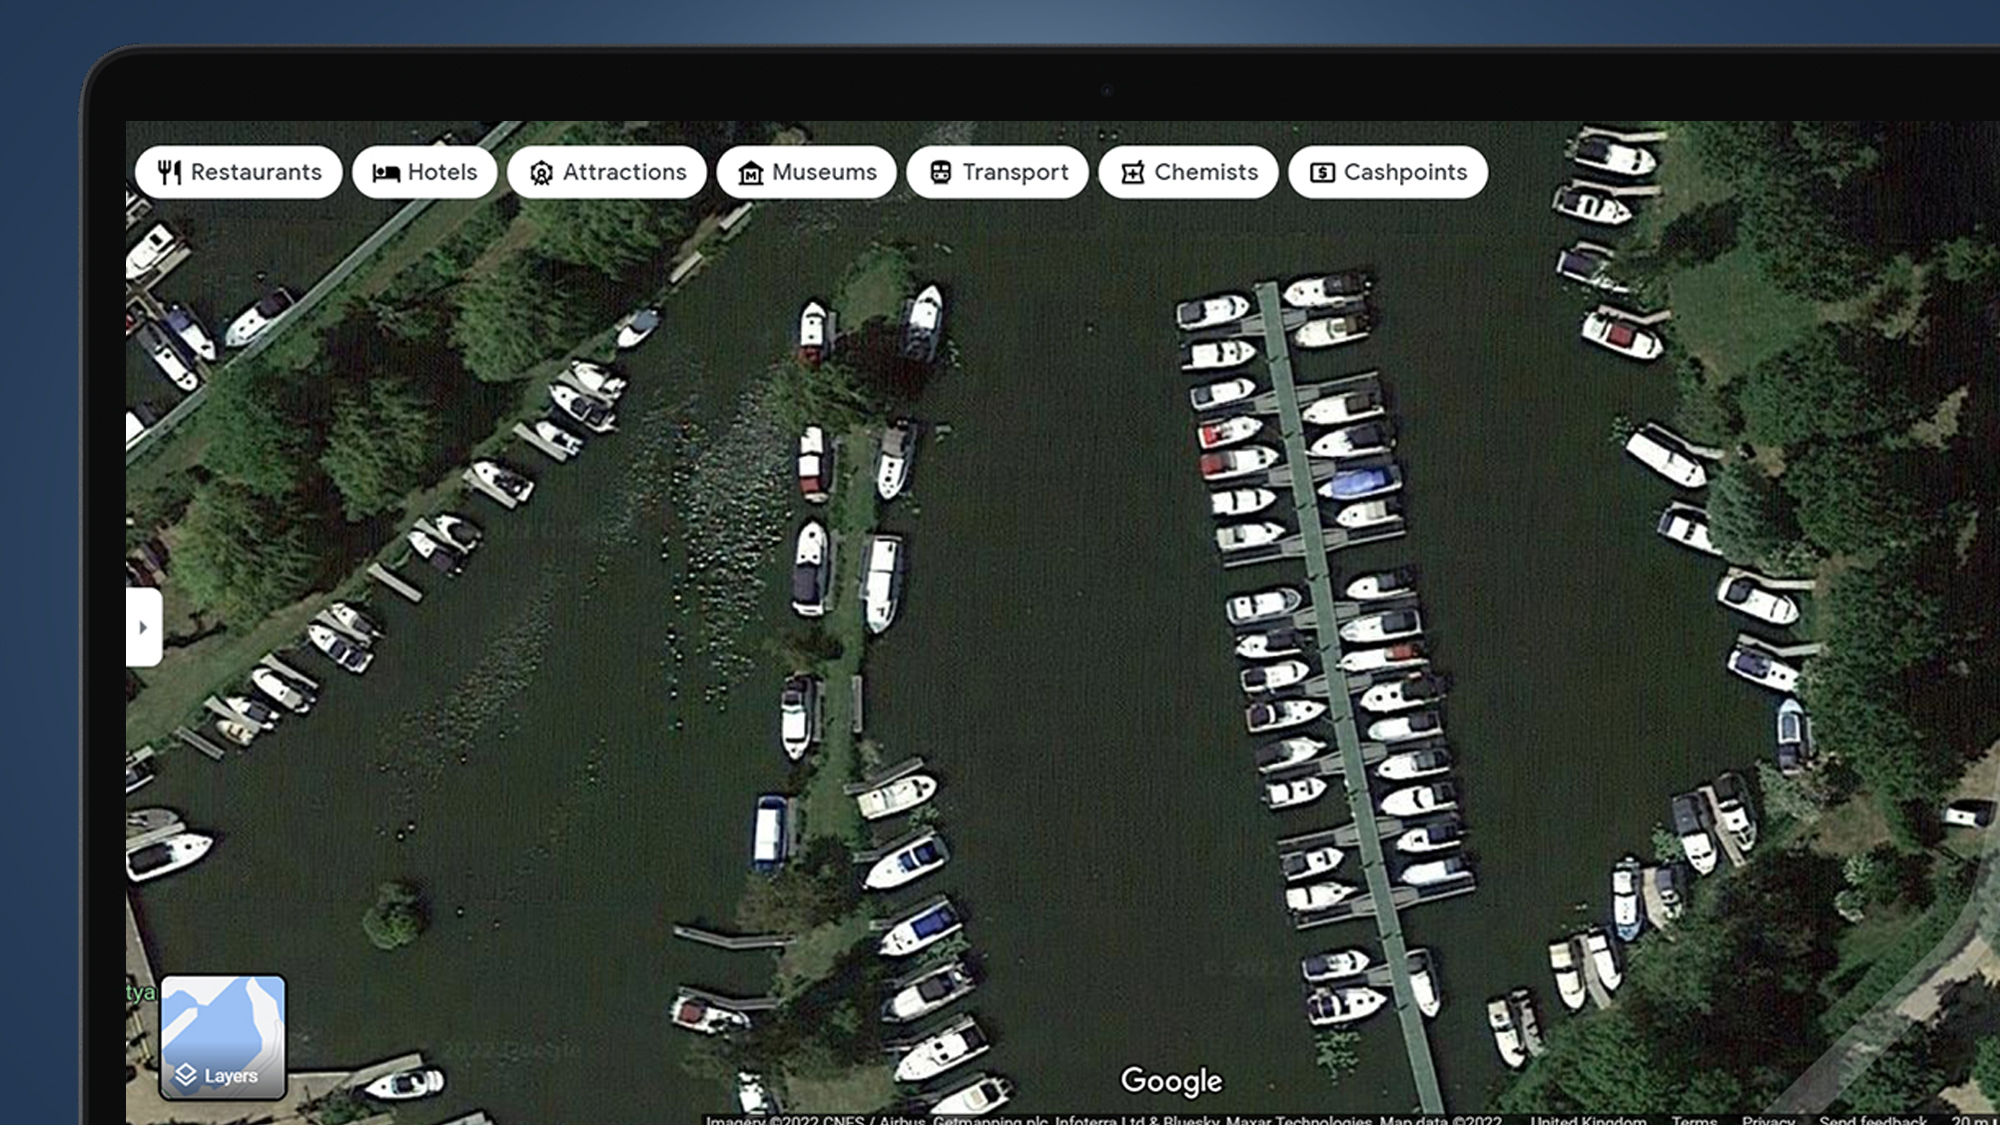
Google Maps is a fantastic tool for seeking out locations, because it gives you a detailed, top-down view of the world. Not only does it help you to locate potential locations that may not be obvious from a standing or driving position, it also allows you to identify safe take-off and landing areas. The topdown view is, of course, limited, and Street View's 360-degree view is restricted to roads, but its value as a location research tool cannot be ignored.
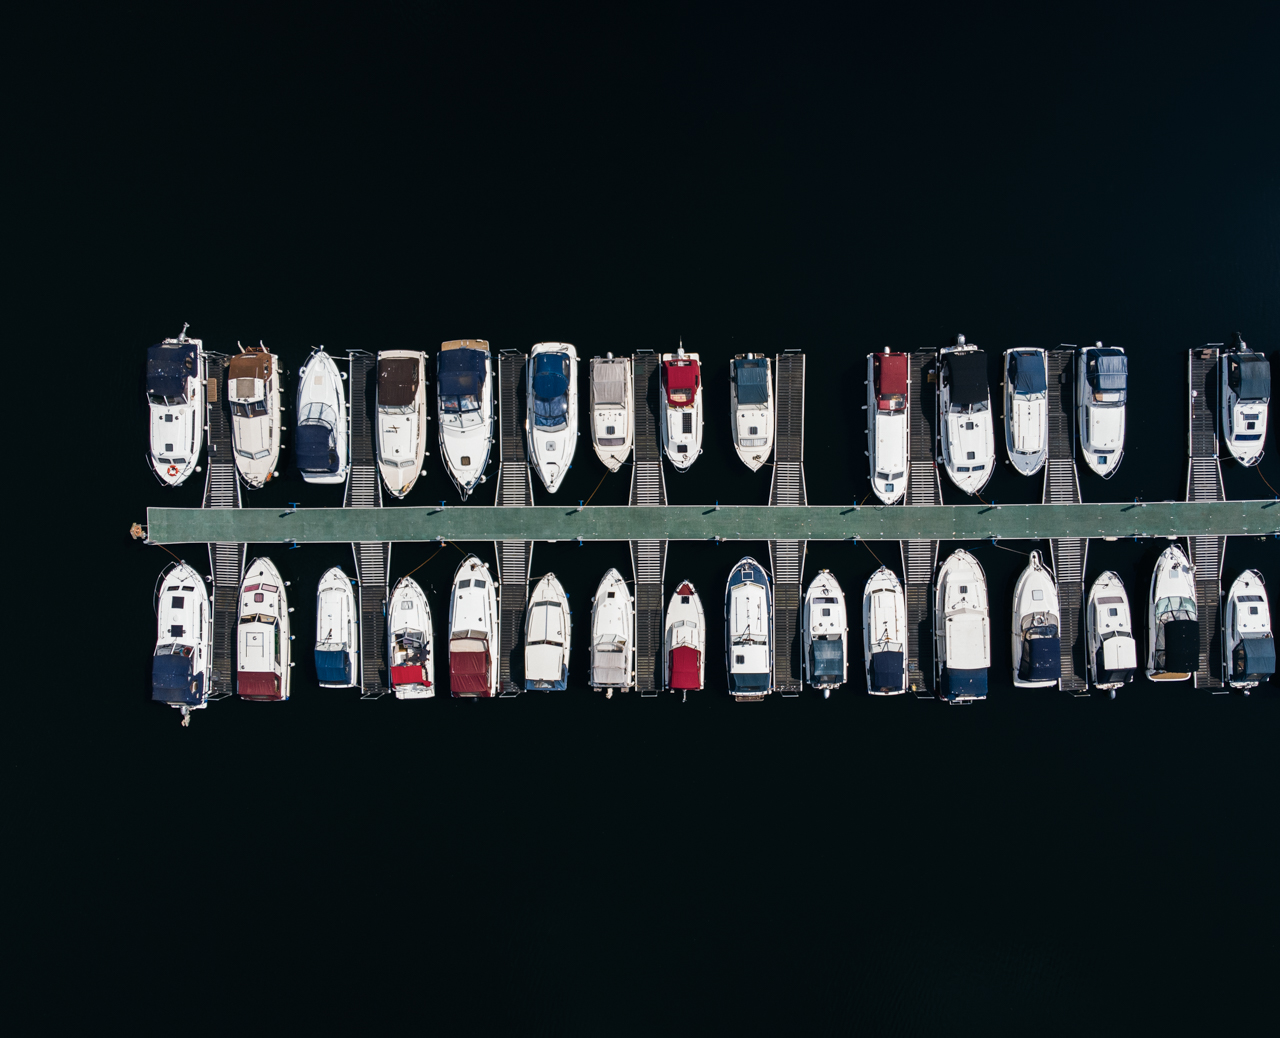
The location for the image above was first found by looking at Google Maps for suitable locations and revealed itself to have great potential for a topdown shot of the moored boats. The resulting image is like a high-resolution crop of the Google Maps view of the area and is a location that probably wouldn't have been discovered without the use of a service many of us use on an almost daily basis for other purposes.
Sign up for breaking news, reviews, opinion, top tech deals, and more.
2. Shoot at the right time of day
The great thing about drone photography is that it can extend your shooting time beyond the confines of golden hour at the two extremes of the day. Shooting at sunrise and sunset remain optimal times for aerial photography because of the potential for soft and colorful light from a sun that’s low in the sky or just below the horizon. But even when the sun is higher in the sky, you can still capture great images from the air.
Apps such as The Photographer’s Ephemeris (iOS, $9.99 / £8.99 / AU$14.99) and PhotoPills (iOS and Android, $10.99 / £9.49 / AU$16.99) are useful because they show where the sun will be at a given time in relation to a subject in the landscape. And while most photographers use these apps to plan sunrise and sunset shoots, they’re also useful for planning middle of the day shots with a drone.
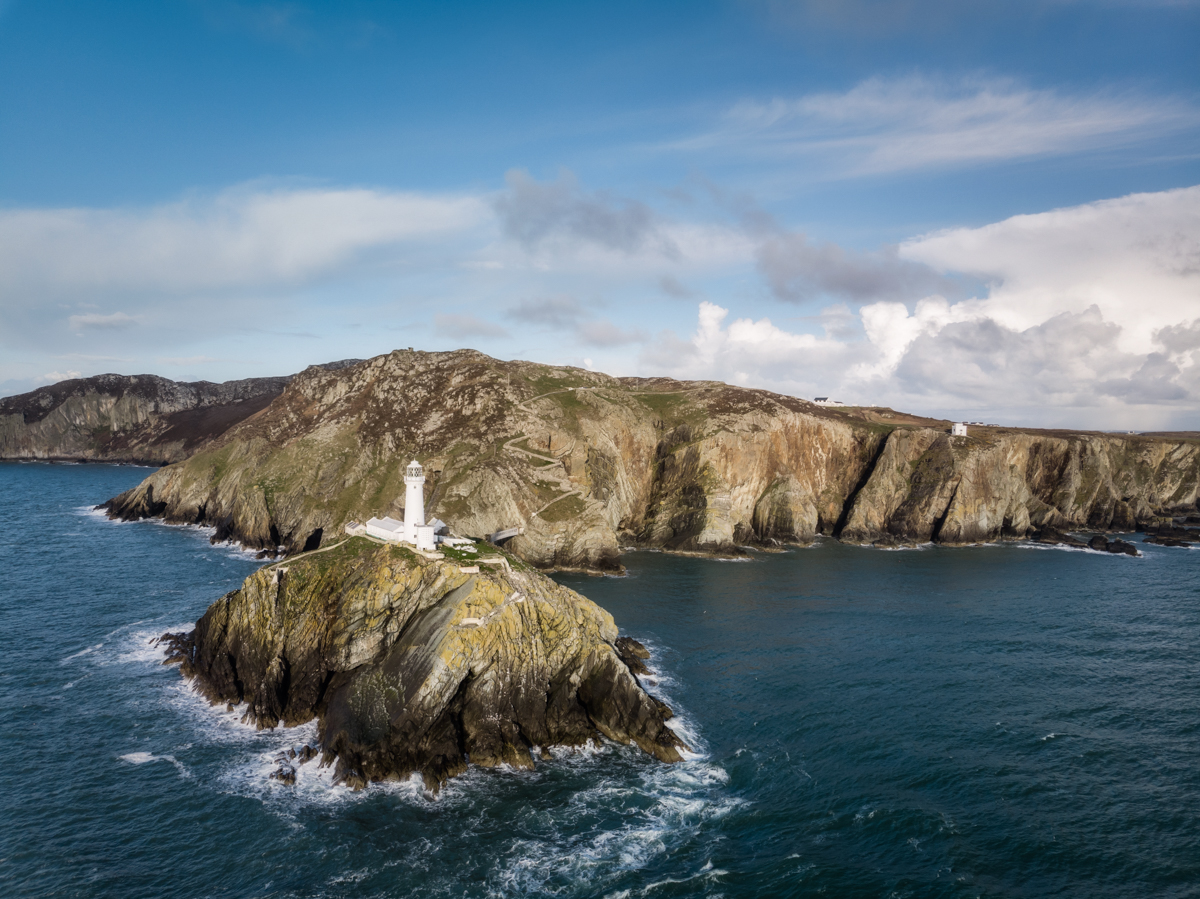
Shooting around midday can work well for topdown shots because shadows are minimal, although a polarizing filter is useful. Taking shots with the sun behind the drone for a standard viewpoint also results in evenly lit scenes with minimal shadows.
The image above was taken in the afternoon with the sun behind the drone so the scene was evenly lit. It would have looked even better at sunset with softer and warmer light, but it still works well in this situation because there are no harsh shadows.
What’s more, most consumer drones with small sensors produce better image quality in bright light because the dynamic range of their sensors isn’t as large as the best full-frame cameras, for example.
3. Capture in raw
As most photographers will know, shooting in raw is much better than capturing JPEGs. But this is even more important for drone photography because their small sensors produce a much lower image quality than what you’re used to with DSLRs and mirrorless cameras. So shooting raw provides the ability to achieve the best image quality.
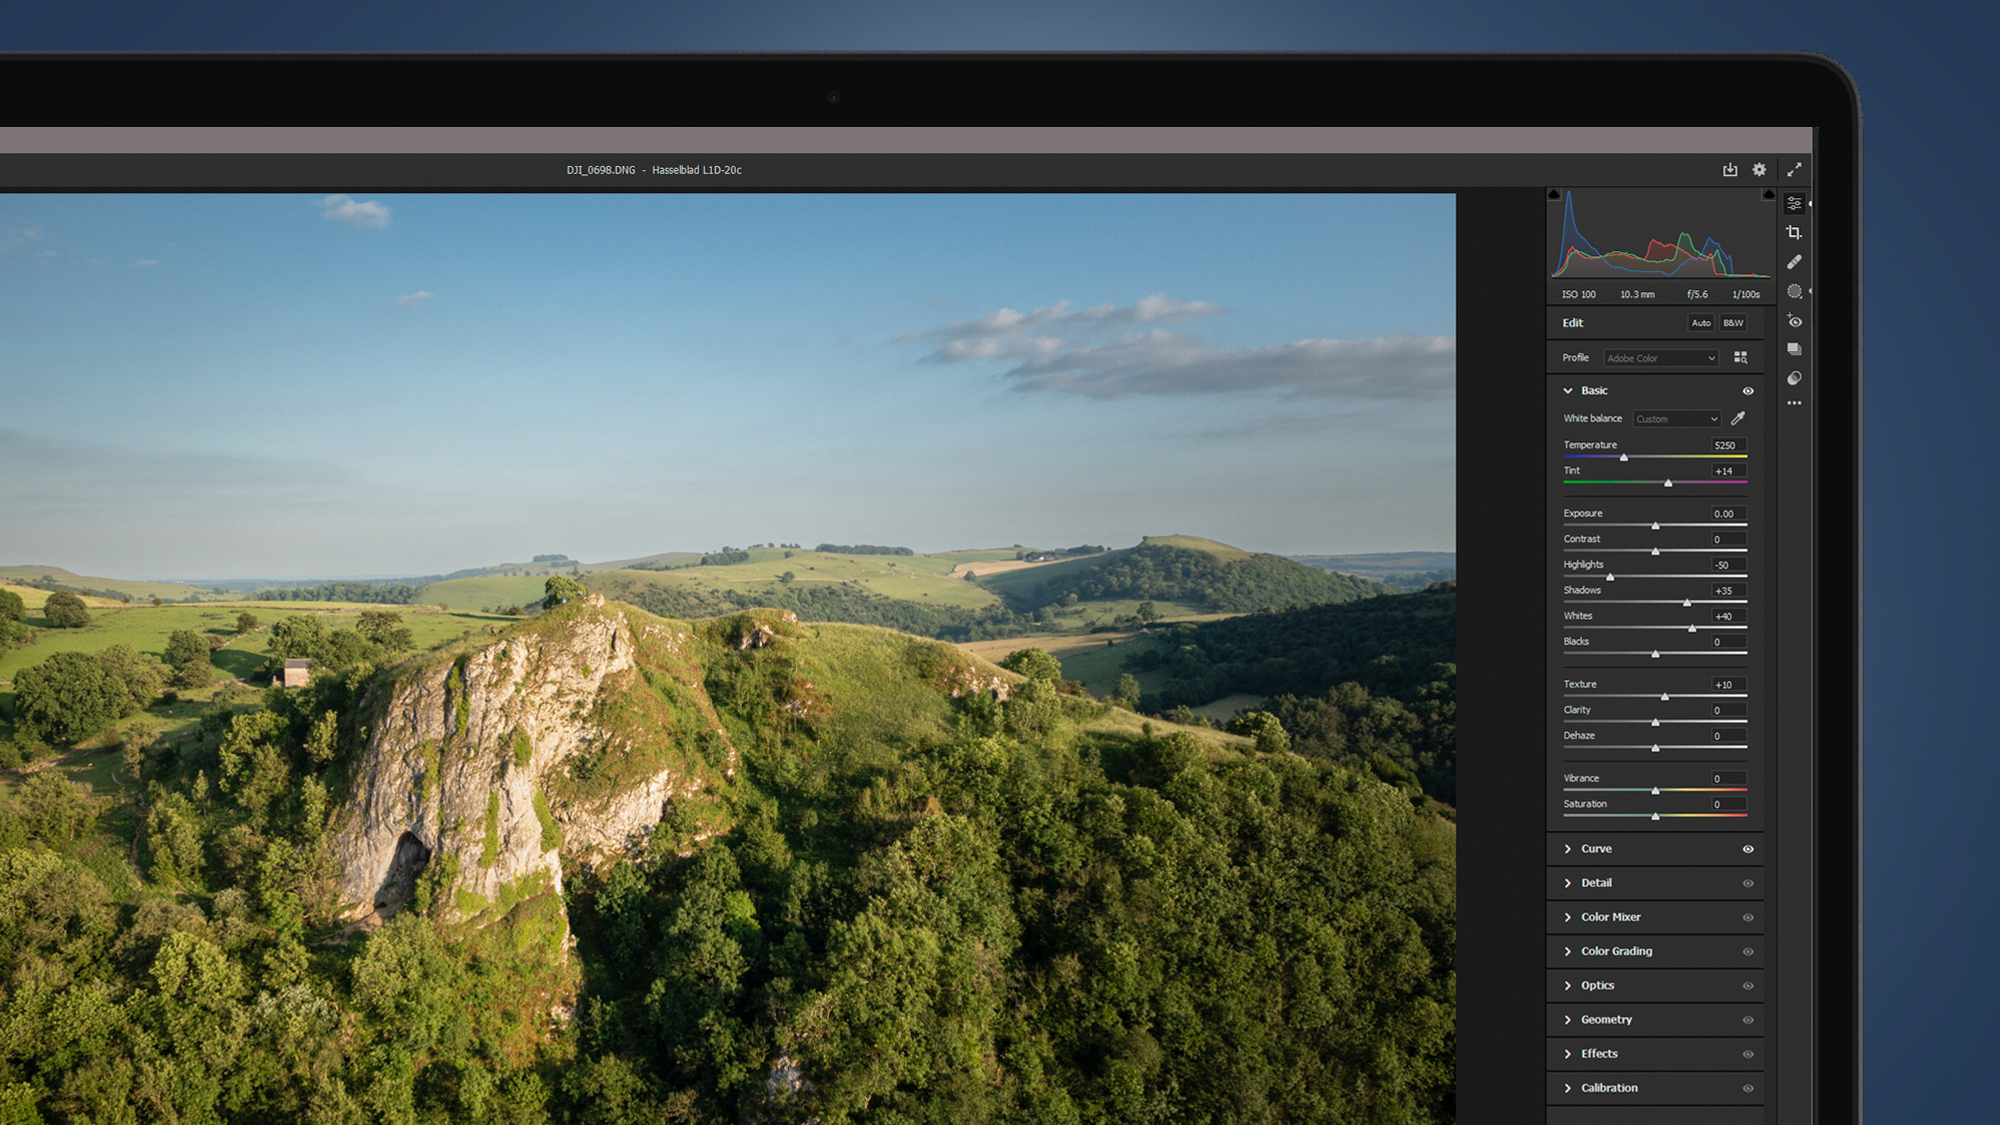
Raw files are like digital negatives – an image file from which multiple copies can be made while the original remains untouched. And since you’re working with raw image data rather than in-camera processed JPEGs that are limited in how much they can be adjusted, you can always achieve significantly better image quality. This is because raw files provide increased latitude for making adjustments without diminishing the quality of the original file.
Processing raw files can appear difficult at first, but it doesn’t take long to develop your skills and learn how the controls work. If you’re just getting started with raw image processing, in Lightroom and Adobe Camera Raw, there’s an Auto button that you can press to apply the settings that the software thinks are correct. This can be a useful starting point for manually tweaking settings or simply to seeing what the software would apply.
4. Choose the right settings
If you’re already a seasoned photographer, the camera controls for drones will be second nature to you. In a nutshell, for drones that feature an adjustable aperture, you can shoot in auto, aperture priority, shutter priority or manual mode. On drones with fixed apertures, meanwhile, you can shoot in auto or manual, although when using the latter you only adjust ISO and shutter speed, so it’s quick and easy to use.
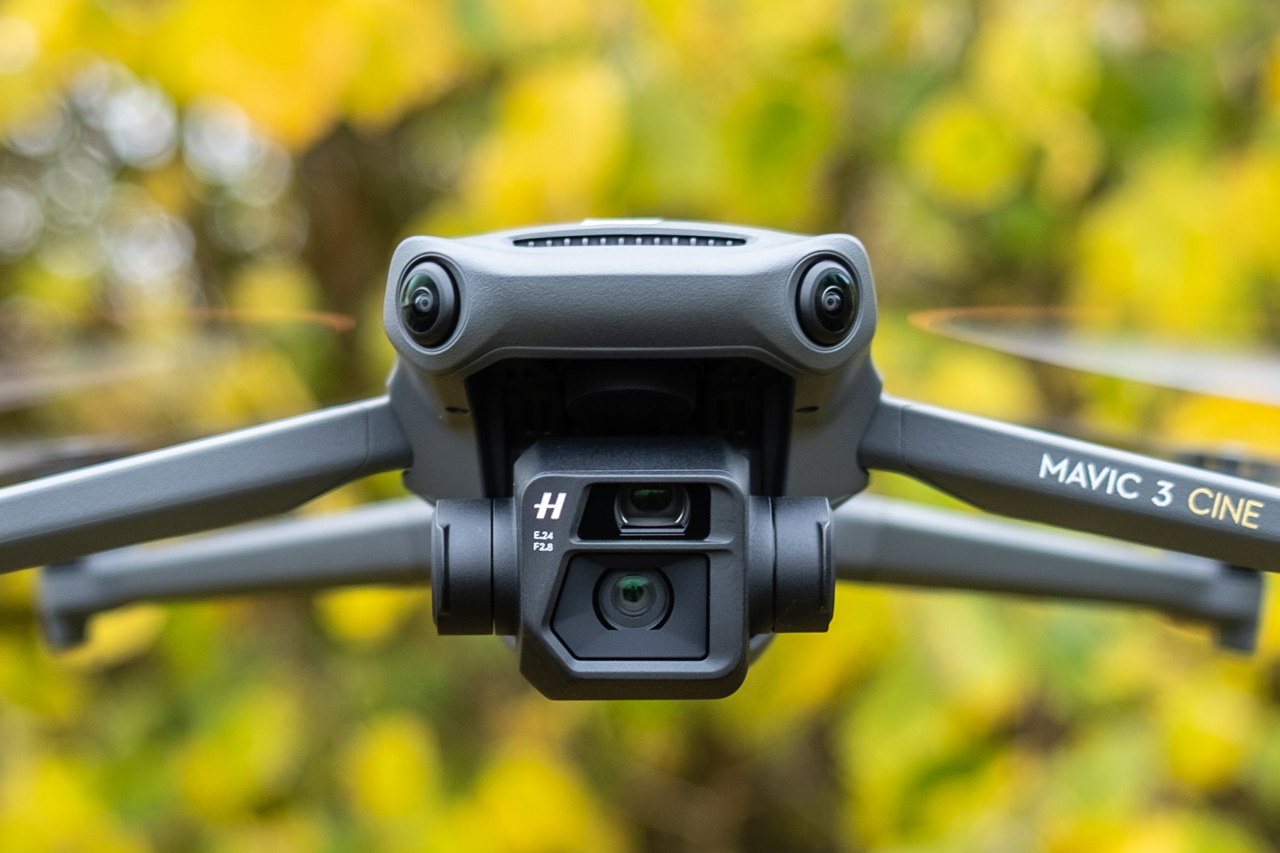
Beyond the basic shooting modes, camera settings for shooting stills are extremely easy. With any drone, it’s always best to shoot at the lowest ISO settings that you can because the small sensors can produce a lot of ISO noise. Wind speed, as well as low light, can dictate how high ISO needs to be. For breezy conditions that are safe to fly in – typically below 21mph, but strong enough to make the drone fight against it – you'll want to aim for a shutter speed of at least 1/125 sec to avoid camera shake.
With fixed aperture drones, all you’ll only need to worry about is ISO, shutter speed and autofocusing. But with a drone that has an adjustable aperture, like the DJI Mavic 3 and DJI Mavic 2 Pro, aperture control becomes a consideration. With these drones, the aperture is most useful for shooting video to control exposure without having to land to change the ND filter. Shooting at f/2.8 will provide a large enough depth-of-field for stills with f/4 being another useable aperture before diffraction becomes noticeable.
5. Turn on exposure and composition guides
Shooting aerial photography is an exercise in multi-tasking; on one hand, you need to fly the drone and keep a constant visual line of sight, while on the other you need to operate the camera. With practice, the two elements quickly come together, but several visual displays can be used to help you to compose and expose your shots.
The first two guides are the rule-of-thirds grid and diagonal lines that are useful for composition. The rule-of-thirds is the most fundamental compositional device where the frame is split into nine equally-sized rectangles by two vertical and two horizontal lines.
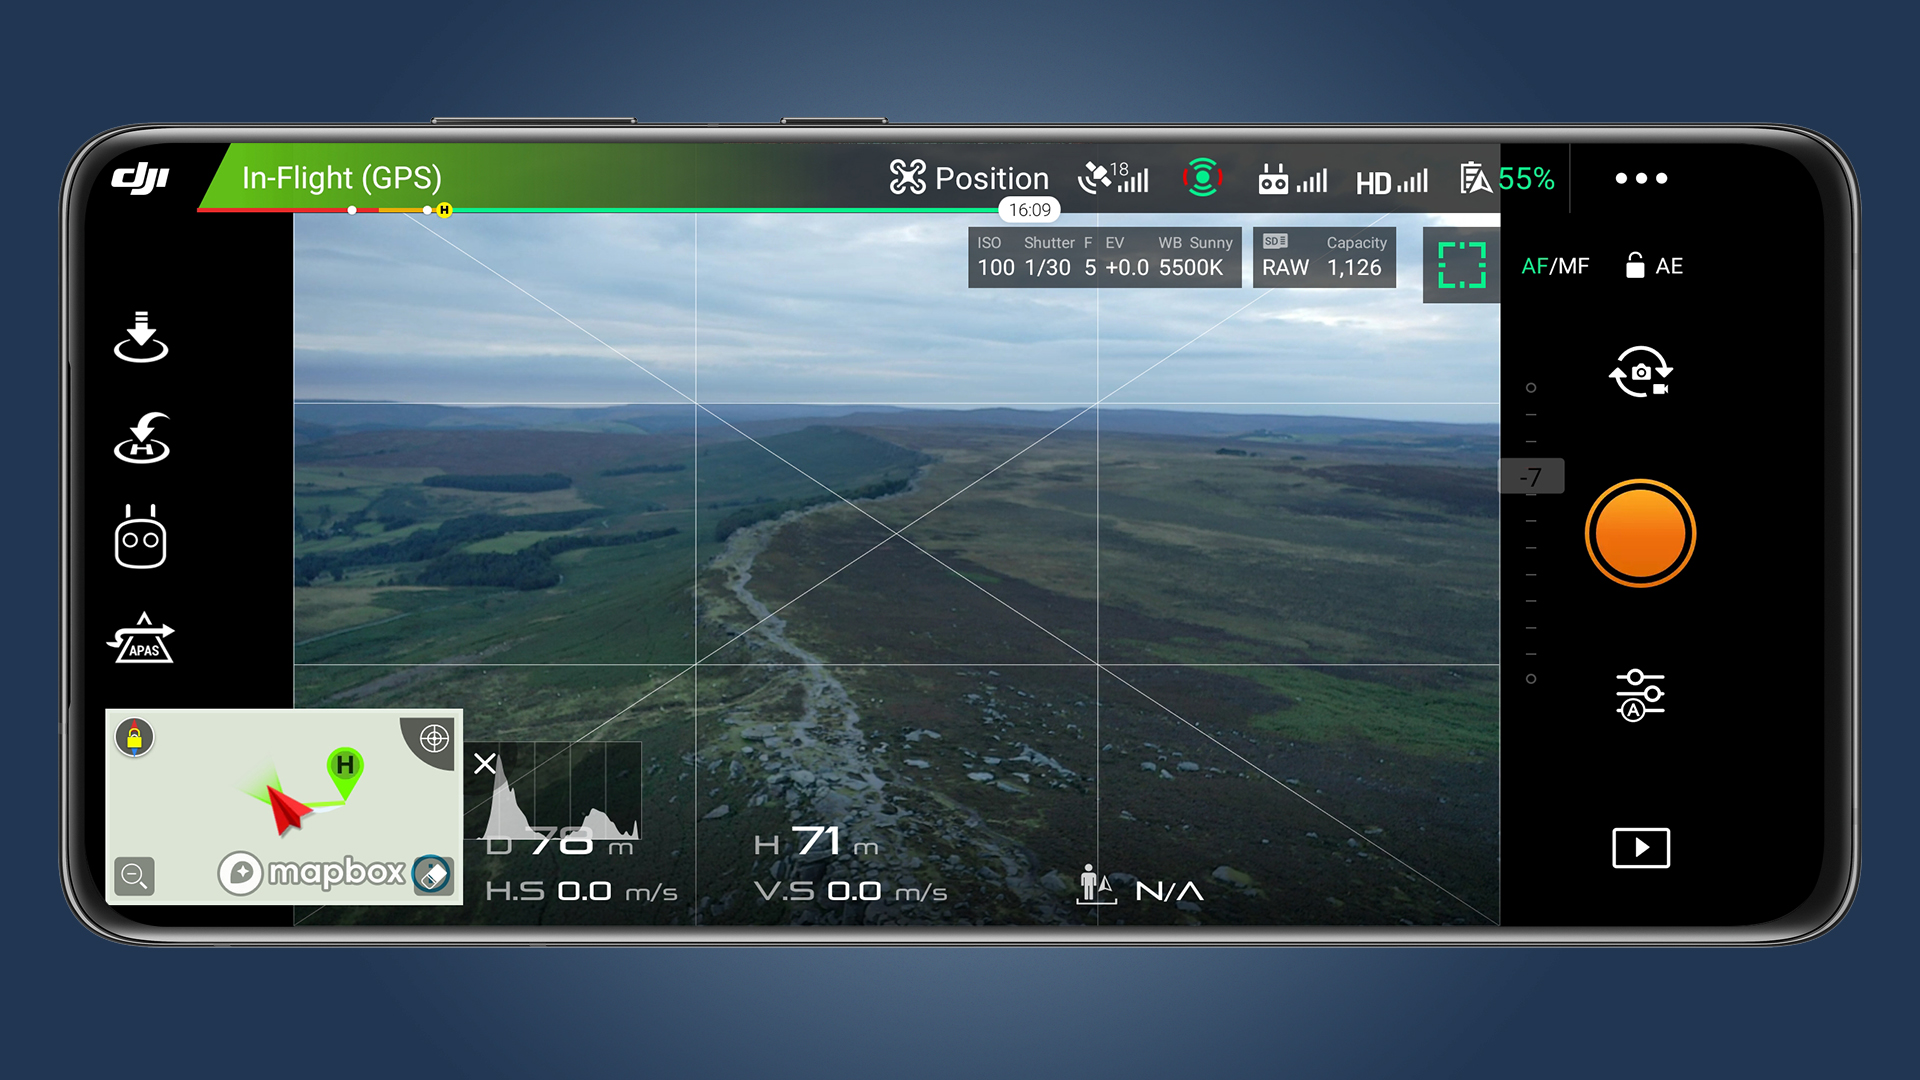
The four points where these lines intersect are often called ‘power points’, and it’s at these points where the focal point subject is often, but not always, best placed. Having these guides visible makes composition and/or ensuring subjects are square in the frame quicker and easier.
The third guide is the histogram, which is a fantastic guide for making sure that you haven’t clipped shadows or blown highlights. Blown highlights are much worse than clipped shadows because detail is completely lost in this situation, so just make sure that the right side of the histogram is as close to the right side of the box as possible without touching it. This means that the image is as bright as it can be without any loss of highlight detail.
6. Get creative with composition
Get yourself a drone, fly it up to 120m and boom, you’ve got the best viewpoint possible, right? In some situations, this may be the case, but more often than not simply getting as high as possible doesn’t produce the best images, despite providing the most impressive view of the scene you’re shooting. Less can definitely be more, and this includes altitude.
One of the great aspects of drone photography is that it can allow you to access locations not normally accessible on foot, such as over marshland and water. This in itself gives you a unique viewpoint, but flying the drone too high can detract from the scene because it’s too high/far away and viewers may see it as just another drone shot taken with little thought.
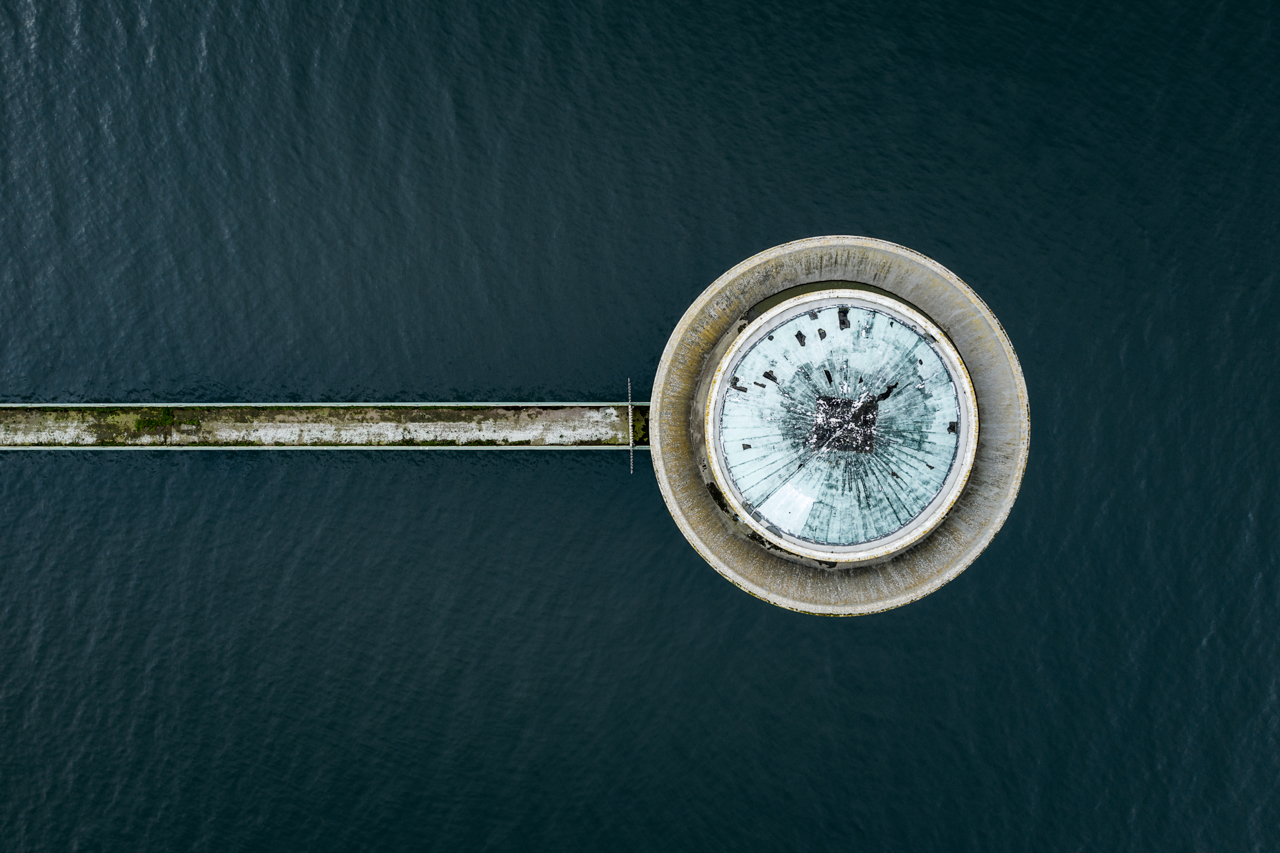
Instead, try shooting at head height around 1.5-2m or just above around 3m. Both options will challenge the viewer because they will see the terrain but won’t immediately think, "that’s a drone shot". And the lower altitude will make them question how the shot was taken rather than immediately making an assumption.
We’ve already mentioned topdown shots in other tips, but these are unique to drone photography and another important part of your creative composition arsenal. A topdown shot is simply one where the camera is pointing straight down at the ground, and with the right subjects this approach can create some seriously impressive images. So, rather than simply getting up as high as possible and shooting straight ahead, think about altitude and the best camera angle for the situation and you’ll begin to see a marked improvement in your aerial photography.
7. Embrace exposure bracketing and HDR
Neutral density graduated filters (ND grads) are the perfect way to control exposure in high contrast scenes when shooting with a DSLR or mirrorless camera. But these filters unfortunately aren't an option for drone photography because drop-in filters where you can control where the filter blends between the brighter sky and darker foreground aren’t available for drones.
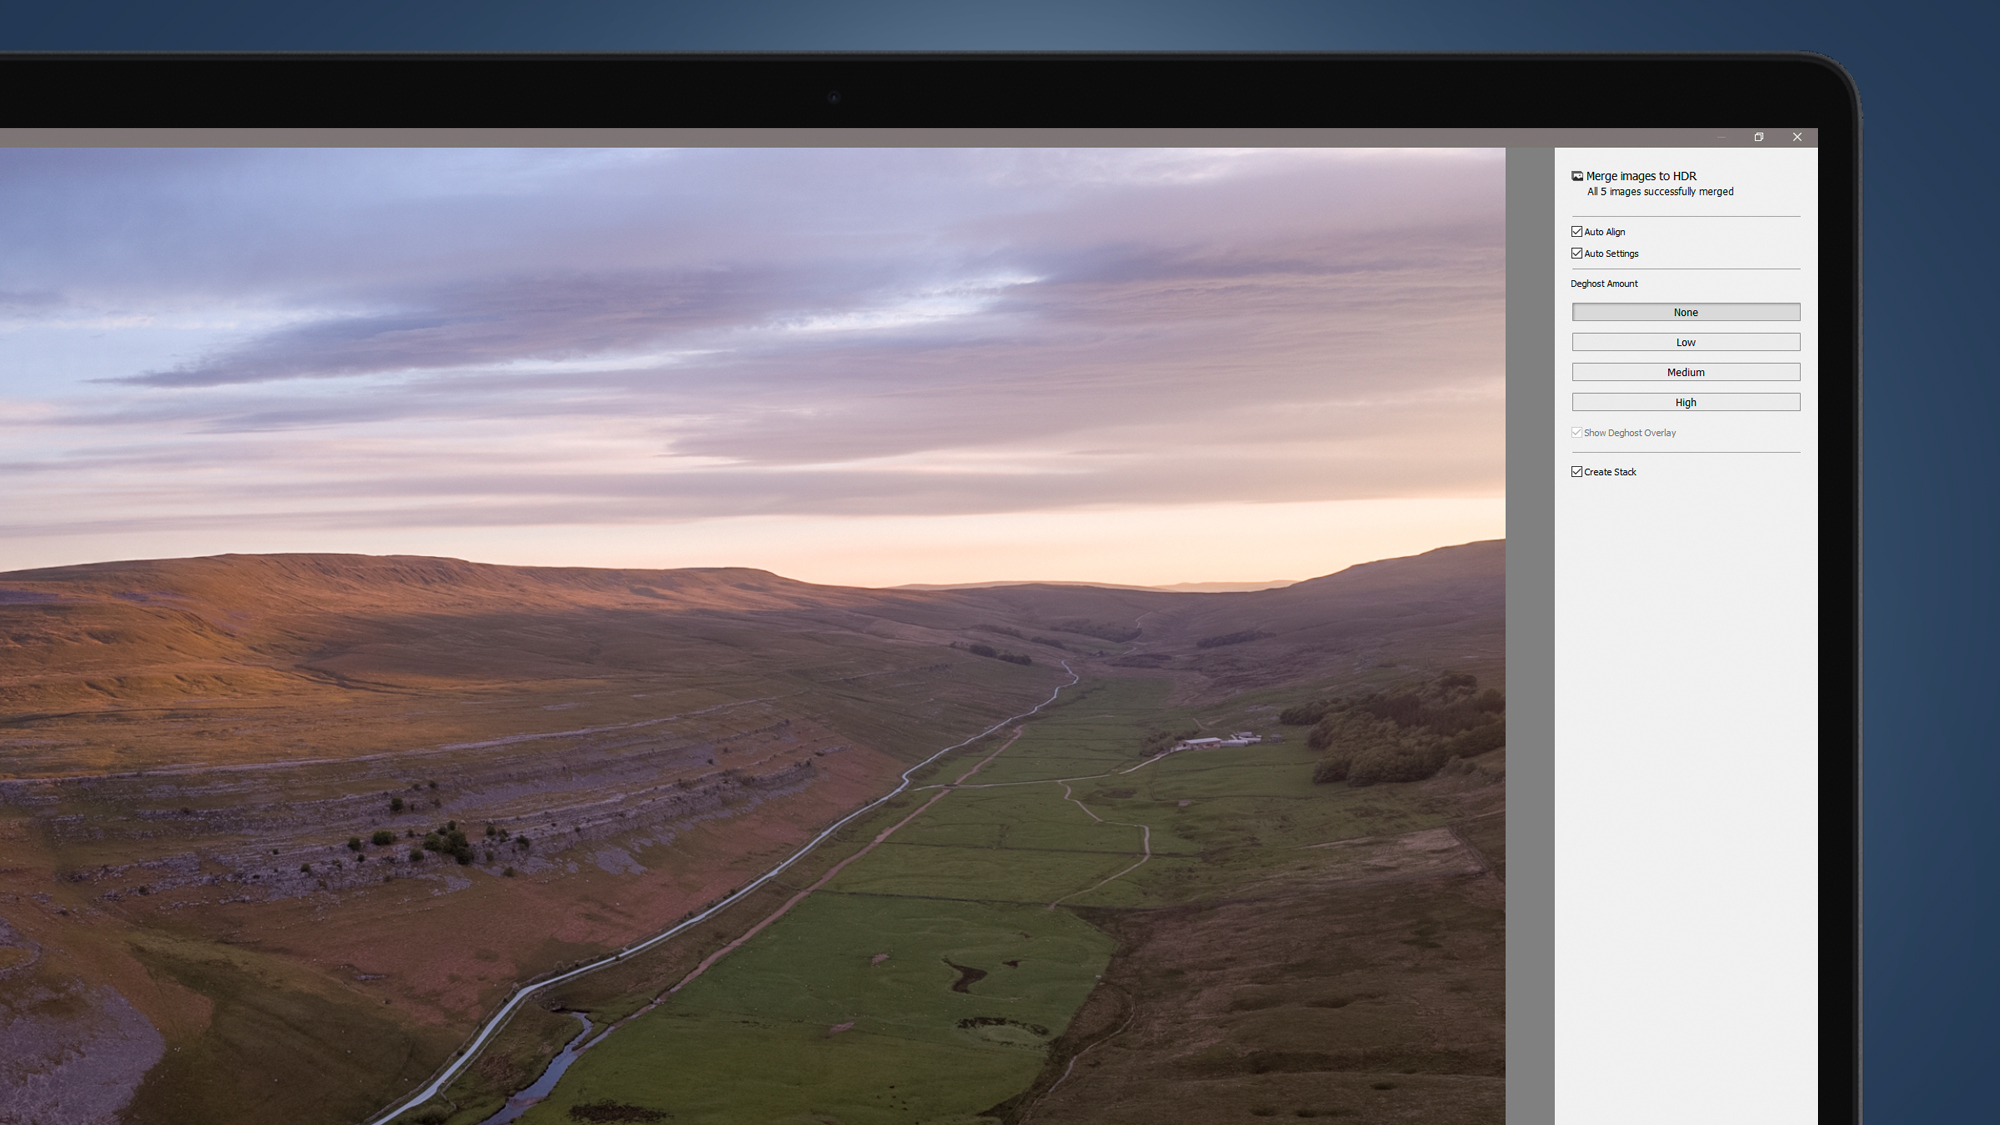
The easiest and most effective way to overcome this problem is to shoot high dynamic range (HDR) images. This is where several exposures are taken of the same scene at different exposures, before being blended in software such as Adobe Lightroom so that detail is captured from the shadows to the highlights. This results in an image with detail in lighter and darker parts of the scene. And with careful processing, the results can look completely natural.
Most drones offer an HDR shooting option, but this should be avoided because it most often creates in-camera processed JPEGs with bracketed exposures. Instead, use Auto Exposure Bracketing (AEB) set to five exposures while shooting in raw. Most drones only bracket exposures in one-stop increments so choosing the five-shot option gives you a base exposure, as well as under and overexposed images above this at one and two-stops. These can then be blended in Lightroom by going to Photo>Photo Merge>HDR when the five images are selected.
8. Shoot in portrait with vertical panos
With most drones unable to rotate their camera into an upright position, portrait format images have to be taken using a more manual approach. Vertical panos are shot in the same way as traditional horizontal panos, but the difference is that you shoot three or four overlapping images by moving the camera up or down each time, rather than horizontally.
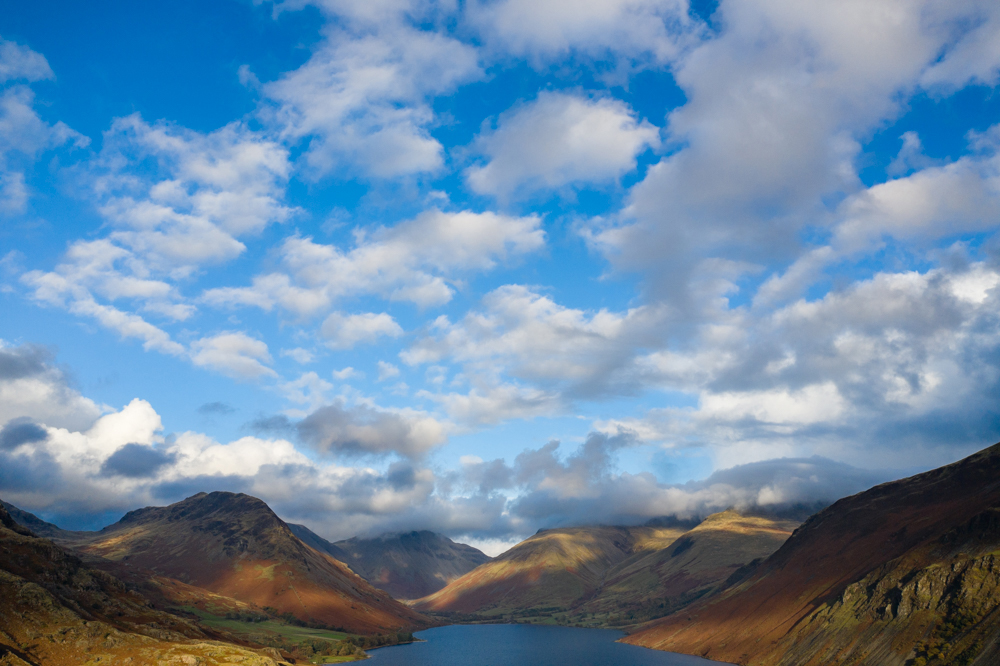
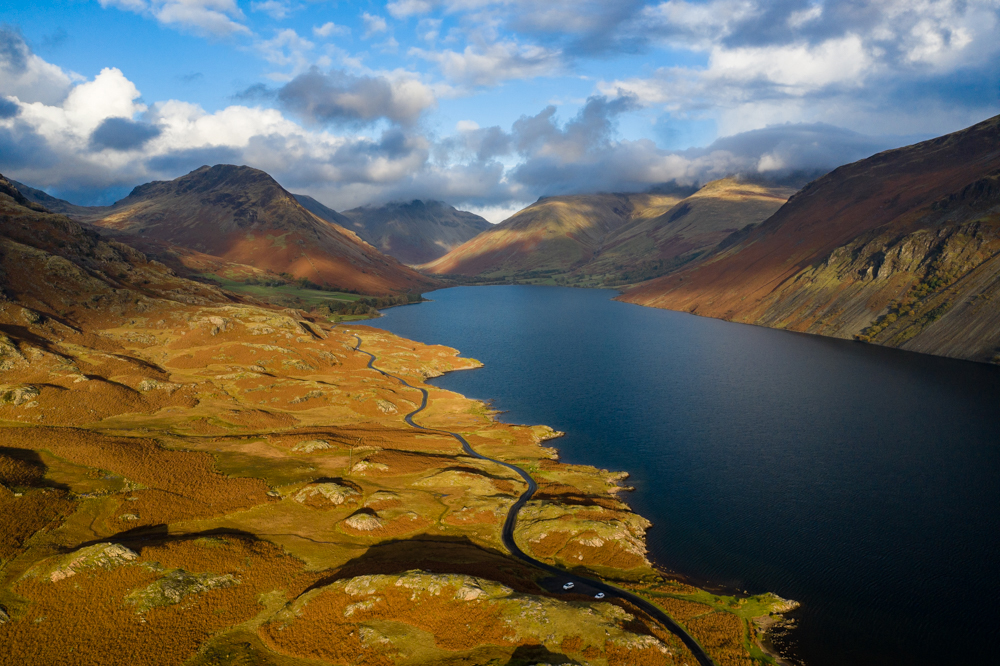
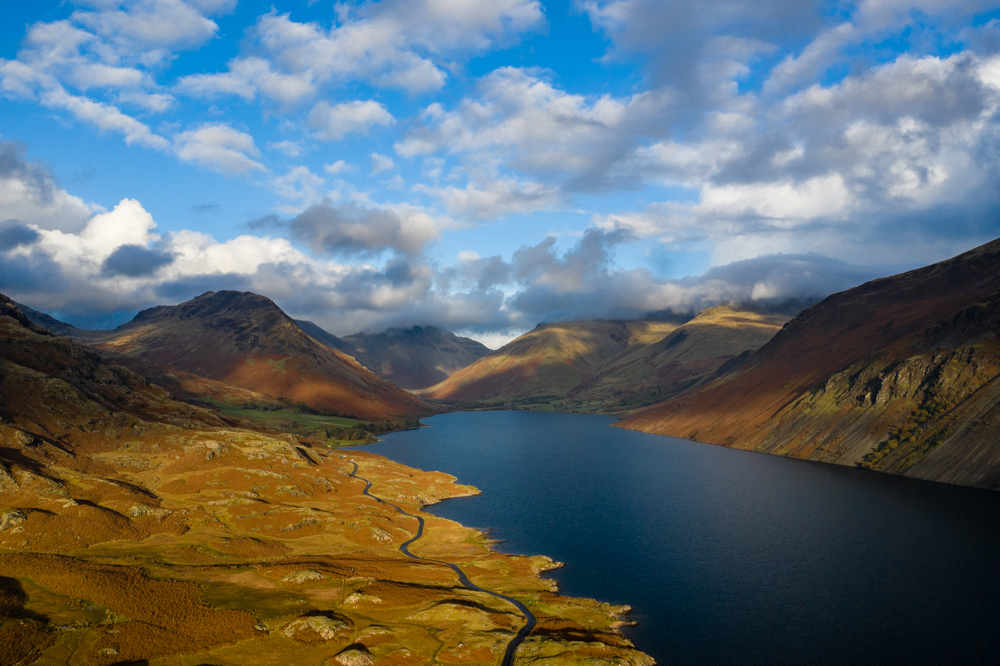
It isn't possible to merge a vertical pano in Lightroom, so you’ll have to edit your raw files in Lightroom before exporting them and then blending them using Photoshop’s 'Photo Merge' option. In Lightroom, edit the three or four landscape format shots that make up the vertical pano and then select all of them by left mouse clicking on the first, holding down Shift and then clicking on the last image. Next, Export the images in the desired file format and save them in a folder on the Desktop.
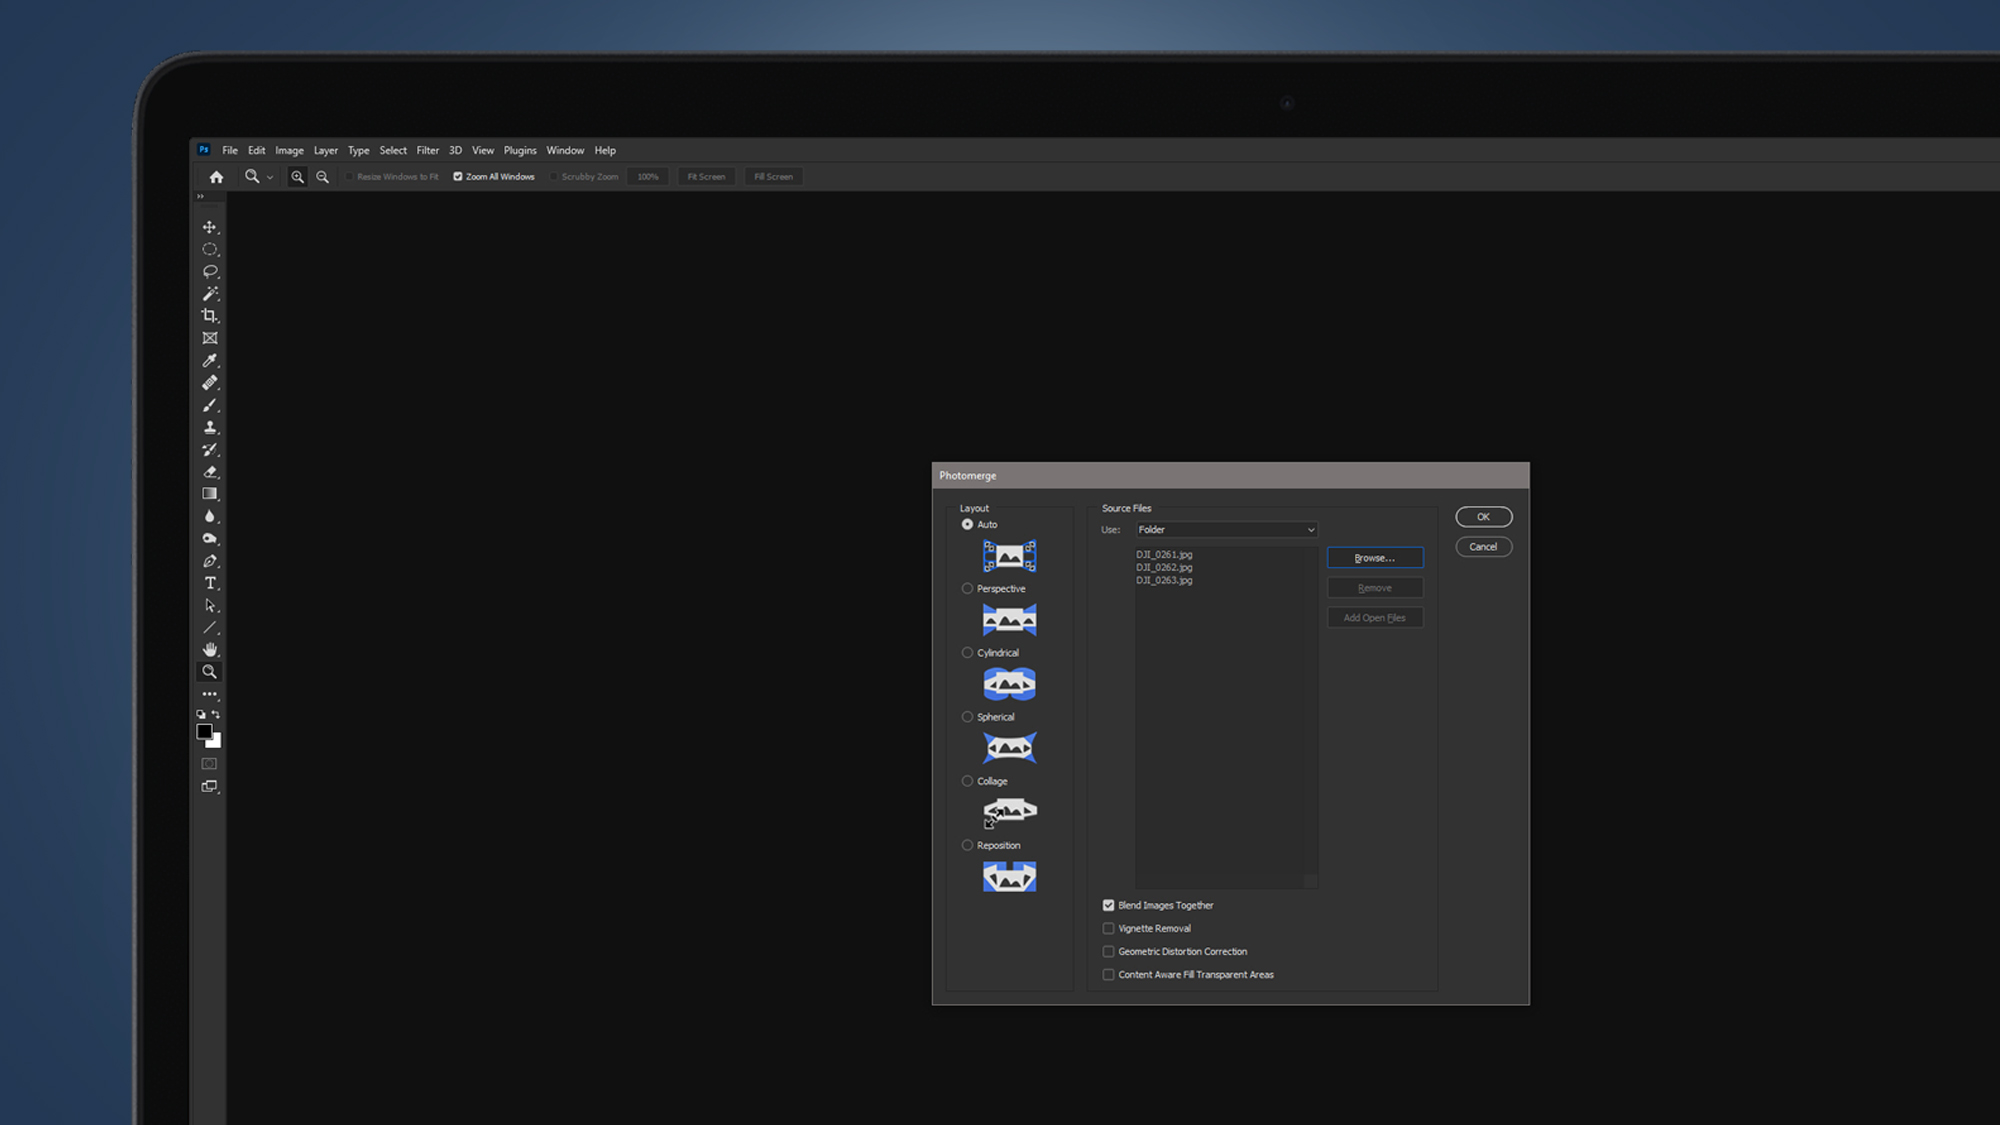
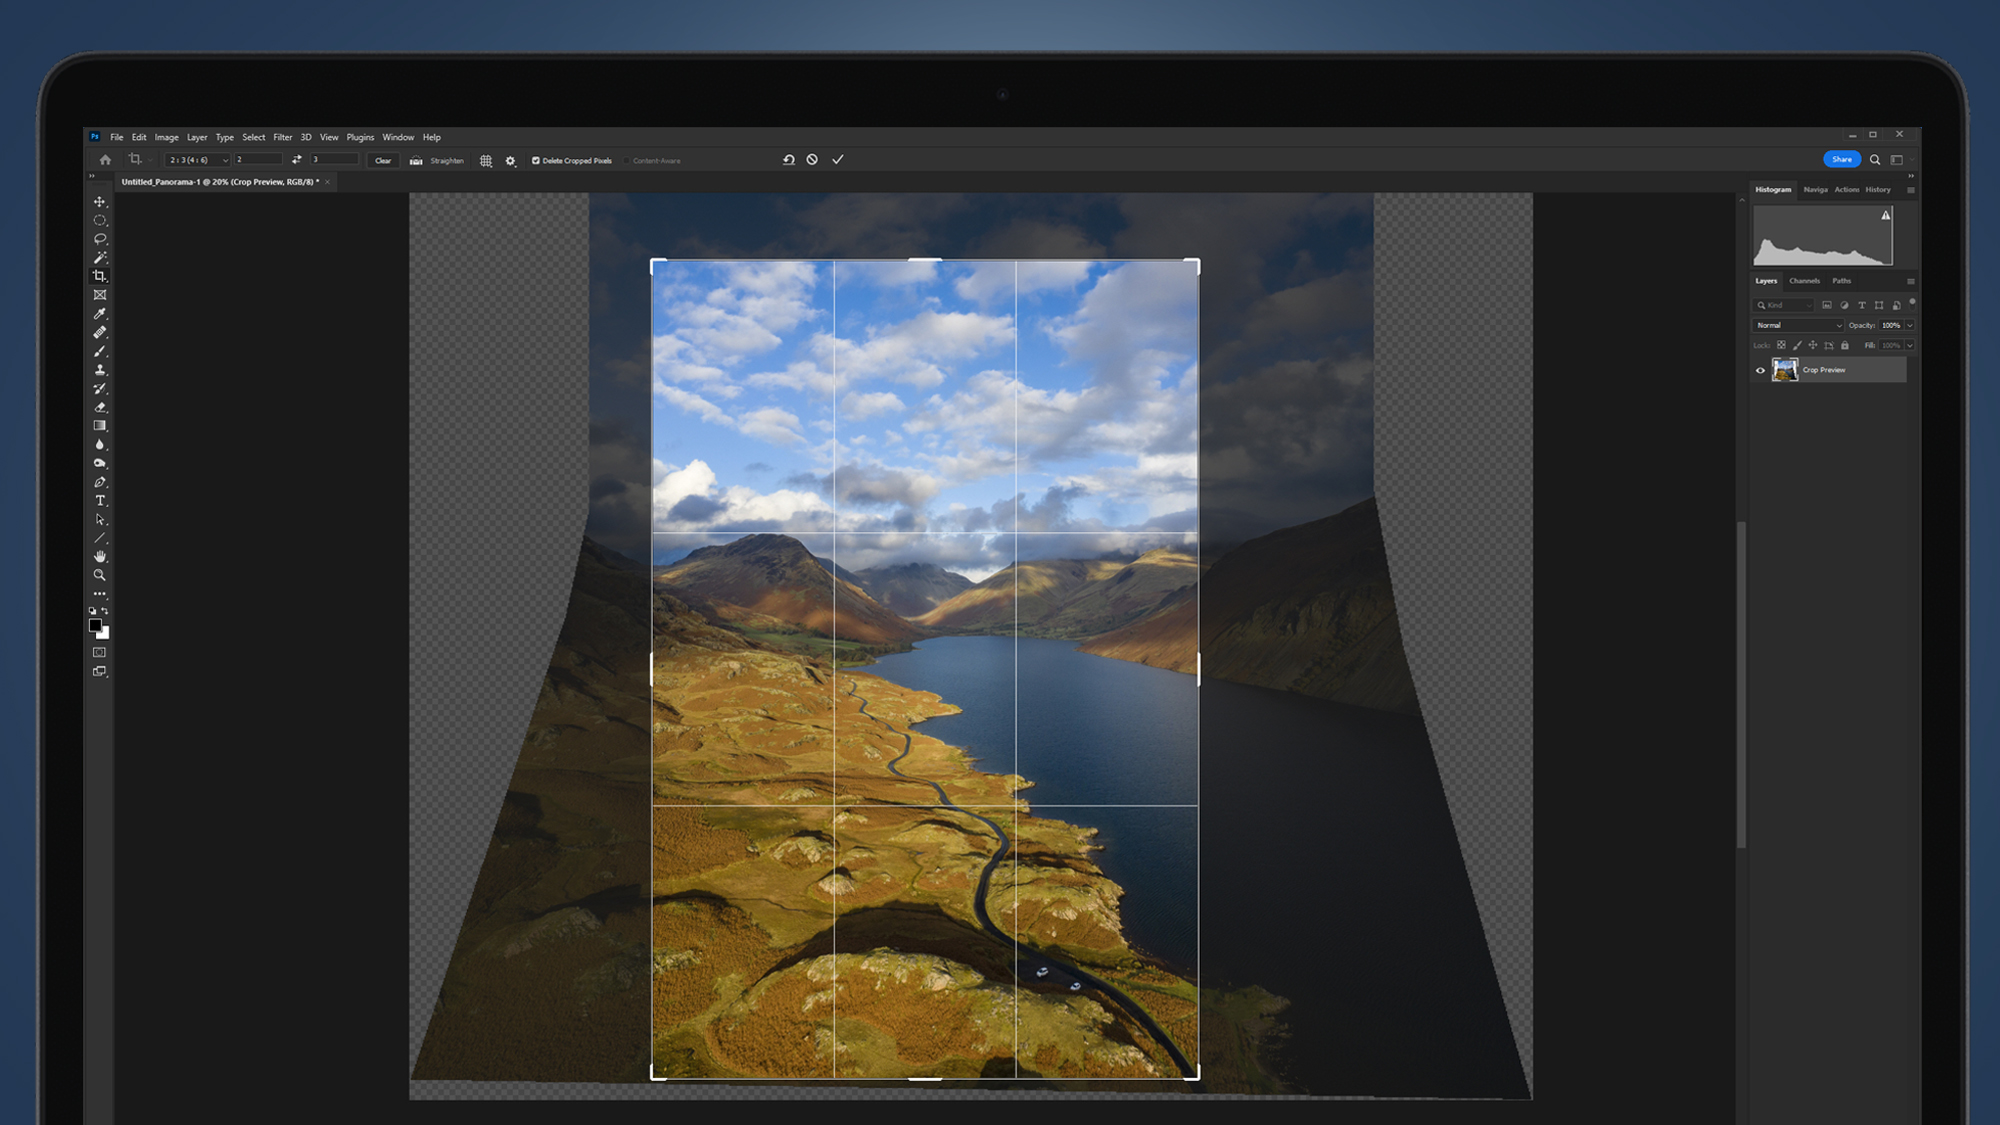
Open Photoshop and go to File>Automate>Photo Merge and where it says Source Files, set 'Use to Folder' before clicking on the Browse button to open File Explorer to locate the folder of images on the Desktop. Leave Layout set to Auto and make sure 'Blend Images Together' is checked before hitting OK. Photoshop will now merge the images into portrait format and all you need to do next is crop the image and apply any final processing.
James Abbott is a professional photographer and freelance photography journalist. He contributes articles about photography, cameras and drones to a wide range of magazines and websites where he applies a wealth of experience to testing the latest photographic tech. James is also the author of ‘The Digital Darkroom: The Definitive Guide to Photo Editing’.