
 Become a TechRadar Insider


Soundbars offer a convenient and space-saving option for adding Dolby Atmos audio to the best 4K TVs. Soundbars are also cost-effective, providing you with the biggest possible sound for the lowest possible price.
Keep in mind that not all soundbars support Atmos, however. Given the chance, you could spend less on one that doesn’t support the latest soundtrack format from Dolby, but then you’d miss out on the expanded sense of sonic immersion it delivers – a noticeable upgrade over what you get with more basic options.
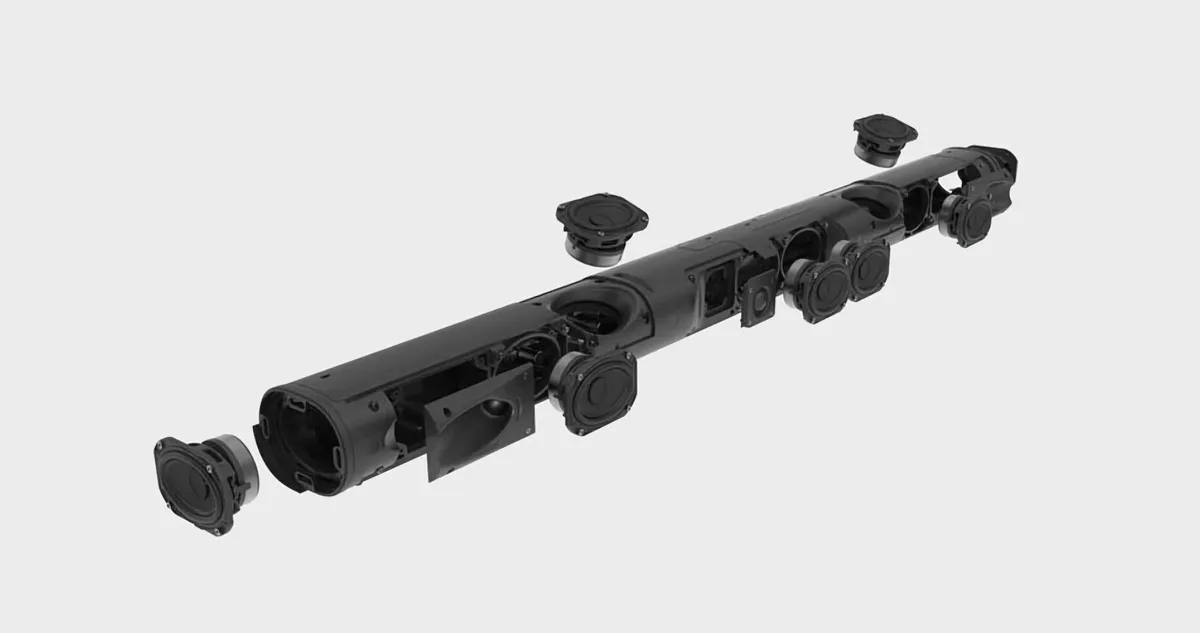
Most Dolby Atmos soundbars come in a 3.1.2 or 5.1.2 configuration. The numbers there indicate the amount and purpose of their built-in speakers: in the first case, 3 dedicated speakers for the left, right, and center channels in soundtracks; 1 for bass effects; and 2 for Atmos overhead (height) effects.
Some Atmos soundbars use built-in woofers for bass, while others come with a separate subwoofer. Another variation is models that forego upfiring drivers and instead use digital signal processing to deliver “virtual” Atmos overhead effects.
If you do opt to spend extra to buy a Dolby Atmos soundbar, you’ll need to take greater care in setting it up than you would with a basic one. This guide covers setup considerations specific to Atmos-compatible soundbars, and it will help you to get the best performance from it for everything from watching movies to listening to music.

Placement is primary
An Atmos soundbar needs to be arranged so that its upward-firing drivers aren’t bouncing sound off any surfaces other than your room’s ceiling. That means no placement on a lower shelf of a TV stand or underneath the screen’s bottom edge. Instead, the positioning should be below and slightly in front of the TV.
One exception: If you have a soundbar that features virtual Atmos (like the Sonos Beam), you can place it inside a TV stand’s shelf since the virtual processing it uses to deliver overhead effects doesn’t need a ceiling bounce to work.
Flat ceilings are best
Dolby Atmos soundbars with upward-firing drivers located on the soundbar’s top surface will work best if they are bouncing sound off of a flat ceiling – generally one that’s 3-4 meters high.
Rooms with sloped or cathedral ceilings are not the best option for Atmos. That’s because the sound coming from the upward-firing drivers will reflect off the ceiling at a different and more extreme angle than what the soundbar’s speakers were designed for and won’t directly reach your ears. In this case, you might be better off with a soundbar that uses virtual Atmos processing.
Yes to surround speakers
If you bought just a 3.1.2 soundbar, you’ll be making do without rear-channel speakers that are used to deliver surround sound effects. And while you can still get a great experience with a 3.1.2 soundbar alone, adding surround speakers is a perfect upgrade option when – and if – you have the cash for it.
Some soundbars like the Sonos Arc have side-firing drivers that work with virtual processing to widen the sonic image coming from it and trick your ear into hearing a semblance of surround sound. But the effect is still not as good as what you’ll get with actual surround speakers beaming sound from behind you.
Ready to upgrade? Optional wireless speakers that can be used for surround sound are offered by Sonos, Samsung, LG, and others.
Put the subwoofer in the right spot
A subwoofer – that big boxy speaker that came with your soundbar which is used to generate bass – will generally work best when placed in a room corner location where adjacent walls can help reinforce its low-frequency sound output.
The subwoofers that come with soundbars, however, are designed a bit differently than regular ones. That’s because the soundbar’s crossover – an electronic component that filters out bass frequencies that get directed to the sub - is set at a higher point than it would be with a regular Dolby Atmos speaker system. This is especially true for models that are very thin and compact and can’t properly reproduce bass.
For this reason, the best location for a soundbar’s subwoofer will be generally be right next to the soundbar and TV. If you instead shove it off into the room’s corner, voices and music coming from the soundbar may sound overly thin, while bass effects might come across as boomy.
Use the auto-calibration mode
Some soundbars feature an auto-calibration mode that helps “tune” its audio output to your room, something it does this by emitting test tones. These are then captured by the soundbar’s built-in microphone and the system’s digital signal processing makes adjustments to equalize and improve the sound.
On Sonos soundbars, this feature is called Trueplay. With LG models it’s called AI Room Calibration, while Samsung ones label it as SpaceFit Sound. In all cases, the auto-calibration is easy to access and run, and the sound quality benefits it brings makes the feature well worth checking out.
Make the right connections
Some soundbars feature both HDMI and optical digital audio inputs to connect cables and route audio from your TV’s HDMI-eARC and optical digital audio outputs. To hear Dolby Atmos soundtracks, you’ll absolutely want to use the HDMI-eARC connection from the TV. That’s because optical digital connections (also called Toslink) don’t support Dolby Atmos. If you do use an optical digital hookup, you will hear sound, but it will be either regular Dolby Digital stereo or 5.1 surround - the two audio formats that Toslink supports.
On a related note, it’s important to check that your TV’s audio output settings are configured properly. All sets provide different menu options, and some will select the right settings automatically. But if yours offers a choice of 2-channel and multi-channel, you’ll absolutely want to choose the latter.
