How to clean a Dyson vacuum
Vacuums need cleaning too – here’s how
Sign up for breaking news, reviews, opinion, top tech deals, and more.
You are now subscribed
Your newsletter sign-up was successful
Dyson is one of the world leaders in vacuum technology. But the best vacuums don’t come cheap, so if you’ve invested in a Dyson, it’s a good idea to keep it clean and well maintained to both prolong the life of the vacuum and ensure it continues to run at top performance.
Usually, we’re so busy cleaning with our vacuum that we forget the vacuum itself needs a clean. But most Dyson vacuums are pretty easy to disassemble and maintain, so there’s really no excuse not to keep it in good condition. The newest models, such as the Dyson V15, will even alert you on the screen when you need to do things like wash the filter.
If you do it frequently, cleaning your Dyson won’t take long. Follow these easy steps to clean all parts of your Dyson vacuum.
Steps for how to clean a Dyson vacuum
- Disassemble the vacuum
- Empty out dirt
- Wash the filter(s)
- Clean any dirty accessories
- Remove debris from floorhead
Tools and requirements
- Old rag or lint-free cloth
- Scissors
- Running water
Step by step for how to fix a vacuum with no suction
1. Empty and clean the dirt canister
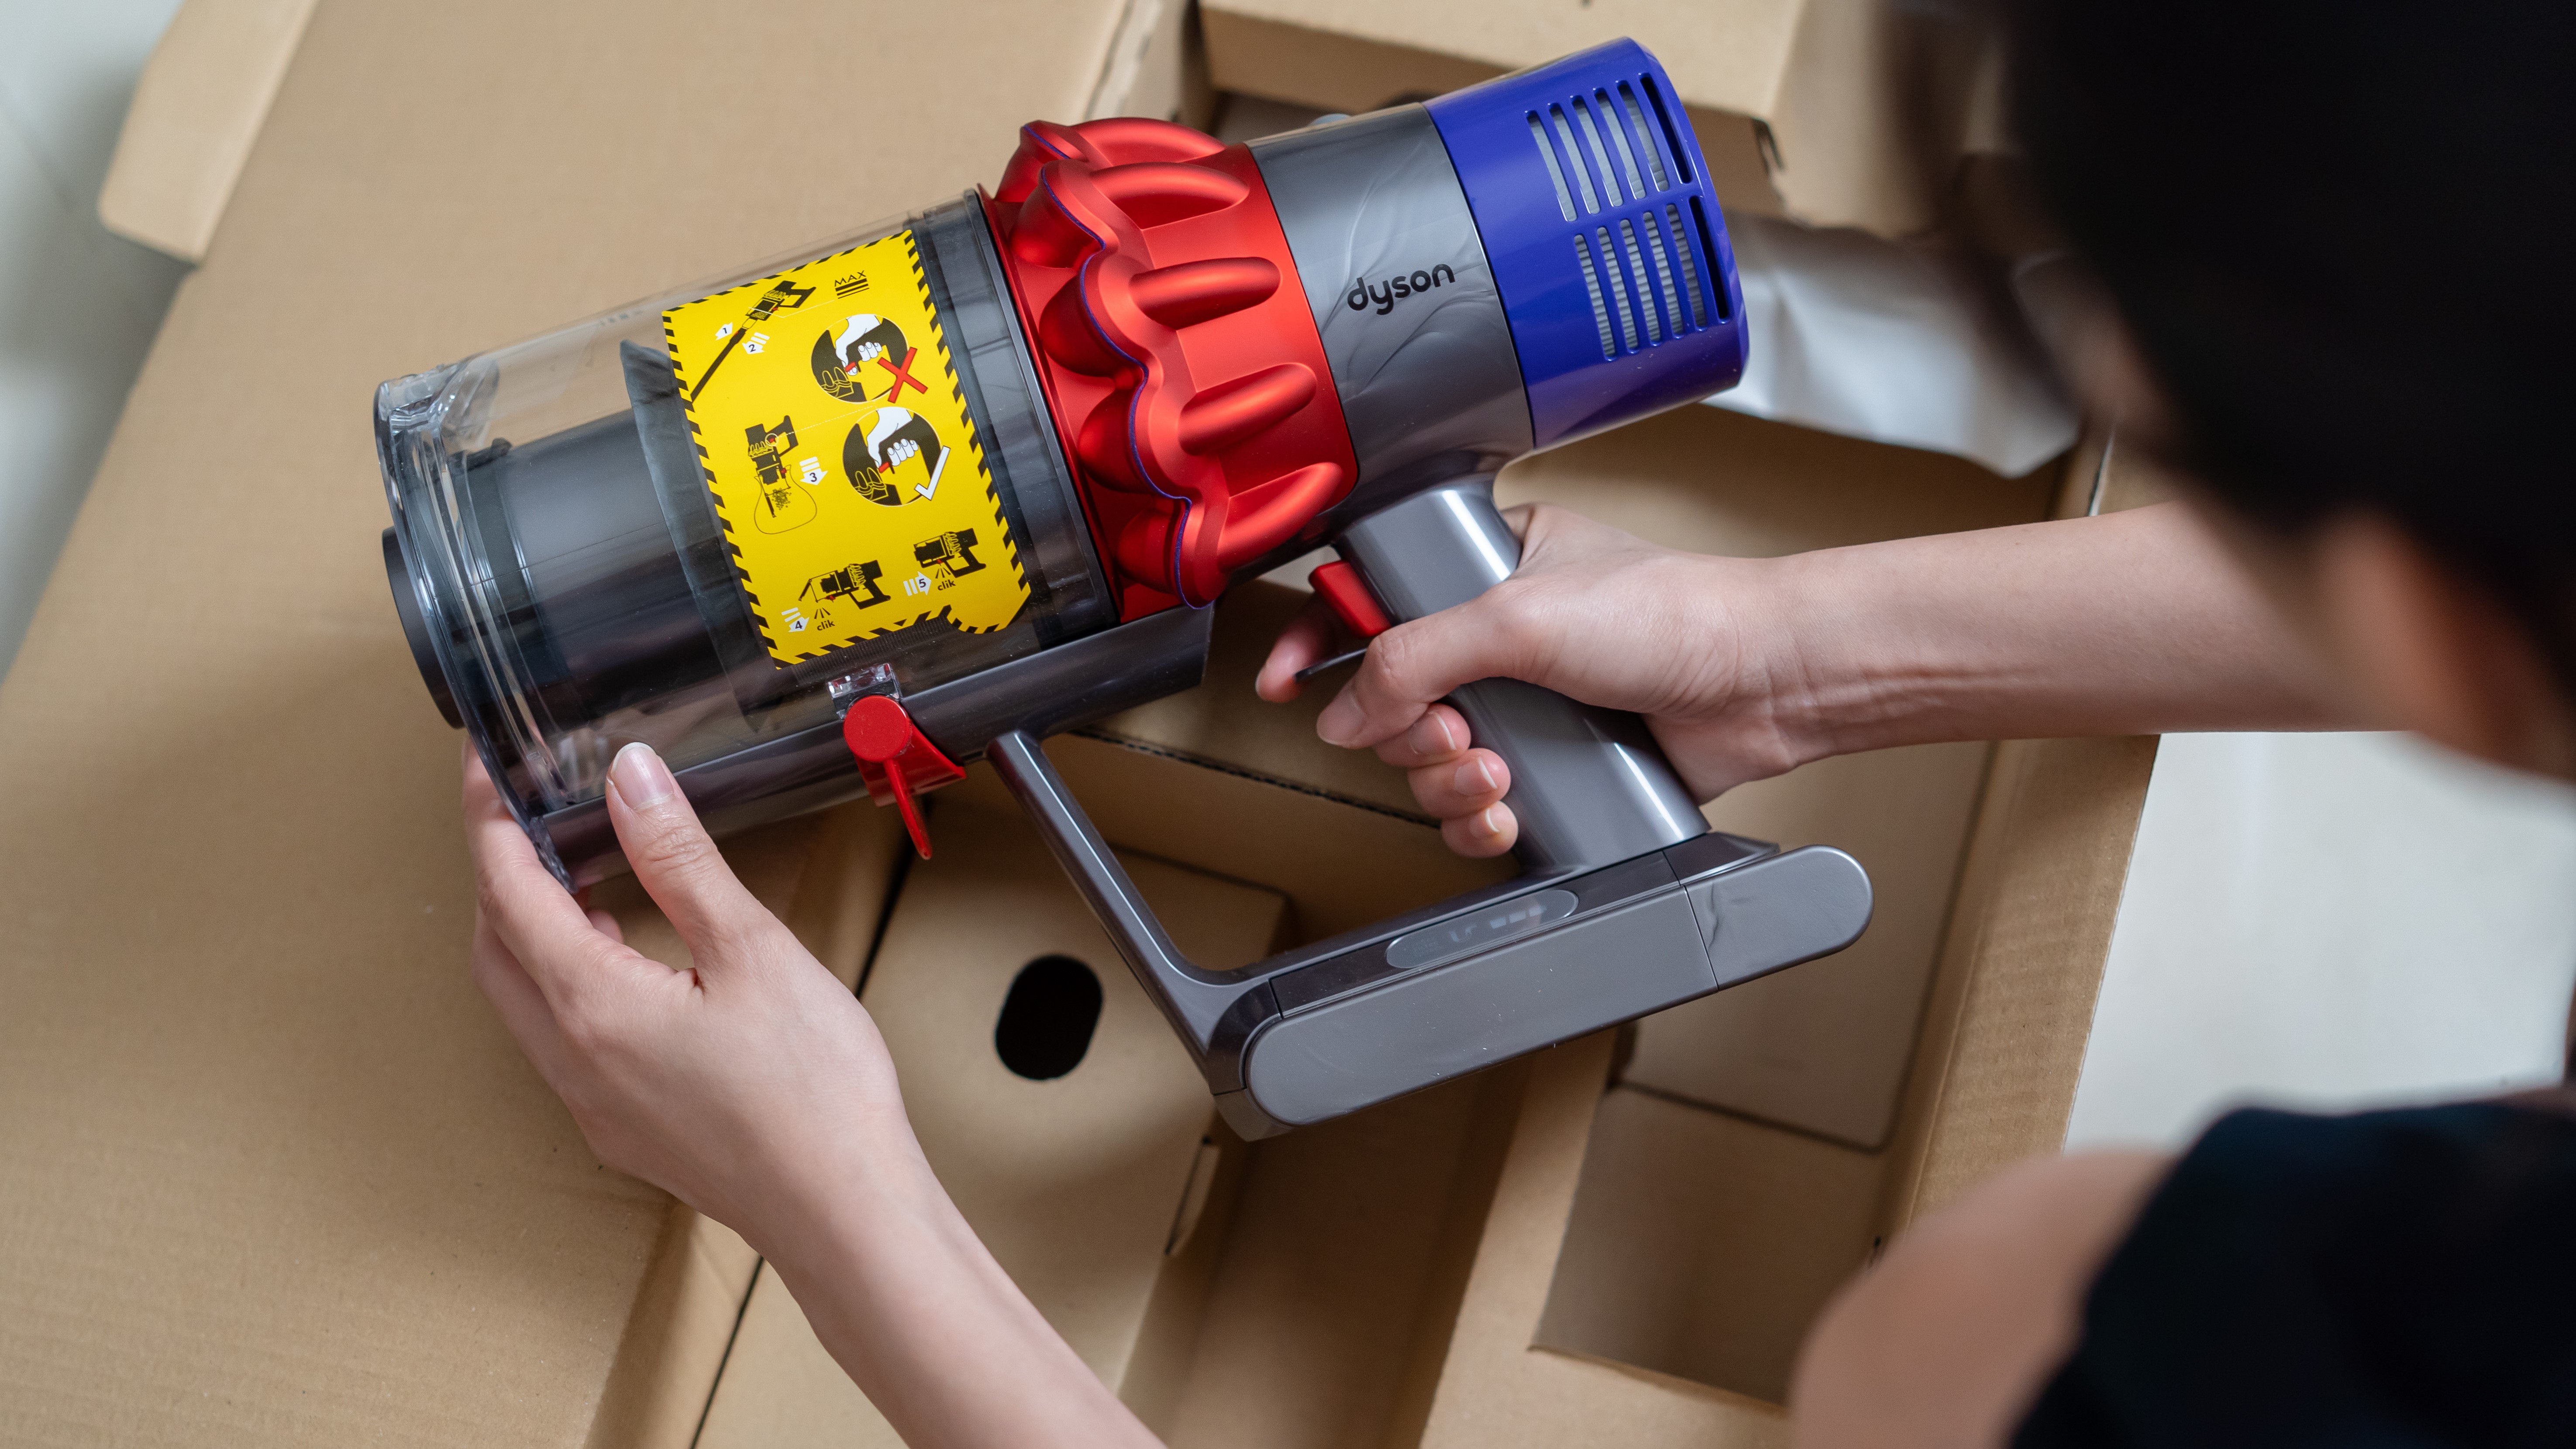
To get started, empty the dust and debris from the canister. Next, and where possible, depending on the model, disassemble the canister to allow you to easily access the inside. And using a clean, lightly damp rag or lint-free cloth, thoroughly wipe the inside of the dirt canister.
Pay attention to any areas where the dirt is naturally building up and doesn’t tend to fall out when the canister is emptied. Once clean, leave to dry while you tackle the rest of the vacuum.
2. Wash the filter
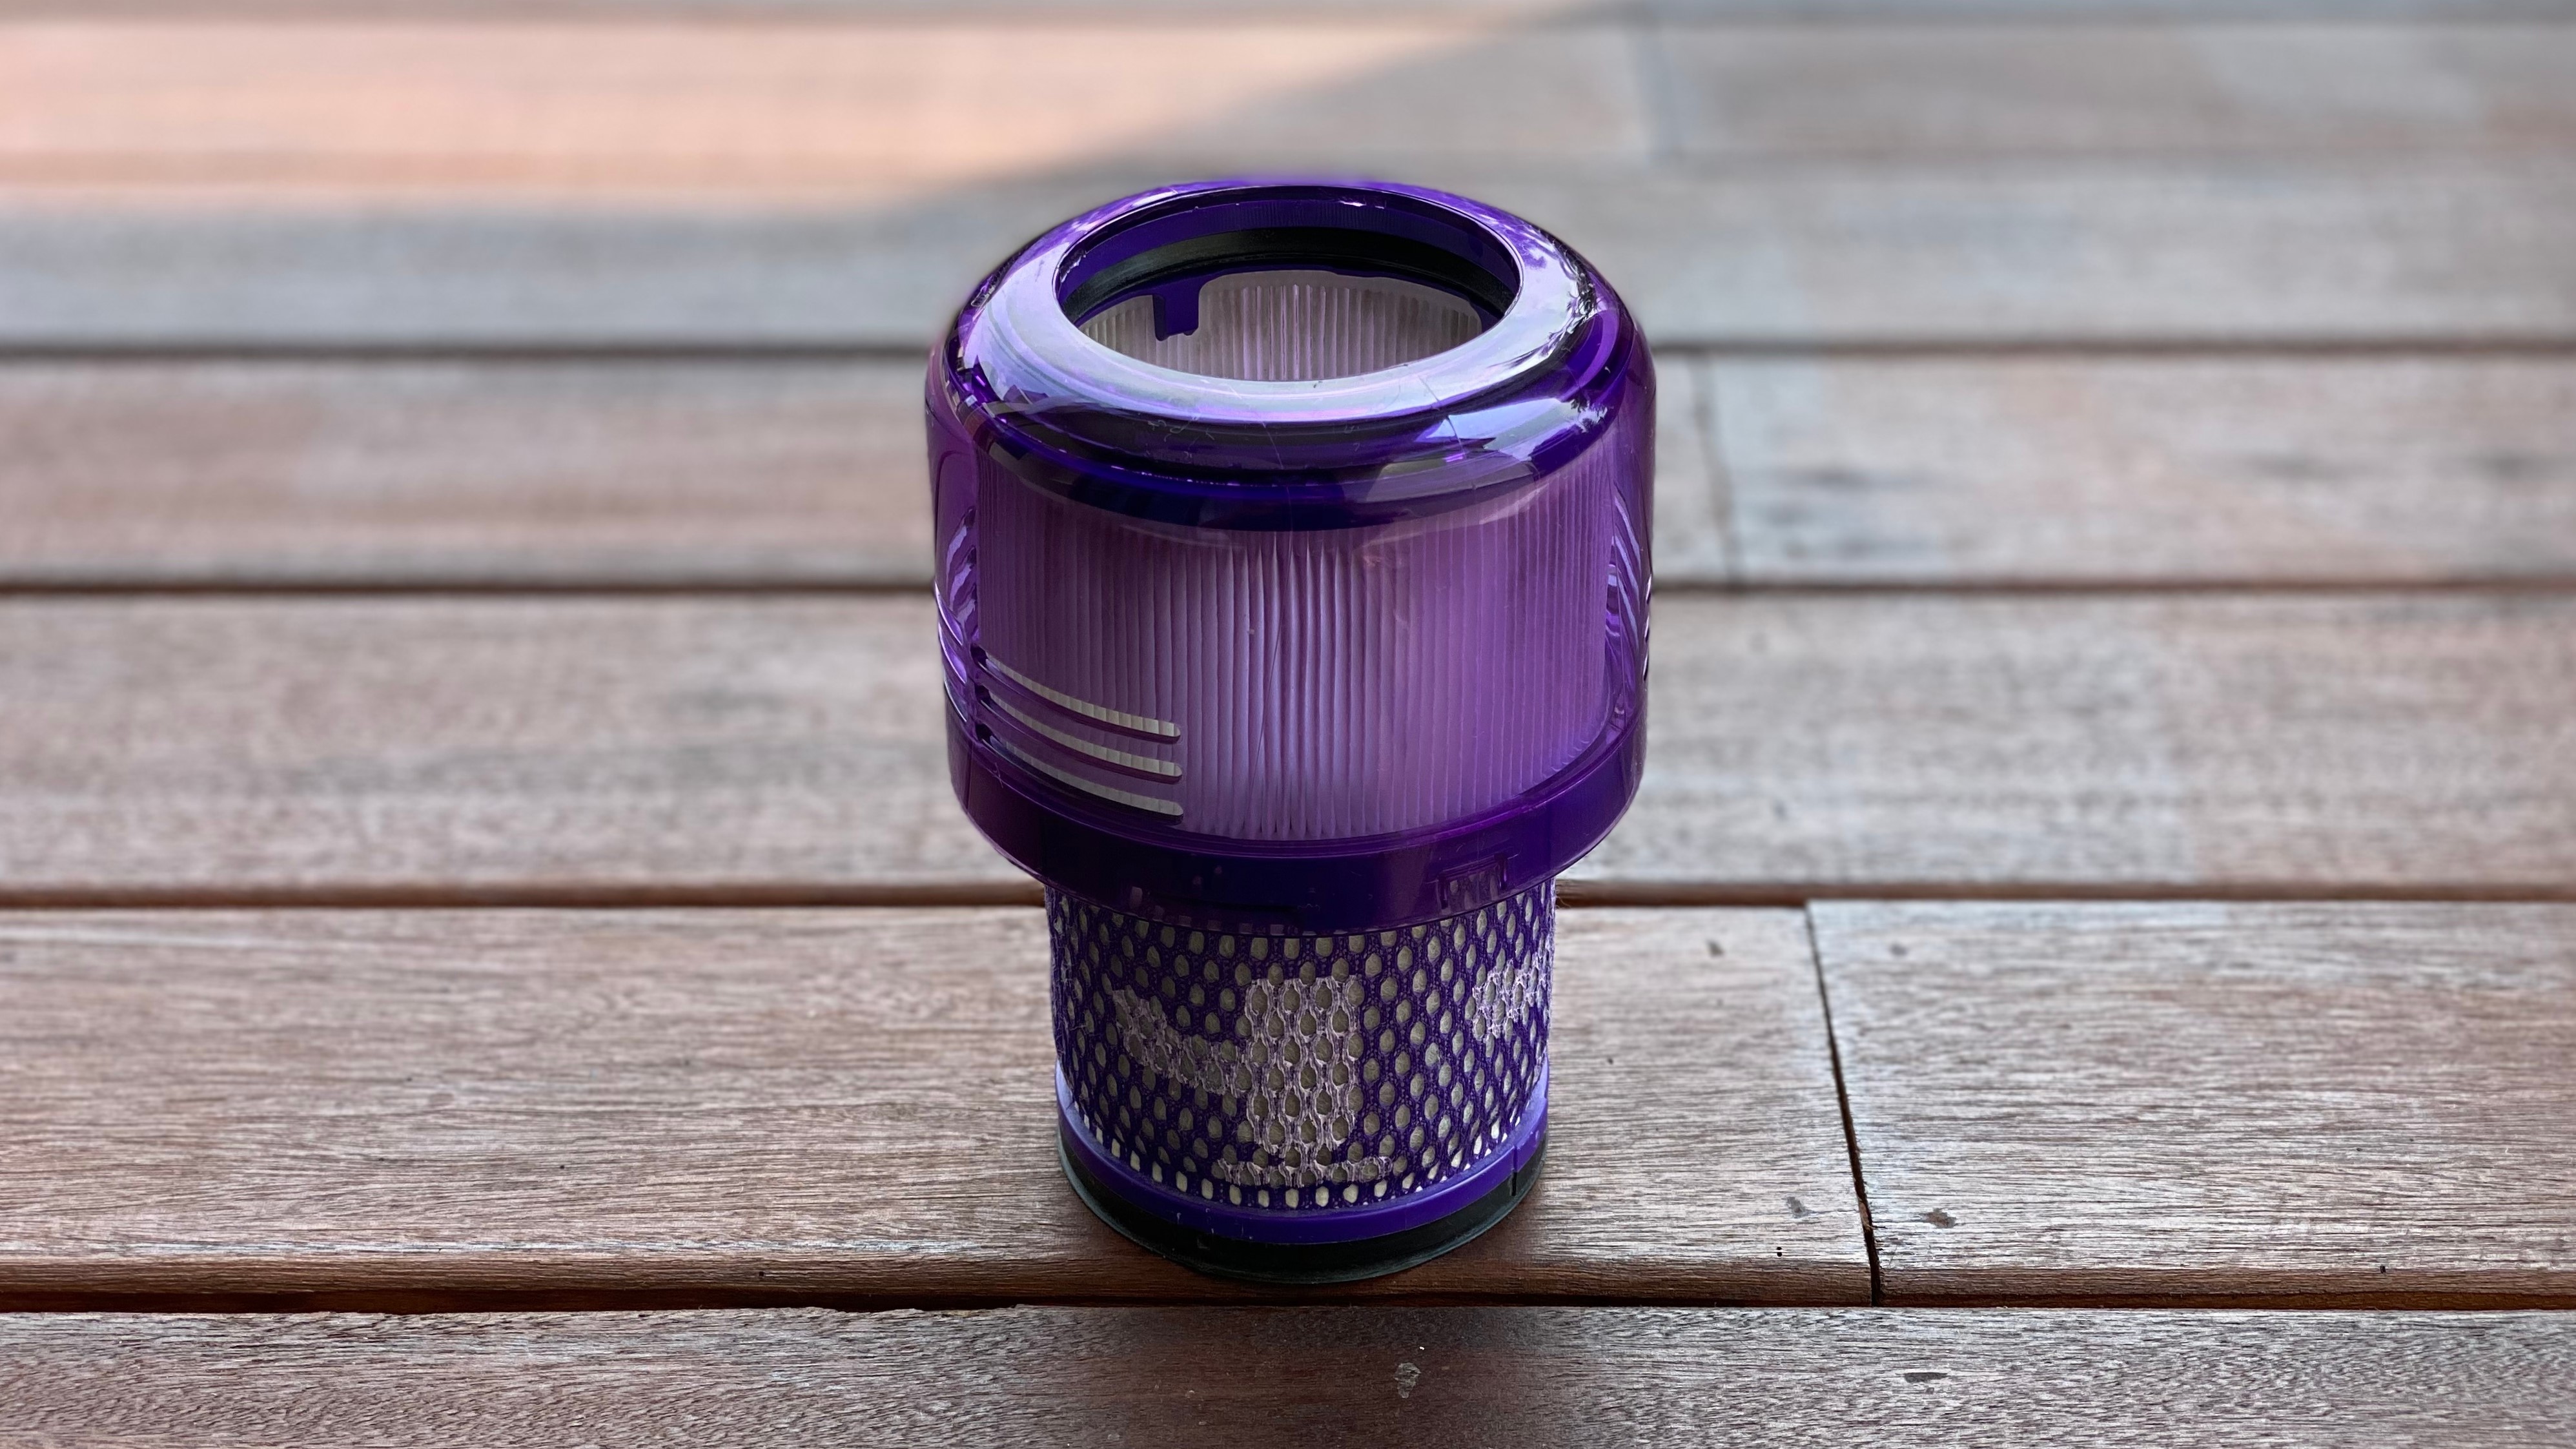
Allowing filters to become caked in dust will impede the performance of the whole vacuum. Dyson filters must be washed on a monthly basis.
Remove the filter(s) and tap it against the side of your trash can to remove any excess dust. Then rinse thoroughly under running water to remove all dirt and dust. Shake to remove excess water, then allow it to dry for a minimum of 24 hours, or longer if required, before placing the filter back in the vacuum.
3. Clean the wand and accessories
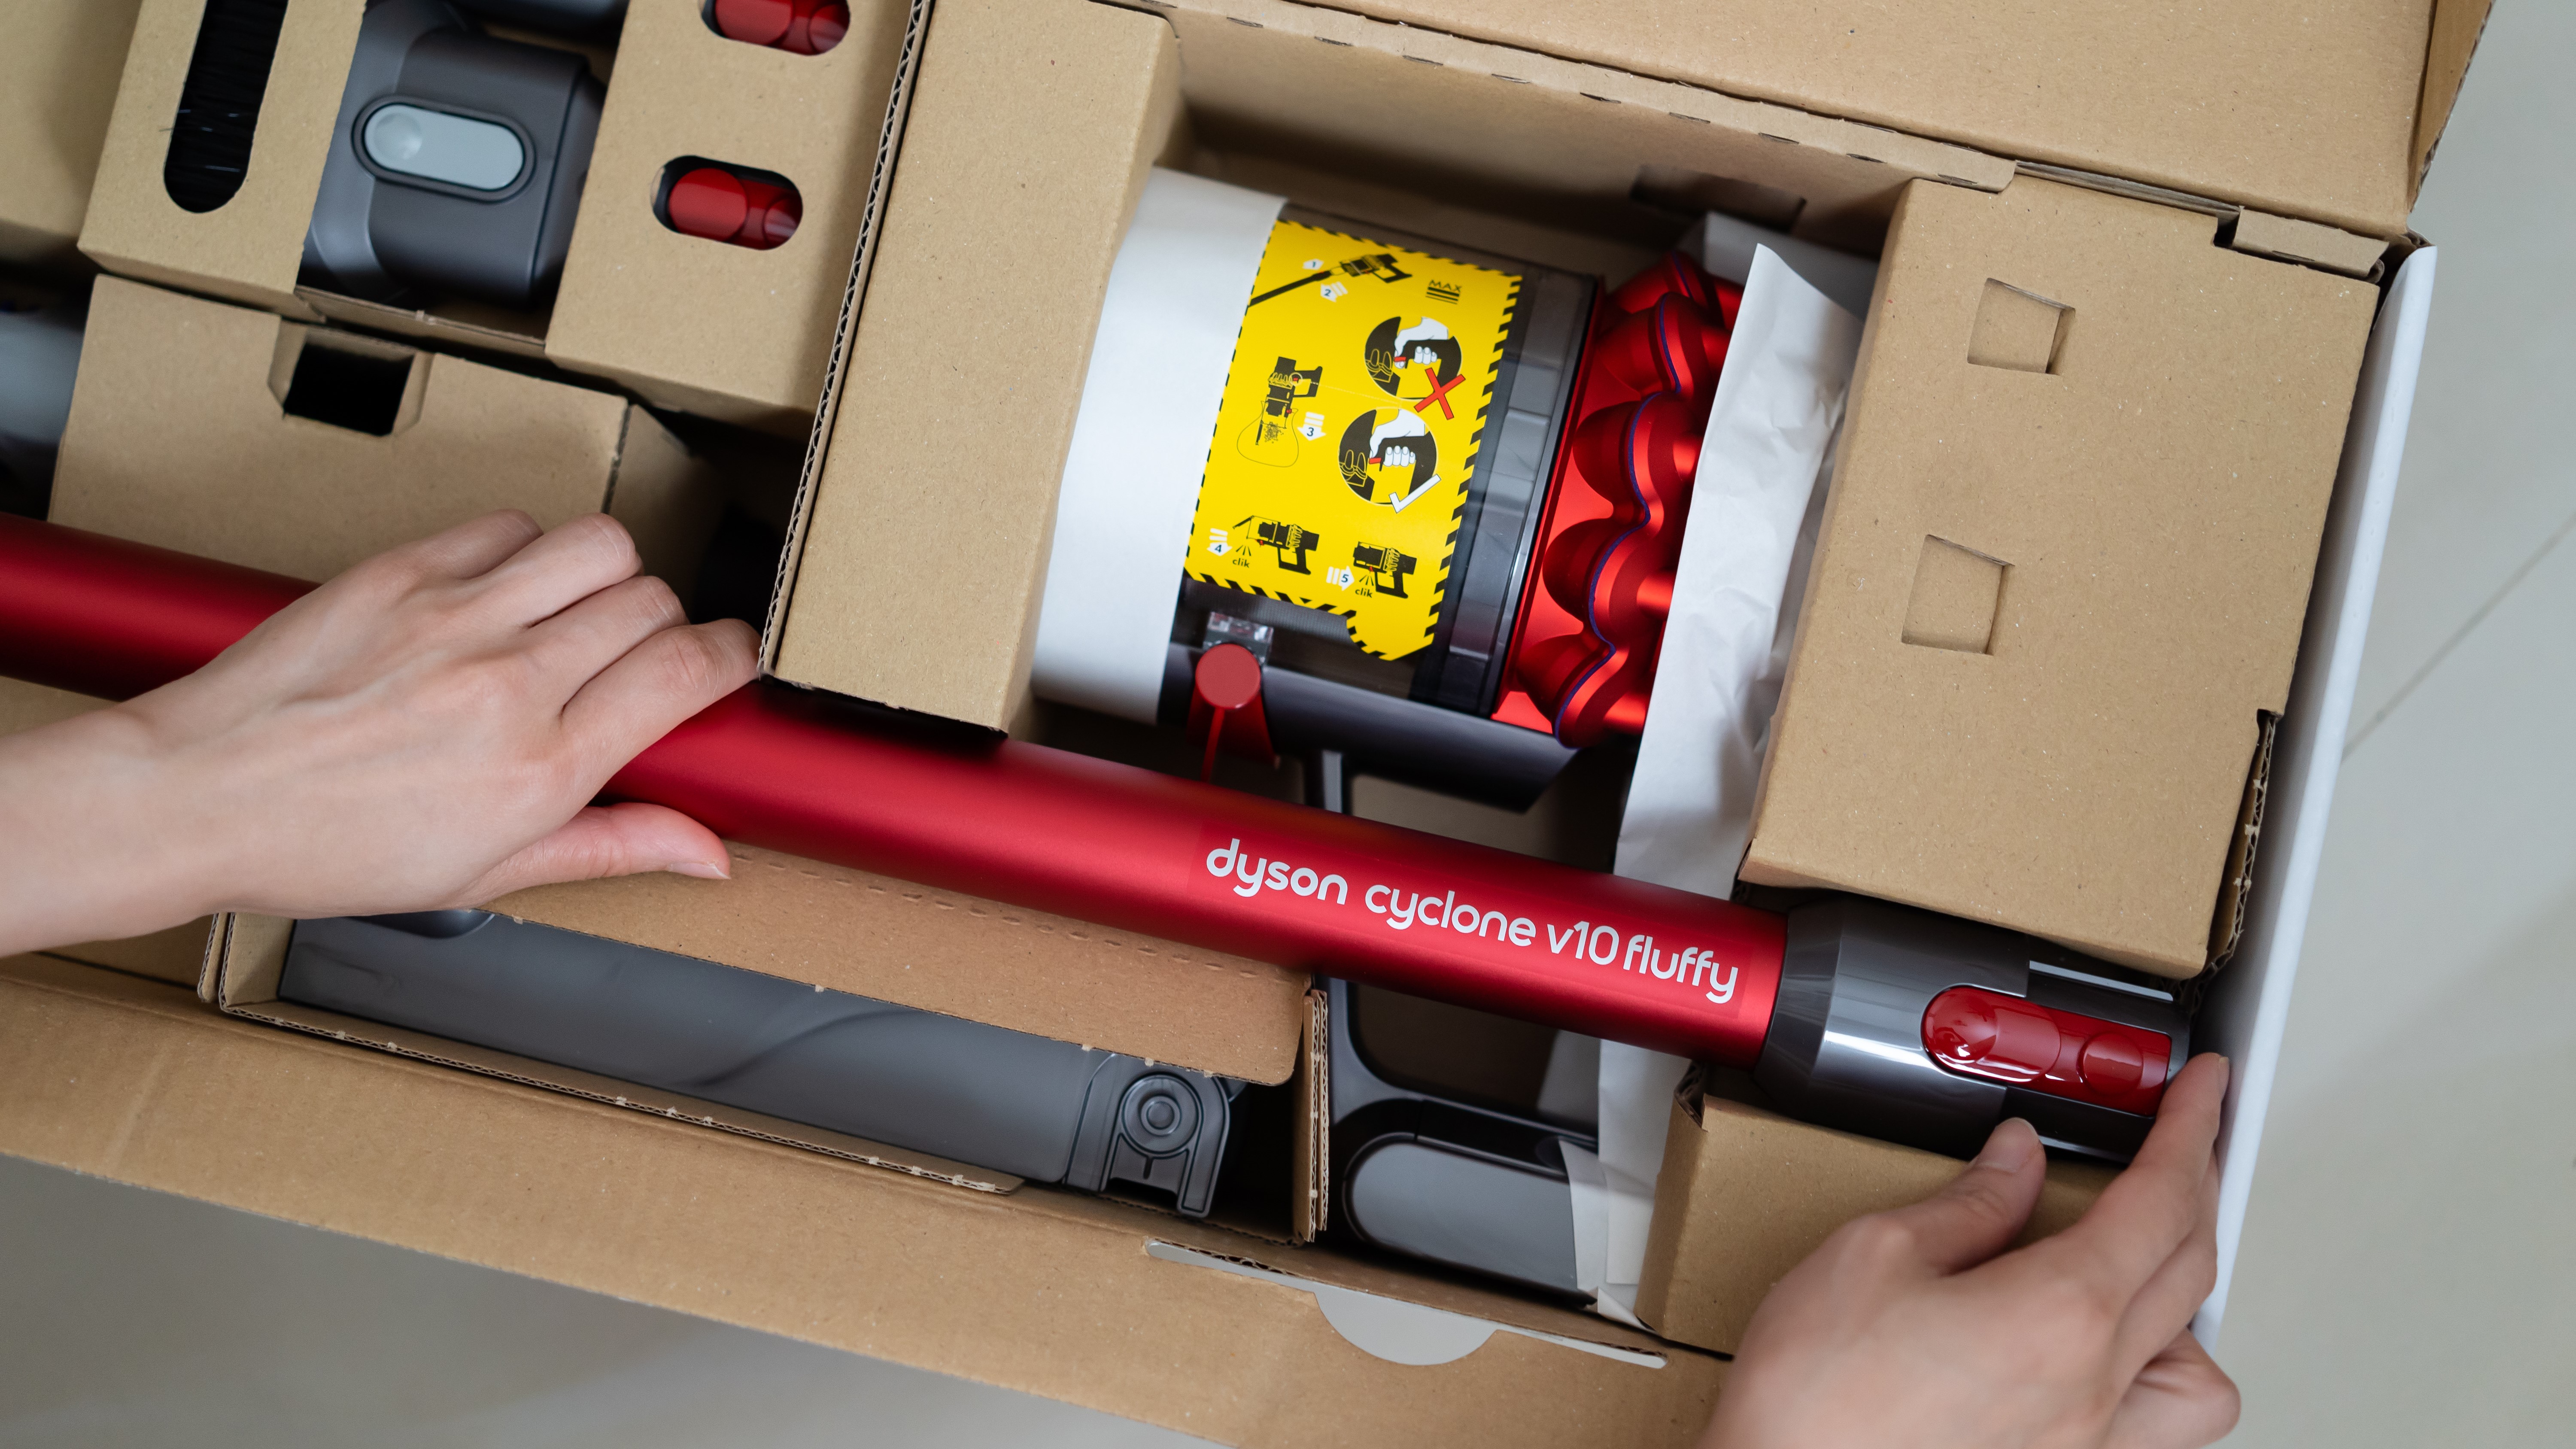
The wand and the small cleaning tools can all be wiped clean with a clean, damp cloth or lint-free rag. Take care not to over-wet them or allow water to get into the connector end of each tool. Dyson advises avoiding any detergents when cleaning the vacuum and its accessories.
4. Clean the floorhead
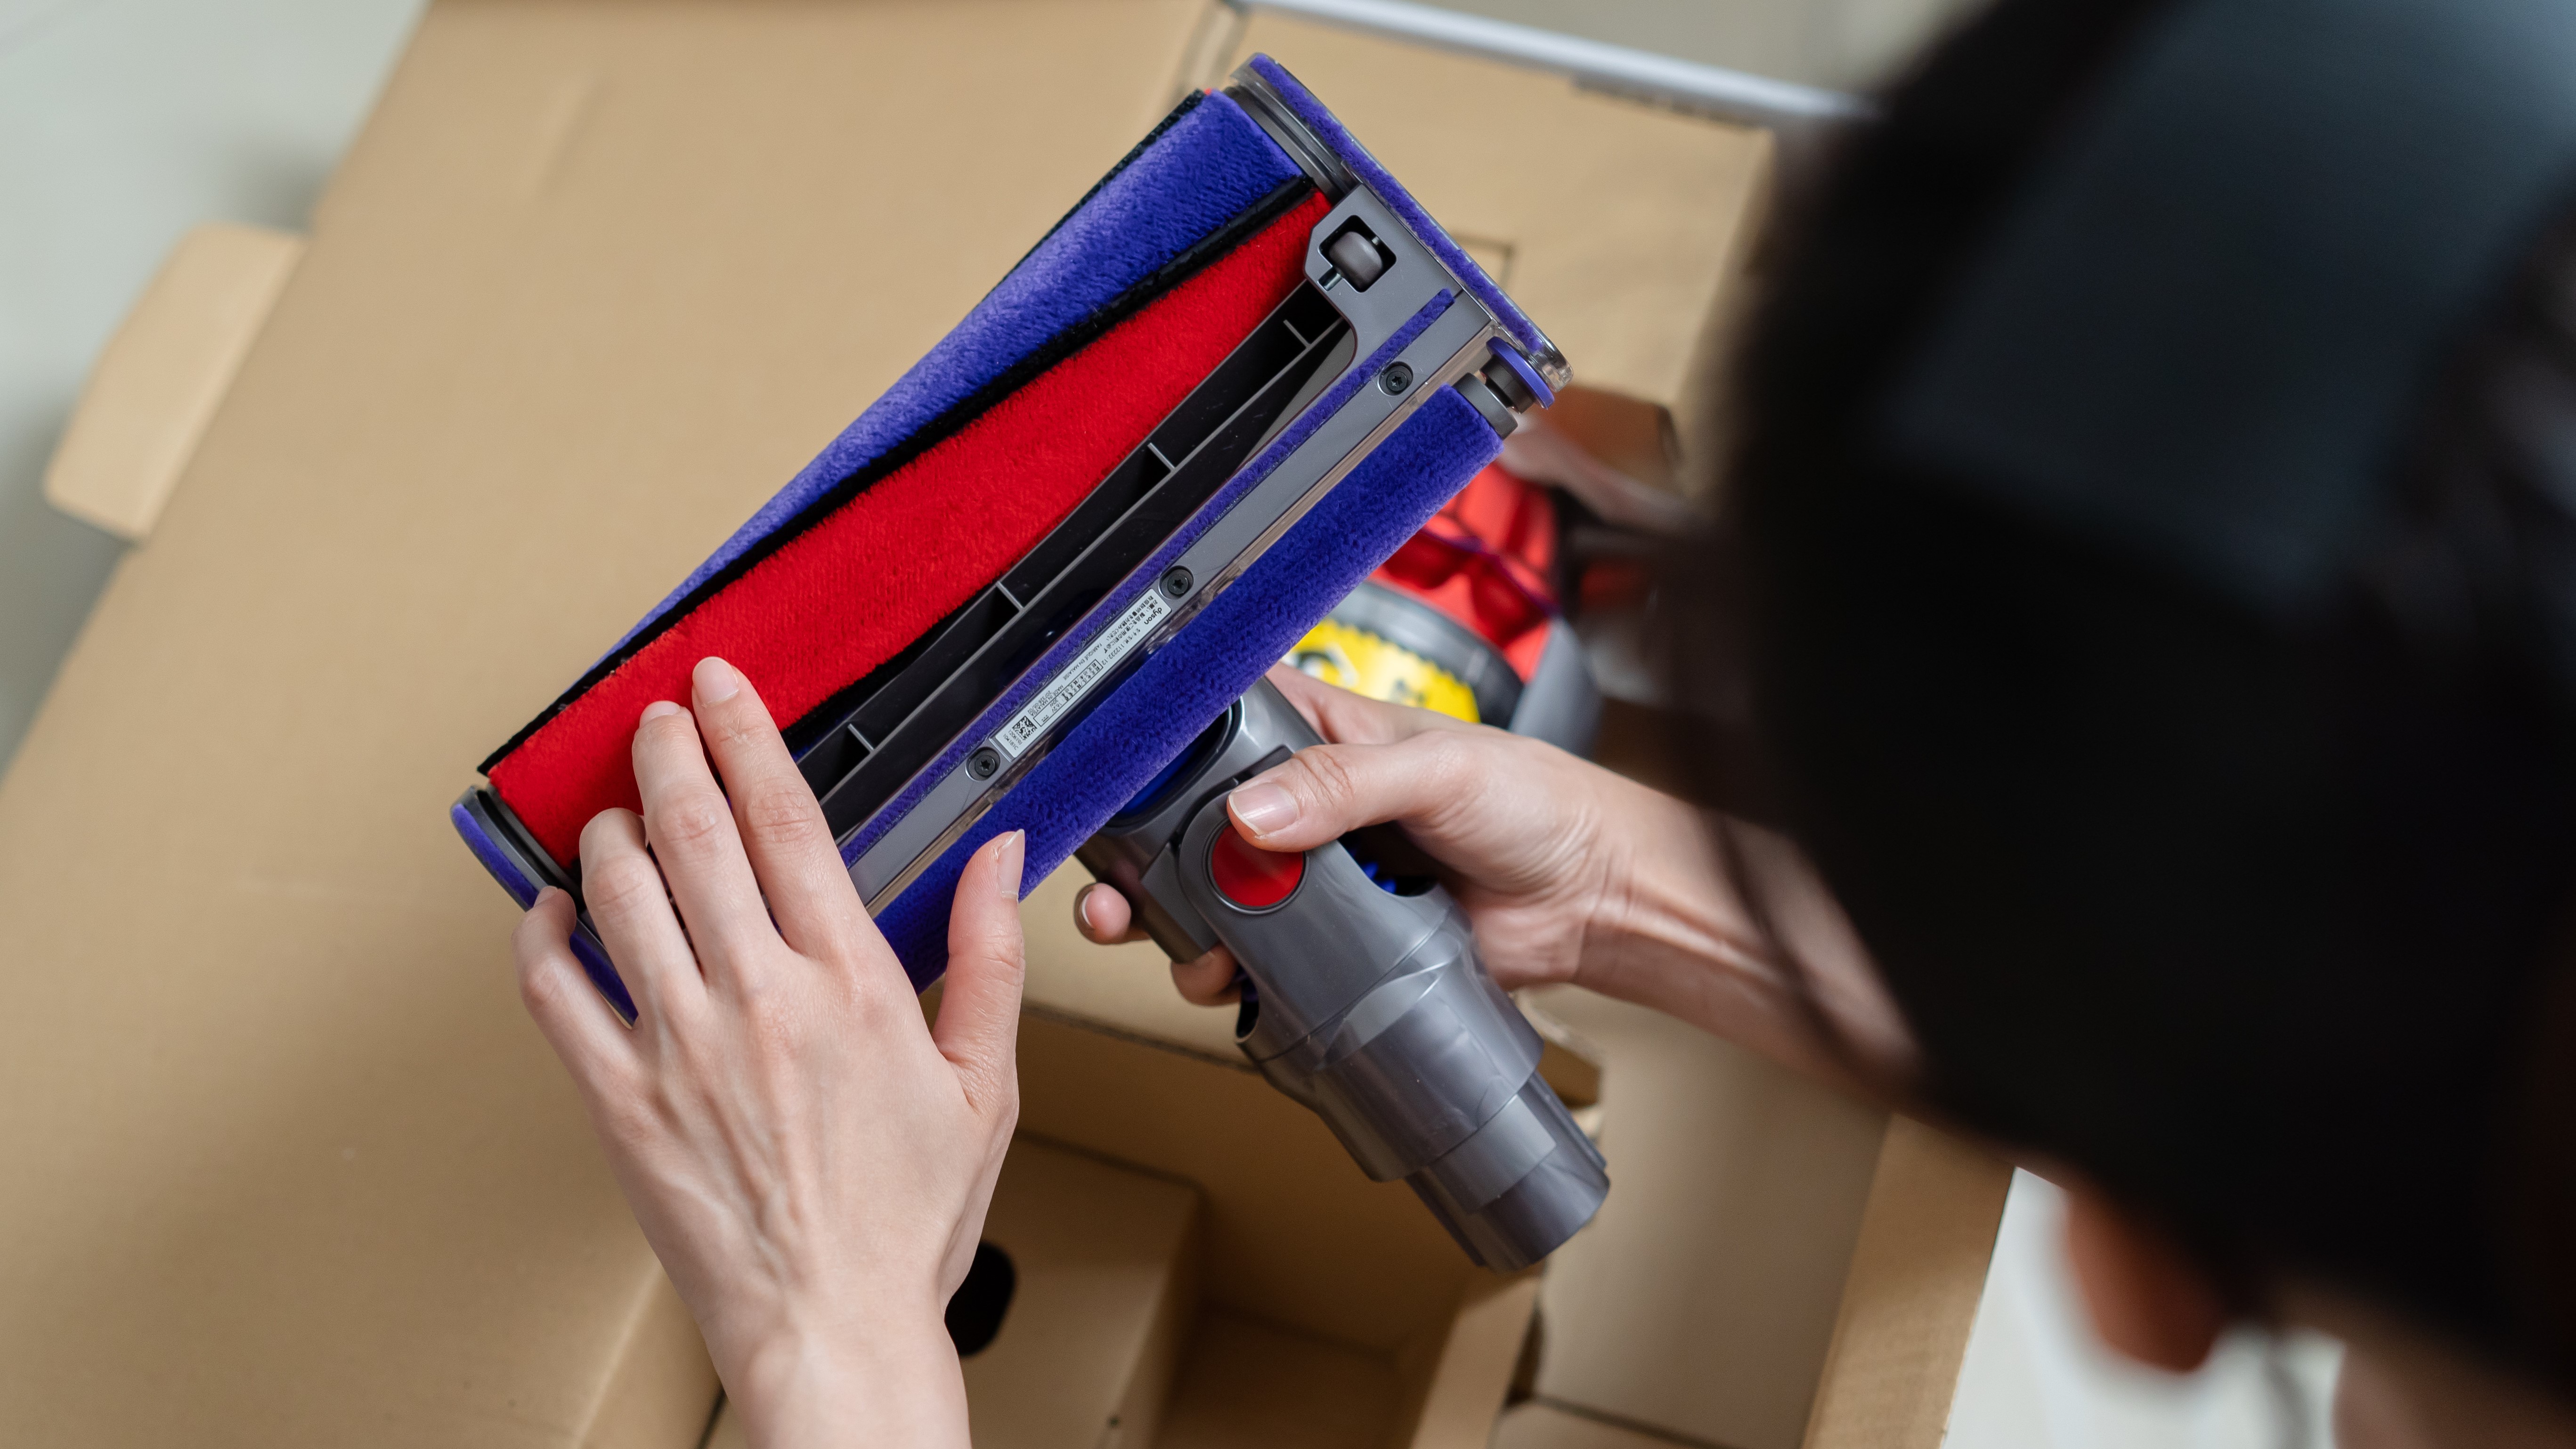
Remove the brush bar from the floorhead. If there's anything tangled around it such as hair, or threads, carefully cut these away with scissors.
Most newer models are supplied with a washable brush bar, so this can then be rinsed to remove any dirt. Once you’re confident it’s clean, remove excess water and allow it to dry for a minimum of 24 hours before replacing it back into the vacuum.
Use a clean, dry cloth to wipe the outside for the floorhead and if your Dyson has a laser, don’t forget to wipe around the laser to ensure it continues to shine brightly.
Check the pipe that connects the floorhead to the wand or vacuum and make sure there’s no debris trapped there.
FAQs
How often should you clean a Dyson?
Dyson recommends that filters are rinsed every month. But for the rest of the parts, there are no hard and fast rules. If you notice a build-up of dirt on any part, it’s worth giving it a clean so that it doesn’t turn into a blockage. Likewise, if you’ve vacuumed up anything smelly, it’s a good idea to clean out the inside of the vacuum to avoid any festering odors that could become unpleasant.
If anyone in your house has allergies, regular cleaning of the vacuum and filters will ensure there are fewer allergens lingering in and on the vacuum that could aggravate symptoms should they end up back in the air.
Do I need to clean the entire vacuum in one go?
No, there’s no need to clean every single part all in one go. Just make sure you regularly check all parts and attachments and clean as needed. However, if you feel like the vacuum performance isn’t quite what it once was, it’s a good idea to set aside a little time and give all the parts a thorough clean.
A whole vacuum clean will ensure every part is in full working order, and that there are no blockages or build-ups of dirt. And in the process of disassembling and reassembling as well as cleaning, you’ll be able to identify any faults or problems that could be affecting the performance.
Final thoughts
The most important thing to keep on top of is regular cleaning of the filter. If it helps you remember, pop a reminder in your diary to do this monthly. When it’s time to clean the filter, have a quick look over all the other parts, and if anything else looks excessively dirty it makes sense to give it a quick rinse or a wipe at the same time.
Never put the vacuum back together if any of the parts or filters are still damp, as this will cause dirt and dust to stick to the damp areas, potentially causing blockages. Always allow at least 24 hours for parts and filters to dry, but be aware that they could take longer.
If you keep on top of it, it should only take you a few minutes every month or so to keep your Dyson clean and operating efficiently.
Sign up for breaking news, reviews, opinion, top tech deals, and more.

Helen is a freelance writer who specializes in kitchen and home appliances, and has written for some of the biggest home-related titles around. She has been reviewing small appliances, including blenders, air fryers, and vacuums for more than 15 years. When she's not busy testing the latest food and home gadgets, she enjoys DIY and gardening.