The beginner's guide to MacBook essentials
We all gotta start somewhere
Sign up for breaking news, reviews, opinion, top tech deals, and more.
You are now subscribed
Your newsletter sign-up was successful
MacBooks have become some of the most powerful laptops on the market today, and while their price is steep their features are many. If you’re coming to the world of macOS as a first-time user it can be incredibly daunting trying to get a hold of your new machine. With the introduction of macOS, 13 Ventura so many new and exciting features have put the MacBook Air at the top spot in our list of the best laptops out right now.
Whether you treated yourself to a new MacBook for work, school, or a passion project or got your new device as a gift and want to make the most of it, our list of 10 things you need to know as a beginner will give you all you need to know to make the most of your device.
Taking A Screenshot
We’re starting off strong here with the easiest and most essential skill to master on your new MacBook: taking a screenshot. We can't begin to tell you how many times a week this question is asked around the office (or Googled in secret).
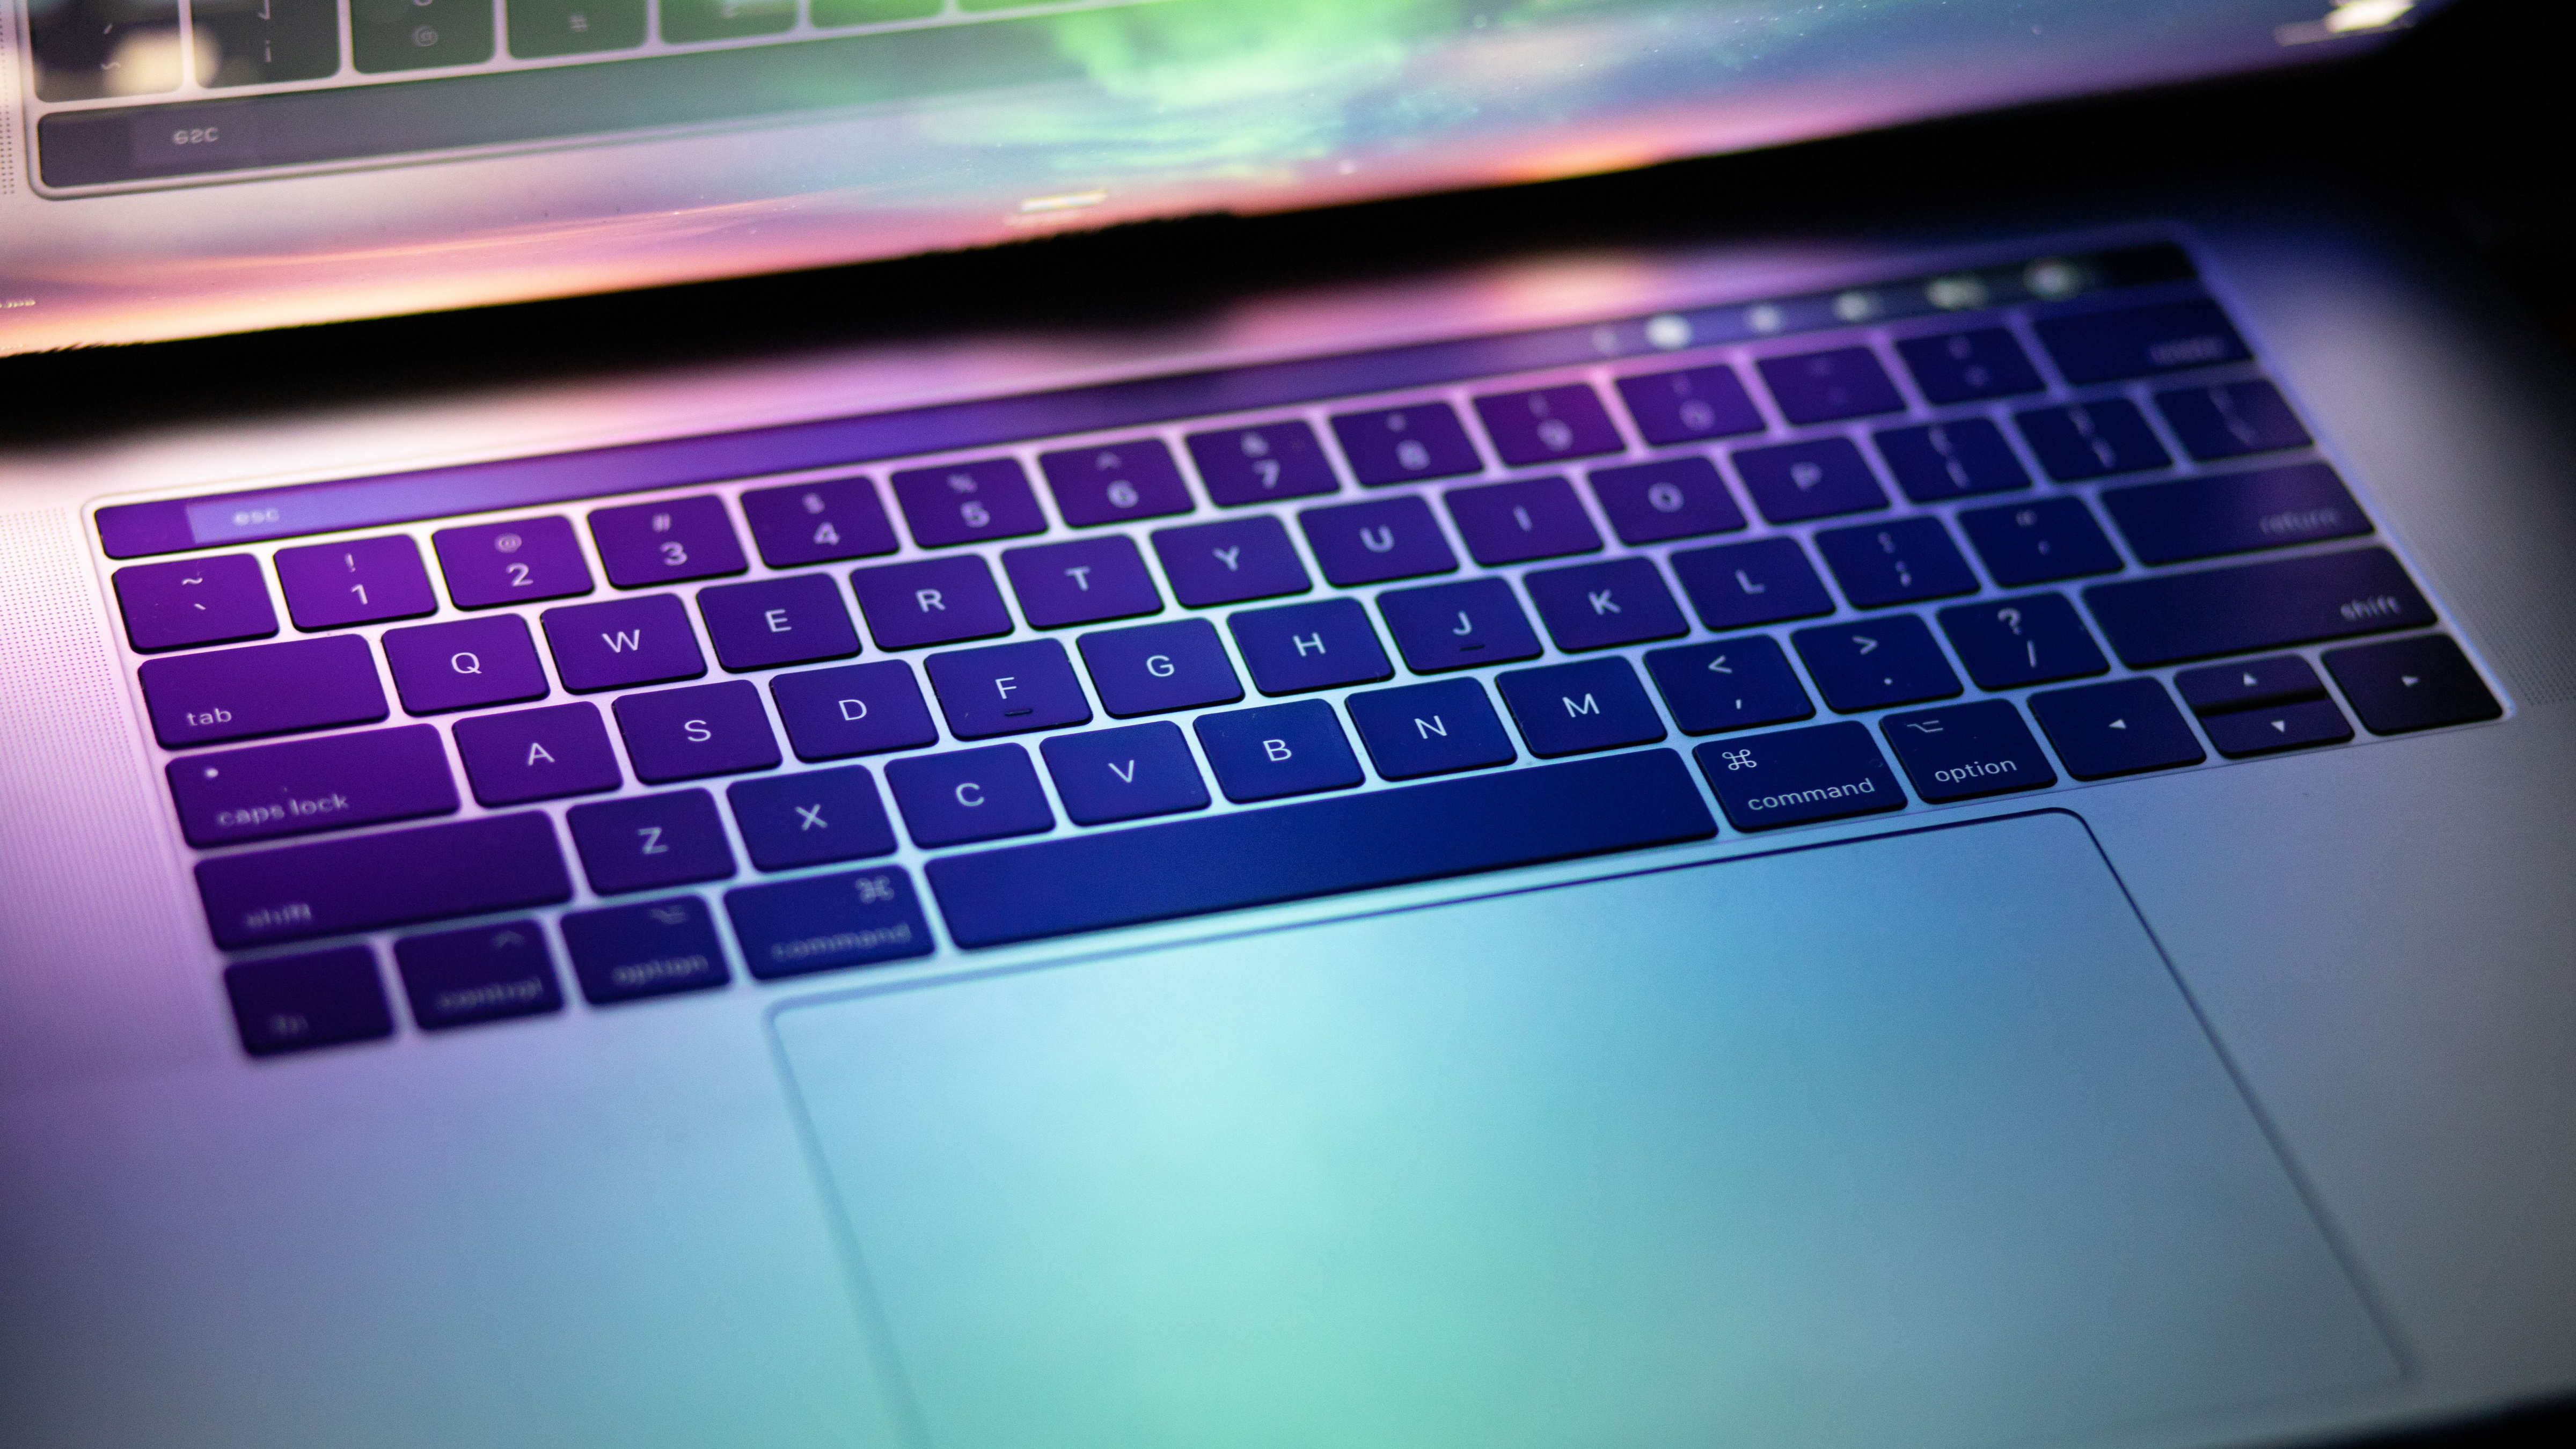
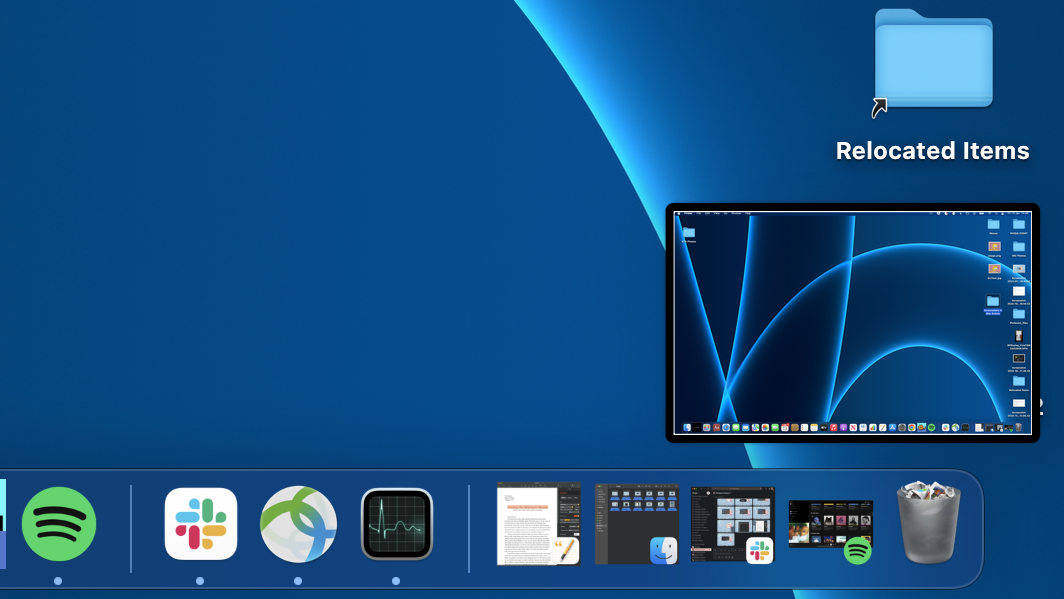
Find the little button on the left of your space bar that says ‘command’ (CMD) with a funky symbol, and hold CMD + Shift + 3 at the same time and you should see a little square appear in the corner of your screen with your new screenshot.
Once you have your screenshot you can click on it to crop, delete, and save it - easy!
Quick Old Cut and Paste
A classic! Keyboard shortcuts are incredible time savers and make you feel super tech-savvy when you know how to use them.
To copy, hold Cmd + C
Sign up for breaking news, reviews, opinion, top tech deals, and more.
To paste, hold Cmd + V, and boom! You’re done!
If you’re looking to cut, you’ll hold Cmd + X
If you’re used to using the right-click on your mouse to copy and paste it can be a little weird to adjust but just as using your mouse is second nature you’ll be copying and pasting without a second thought.
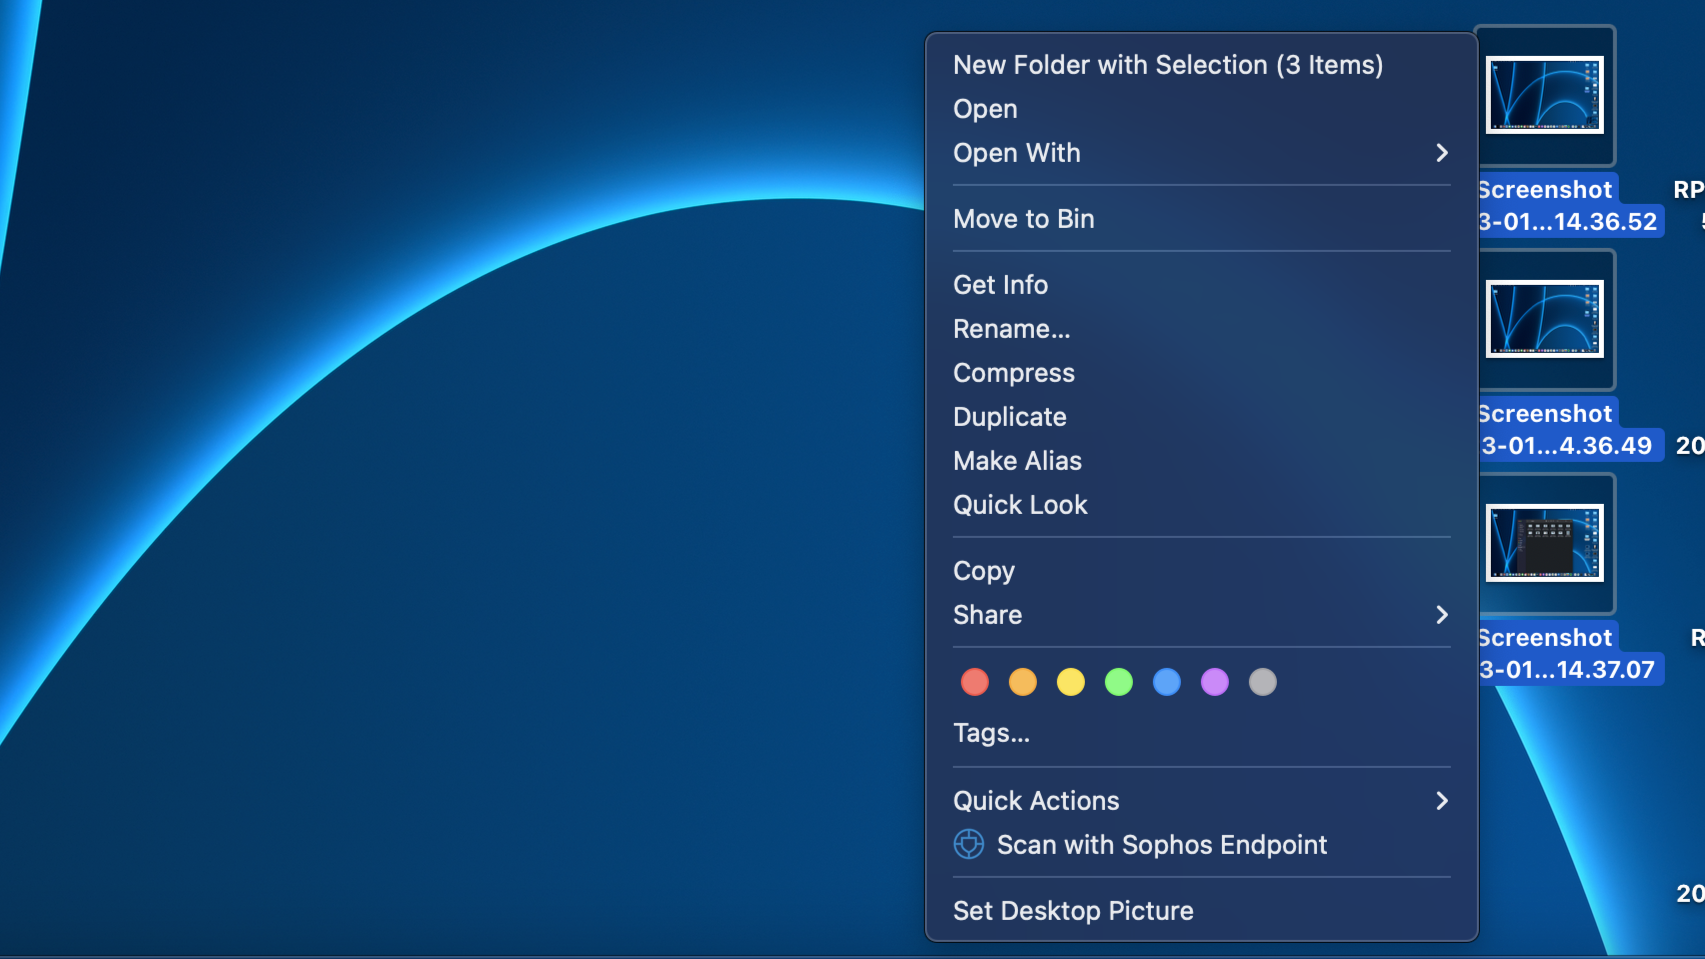
Quick Look
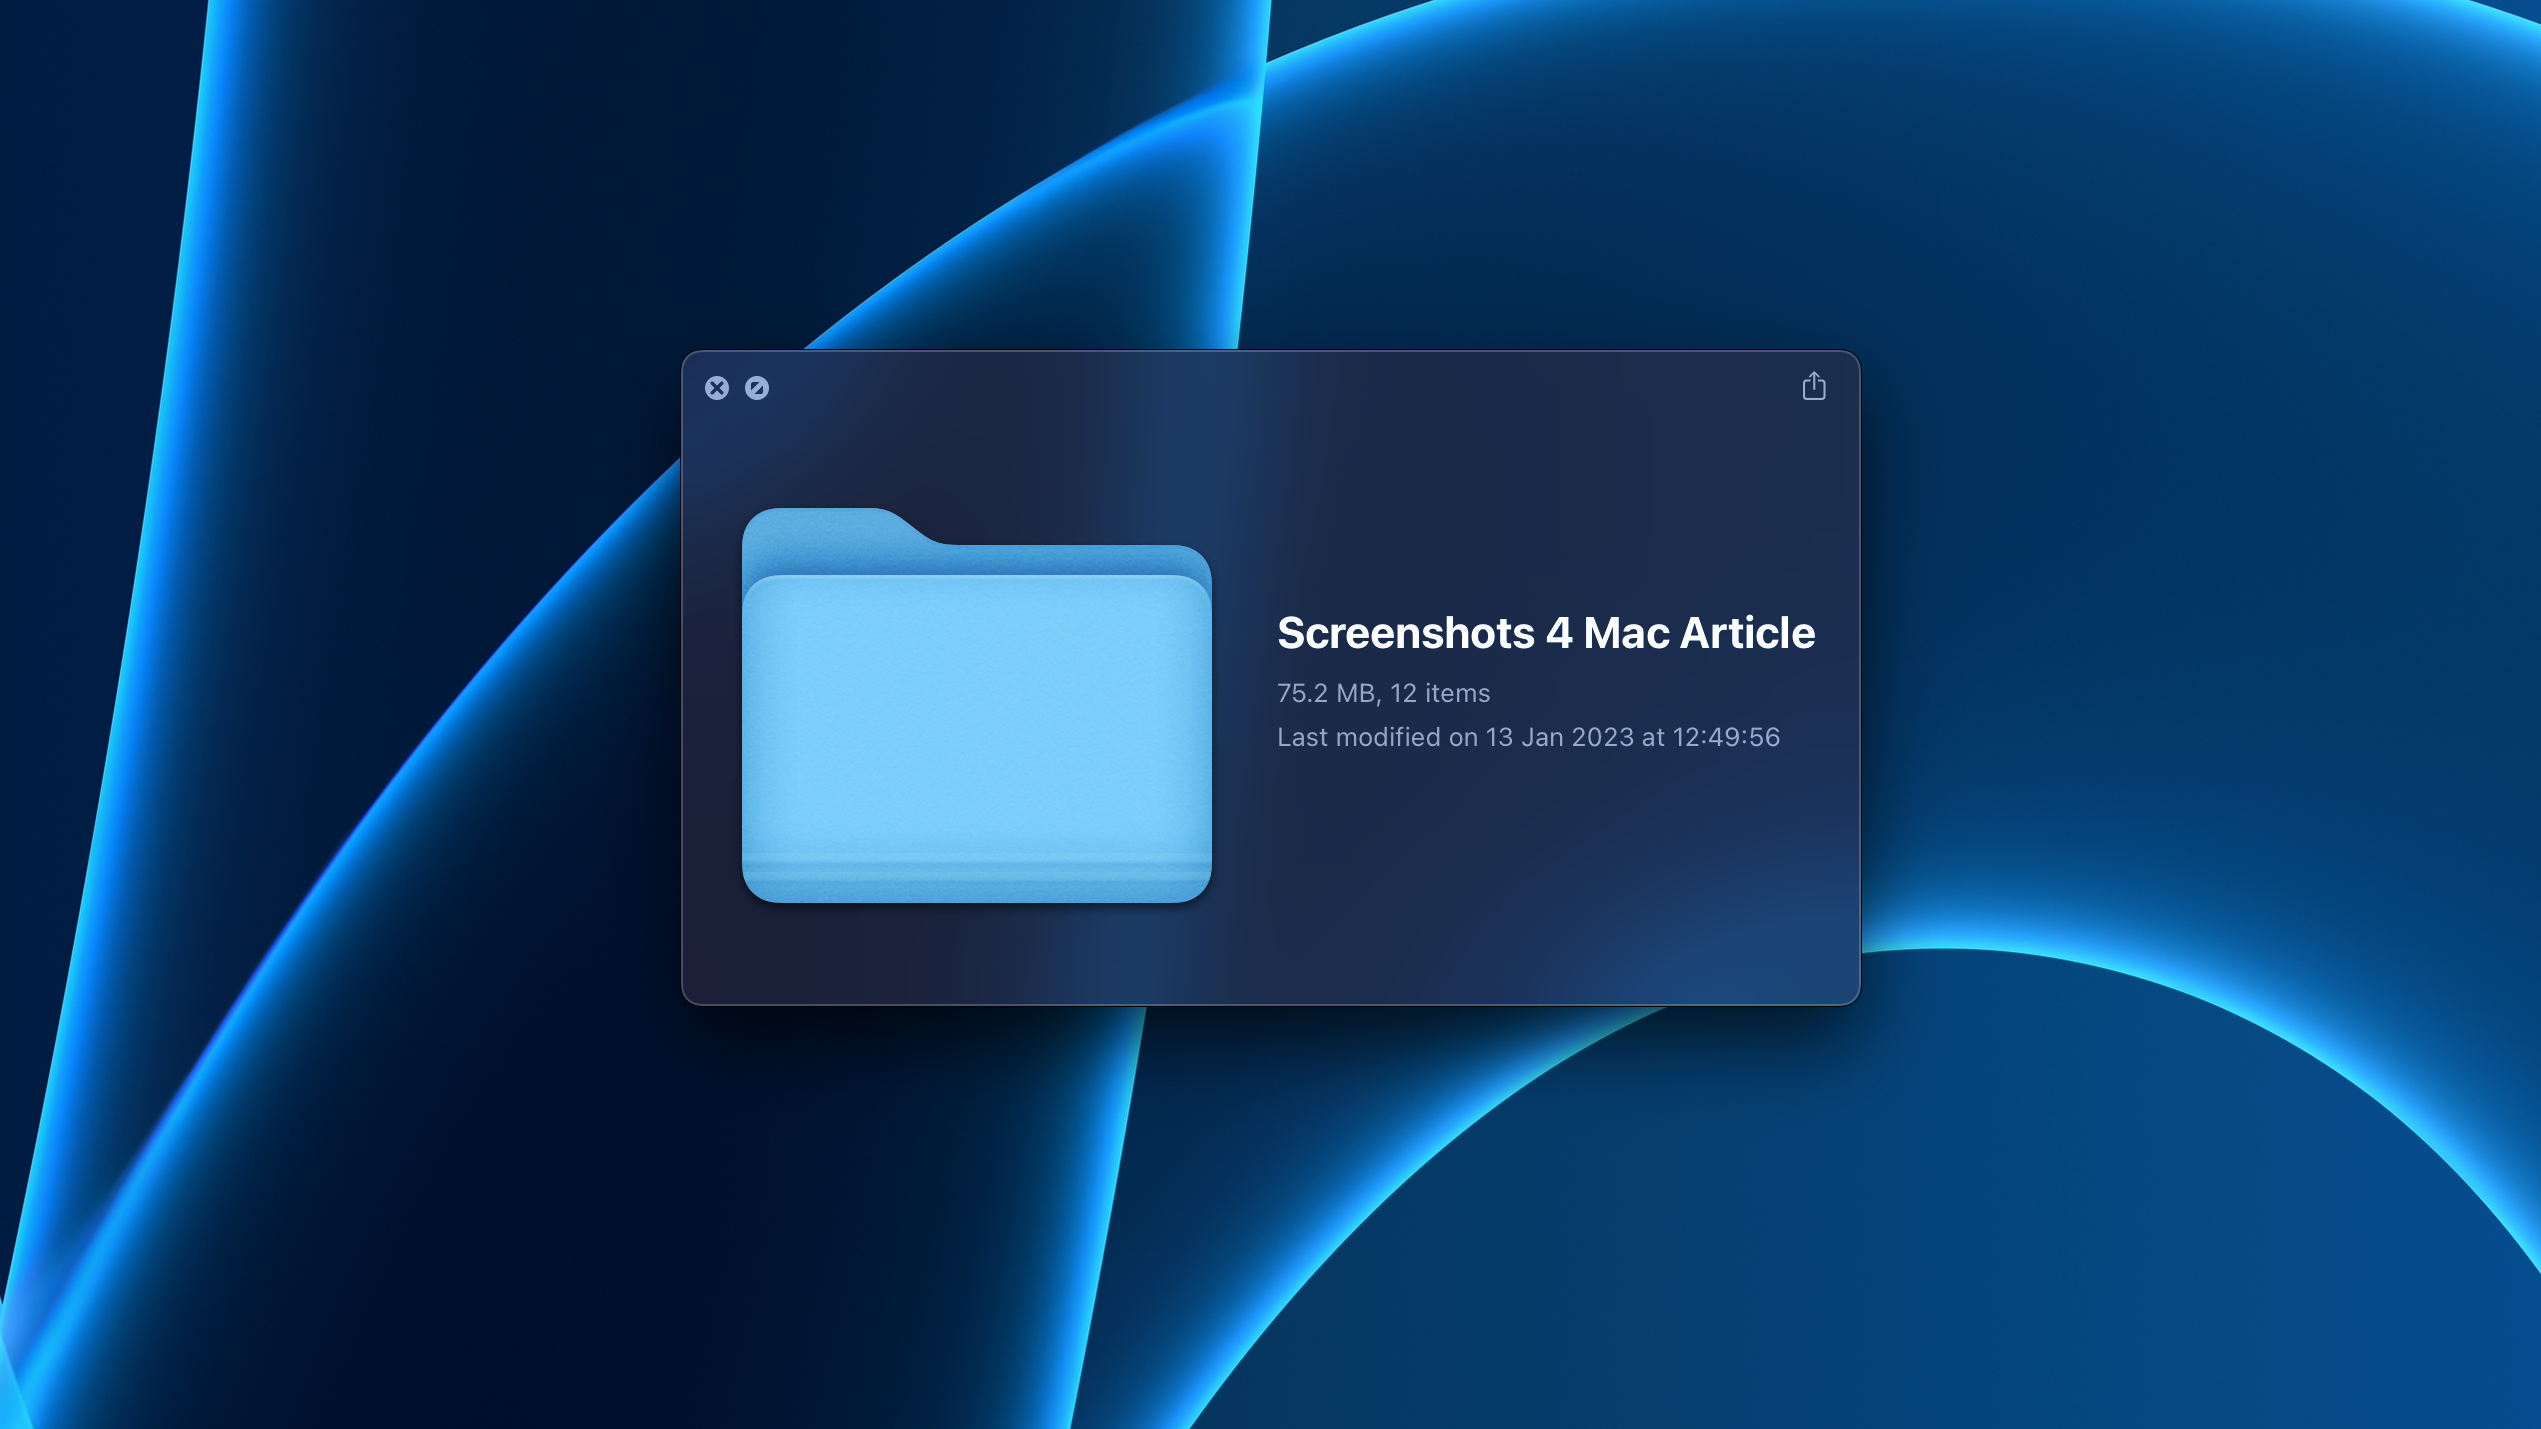
Quick Look is one of those hidden gems on a Mac that’ll leave you wondering how you ever lived without it. Rather than slog through your desktop looking through dozens of files for that one document or photo, using Quick Look will let you see the contents of a file without having to open it. Is that assignment or form you’re looking for in the folder named ‘Stuff’? Let’s find out.
Select your file (or PDF or image) then press the spacebar once, and a little pop-up will show up to let you see the contents of the file. What the pop-up window will show depends on what you click on. So if you click on a document or an image file you can see the document or photo, but if it’s a folder containing loads of different document types it will only show you the file size and how many items are in it.
So you’ll have to work out where it’s most useful for you and where it might not be, but once you get the hang of it you’ll be able to locate files and multitask like a pro.
Spotlight Search
Spotlight has become more than just a search feature for Mac, and now has loads of cool features. You can now convert currency and units, find out what the weather is like today in Egypt, define words, and do some simple maths!
To use Spotlight just hit Cmd + Space and the search bar will pop up on the screen and you can start searching (or calculating).

Emoji Keyboard
What’s life without a cheeky emoji here and there?💕✨
If you have other Apple products like an iPad or an iPhone you’ll have most of your integral social apps like Facetime and iMessage synced up between your devices so having your emoji game in order is integral.
This review is being typed up on a MacBook Pro and the absolute goblin-mode glee of sending a wild string of emojis rather than an actual response to colleagues in the work chat is unmatched.
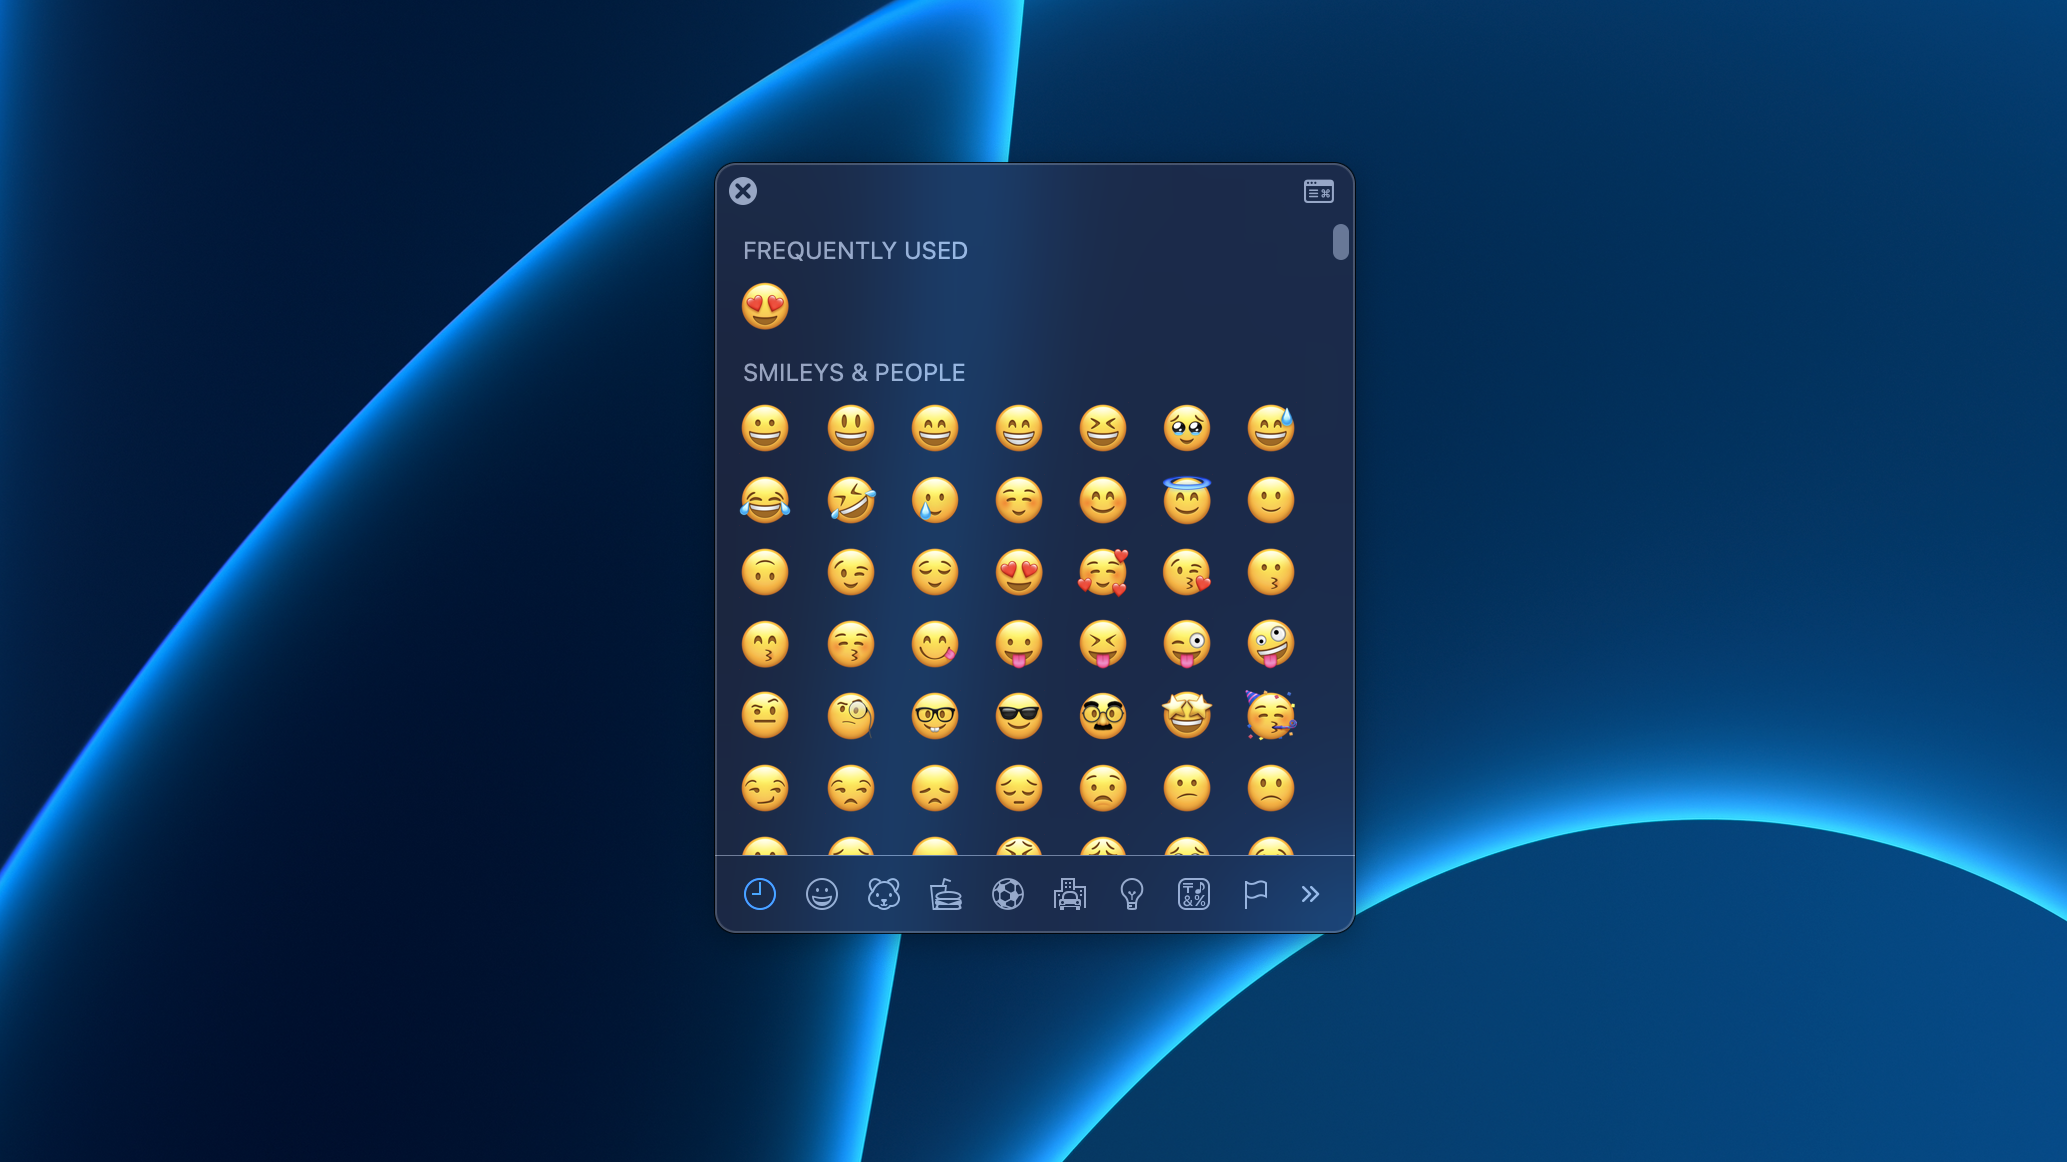
To access the emoji keyboard you’ll have to hit Cmd + Control + Space and the emoji keyboard will pop up. Neat!
Get Organized with Tags
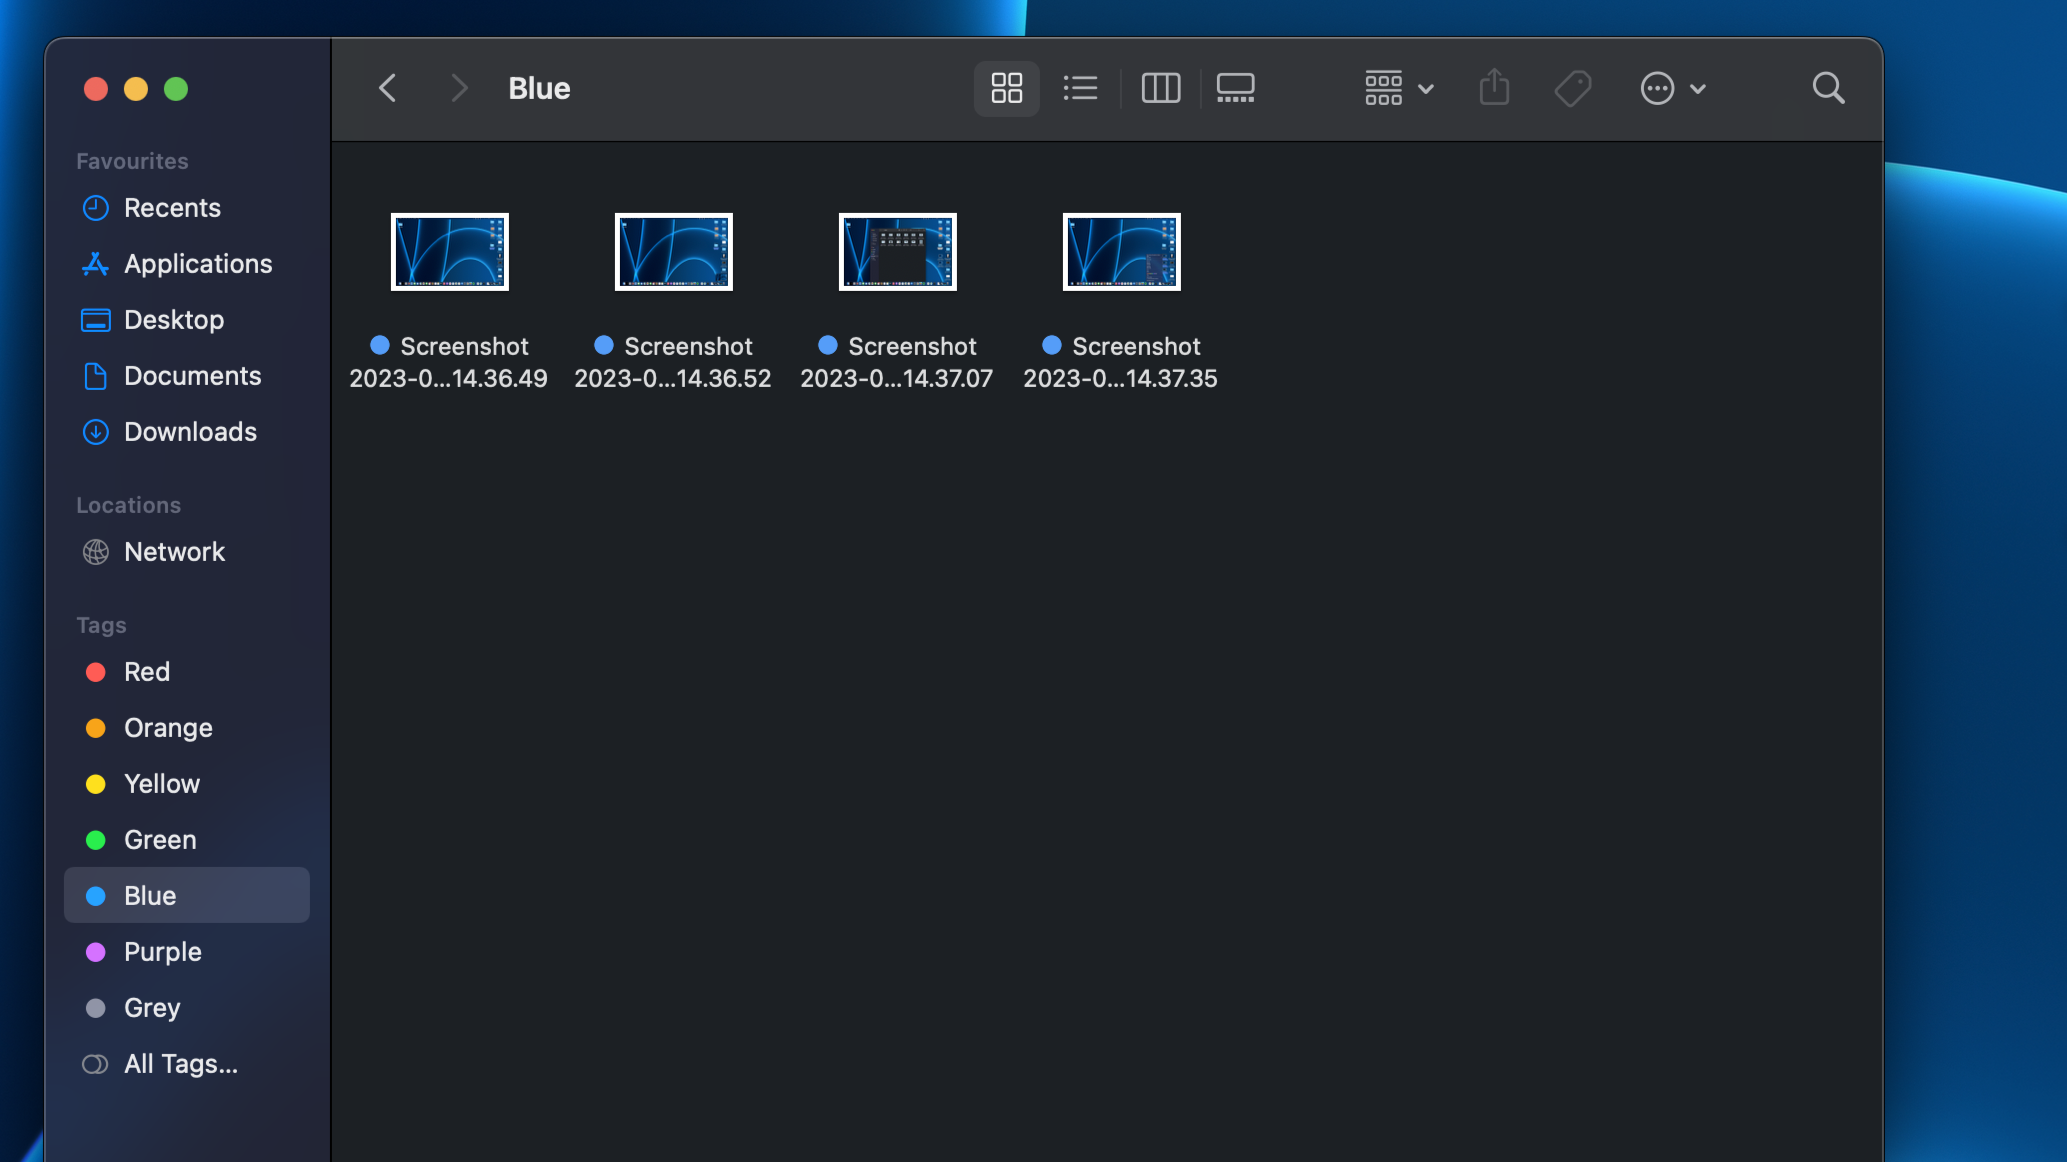
Tags on Mac are colored dots that can be assigned to files or folders to make them easily accessible in the Finder Window. It may seem tedious at first to start getting into the habit of tagging your files and folders as soon as you make them, but once you start it becomes second nature and will save you a lot of hunting!
Once you’ve assigned a file a tag, you can open the finder window and click the color of the tag you’ve assigned to bring it up. Since colors can be shared by multiple files, you can find all the files you’ve assigned a specific color to without needing to rummage through endless folders.
View Document History and Restore
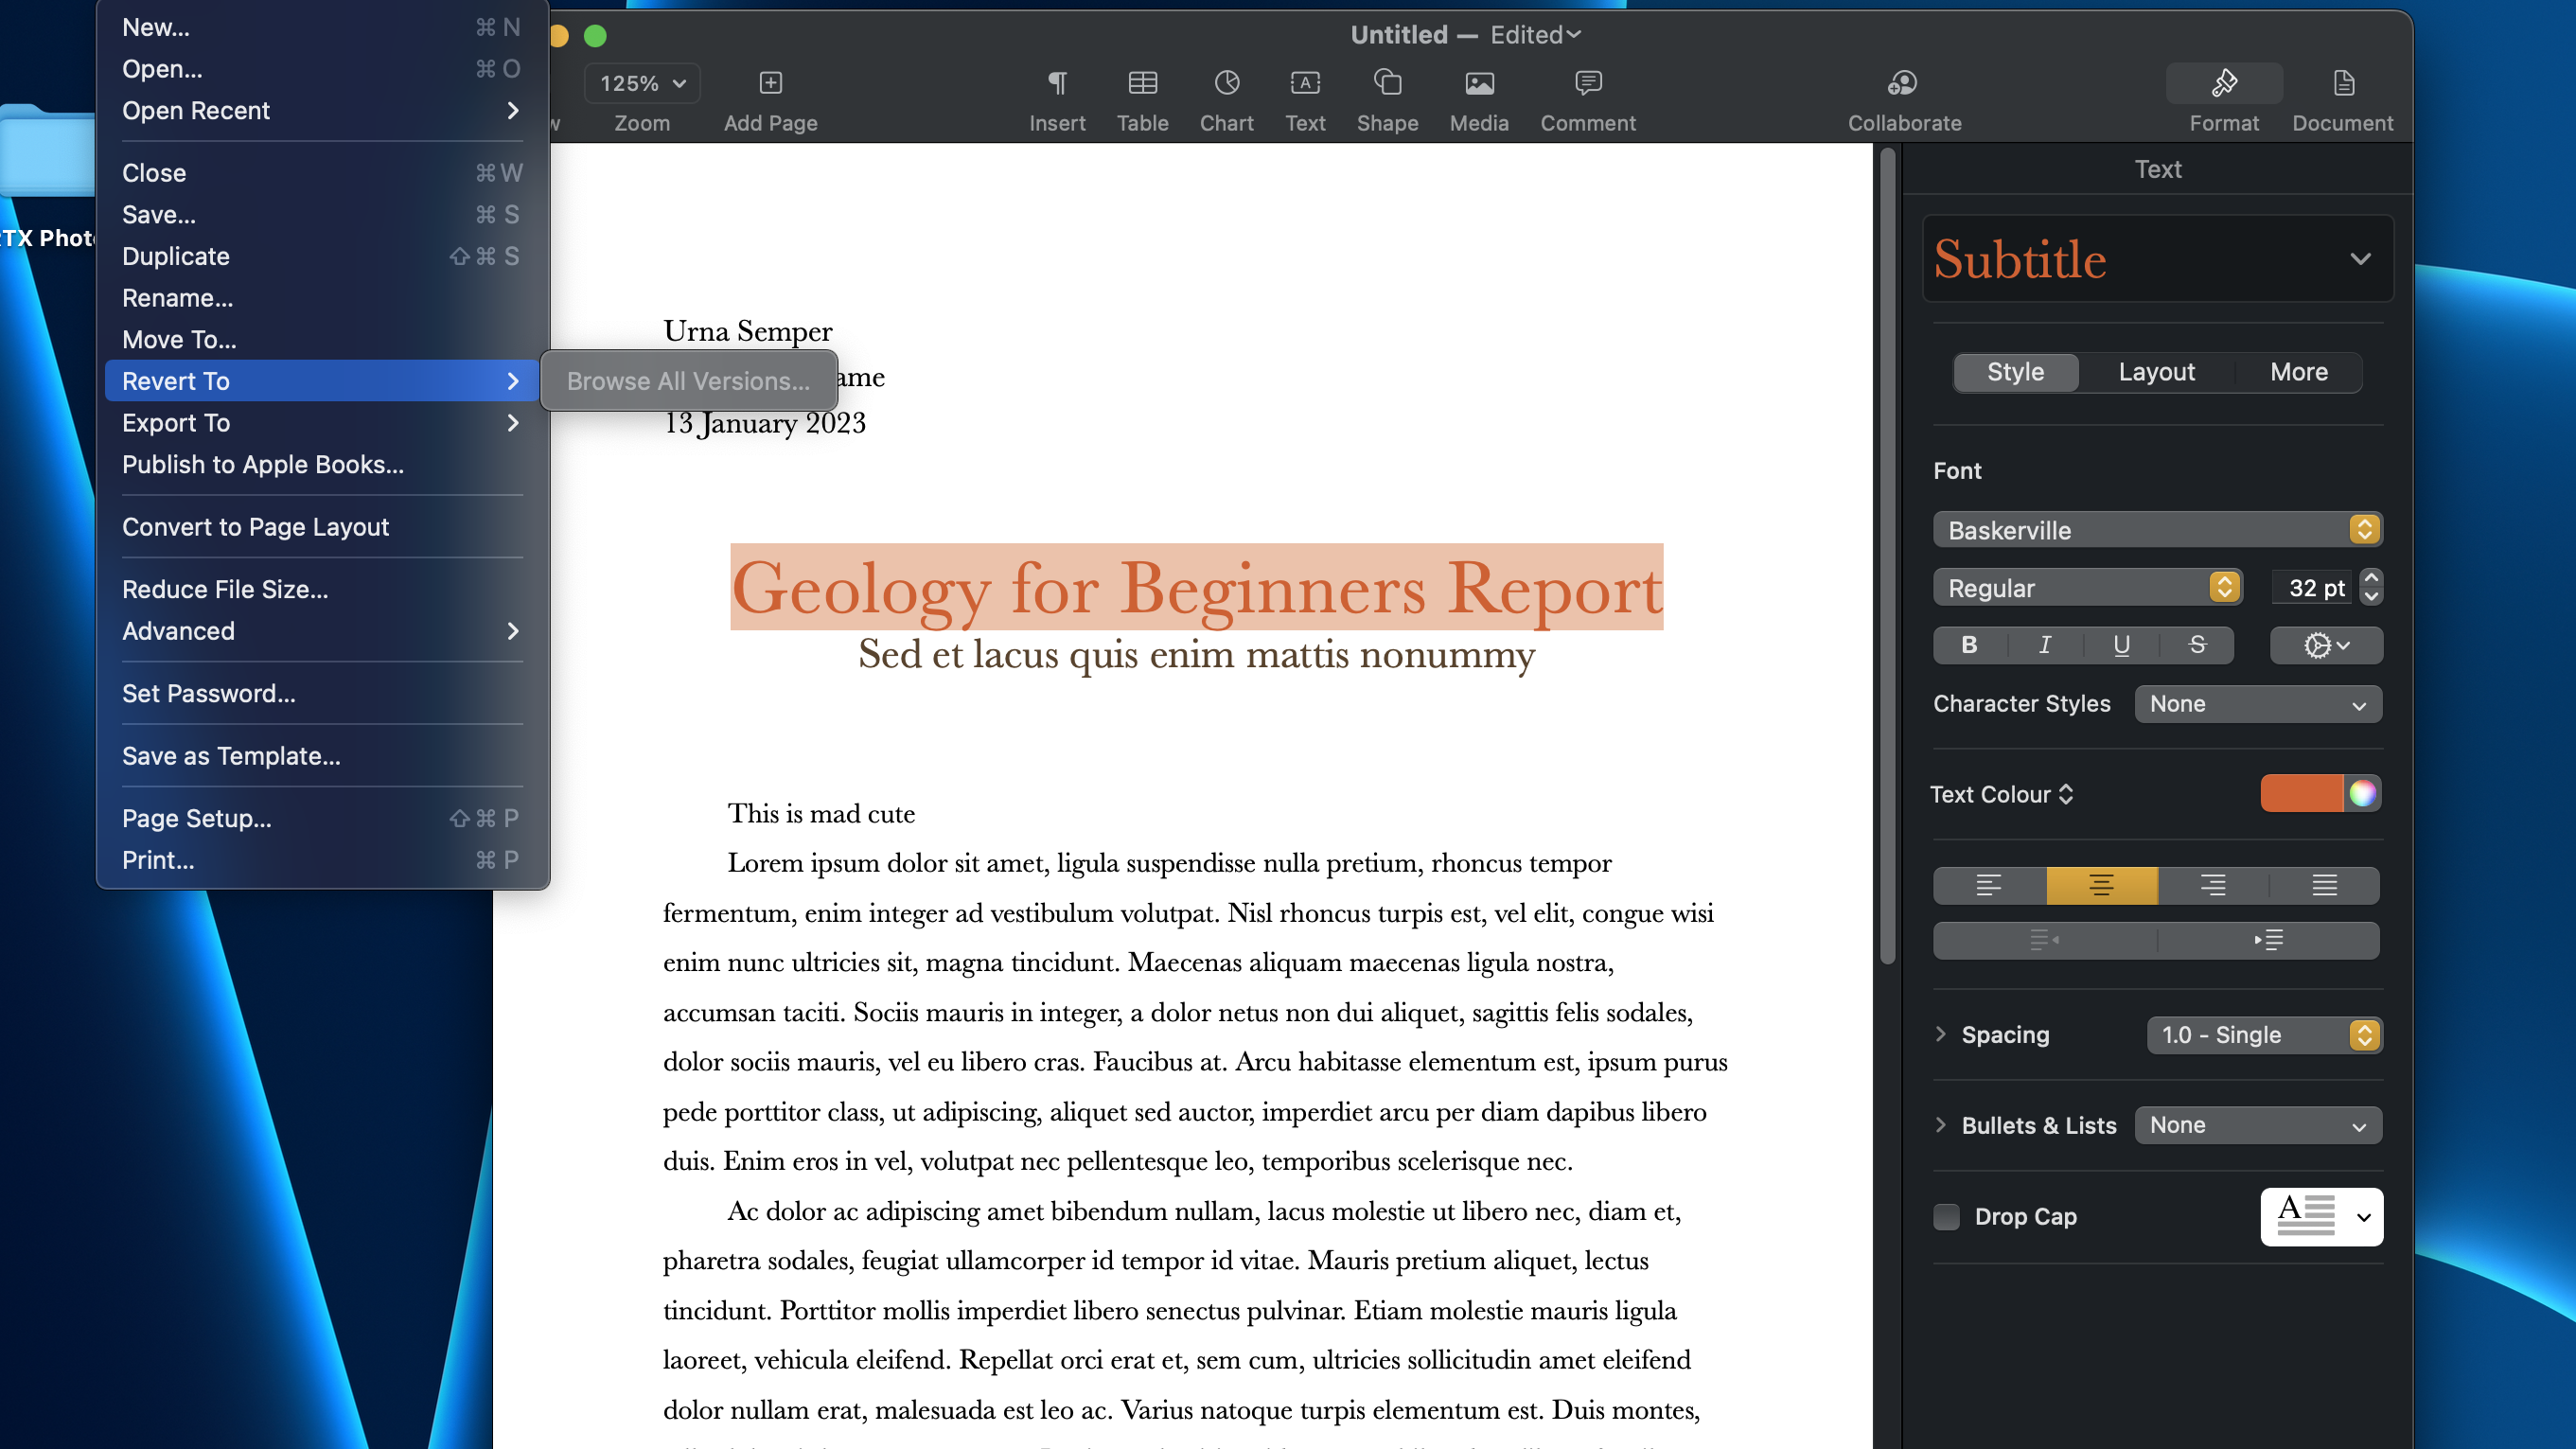
Probably one of the best, and most life-saving features of your MacBook will be the built-in feature in macOS that keeps a history of all the changes you’ve made to a document. It’ll work on most third-party programs as well as Pages. Once you have your document open on Pages click the ‘File’ menu option and the ‘Revert to’ and it should give you the option to look at all the different versions that exist of that document.
This is a great feature if you’re using your MacBook for projects or for school, as you can keep track of what you wrote and when and see your progress through a project. Or, if you need to tweak it a little without rearranging everything, you only have to go to a version of the document that provides you with a clean slate for the new idea.
Sign PDFs
Another basic but integral feature is being able to sign PDFs without having to find random, unseemly websites that promise to let you sign your document after you go through a few hoops.
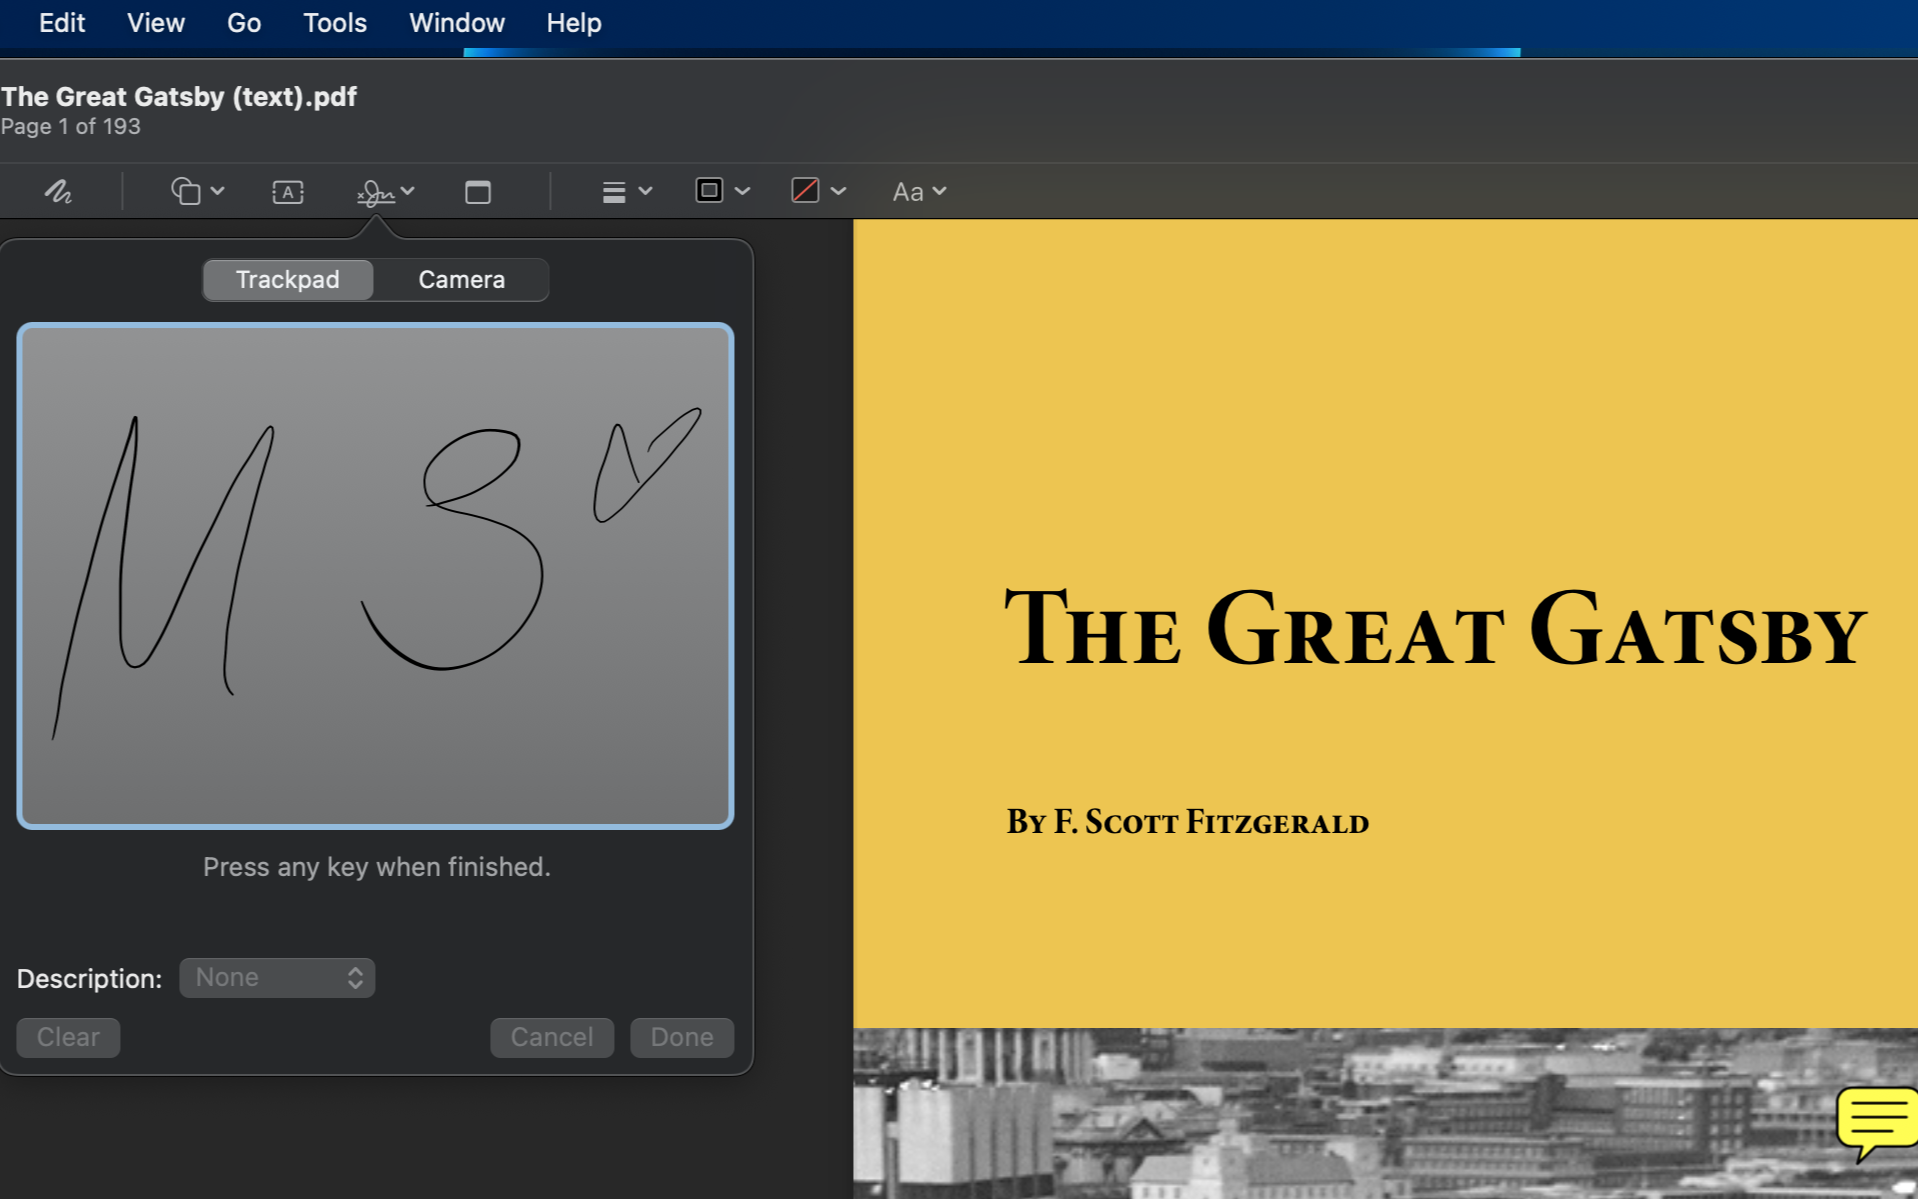
The Preview app on Mac lets you sign your PDFs by clicking the annotation tool. Once you’ve clicked that, hit the signature tool and you’ll be given the option to add your signature if haven’t already done that.
Adding your signature may seem a little frustrating if you’re in a rush but once you add it you won’t have to do it again. You can either import your signature by signing on your iPhone or iPad, using the trackpad if you have a MacBook Pro or simply writing it down on paper and scanning it using your Mac’s camera.
Have Control of your iPad and Mac
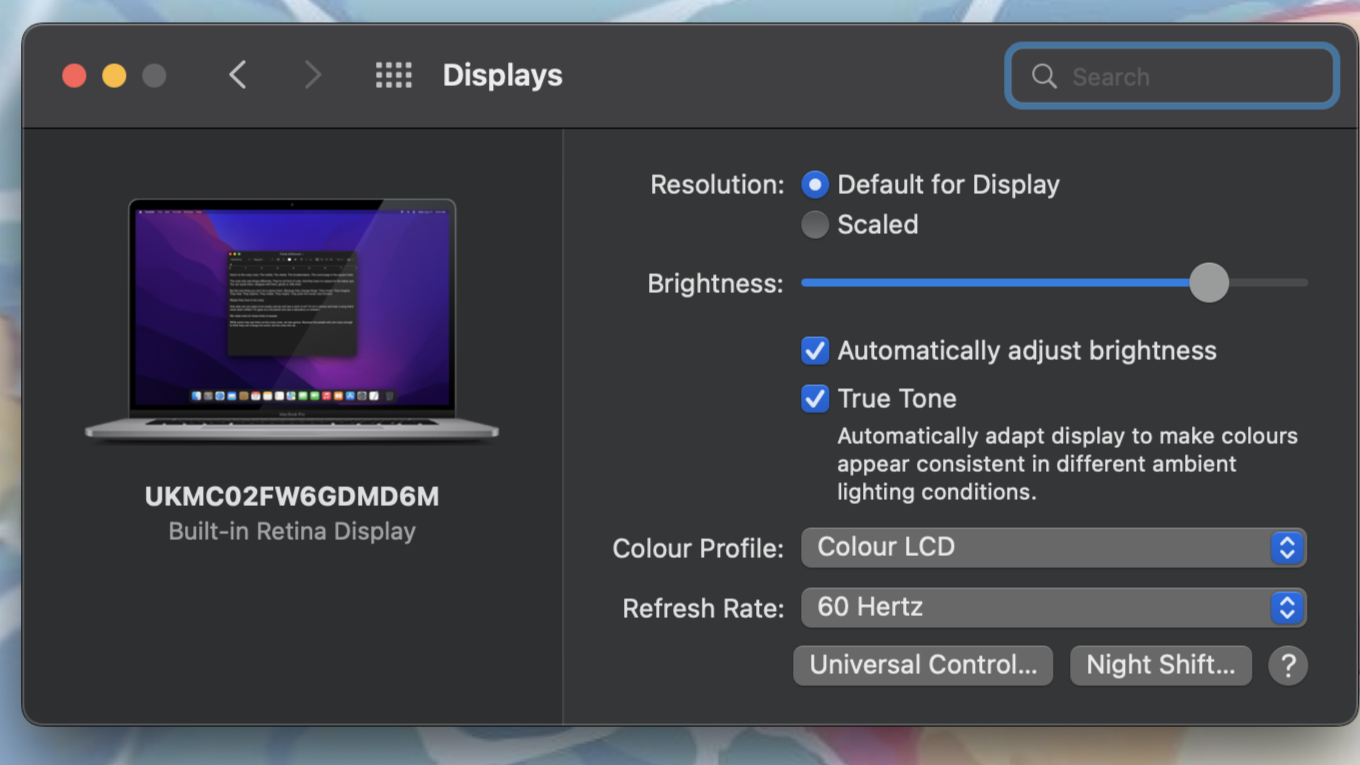
Another one for the iPad gang. With the macOS and the iPadOS 15, you can make use of the Universal Control feature. This basically lets you control your iPad with your Mac’s keyboard and trackpad and vice versa, so if you’re planning to use an external mouse for example you can use it across the two devices.
Once you have your Displays option up, enable Universal Control and make sure your iPad is nearby. Once you’re set up move your cursor toward the edge of the Mac screen closest to the iPad and your iPad will show the cursor beginning to push throw on the iPad.
Makeshift Secondary Display
We round off with another iPad collaboration. If you want to use your iPad as a second display, Apple has introduced a new Sidecar feature that creates a multi-screen set-up on the go,w without lugging around clunky equipment. Your devices will need to be using the same Apple ID to be able to use this feature.
In the top right corner, you’ll have your Control Centre, and with your iPad close to your MacBook, click the ‘Screen Mirroring’ option. Your iPad should show up, granted it shares the same Apple ID and once you’ve selected it you can decide if you want your iPad to mirror your Mac or be an extension of it.
If you aren’t sure if your devices are compatible with this feature, you can check on Apple’s official site.

Muskaan is TechRadar’s UK-based Computing writer. She has always been a passionate writer and has had her creative work published in several literary journals and magazines. Her debut into the writing world was a poem published in The Times of Zambia, on the subject of sunflowers and the insignificance of human existence in comparison.
Growing up in Zambia, Muskaan was fascinated with technology, especially computers, and she's joined TechRadar to write about the latest GPUs, laptops and recently anything AI related. If you've got questions, moral concerns or just an interest in anything ChatGPT or general AI, you're in the right place.
Muskaan also somehow managed to install a game on her work MacBook's Touch Bar, without the IT department finding out (yet).