How to use ExpressVPN Keys on your Mac or PC
Secure your login info and generate super-strong passwords with the ExpressVPN Keys password manager
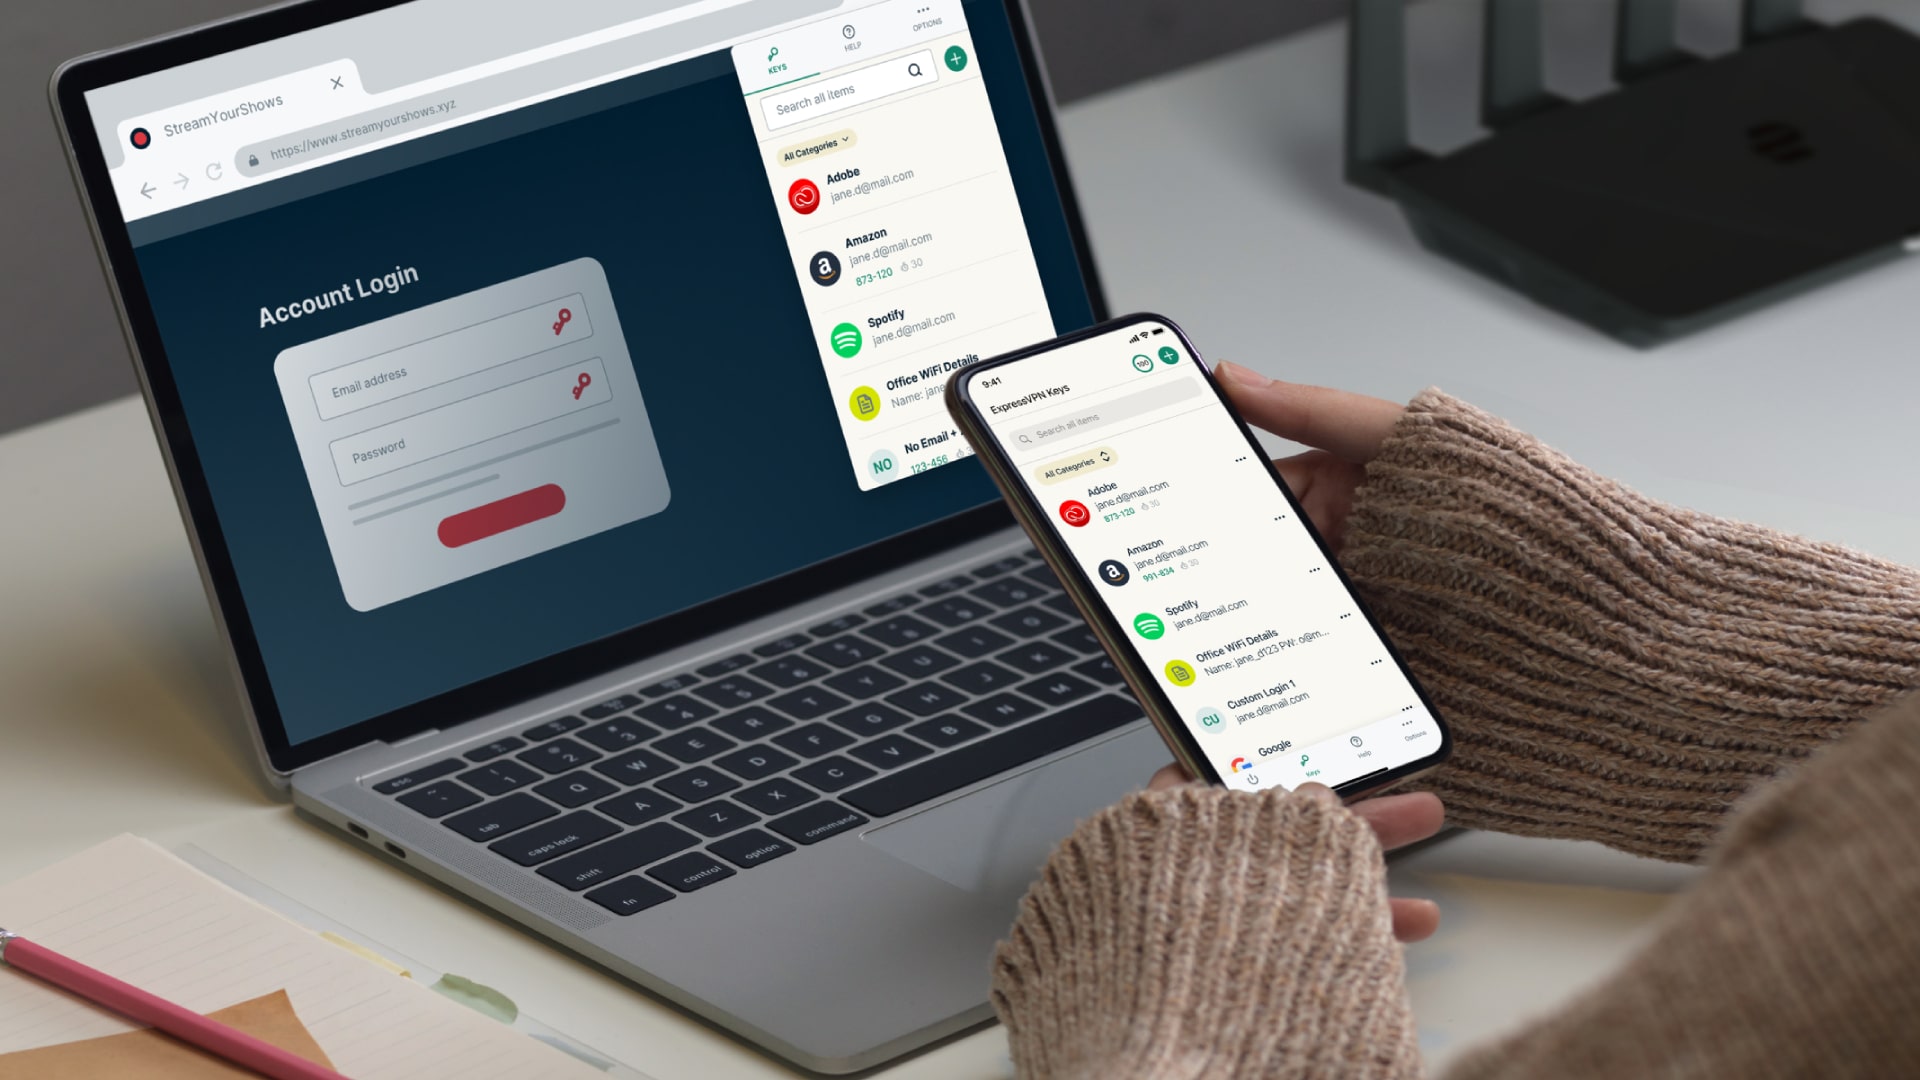
ExpressVPN Keys is one of the best VPN services around – it’s our pick for the number one spot, and has been for years. Aside from being a fantastic virtual private network, it has just added a password manager to its arsenal, making it an even better way to secure your data online.
The new password manager lets you save your logins, credit card data, secure notes and much more, safe from prying eyes. You’ll then be able to log in quickly and securely without having to remember any complex passwords or rely on the same login info on multiple websites.
Here, we’ll show you how to get up and running with ExpressVPN keys, from saving your first password to storing two-factor authentication codes for faster logging in. We’ve got all the help you need, whether you’ve used plenty of password managers before or are completely new to them.
Setting up ExpressVPN Keys is simple, but it does require you to have both a valid ExpressVPN account and the separate ExpressVPN app installed on your PC, so make sure you’ve sorted that out first. On a computer, ExpressVPN Keys works as a web browser extension, although there are iOS and Android apps if you want to use it on your mobile. Now that that’s out of the way, let’s get started.
Tools & requirements
- An ExpressVPN subscription
- A Chromium-based web browser such as Chrome, Edge, Opera, Brave or Vivaldi
Quick steps
- Download the ExpressVPN Keys extension from the Chrome Web Store
- Import logins from another password manager, if you have one
- Use ExpressVPN Keys to save and fill your login information on eligible websites
- Create secure notes and save credit card details using the extension
- Get your two-factor authentication codes sent to ExpressVPN Keys for faster logging in
Step by step guide
1. Set up ExpressVPN Keys
First, ensure you have an ExpressVPN membership and are logged in and using the app.
Now go to the Chrome Web Store and download the ExpressVPN Keys extension.
You will now be prompted to create a strong password for the extension. This is your ‘primary password’ that controls access to all the logins stored in ExpressVPN Keys, so make sure it’s a strong, unique password that you haven’t used anywhere else.
You’ll then get a recovery code that you can use if you forget your primary password. Store this somewhere safe.
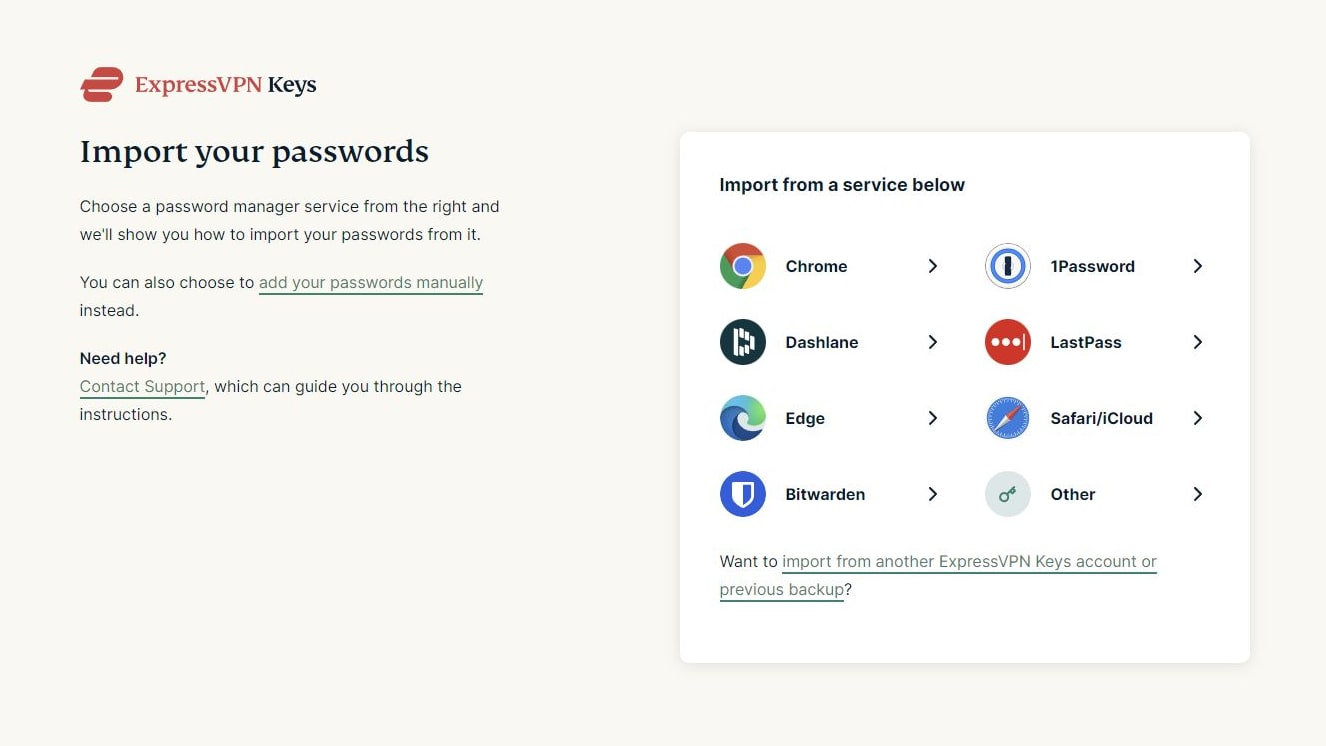
Once you’ve finished the set-up process, you’ll be able to import logins stored in other password managers, such as in 1Password or your web browser. Note that ExpressVPN Keys can’t import other entries like saved credit cards or secure notes.
To do this, select Import Your Data on the set-up screen, then pick an app to import from and follow the on-screen instructions to bridge everything over to ExpressVPN Keys.
2. Create and use new logins
To edit any saved data, open the ExpressVPN Keys extension, navigate to the account you want to change and click it, then select Edit. Once you’re done changing things, click Save. You can also remove the account by clicking Delete.
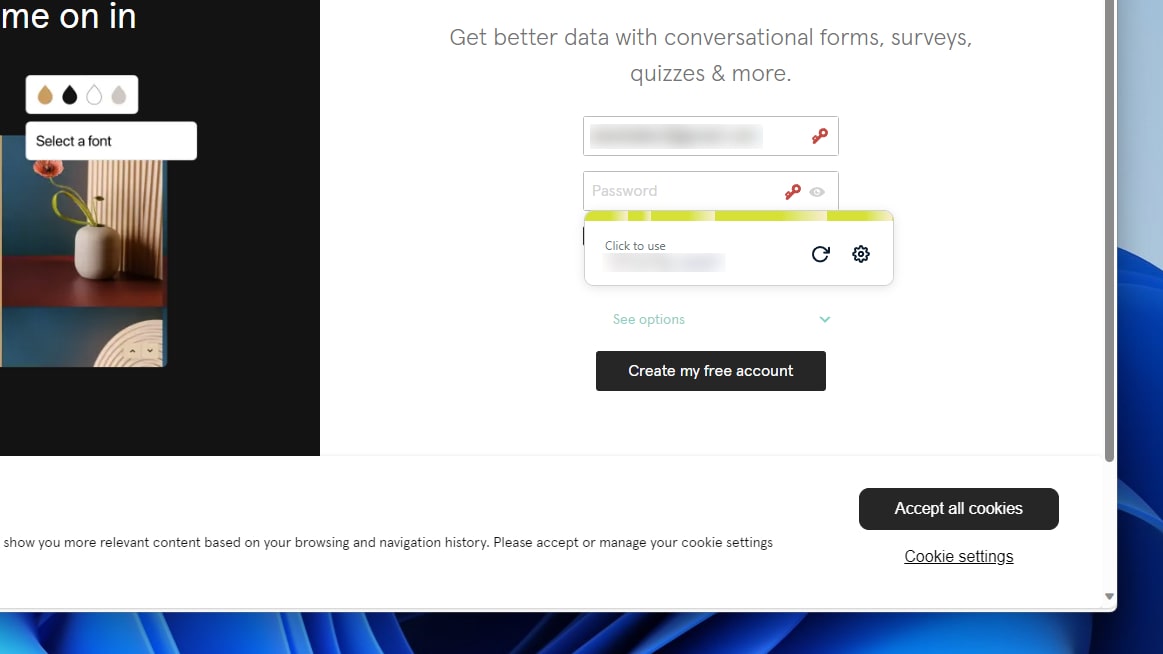
Whenever you go to register at a new website, you’ll see a red key icon in the email address and password fields.
Click this icon in the password field and you’ll see a suggested password created by ExpressVPN Keys. Select it to save it to your password manager.
Whenever you go to log in on a website that you’ve saved a password for, you’ll again see the red key icon. Click it and pick the account you want to use to sign in. ExpressVPN Keys will automatically fill out your login information.
3. Store credit card data and secure notes
Secure notes can be used to store any kind of text information you want to keep private, and can be helpful for anything that doesn’t really fit into a login or credit card data type.
To create one, click the red ExpressVPN Keys icon in your browser’s top bar, select the + button, then Add Secure Note. Give the note a title, enter any information you want, then select the Save button.
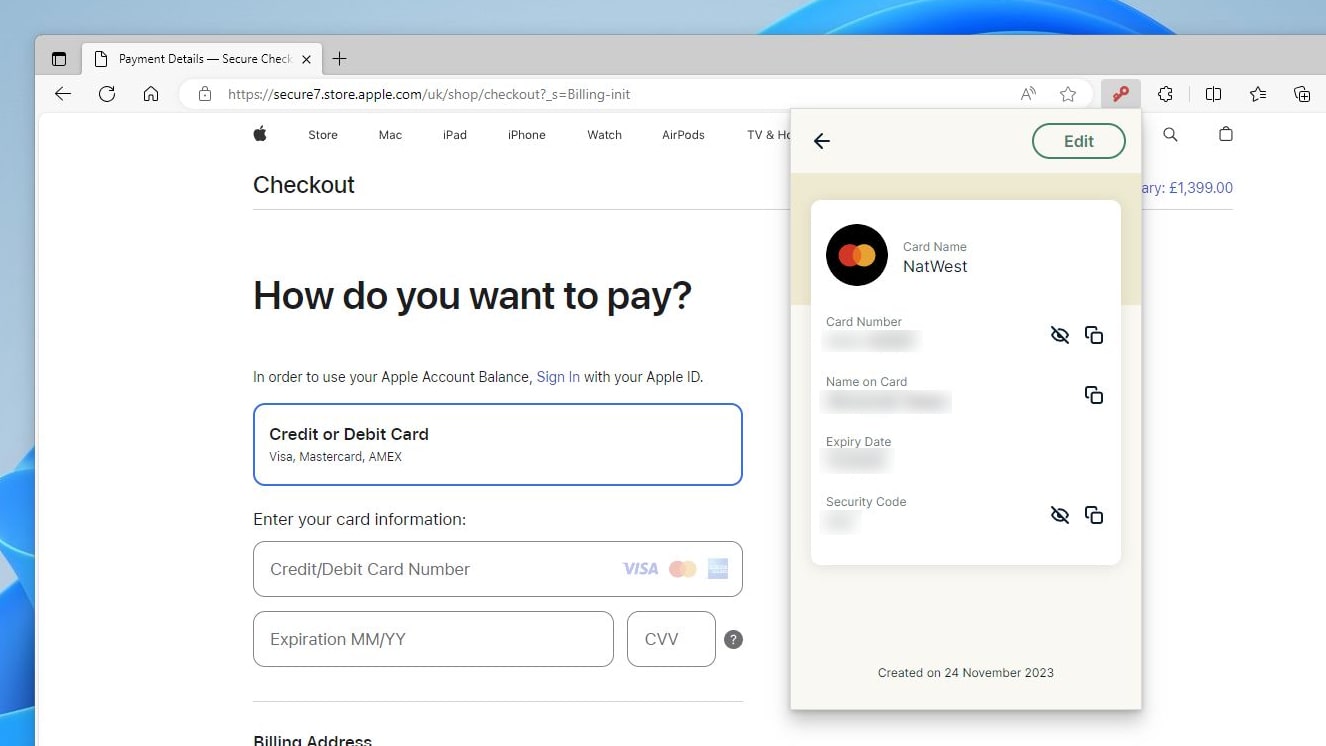
Adding credit card information works in a similar way. Click the ExpressVPN Keys icon, then the + button, then Add Credit/Debit Card. Fill in all the relevant information and click Save.
When you go to check out, click the red key icon in the payment field and select the card you want to pay with. If the icon does not appear, click the ExpressVPN Keys icon in your browser’s top bar, find your payment card, then copy and paste the relevant information into the payment website.
4. Create one-time passwords for two-factor authentication
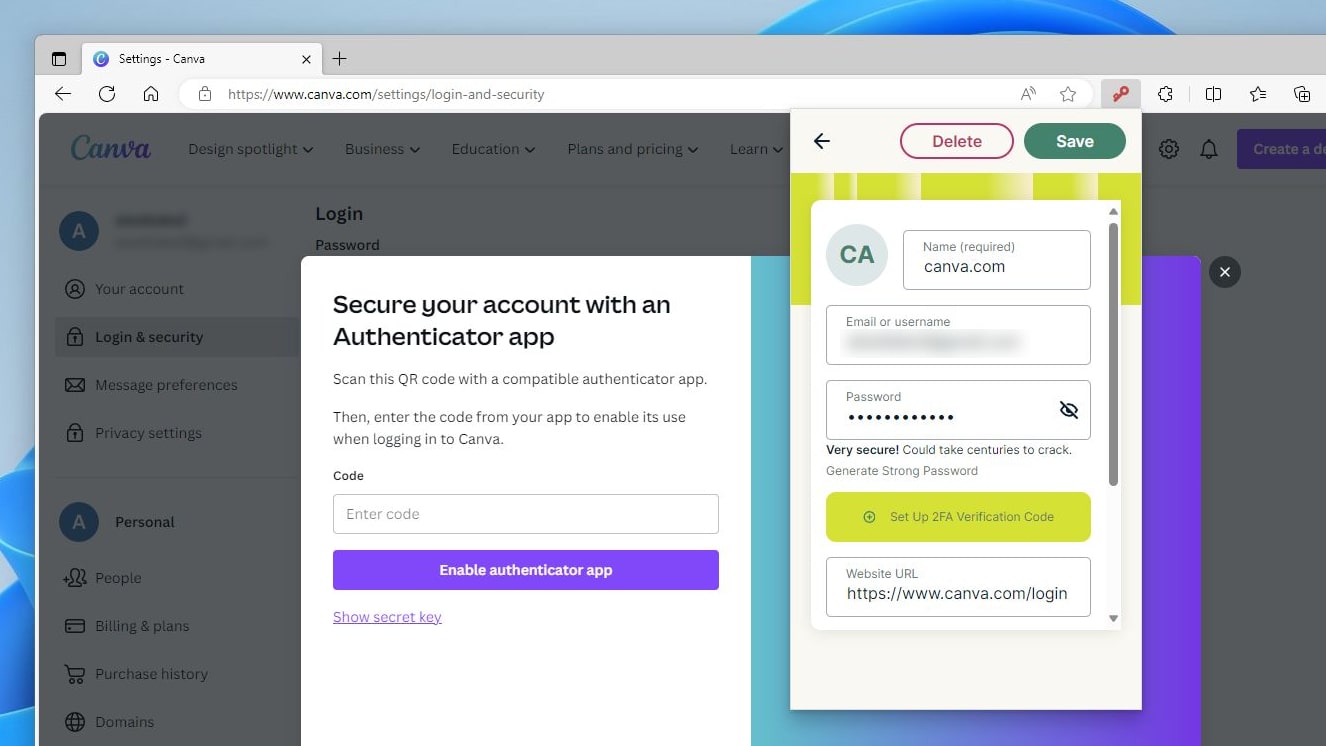
Two-factor authentication lets you get a code sent to your device that verifies you when you go to log in. ExpressVPN Keys can store these codes to let you sign in much more quickly, as there’s no need to wait for a message to arrive on your phone or in your email inbox.
First, visit 2fa.directory and check the site you want to log in to supports two-factor authentication. If it does, follow the instructions provided to set things up.
Instead of scanning the QR code on screen, look for a button for a secret key or setup code. This should reveal a long string of letters and numbers. Copy it to your clipboard.
Now, open the ExpressVPN Keys extension and go to your saved login info for the website in question. Click Edit, then Set Up 2FA Verification Code. Paste your secret key into the text box and click Confirm.
From now on, ExpressVPN Keys will provide any login codes you need when using two-factor authentication.
Final thoughts
ExpressVPN Keys is a handy way to boost your security online and remove the hassle of trying to remember complicated passwords. By handling everything for you, it also ensures you don’t get tempted to reuse the same login information on multiple websites, which can become a major vulnerability if one of those sites suffers a data breach – suddenly, every account you’ve used that login info for could be hacked into.
We already recommend ExpressVPN as the best VPN you can use right now, so it’s encouraging to see the developer add more ways to stay safe online. Because ExpressVPN Keys is free for existing users, getting set up and using it is a no-brainer if you’re already a subscriber.
Sign up for breaking news, reviews, opinion, top tech deals, and more.

Alex Blake has been fooling around with computers since the early 1990s, and since that time he's learned a thing or two about tech. No more than two things, though. That's all his brain can hold. As well as TechRadar, Alex writes for iMore, Digital Trends and Creative Bloq, among others. He was previously commissioning editor at MacFormat magazine. That means he mostly covers the world of Apple and its latest products, but also Windows, computer peripherals, mobile apps, and much more beyond. When not writing, you can find him hiking the English countryside and gaming on his PC.