Retro Gamers everywhere were delighted by the release of the Nintendo Classic Mini: NES, then quickly dismayed as it promptly sold out. The miniaturised version of the classic NES console connects via HDMI and comes with a controller and 30 pre-installed games.
History repeated itself when Nintendo announced the Nintendo Classic Mini: SNES, a miniature version of its popular followup, which also sold out almost instantly.
Article continues belowMany thanks in advance should go to the RetroPie project which has code and tutorials for turning your Raspberry Pi into a retro gaming system.
What you need
Before proceeding, needless to say you will need a Raspberry Pi. Popular sites to purchase these mini computers include the Pi Hut and Adafruit.
Even if you already have a Raspberry Pi, it’s better to have a dedicated device for gaming as the RetroPie software is installed on top of Raspbian, the Raspberry Pi’s own Operating System, which needs more resources. This tutorial was designed for a Raspberry Pi 3, which is the most recent model.

You will also need a spare Micro SD card of at least 8GB capacity, a keyboard to set up the RetroPie system and optionally a USB stick to copy games over from the computer to the Raspberry Pi.
If this is your first Raspberry Pi, consider buying a starter kit too, which includes all the necessary cables and a Micro SD card.

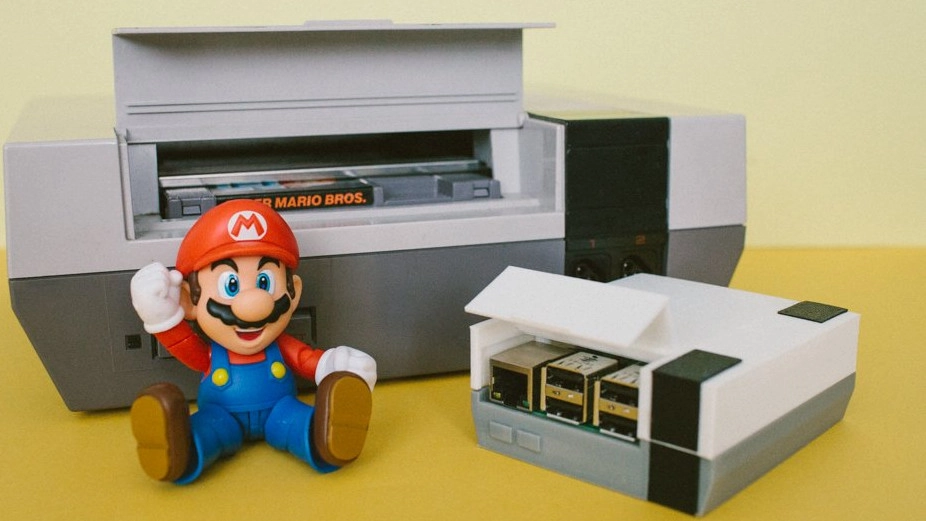
Unless you also buy a starter kit, your Raspberry Pi doesn’t come with any kind of case. Technically you could buy a generic one online but why not re-create the authentic gaming experienced with something that resembles the NES?
One option is to buy a ready made case from the Pi-tendo project. As you will see from the image above, the Pi-tendo case is nostalgically retro.
If you have access to a 3D printer, consider building your own case. Thingiverse user twanksys has published free to download blueprints for his own mini NES case. The All3DP website lists ten more 3D cases you can build or buy yourself, including one made of Lego. Feel free to be creative.
Follow the steps in this tutorial to install Retropie and set up your games and controllers before placing the machine inside the case. You may need to remove and re-insert the Micro SD card before you’re done and this isn’t easy with some cases.

Though other controller options are available, Amazon has very affordable two pack pairs of both USB SNES and USB NES controllers on sale.
Install RetroPie
The next step is to install the RetroPie system on your new MicroSD card. Connect this to your computer (you may need to use a USB adaptor for this) and then download the RetroPie image from their website. Click the button for your model of Raspberry Pi (most likely you will have model 2 or 3).
The file you download will have the extension .gz. You will need a decompression program to extract this such as 7-zip. If you have difficulties extracting the file, support is available on the 7Zip forum.
Once the file has been extracted to the .img format, you need to install it to the MicroSD card. Windows users can do this easily with Win32 Disk Imager. If you aren’t sure how to proceed, follow the steps on the Raspberry Pi website.
Mac users can use Apple Pi Baker to install the image instead.
Once the image has been written, insert it into your Raspberry Pi, connect the power cables and controllers and switch on the machine.
You should also check out our following tutorials on configuring the Raspberry Pi in different operating systems:
- How to set up your Raspberry Pi in Windows
- How to set up your Raspberry Pi in Linux
- How to set up your Raspberry Pi in Mac OS X

Setting up RetroPie
The first time you power up RetroPie you’ll see the controller configuration screen. This is fairly self explanatory in that you’ll be asked to ‘map’ your controller buttons. If you have more than one controller the system will allow you to set this up here also.
When the emulator screen first loads, you may be disappointed to see it is blank. This is because for Copyright reasons RetroPie doesn’t come with any games pre-loaded.
Games are obtained through downloading ROMS. In simplest terms these are digital files which contain a copy of the data on a game cartridge, in this case those used originally with the NES or SNES.
The RetroPie Wiki lists a number of ways to transfer ROMS from your computer to the Raspberry Pi. The easiest way is by using a USB stick.
Connect the USB stick first to your computer and create a folder on there named ‘retropie’. Eject it safely and then connect it to one of the ports on the Raspberry Pi. Wait for the Raspberry Pi’s light to stop flashing. Remove the USB stick from the Pi and insert it once again into your computer. Go back into the ‘retropie’ folder and open the new folder in there called ‘roms’.
The ‘roms’ folder contains a number of folders in turn. You should place any ROMS for the NES in the ‘nes’ folder, or SNES ROMS in a 'snes' folder. Simply eject the USB stick and re-insert it into the Raspberry Pi, then reboot to be able to load them from the menu.
Getting ROMs
There are a number of websites which offer download of game ROMS, although their Copyright status isn’t certain. Despite the age of the NES and SNES, the existence of the Nintendo Classic Mini should show that the company still believes it has a Copyright claim to older games.
Sometimes the ROMs have been modified and so don’t recapture the original gaming experience.
The Internet Archive hosts a number of NES and SNES ROMs as part of their “Console Living Room” which they seem to believe is legal under the terms of “Fair Use”. Many retro gamers also believe that you own or owned the physical cartridge of a game then you are entitled to download its corresponding ROM, though Nintendo hold a different view on this.
If you’re able to obtain ROMS legitmately, you may wish to install a scraper which will display the cartridge cover and information about each game in the menu.
Should you run into any trouble setting up or with the games, visit RetroPie’s Github page for help with common errors.
With RetroPie installed, you can now carefully insert your Raspberry Pi into the chassis you've chosen (or leave it as it is if you haven't got a case for the Raspberry Pi).