How to turn a Raspberry Pi into a retro games console
Get playing those NES and Mega Drive classics…
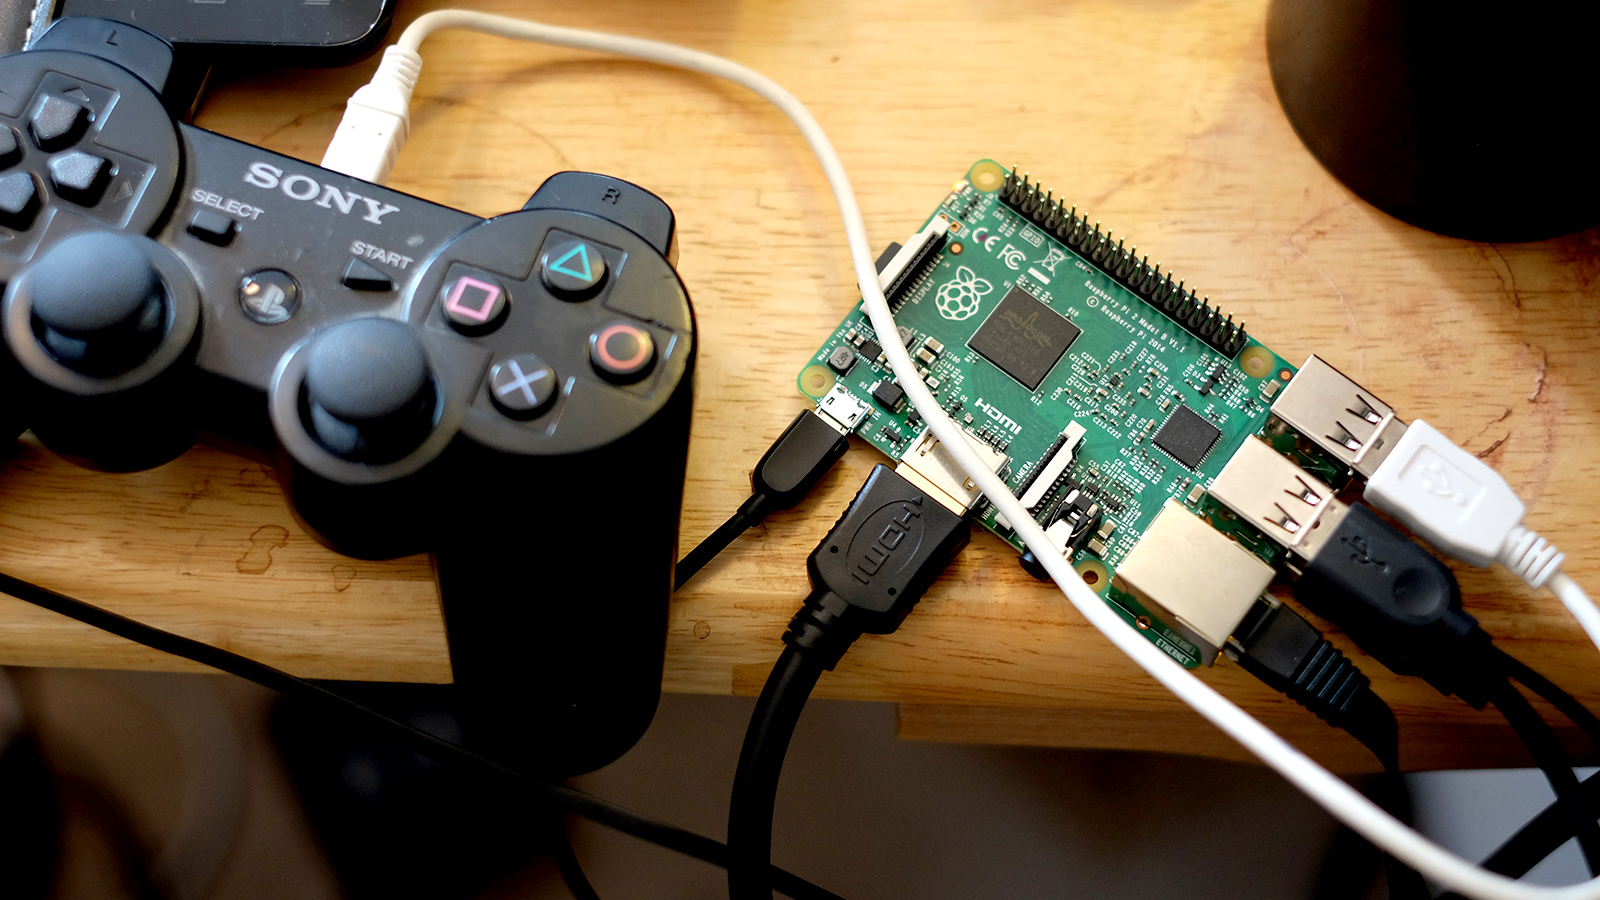
The latest version of the Raspberry Pi is great. It offers up to six times the power of the first-gen model, yet doesn't cost any more or take up extra space.
Step back a minute and you realise it's only about as powerful as a budget phone like the Motorola Moto G. But that's plenty to give you enough scope to do some amazing things.
Our favourite? The Raspberry Pi makes a fantastic retro gaming console thanks to the efforts of the bustling indie dev scene that surrounds the computer and its predecessors. Read on to find out how to do this yourself.
- Check out our list of Raspberry Pi projects
Downloading the right software
We're going to make this as simple as possible, so we'll be using a piece of software that boots straight into the emulator interface. This can be dumped right onto the Raspberry Pi's microSD memory card, meaning you don't need to do any fiddling about with Linux, Raspbian or anything else.
It's all quite easy – and note that original Raspberry Pi owners can use this software too.
The best emulator platform for Raspberry Pi at present is Emulation Station, ported over to Raspberry Pi as part of the RetroPie project. Emulation Station is a front-end for a mass of go-retro game emulators – absolutely loads of the things. It's designed to be pretty and bold enough to work visually on your lounge TV, rather than just on a monitor where you'll be sitting close-up.
It's just what we're after, in other words.
Sign up for breaking news, reviews, opinion, top tech deals, and more.
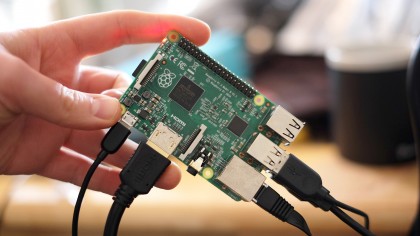
You can download this software from either the RetroPie or Emulation Station websites. RetroPie offers SD card images for both Raspberry Pi generations 1 and 2. The two aren't 100% compatible with each other, much as the hardware is similar.
Download the right version, then unzip it. At the time of writing RetroPie is distributed as an img.gz file, not a bog-standard zip file, but it's nothing 7-Zip will sweat over. That's a versatile compression program available for Windows and Mac OS X, if you don't have it already.
Making our retro brain
Now we have our image, we need to prep our microSD card. This can be done within Windows easily enough, but for the sake of consistency, if you're not an SD card pro just download the SD Card Formatter tool from the SD Association website. It's available for Windows and Mac OS X.
It has a pretty simple graphical front-end. After running it, just select 'Overwrite' in the format type and select a name for the card. 'RetroPie' will do the trick – or whatever you fancy.
Next we need to write the image to the card. Using Windows? Just use the Win32 Disk Imager software available to download from Sourceforge. For Mac OS X there's a dedicated Raspberry Pi writer software that works very well, called RPi-sd card builder v1.2. Pi Filler is an alternative app.
As these both have graphical interfaces you can't go too far wrong, as long as you keep track of where your RetroPie image is kept, i.e. where it went when you unzipped it. Just make sure that when you're finished writing to the card, you eject it rather than just yanking it out of your computer to avoid data corruption.
Boot-up
Put the card in your Raspberry Pi, boot it up and you should see a rainbow screen followed by the Emulation Station boot screen. If you don't, something went wrong.
To start with, though, the interface will seem very empty. As part of the Emulation Station's accessible UI style, gaming machines only show up if there are ROMs available for them. In the version we used it starts off with just ScummVM, Dosbox, and some ports of the shareware versions of Quake III and Duke Nukem 3D. We don't have our Raspberry Pi retro dream machine just yet.
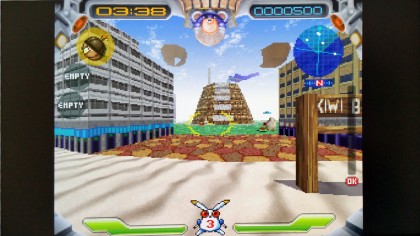
Once you have the files, you can't simply drag and drop them over to the microSD memory card and expect them to work. That's not how the RetroPie file system functions.
Instead, hook the Raspberry Pi up to your router using an Ethernet cable and it will show up in the home network section of Windows Explorer or Mac OS X's finder on your laptop or desktop. In its file system you'll see BIOS and ROMs folders. The latter is filled with sub-folders for every system supported by Emulation Station, into which you can drop the respective ROM files.
- Welcome to TechRadar's Console Gaming Week, celebrating each and every pixel of video gaming greatness. Head over to our hub for what you've missed so far.

Andrew is a freelance journalist and has been writing and editing for some of the UK's top tech and lifestyle publications including TrustedReviews, Stuff, T3, TechRadar, Lifehacker and others.