28. AE Lock
A disadvantage of Focus Lock is that by default it locks exposure as well as focus. This can lead to inaccurate exposures. You can avoid this by using the Exposure Lock button at the back of your camera (marked with a star). Use the Focus Lock, as above, then when the shot is recomposed, use the Exposure Lock button to reset the exposure before firing.
29. Use Automatic Depth of Field (A-DEP)
A-DEP mode is the easy way to maximise depth of field, so all key areas in the image stay sharp. It works using the seven or nine AF points found on consumer DSLRs, so the lens must be switched to AF. Point the lens and the camera adjusts both the aperture and the focus to maximise depth of field (as well as setting the shutter speed).
30. A-DEP tips
A-DEP can only make use of those AF points it can get a reading on straight away. Check which it is using. Keep half-pressing the trigger until it uses all the focus points that you require.
31. Try manual focus
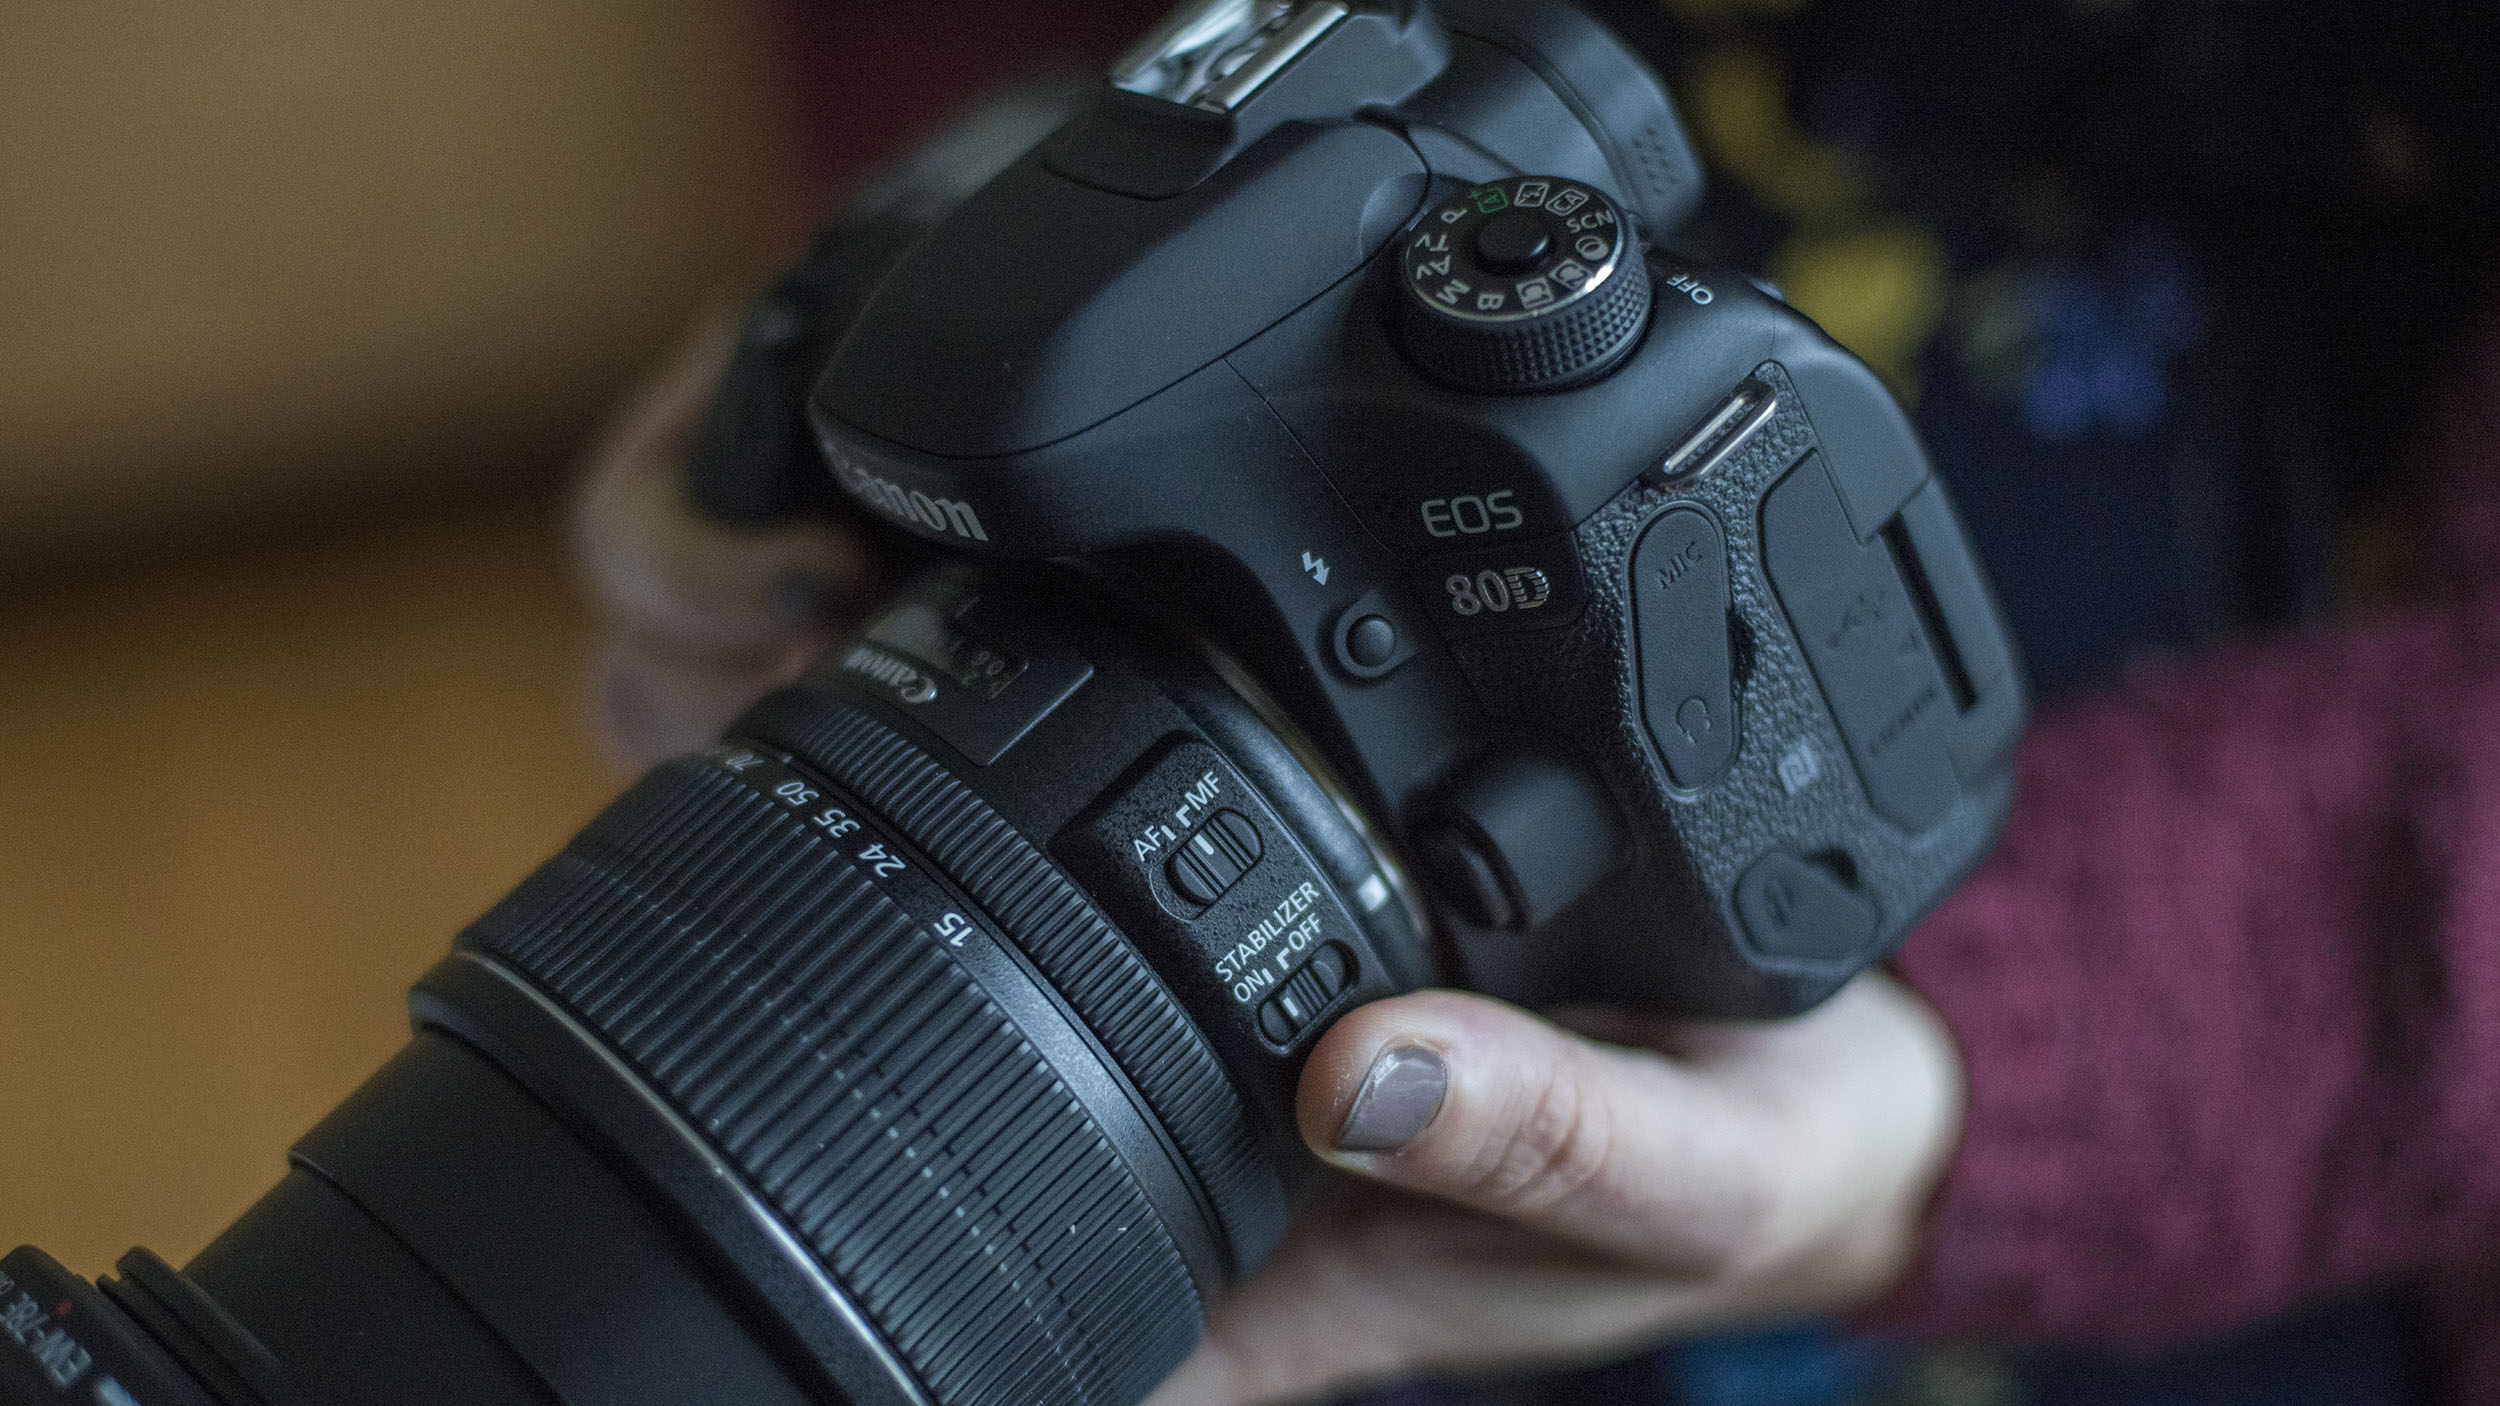
AF is useful, but in low light (or with some action subjects) it's more accurate to focus manually. Switch the lens from AF to MF, then turn the focus ring on the lens until the subject looks sharp in the viewfinder.
- Learn more: Discover how to master manual focus
32. Love Live View
Checking the accuracy of manual focusing is not as easy as it sounds. Use Live View for more accurate results. The zoom option in Live View gives a 10x magnification and a panning option, so you can then focus precisely on any point in the frame.
33. Focus check
You can also use the LCD screen to check the focus on shots you've taken. Press the magnifying glass button several times to zoom into your shots, then use the cursor controls to check different areas.
34. Predictive autofocus
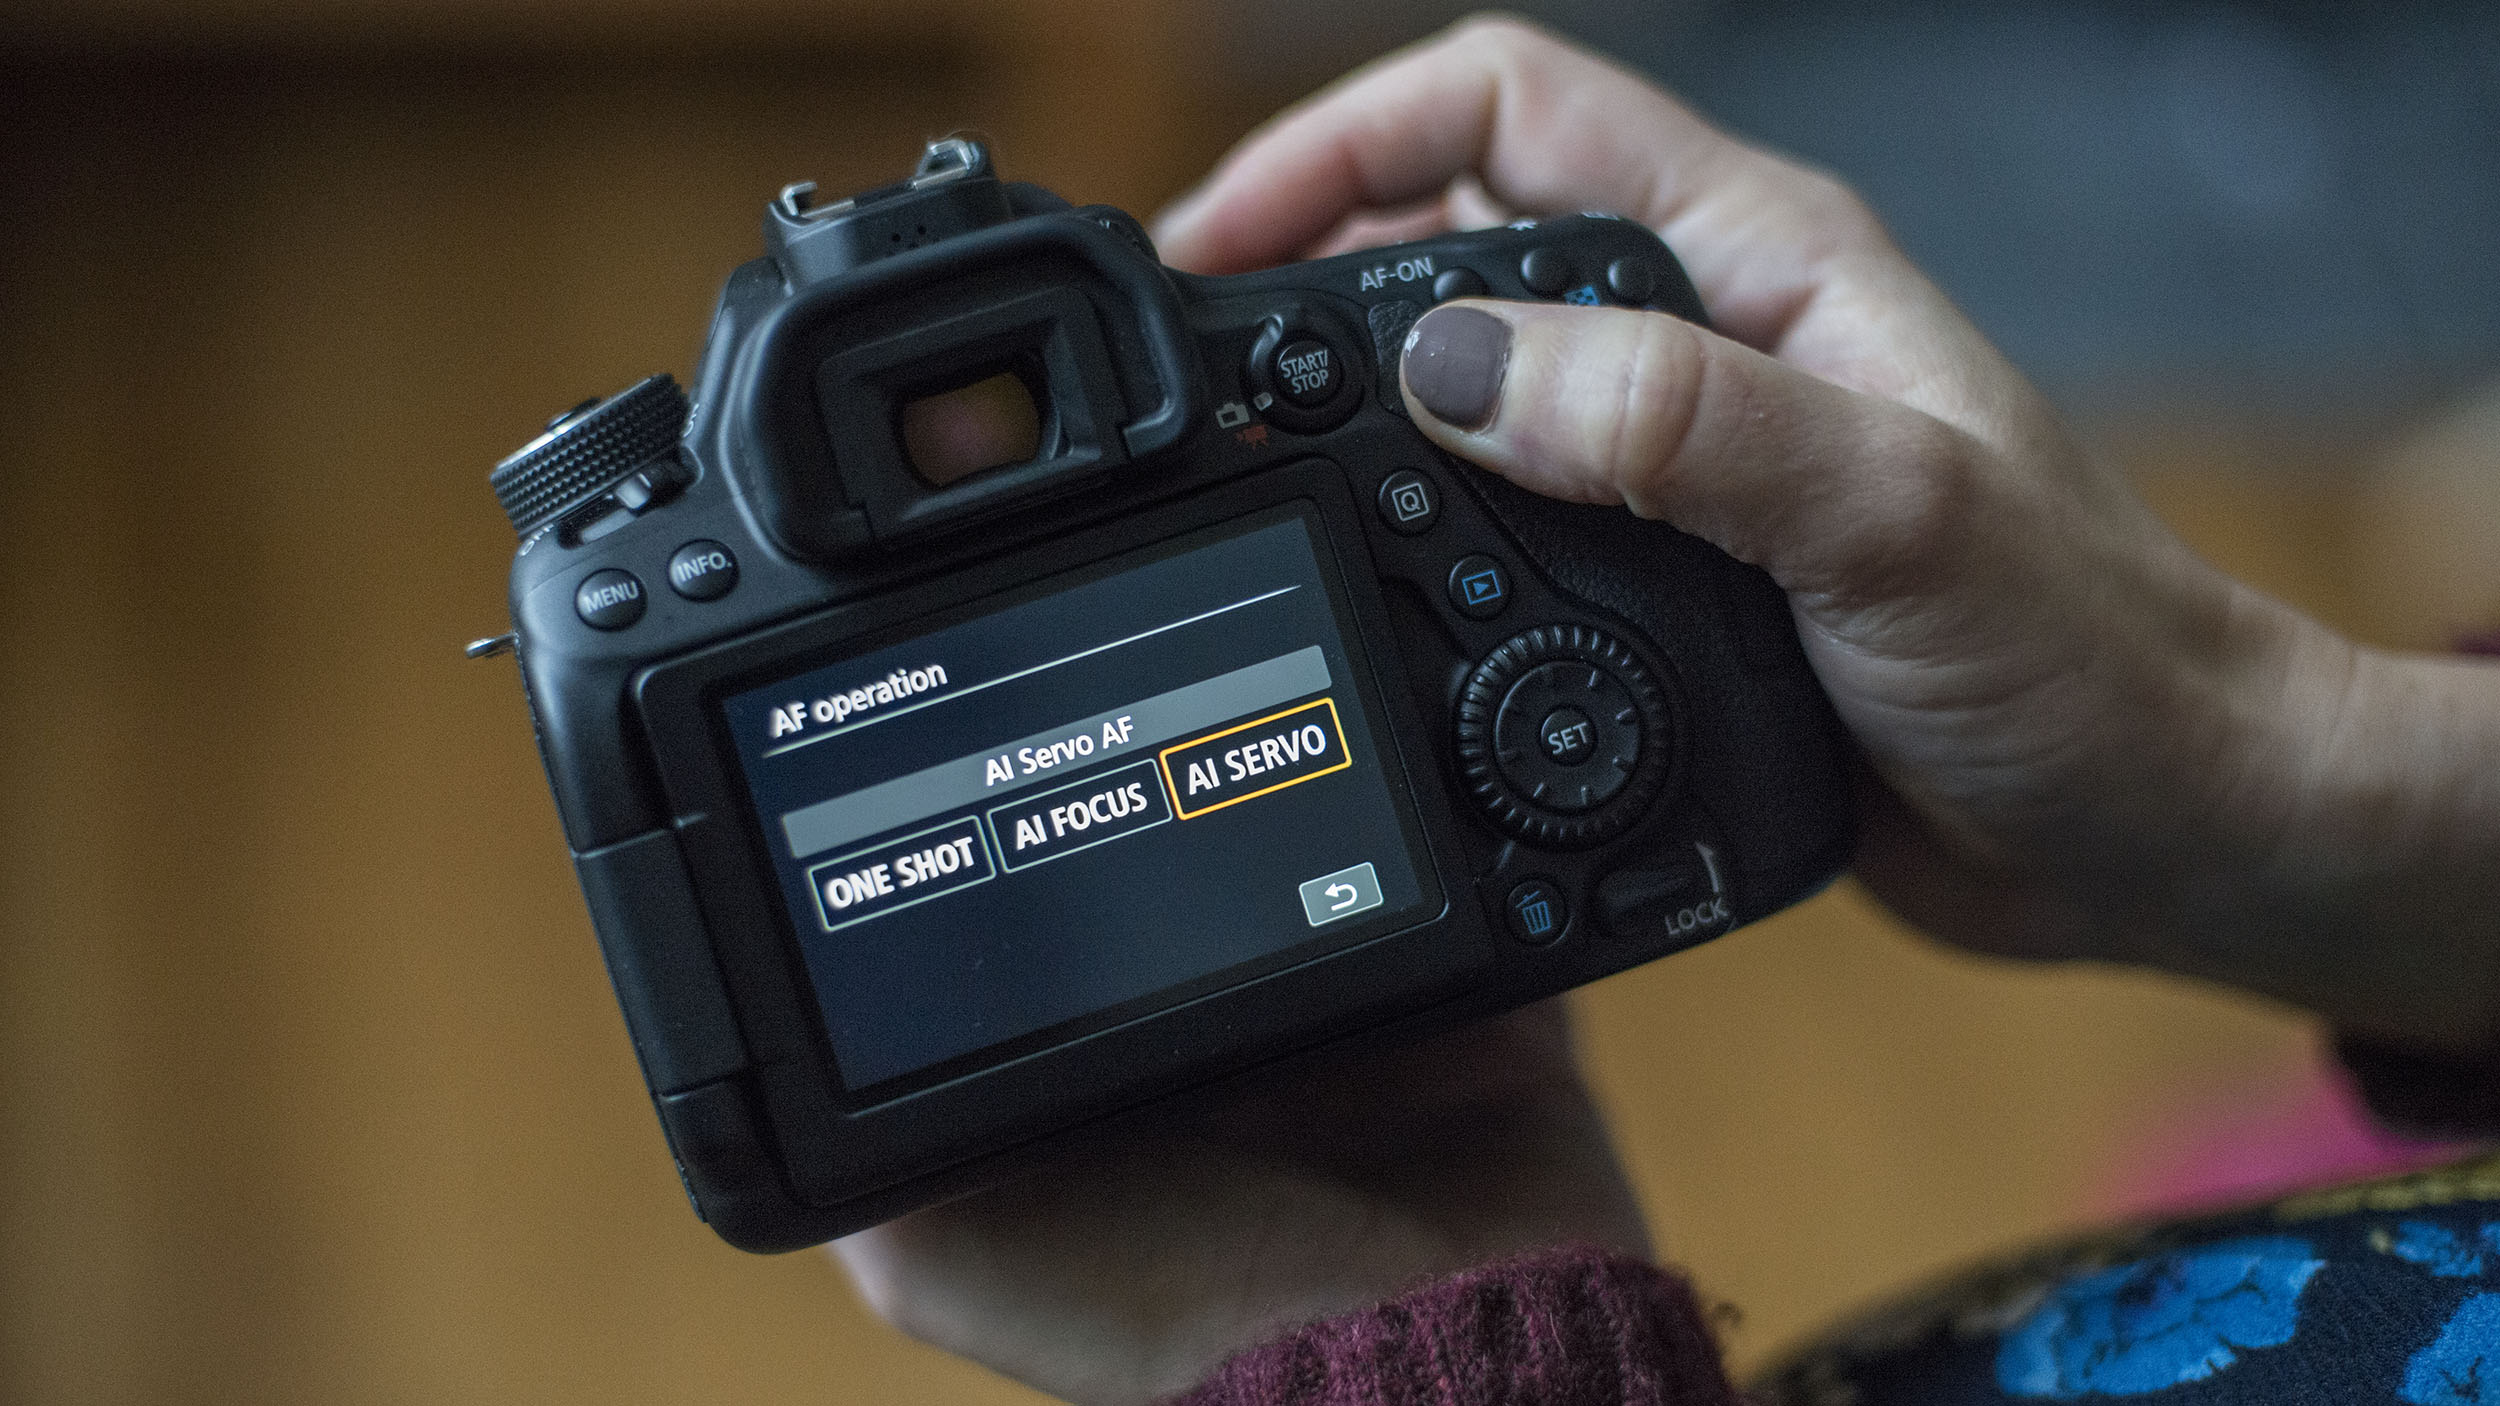
One-Shot autofocus struggles with capturing moving subjects, so switch to the AI Servo mode instead. This not only keeps adjusting focus as you press your finger lightly on the trigger, it will continue to adjust focus during the split-second delay between pressing the trigger and the shutter opening. Perfect for action events...
Sign up for breaking news, reviews, opinion, top tech deals, and more.
- Learn more: 10 surefire ways to get your sharpest ever shots
35. Perfect fill-in flash
Your built-in flash is not just designed for use after dark; it's extremely useful during daylight, too. It can banish ugly shadows from faces on a sunny day and can add colour to people's cheeks on grey afternoons.
However, if you use the wrong exposure settings the flash can be overpowering, making the background look unnaturally dark. The answer is to switch your camera to Av mode and then use the flash. The flash is only effective over a couple of metres, so get closer to the subject to make this trick work.
36. High-speed sync
Using an add-on flash doesn't just give you more power, it brings other benefits too. High-speed sync enables you to use flash with any shutter speed (usually you need to keep the speed to 1/200 sec or below). Using flash at, say, 1/4000 sec is very useful with fill-flash as it means you can use your lens's widest apertures to blur the background. Great for portraits!
37. Get darker
Use normal Exposure Compensation with flash to darken the background - ideal for moody fill-in flash with richly coloured backdrops. Set the Exposure Compensation to around -1 and see what the shots look like.
38. Flash Exposure Compensation
Flash can sometimes be overpowering in a shot. Set Flash Exposure Compensation to a negative amount (say, -1) for a more subtle fill-in effect.
If fill-flash is not spotlighting your subject, try the reverse and dial in a positive amount of Exposure Compensation.
39. Benefits of Bulb
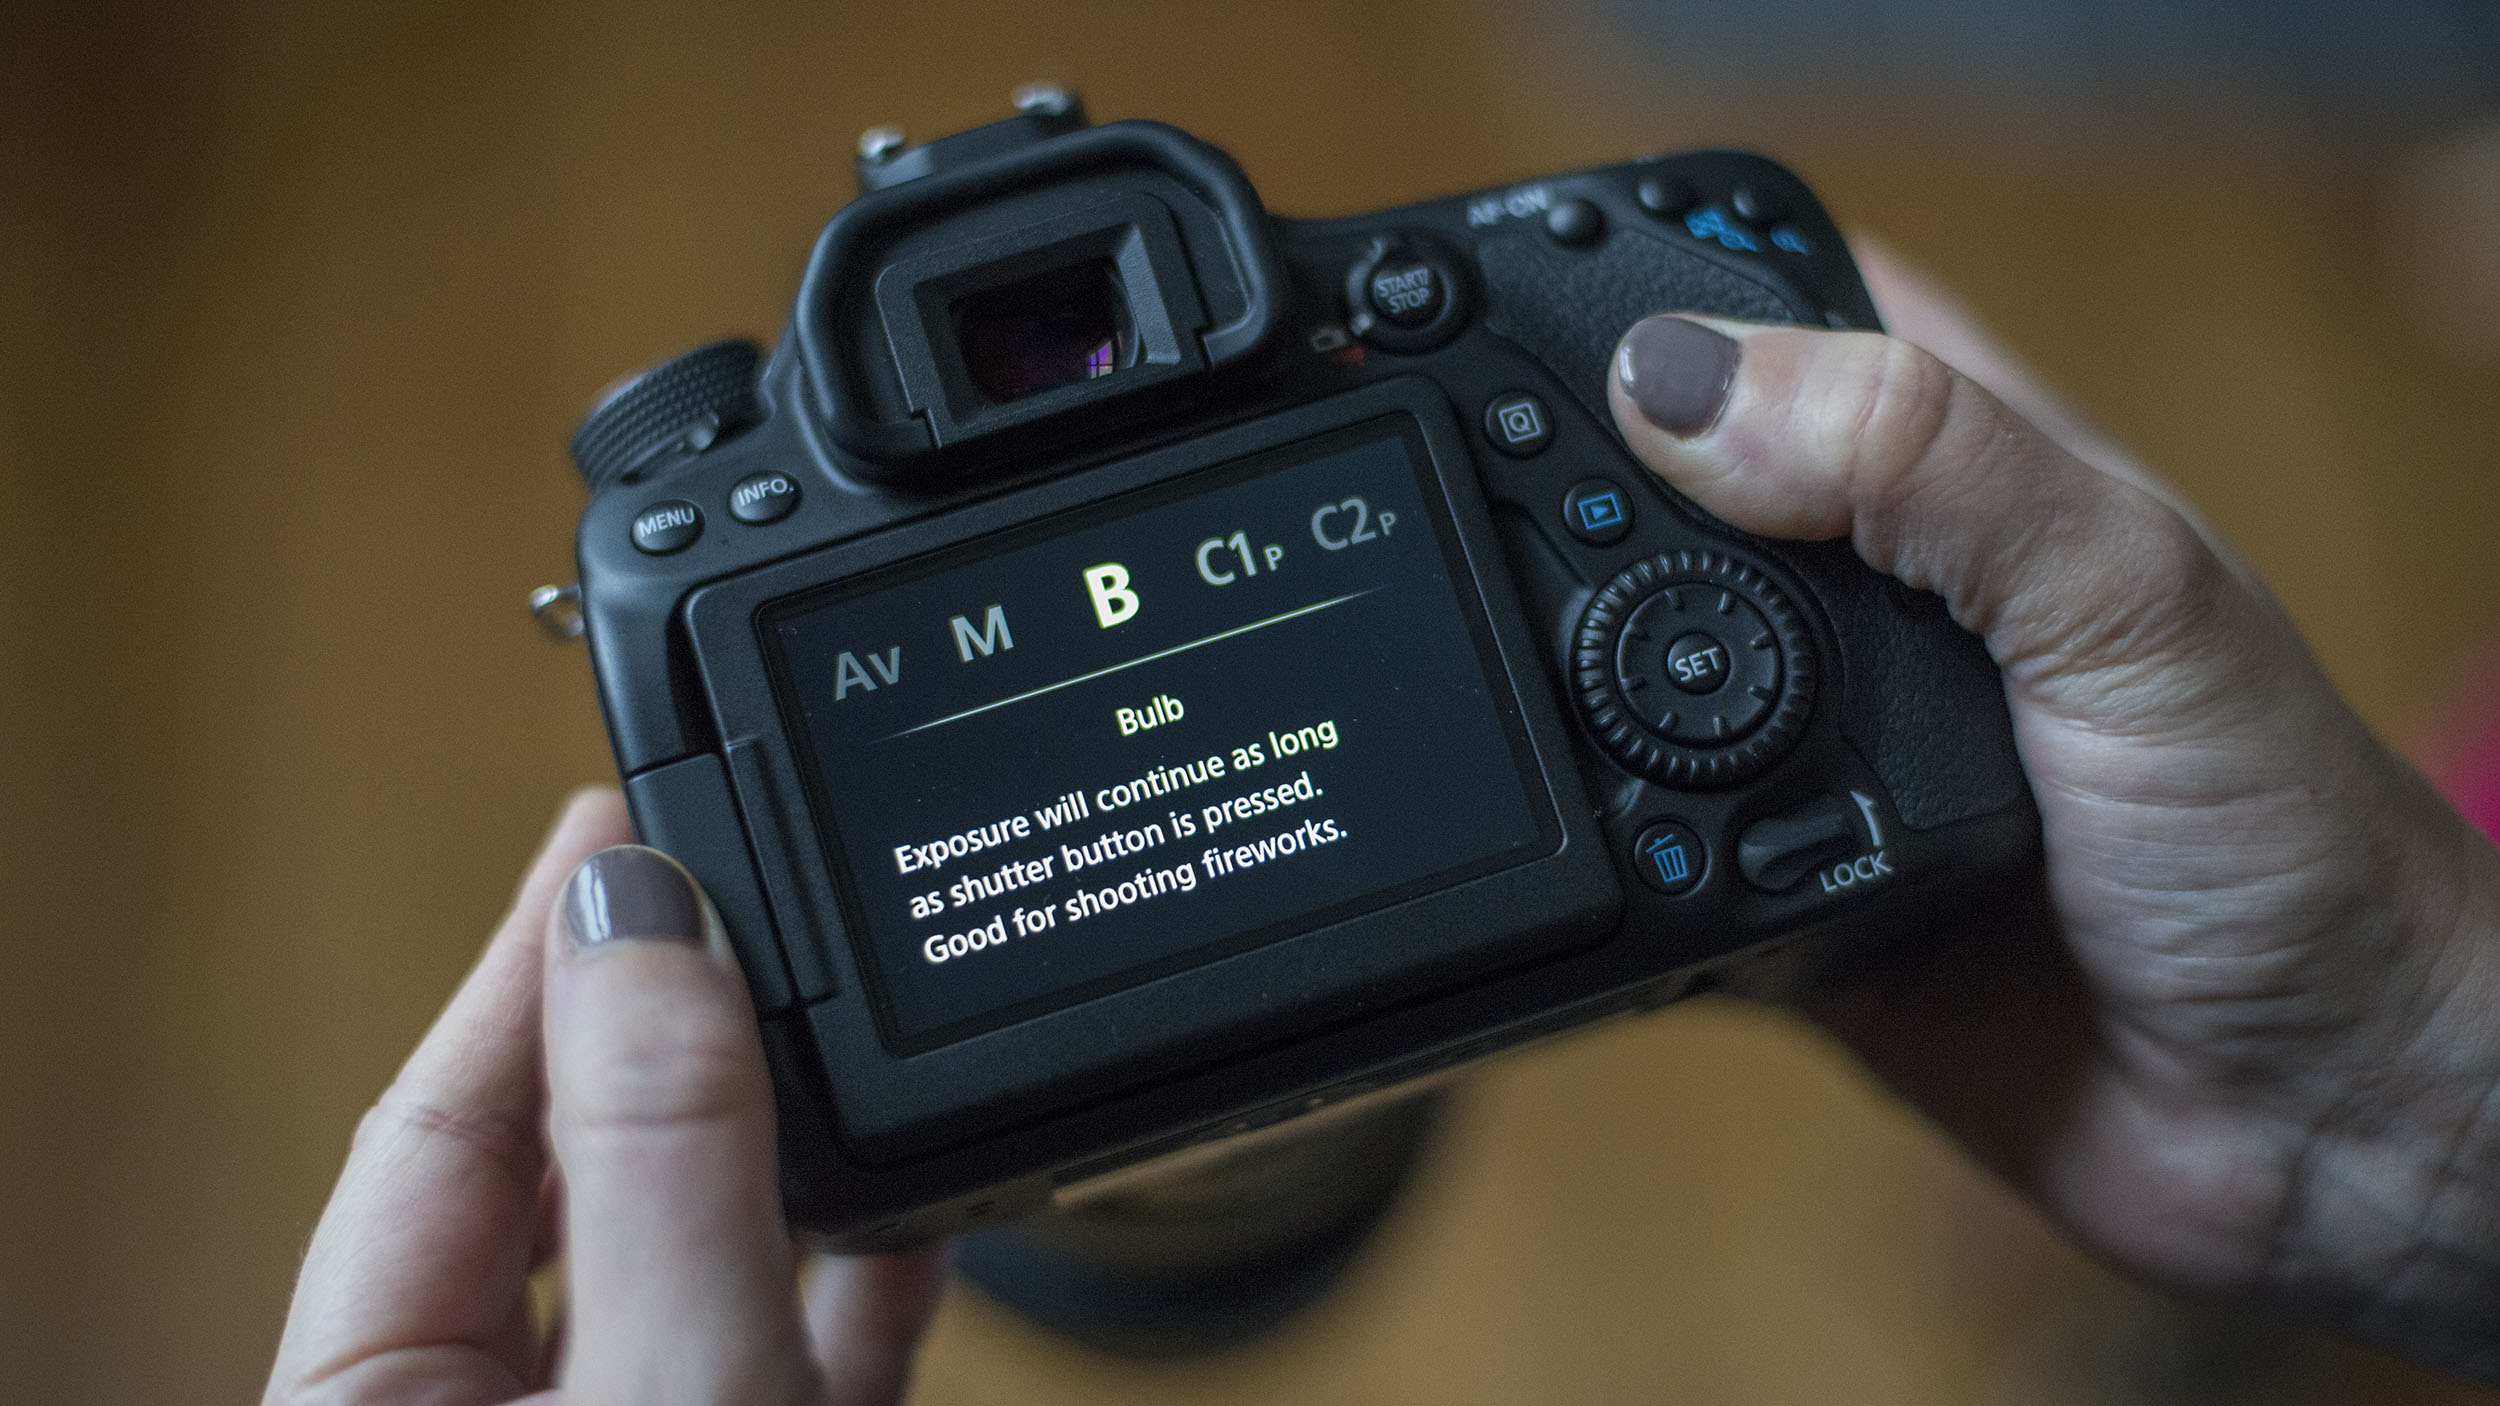
This variable shutter speed setting is designed for when you want exposures of more than 30 seconds long. You press the shutter release and the exposure continues until you release your finger. To cut out camera vibration, however, a cable release must be used. With most EOS cameras, you need to switch to Manual (M) exposure mode to access the Bulb, or 'B' mode.
40. Mirror Lock-up
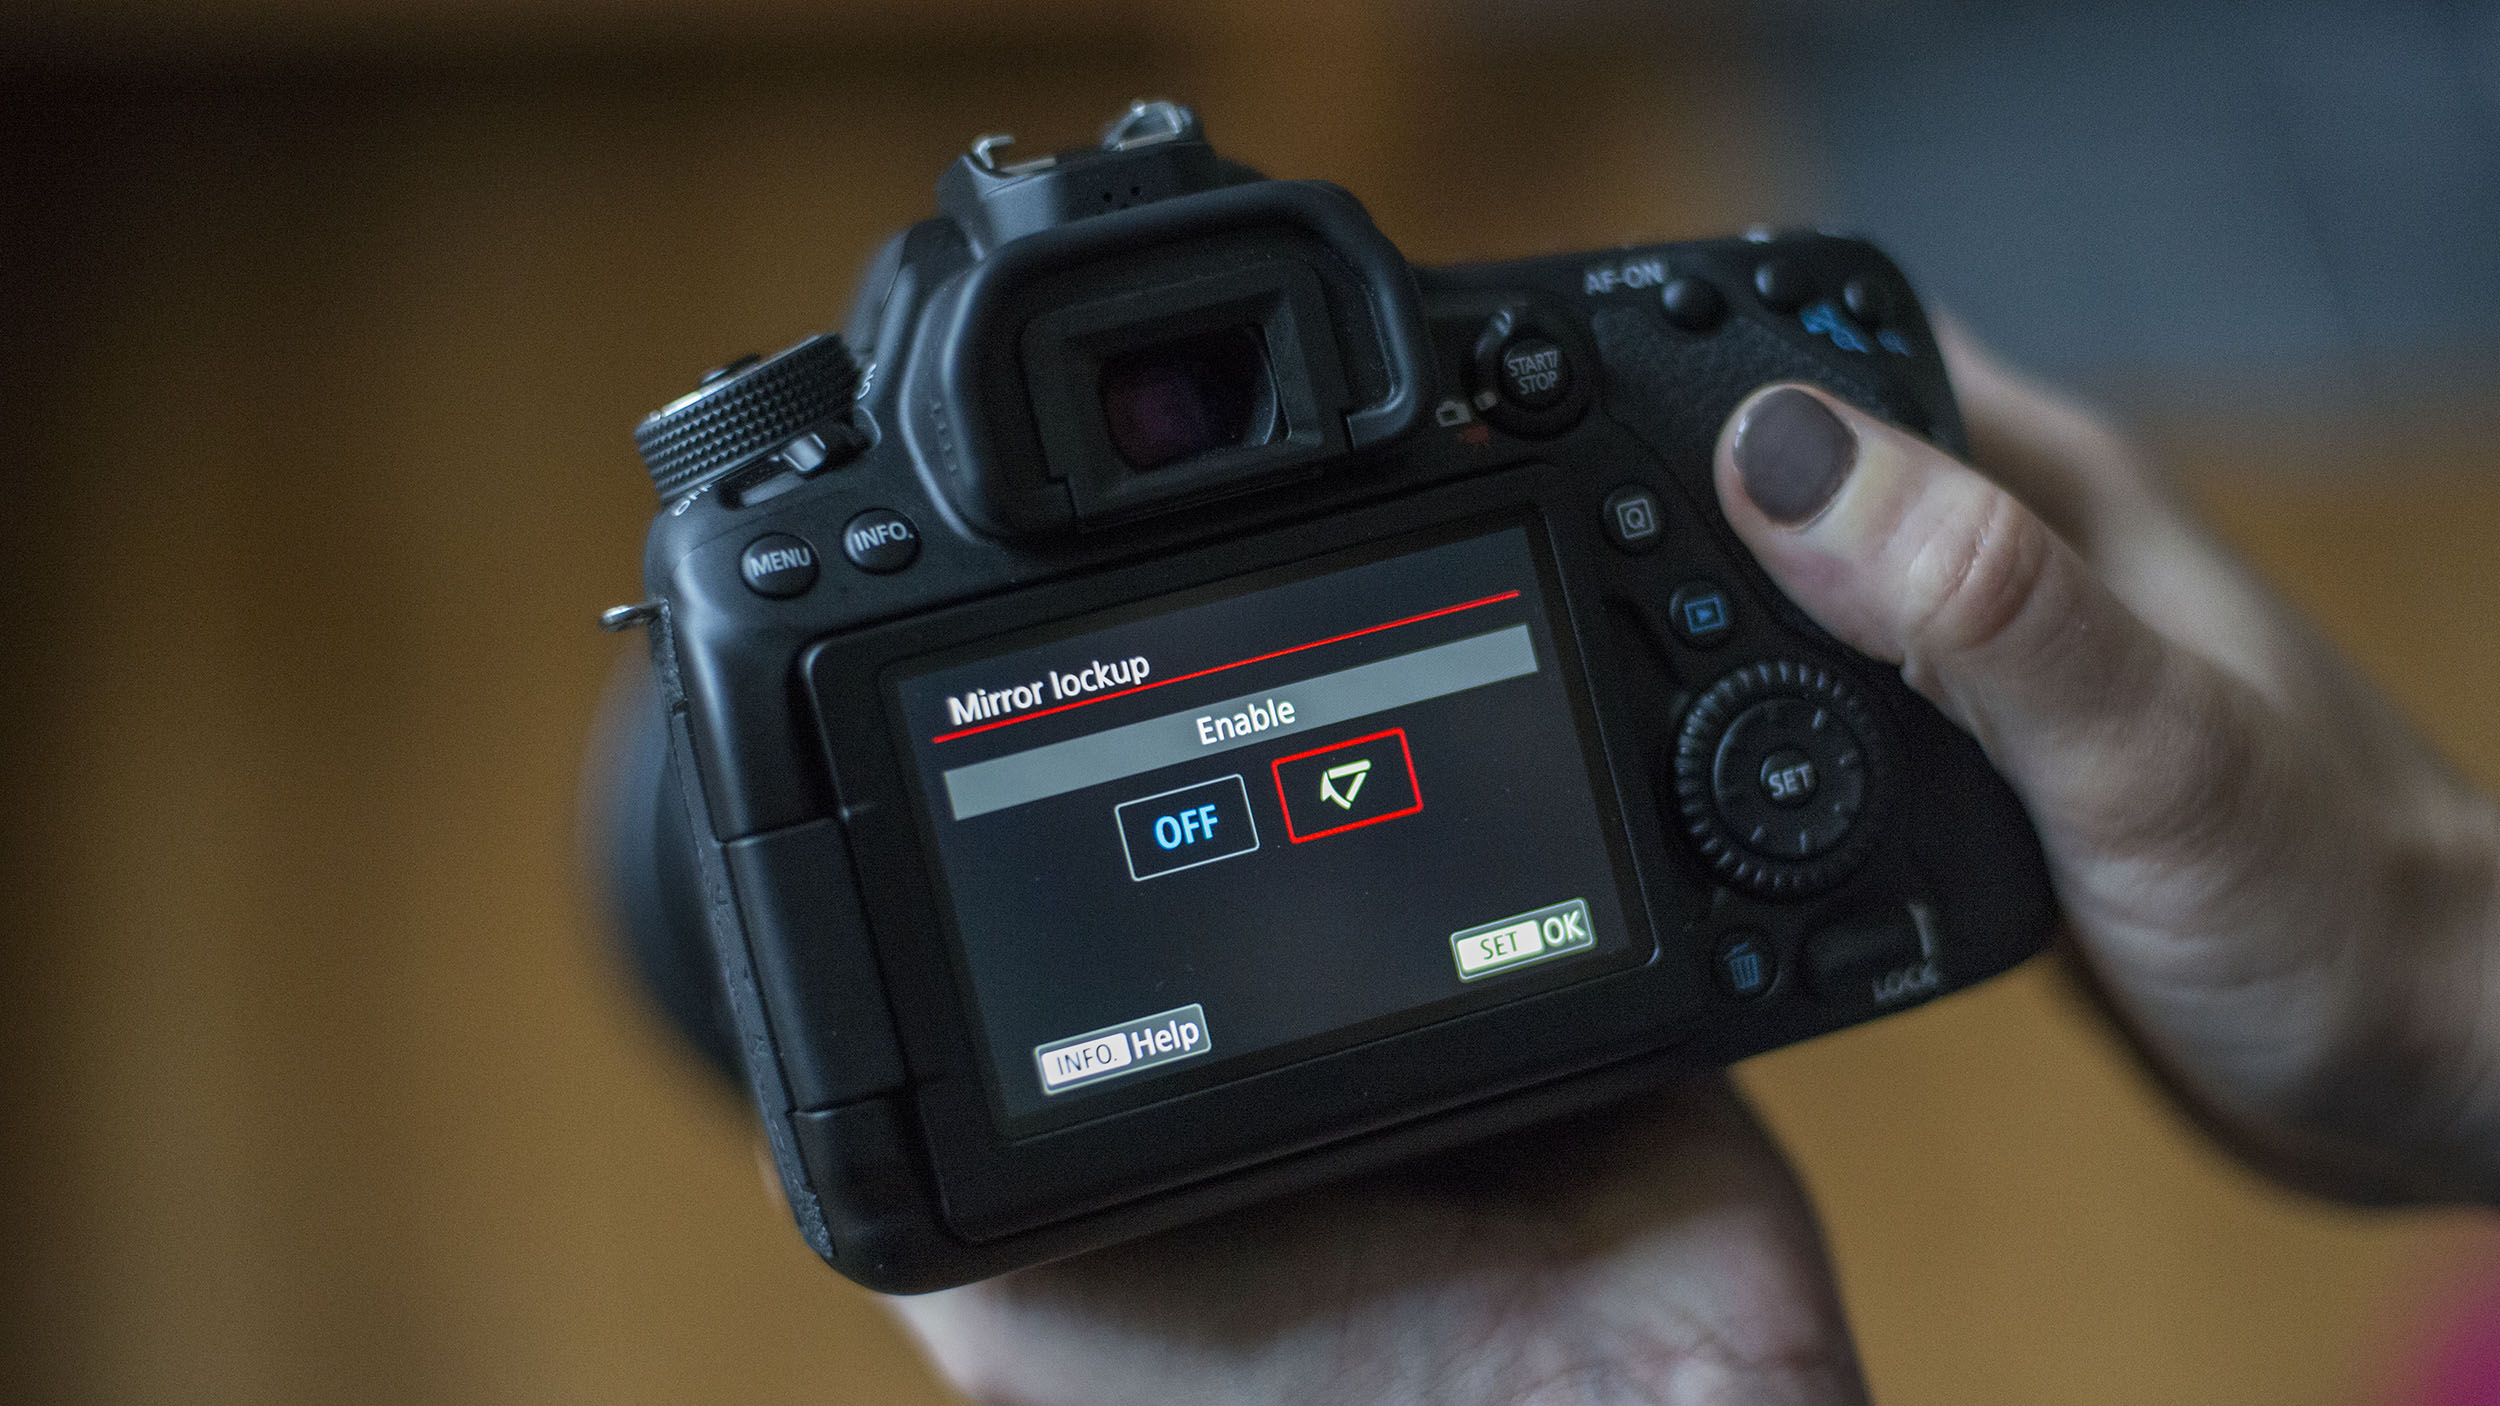
Found in the Custom Functions, the Mirror Lock-up makes long, low-light tripod shots even sharper. It ensures the mirror is raised up well before the exposure starts, thereby minimising even tiny vibrations.
41. Self-timer
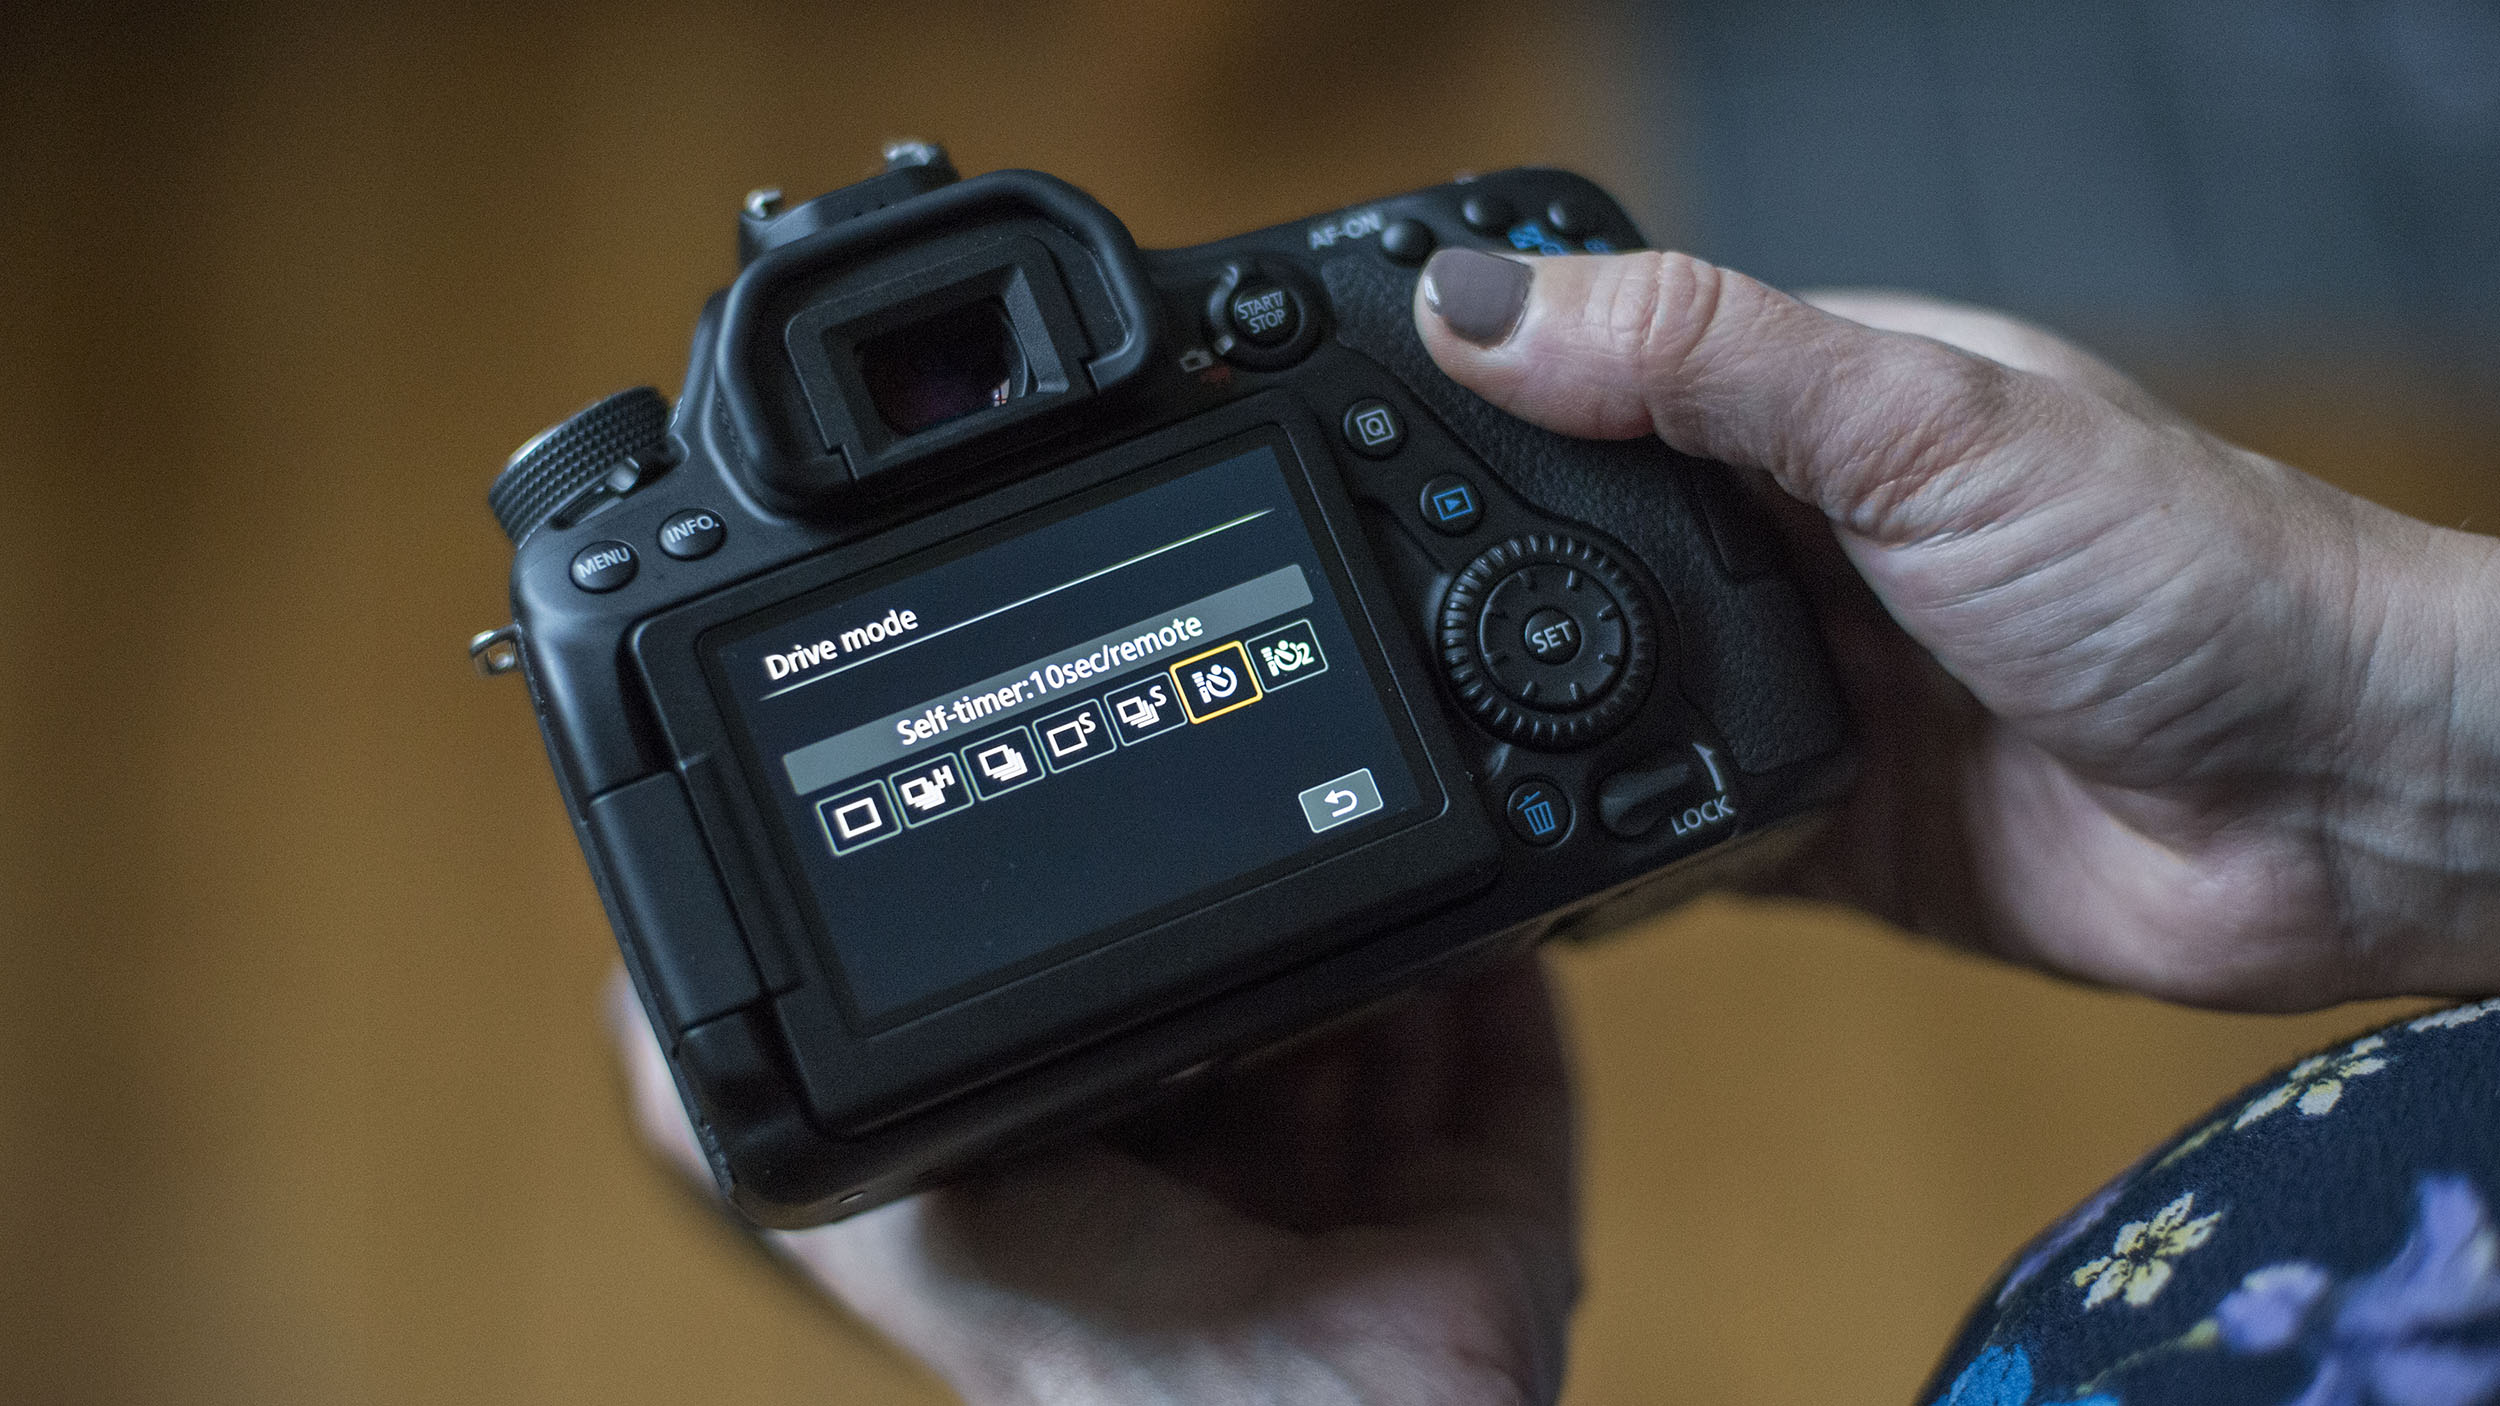
Like Mirror Lock-up, this Custom Function is very useful for cutting out camera vibration when taking long exposures with a tripod. If you use Self-timer and Mirror Lock-up together, the delay is automatically reduced to two seconds.
42. Slideshows
Did you know your EOS camera will play back all the pictures on your card as an automated slideshow? Find the Auto Play option in your camera's menu, then press Set. It's even more fun when you connect the camera to your TV with the lead that came in your EOS box.
43. Auto Lighting Optimiser
A useful exposure adjustment Custom Function will automatically adjust the contrast of the image and rescue shadow detail. It's particularly good at making low-contrast scenes look more punchy. The Auto Lighting Optimiser can also lighten up faces in backlit portraits, and detect when flash-lit people shots are underexposed.
44. Auto Exposure Bracketing (AEB)
AEB enables you to shoot a set of three pictures, all at different exposures. You can then pick the best, or combine the best bits on your PC. As you're shooting RAW, make sure each shot is at least one 'stop' apart.
45. AEB expertise
You can use AEB in tricky lighting conditions in conjunction with Exposure Compensation. With a snowy scene, for example, set Exposure Compensation to +1, then use AEB to take a trio of shots with +2, +1 and 0 stops of compensation.
46. Highlight Tone Priority
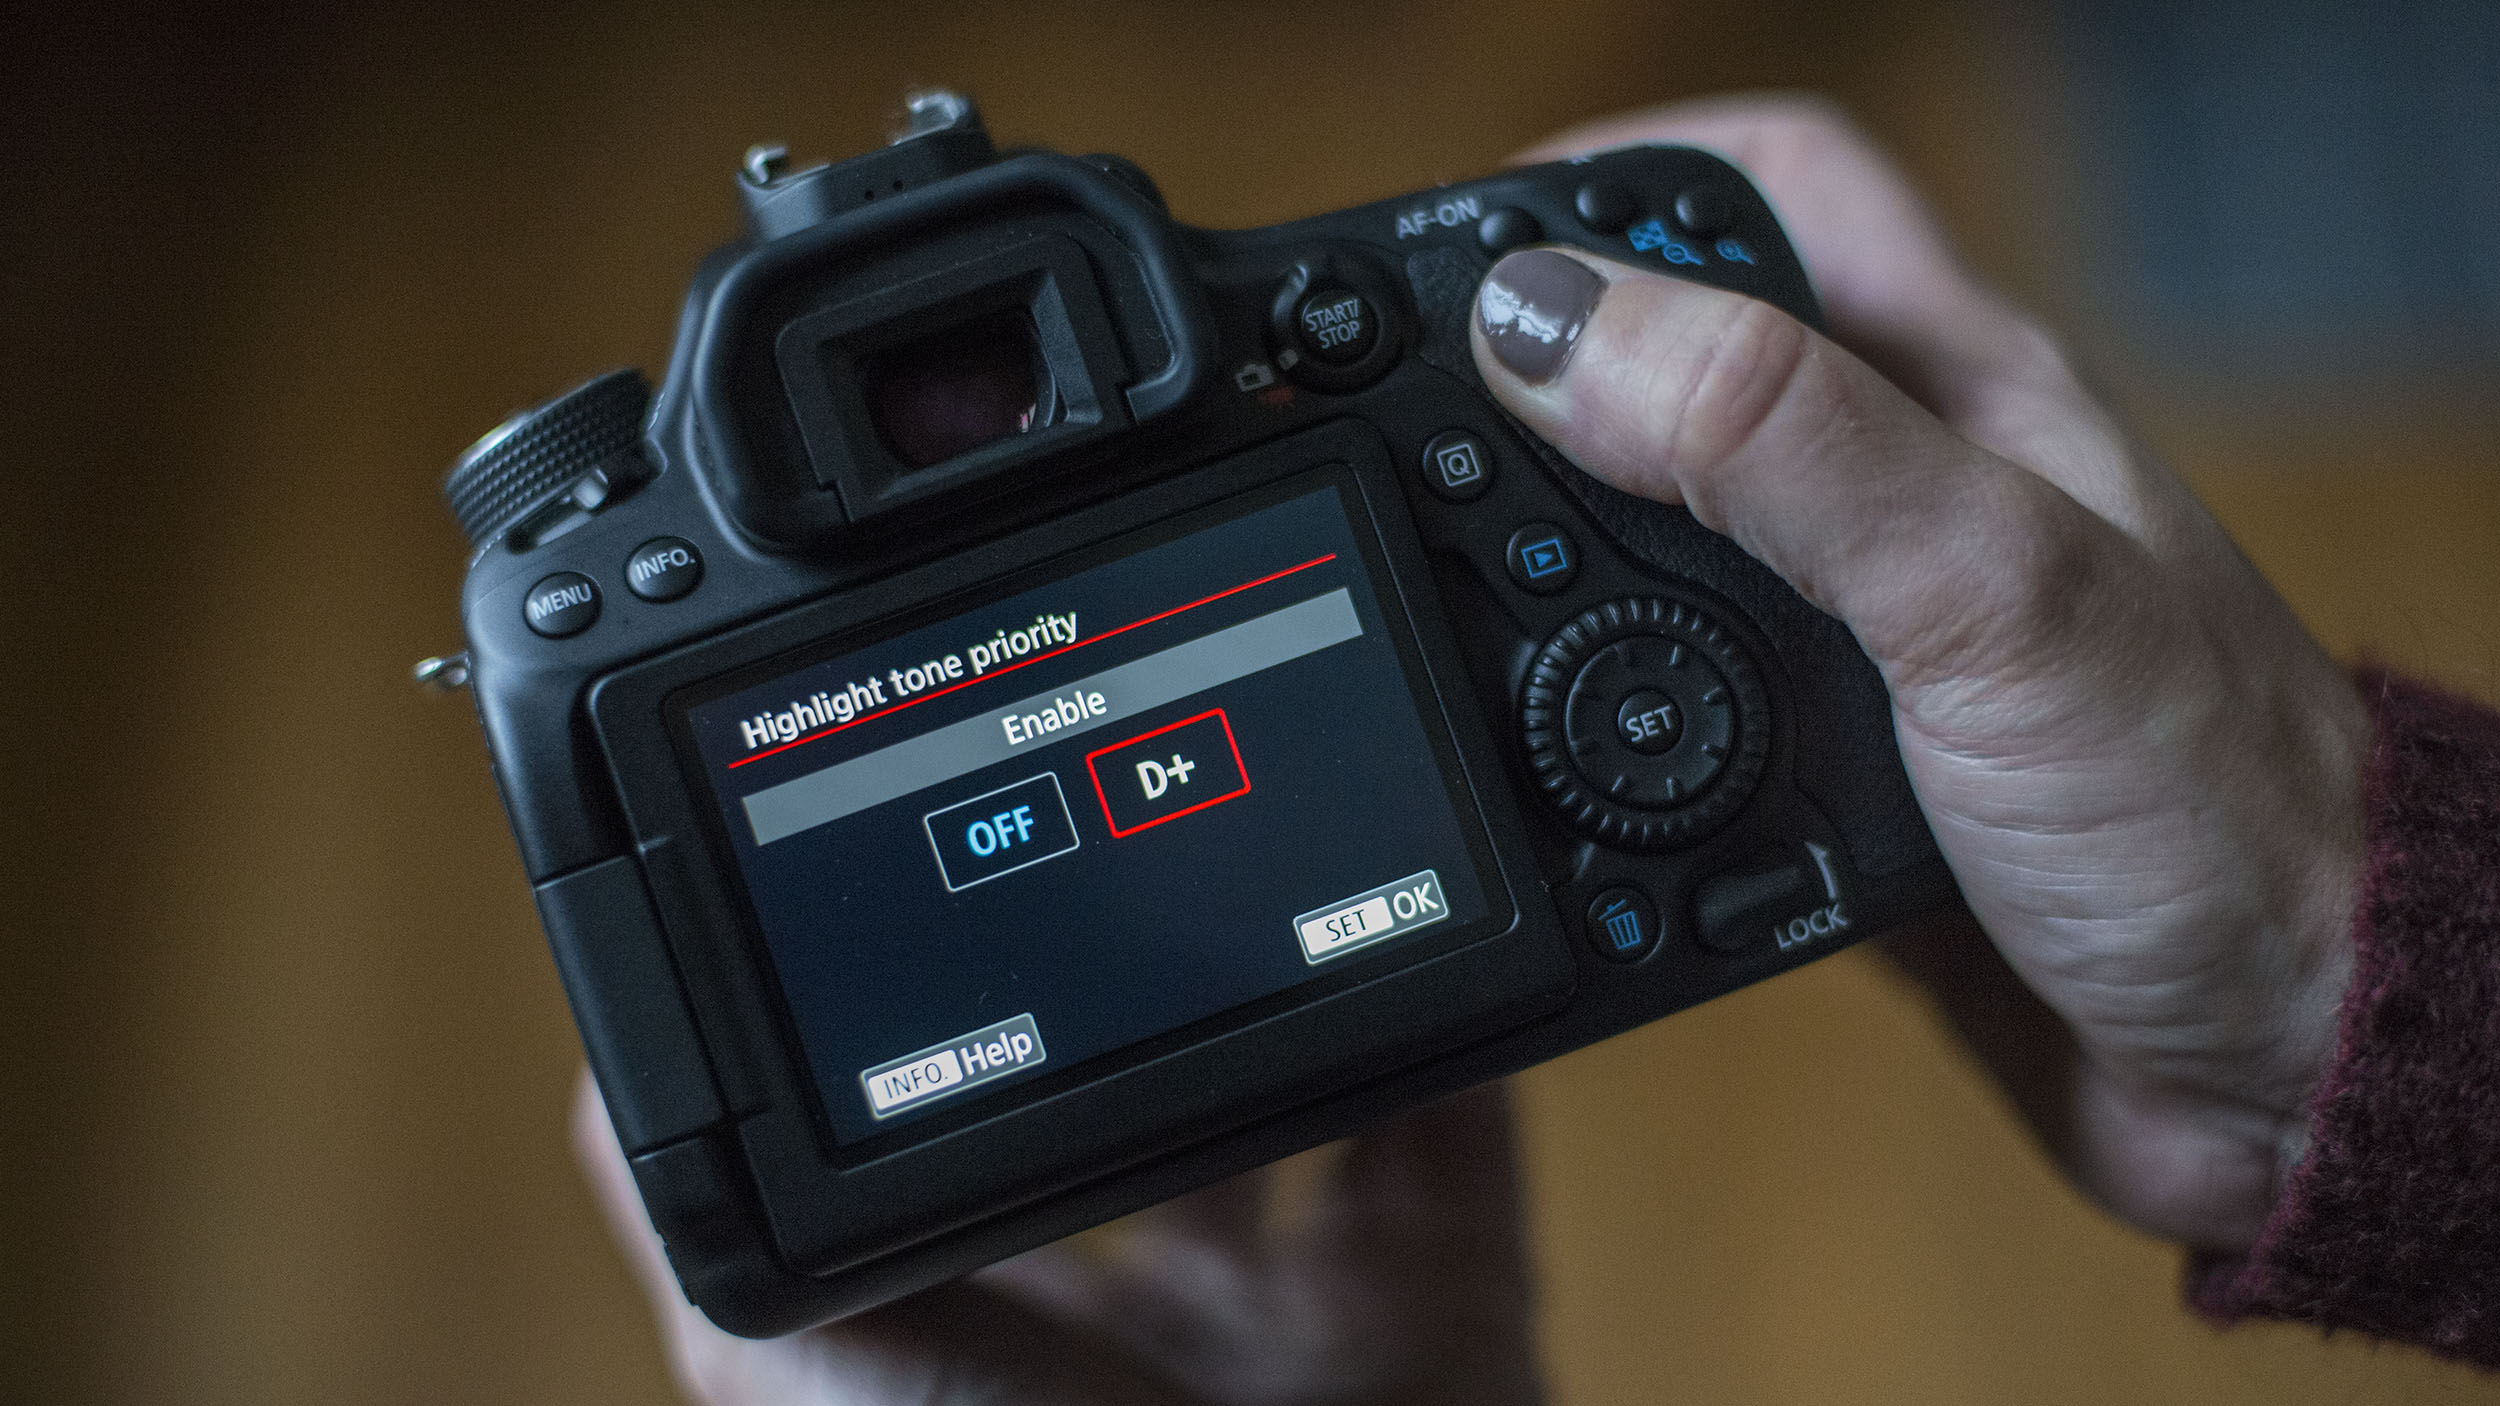
Another Custom Function found on newer models, this lets you get more tonal range from the brightest areas of your pictures. It gives a small but significant advantage when shooting landscapes with lots of white clouds - or mostly white subjects.
47. Lock down your shots
To safeguard your shots, find the Protect Images option, then scroll through your images and click Set on each shot you want to Lock. This stops them being erased with a Delete All command (but not a Format command, so be careful).
48. Use the Q menu shortcut
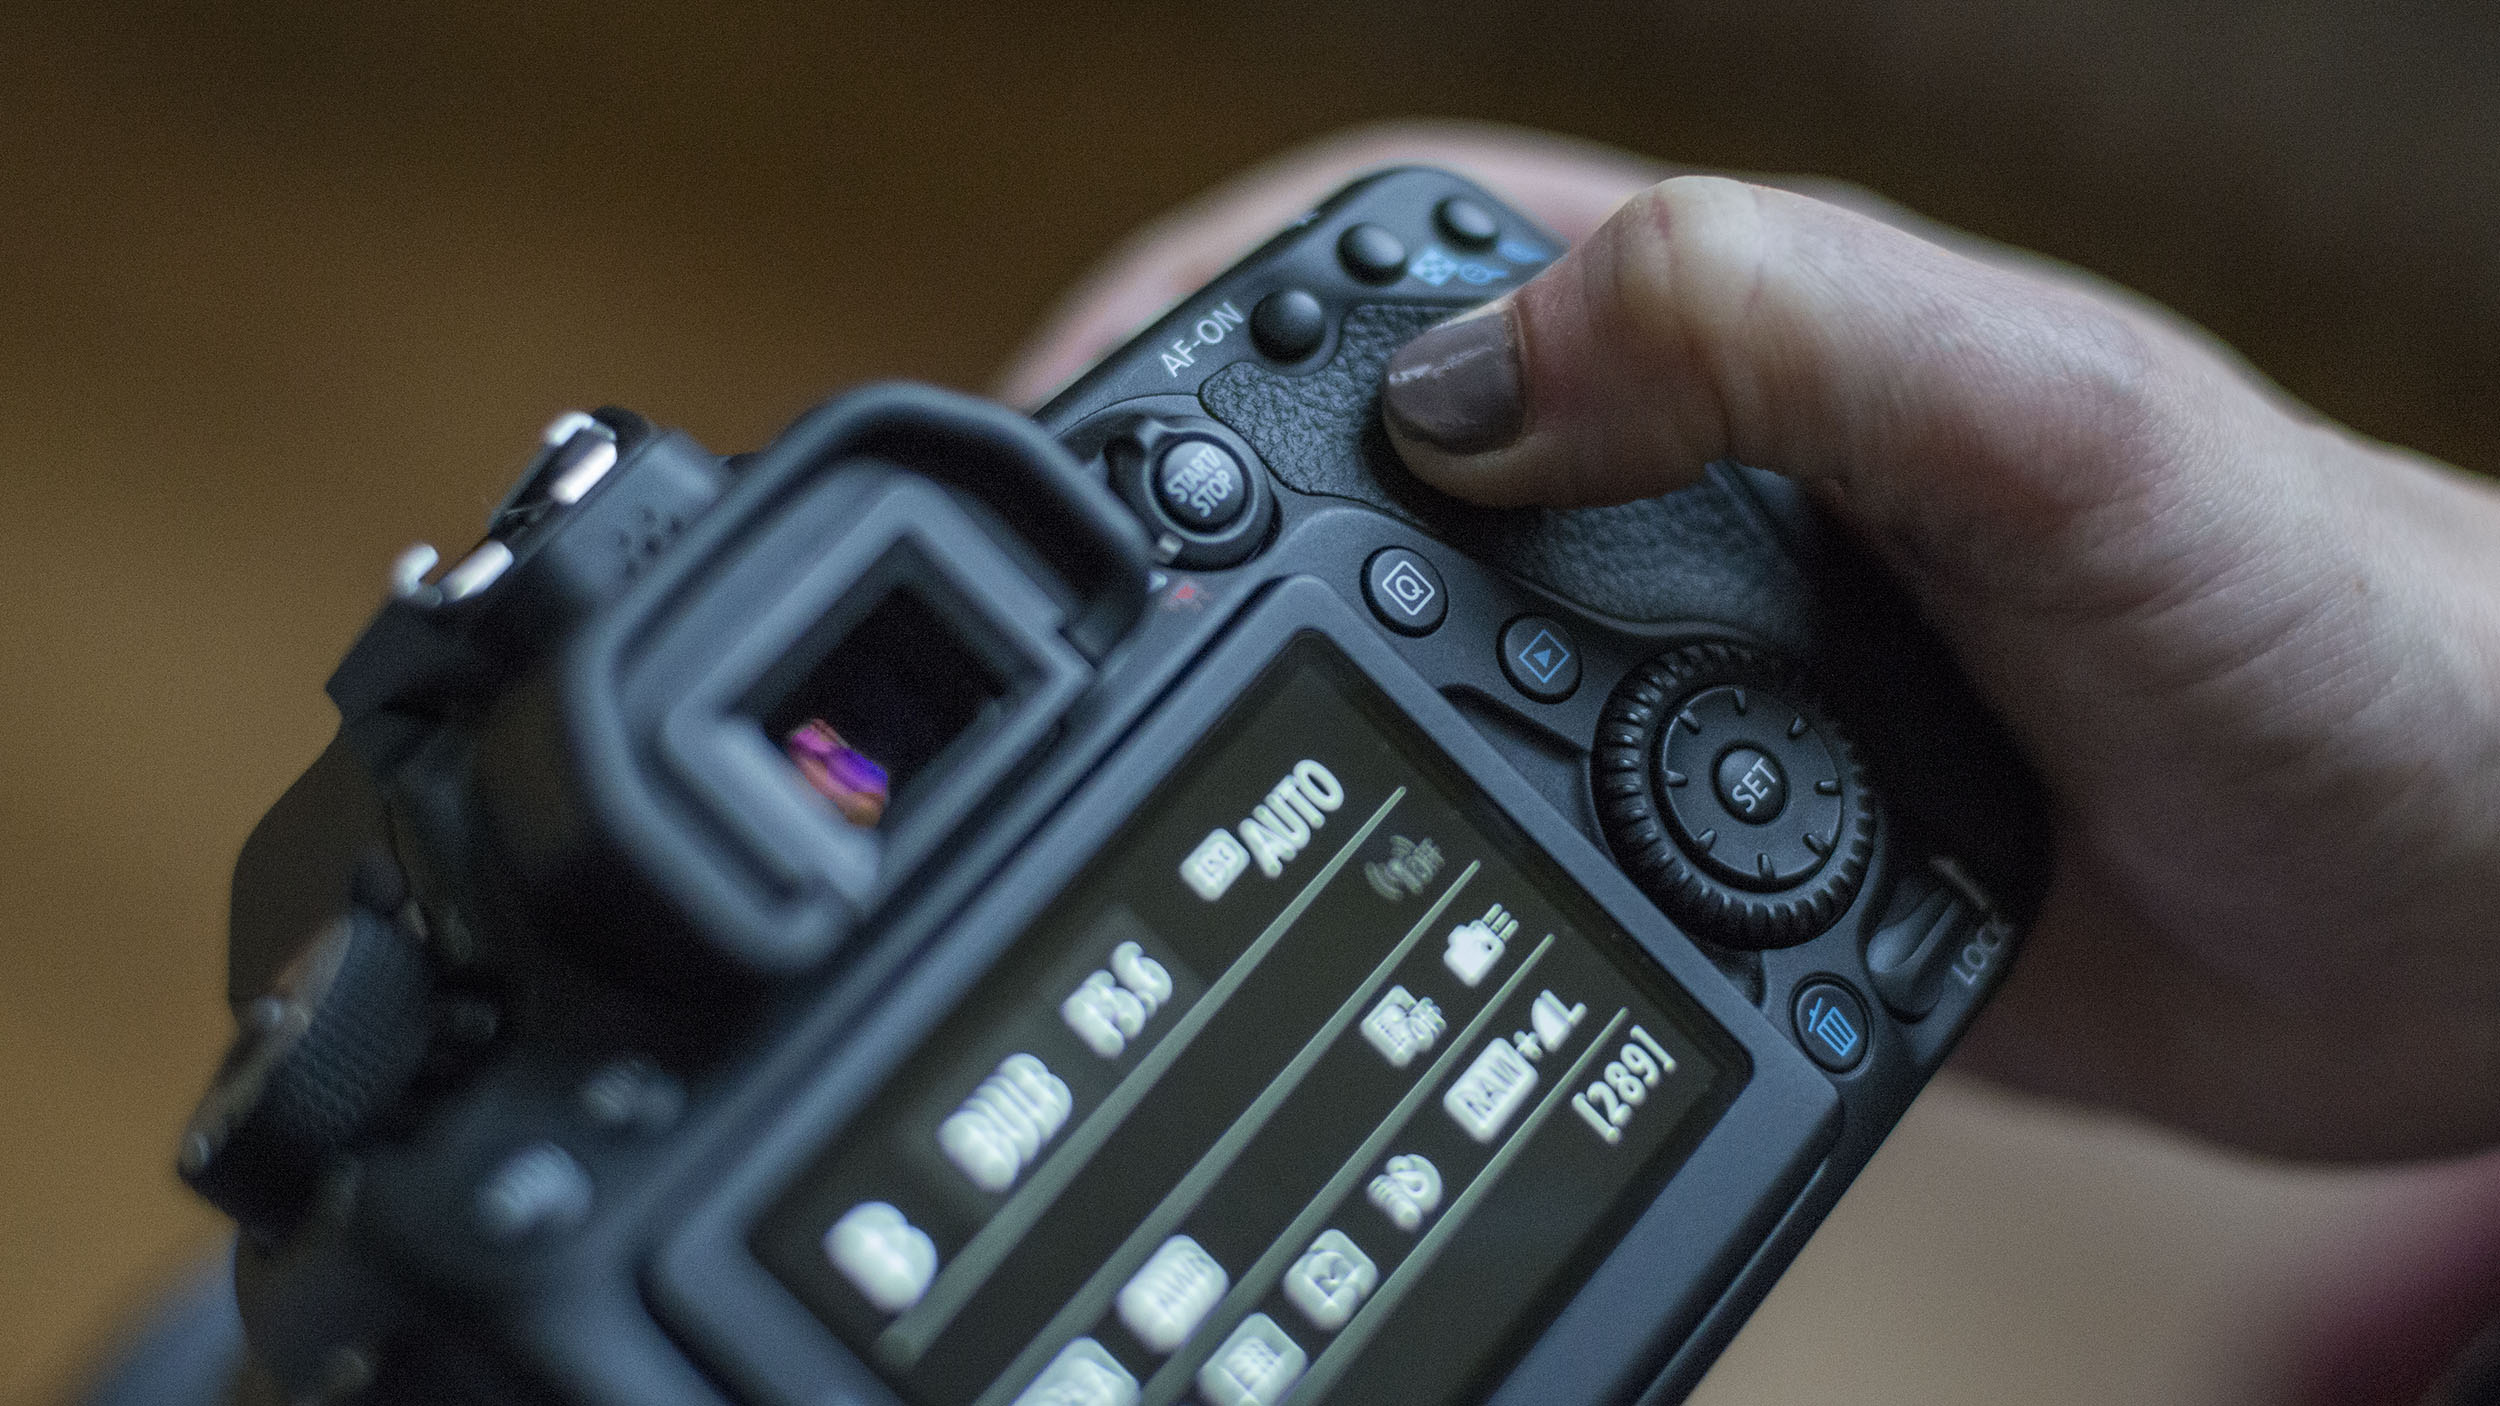
The Q button is incredibly handy - rather than diving into your camera's main menu, tap this, and you'll be granted quick access to a host of key settings. It also gives you a good overview of your main settings.
49. Date and time
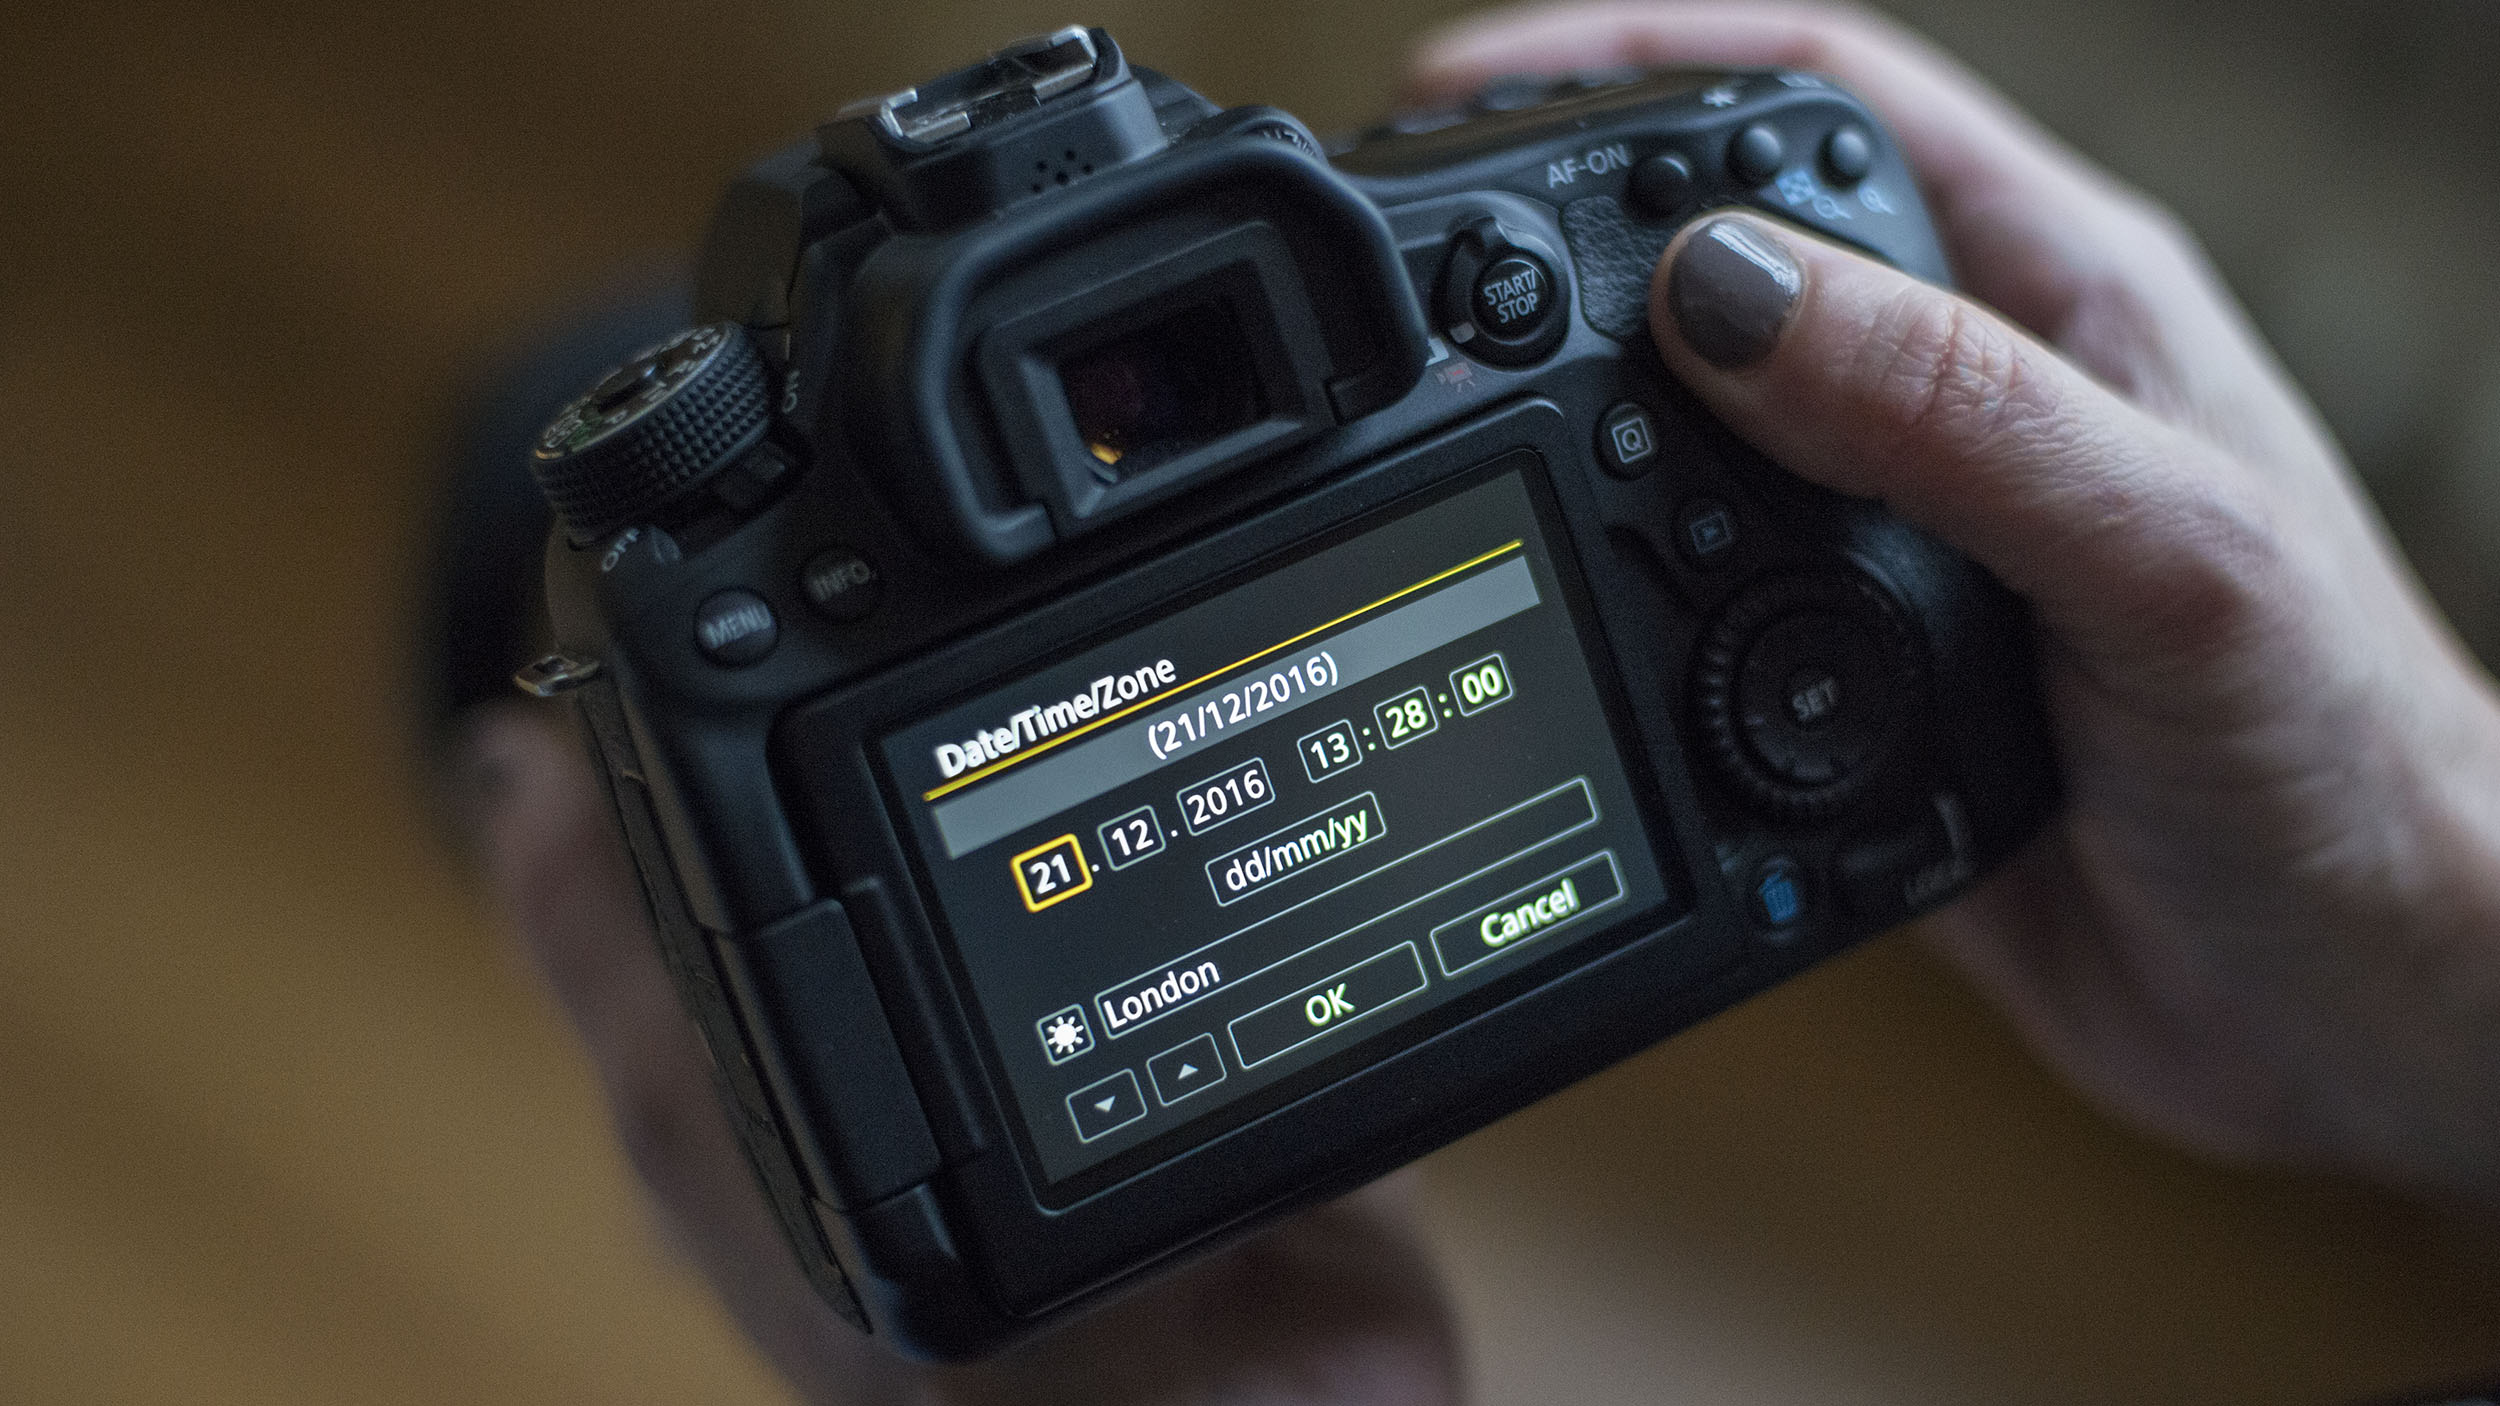
Finally, don't forget to make sure you've got the right date and time set-up. This makes it much easier to track when you took your images when it comes to cataloguing them later.
Phil Hall is an experienced writer and editor having worked on some of the largest photography magazines in the UK, and now edit the photography channel of TechRadar, the UK's biggest tech website and one of the largest in the world. He has also worked on numerous commercial projects, including working with manufacturers like Nikon and Fujifilm on bespoke printed and online camera guides, as well as writing technique blogs and copy for the John Lewis Technology guide.
