Sign up for breaking news, reviews, opinion, top tech deals, and more.
You are now subscribed
Your newsletter sign-up was successful
15. Why Canon Picture Styles are worth a look

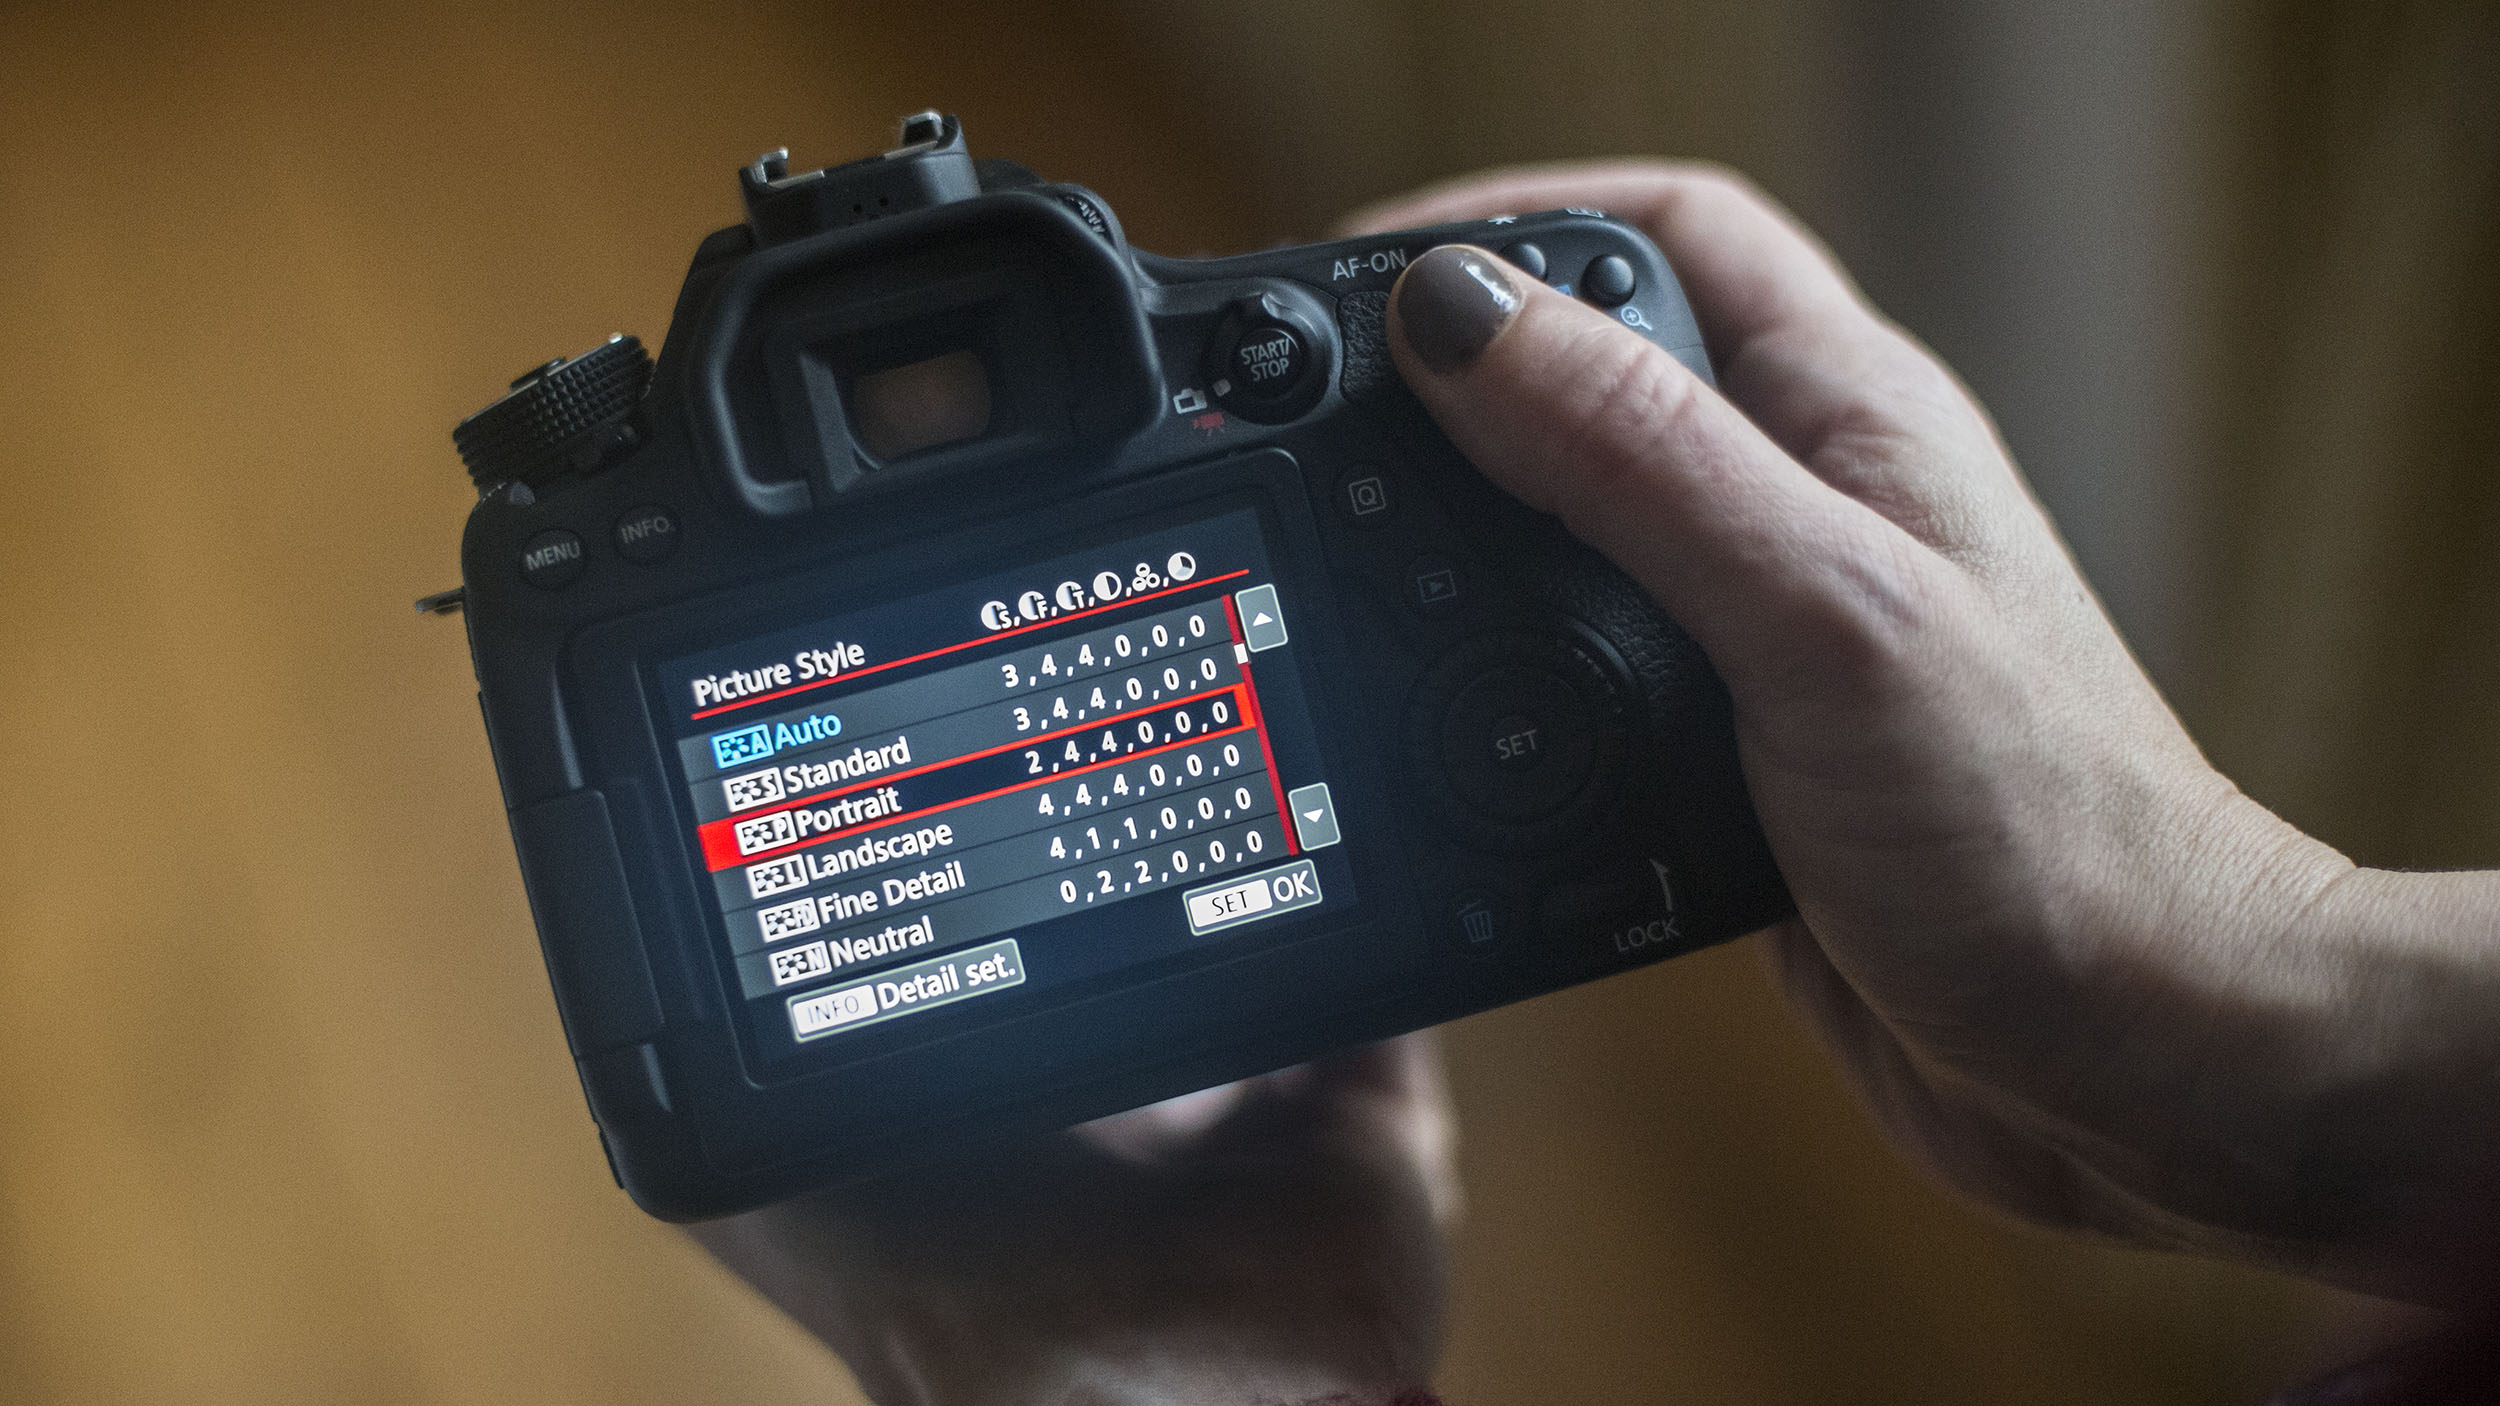
If you shoot raw as we recommend, Canon's sophisticated Picture Style options have little obvious benefit. Picture Styles enable you to adjust the saturation, sharpness and contrast of your JPEGs. These settings are easily altered using an image-editing program. However, they still have their uses….
16. Accurate preview
Picture Styles are useful as they provide you with a better preview of the pictures you have just taken, enabling you to visualise how the picture will look once you've processed the shot on your computer. The Landscape option is one of our favourite Styles, as it gives you punchy-looking pictures in most situations.
17. Get in the right mode
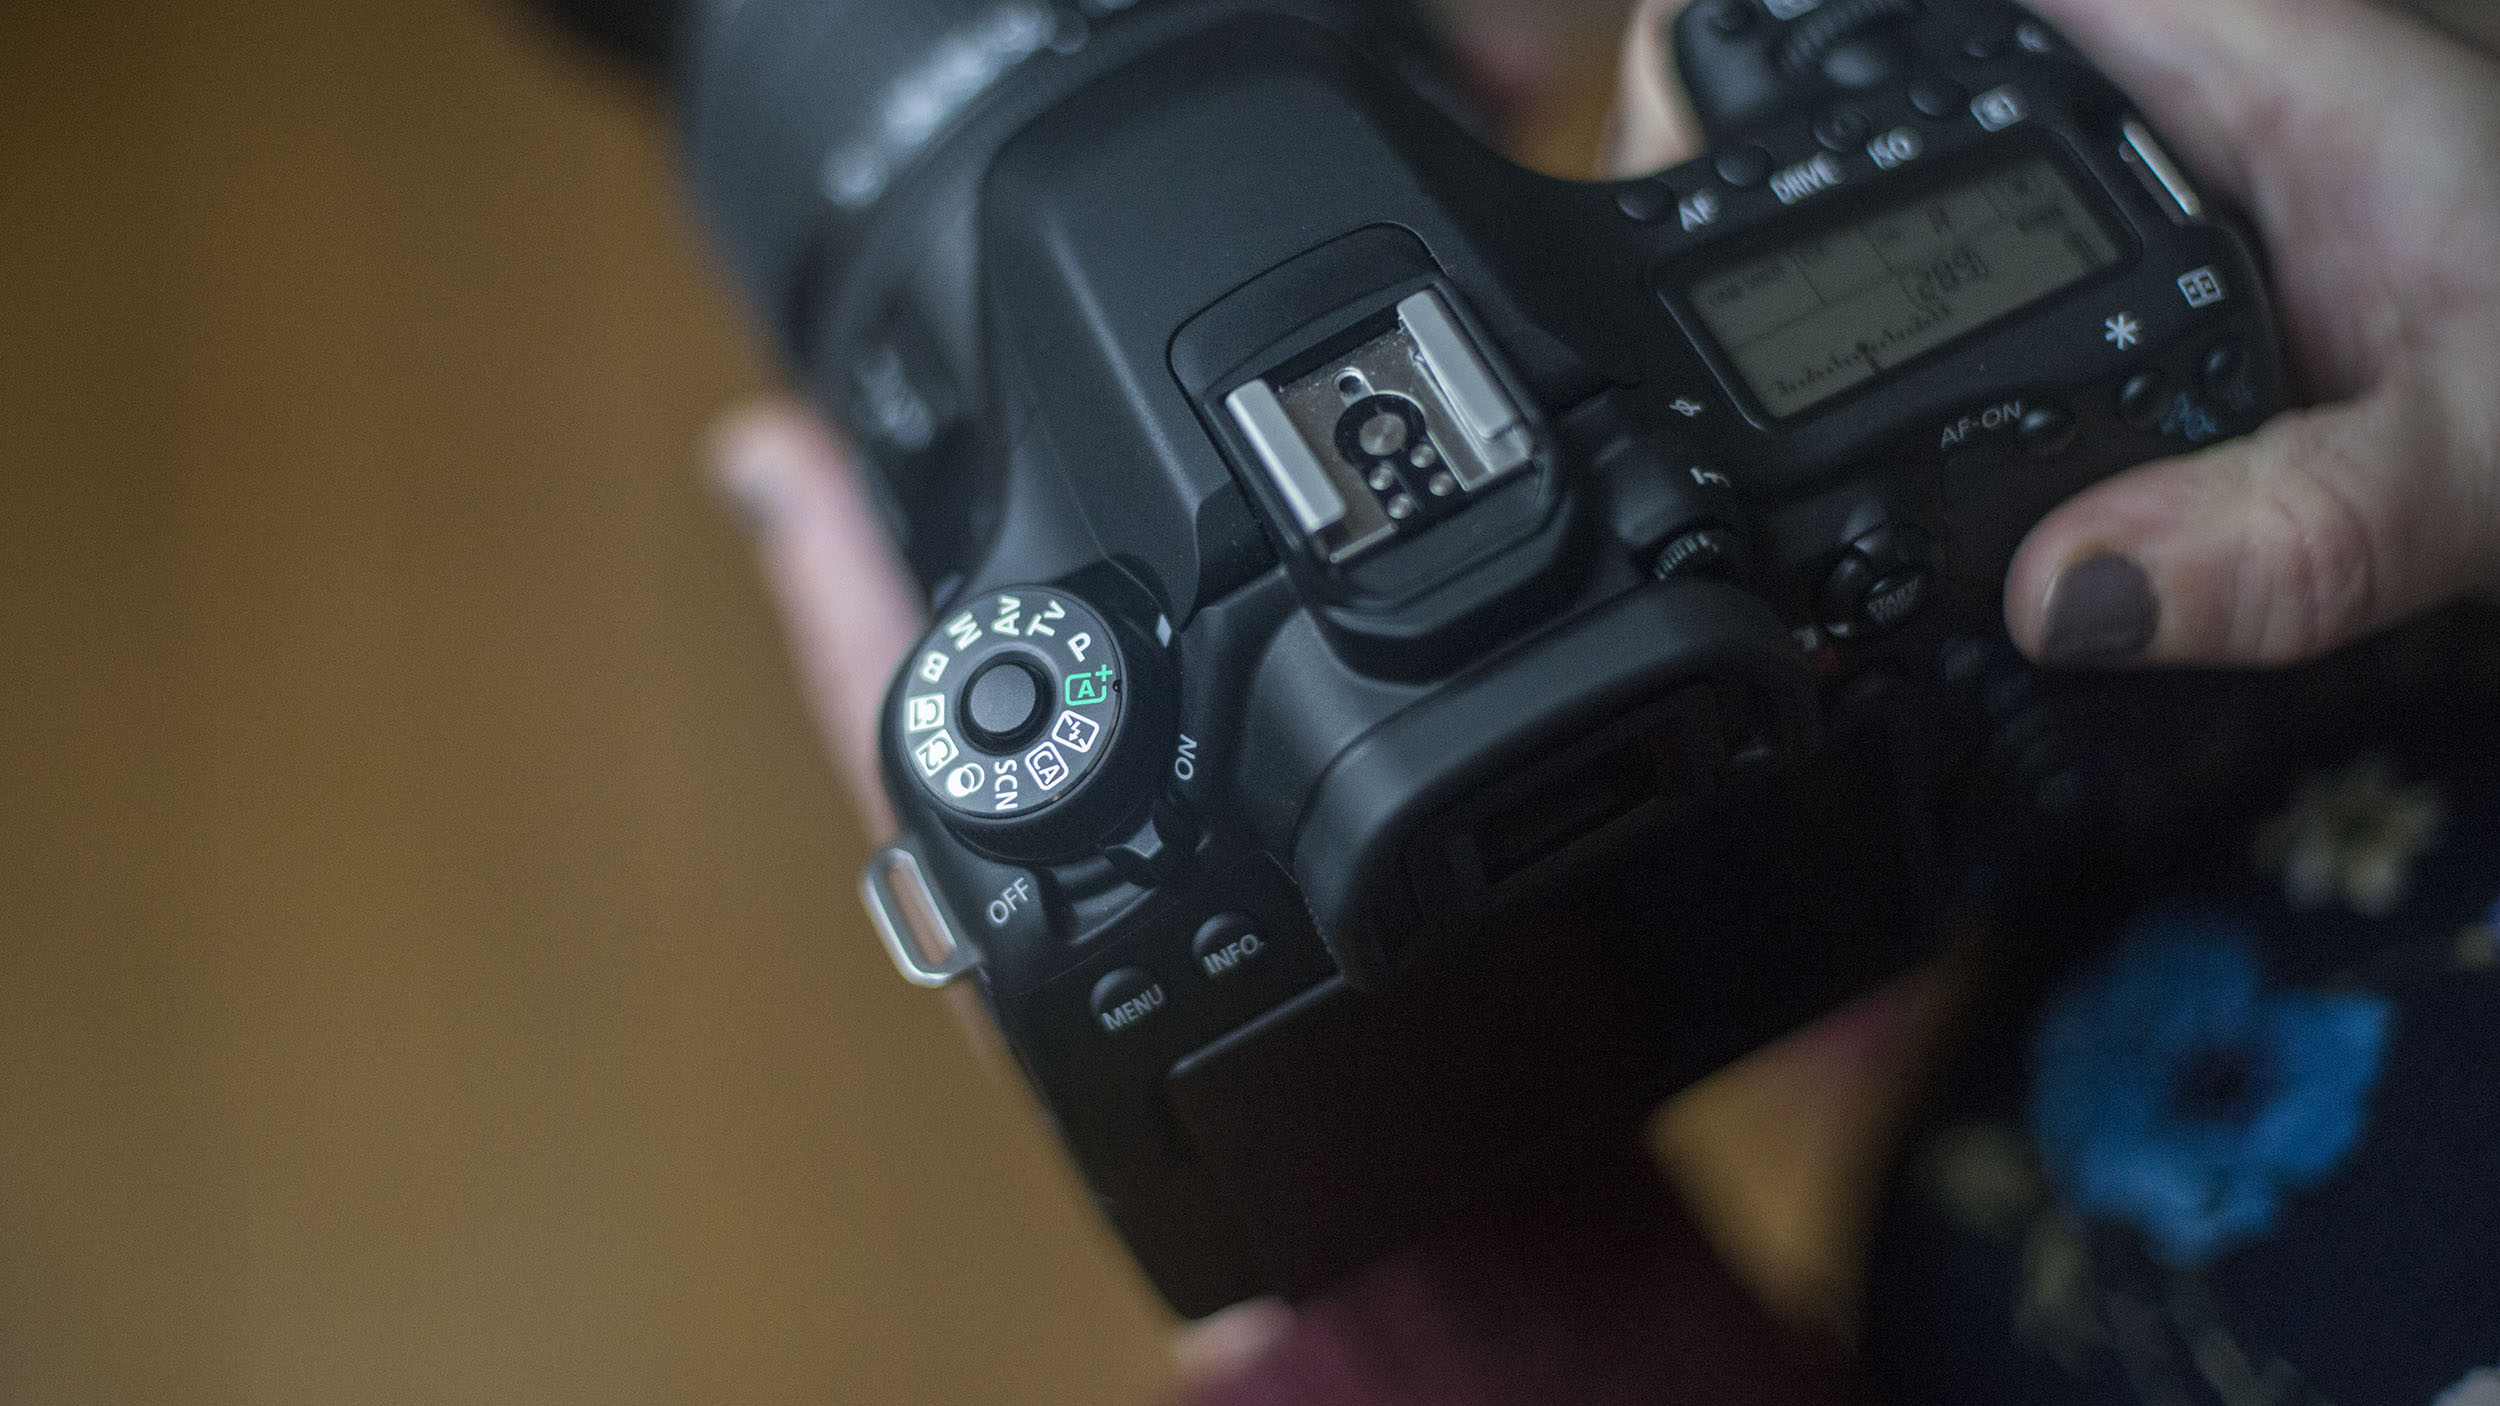
Note that you need to shoot in your camera's P, Tv, Av, M or A-DEP mode in order to use Picture Styles.
18. Experiment with Picture Styles
Picture Styles give lots of choices. Use the Monochrome Picture Style to work out what subjects are best for black and white conversion (although shoot in raw and the images will still be recorded in colour).
Paradoxically, keeping the colours will give better-looking results when you convert to black and white using photo-editing software.
19. Customise your own Picture Styles
There are a range of Picture Styles, but you don't always have to use the presets - you can customise them to suit. Saturation and contrast can be tweaked, while in Monochrome you can add traditional filter effects or toning.
You may need to pick the Style from the main Menu, rather than using the Style key, then press the Disp. or Info button to access the various sliders.
Sign up for breaking news, reviews, opinion, top tech deals, and more.
20. Program shift

The P (or Program) mode is more useful than most people give it credit for. It sets the aperture and shutter speed for you, setting the values depending on the light level and your lens.
However, P isn't about just pointing and clicking - you can change the shutter speed or aperture as you use it (just rotate the thumbwheel behind the shutter button). This is handy when you want to fine-tune what your EOS is doing automatically.
- Learn more: The A to Z of Photography: Program AE
21. Av appeal
Av is a great all-round mode for taking creative photos. You set the aperture using the Main Dial and the camera sets the shutter speed, taking into account the Metering mode and Exposure Compensation you have set.
22. Av for speed
Av mode is just as useful for setting a specific shutter speed as it is for dictating the aperture. It's simple: if you want a top shutter speed, you simply turn the Main Dial until you see the number you want appear in the viewfinder (achieved by you widening the aperture). It's a much more flexible mode to use than the similar Tv option - where you set the shutter speed, and the camera sets the aperture.
23. Easy ways to adjust exposure

There are lots of exposure modes and metering options on your EOS, but the simple way to check exposure is to take a picture and then look at the result on the LCD, whatever settings you have used.
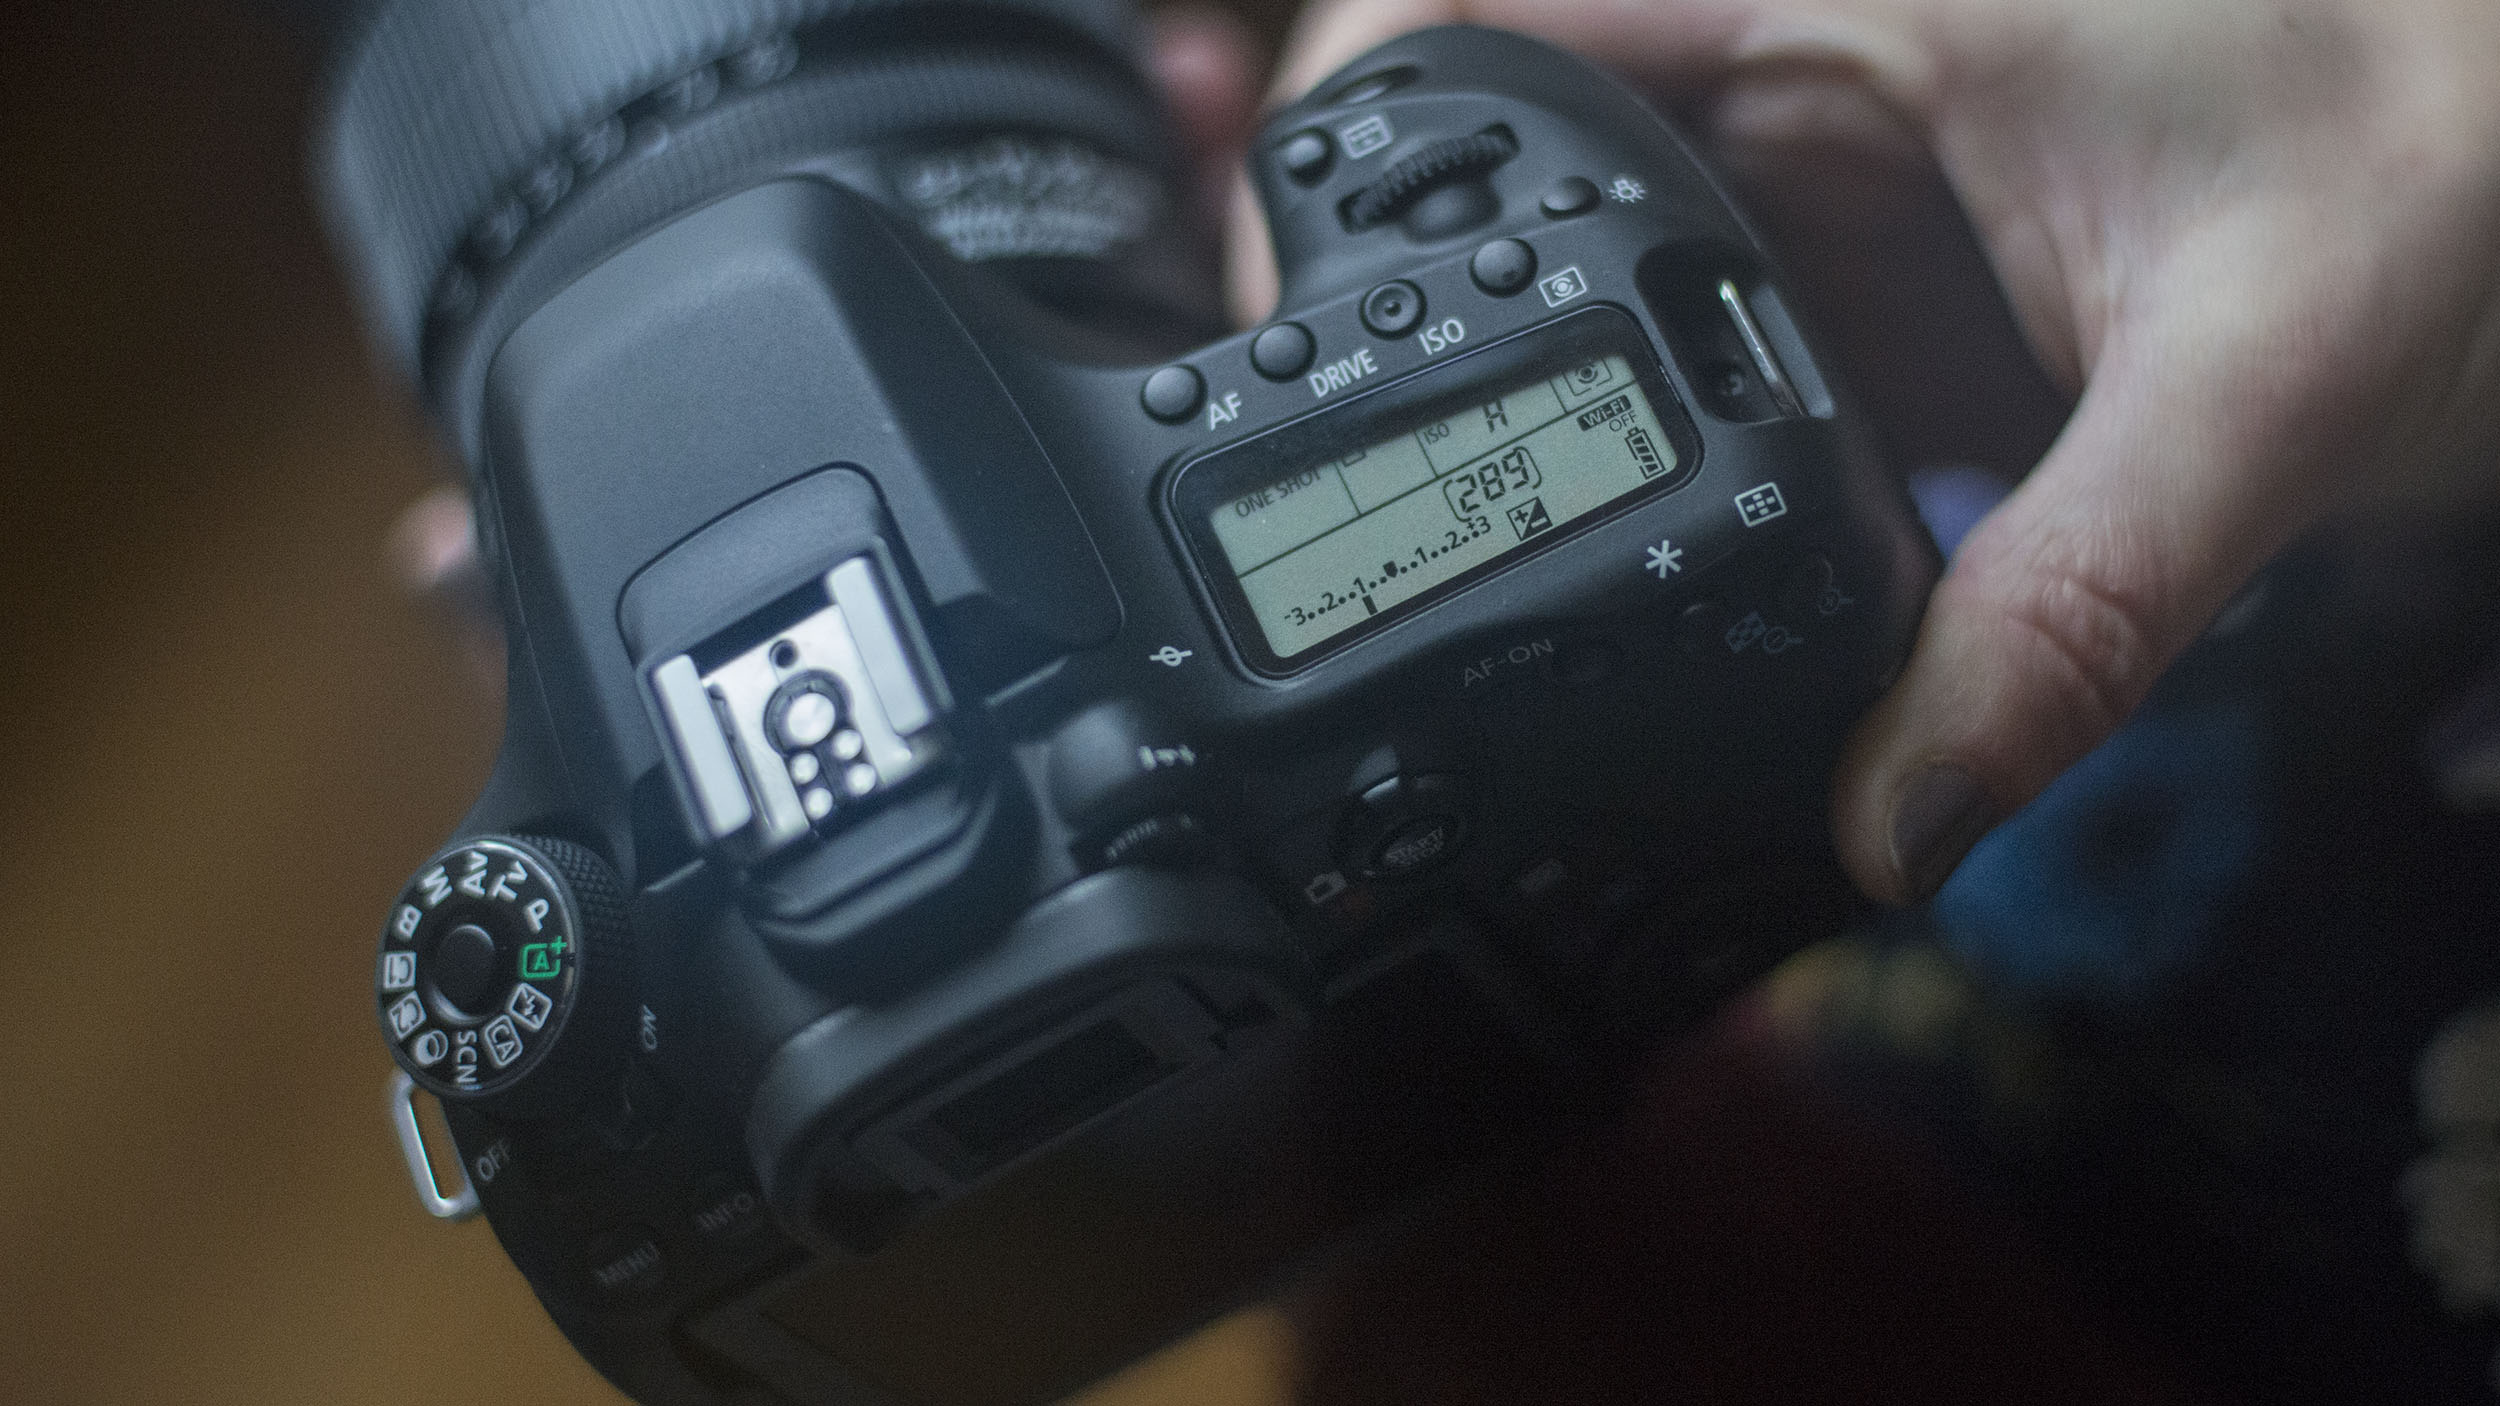
You can then use Exposure Compensation to make the next picture you take lighter or darker to suit. With popular EOS models you press the Av+/- button then rotate the Main Dial behind the shutter. A negative setting makes the picture darker, a positive one makes it lighter.
24. How much Exposure Compensation?
If the subject is predominantly black, the camera will tend to overexpose the shot, so use a negative setting. With a predominantly white or light scene, set Exposure Compensation to +1 or +2 for a good balance.
- Learn more: The A to Z of Photography: Exposure Compensation
25. Partial Metering

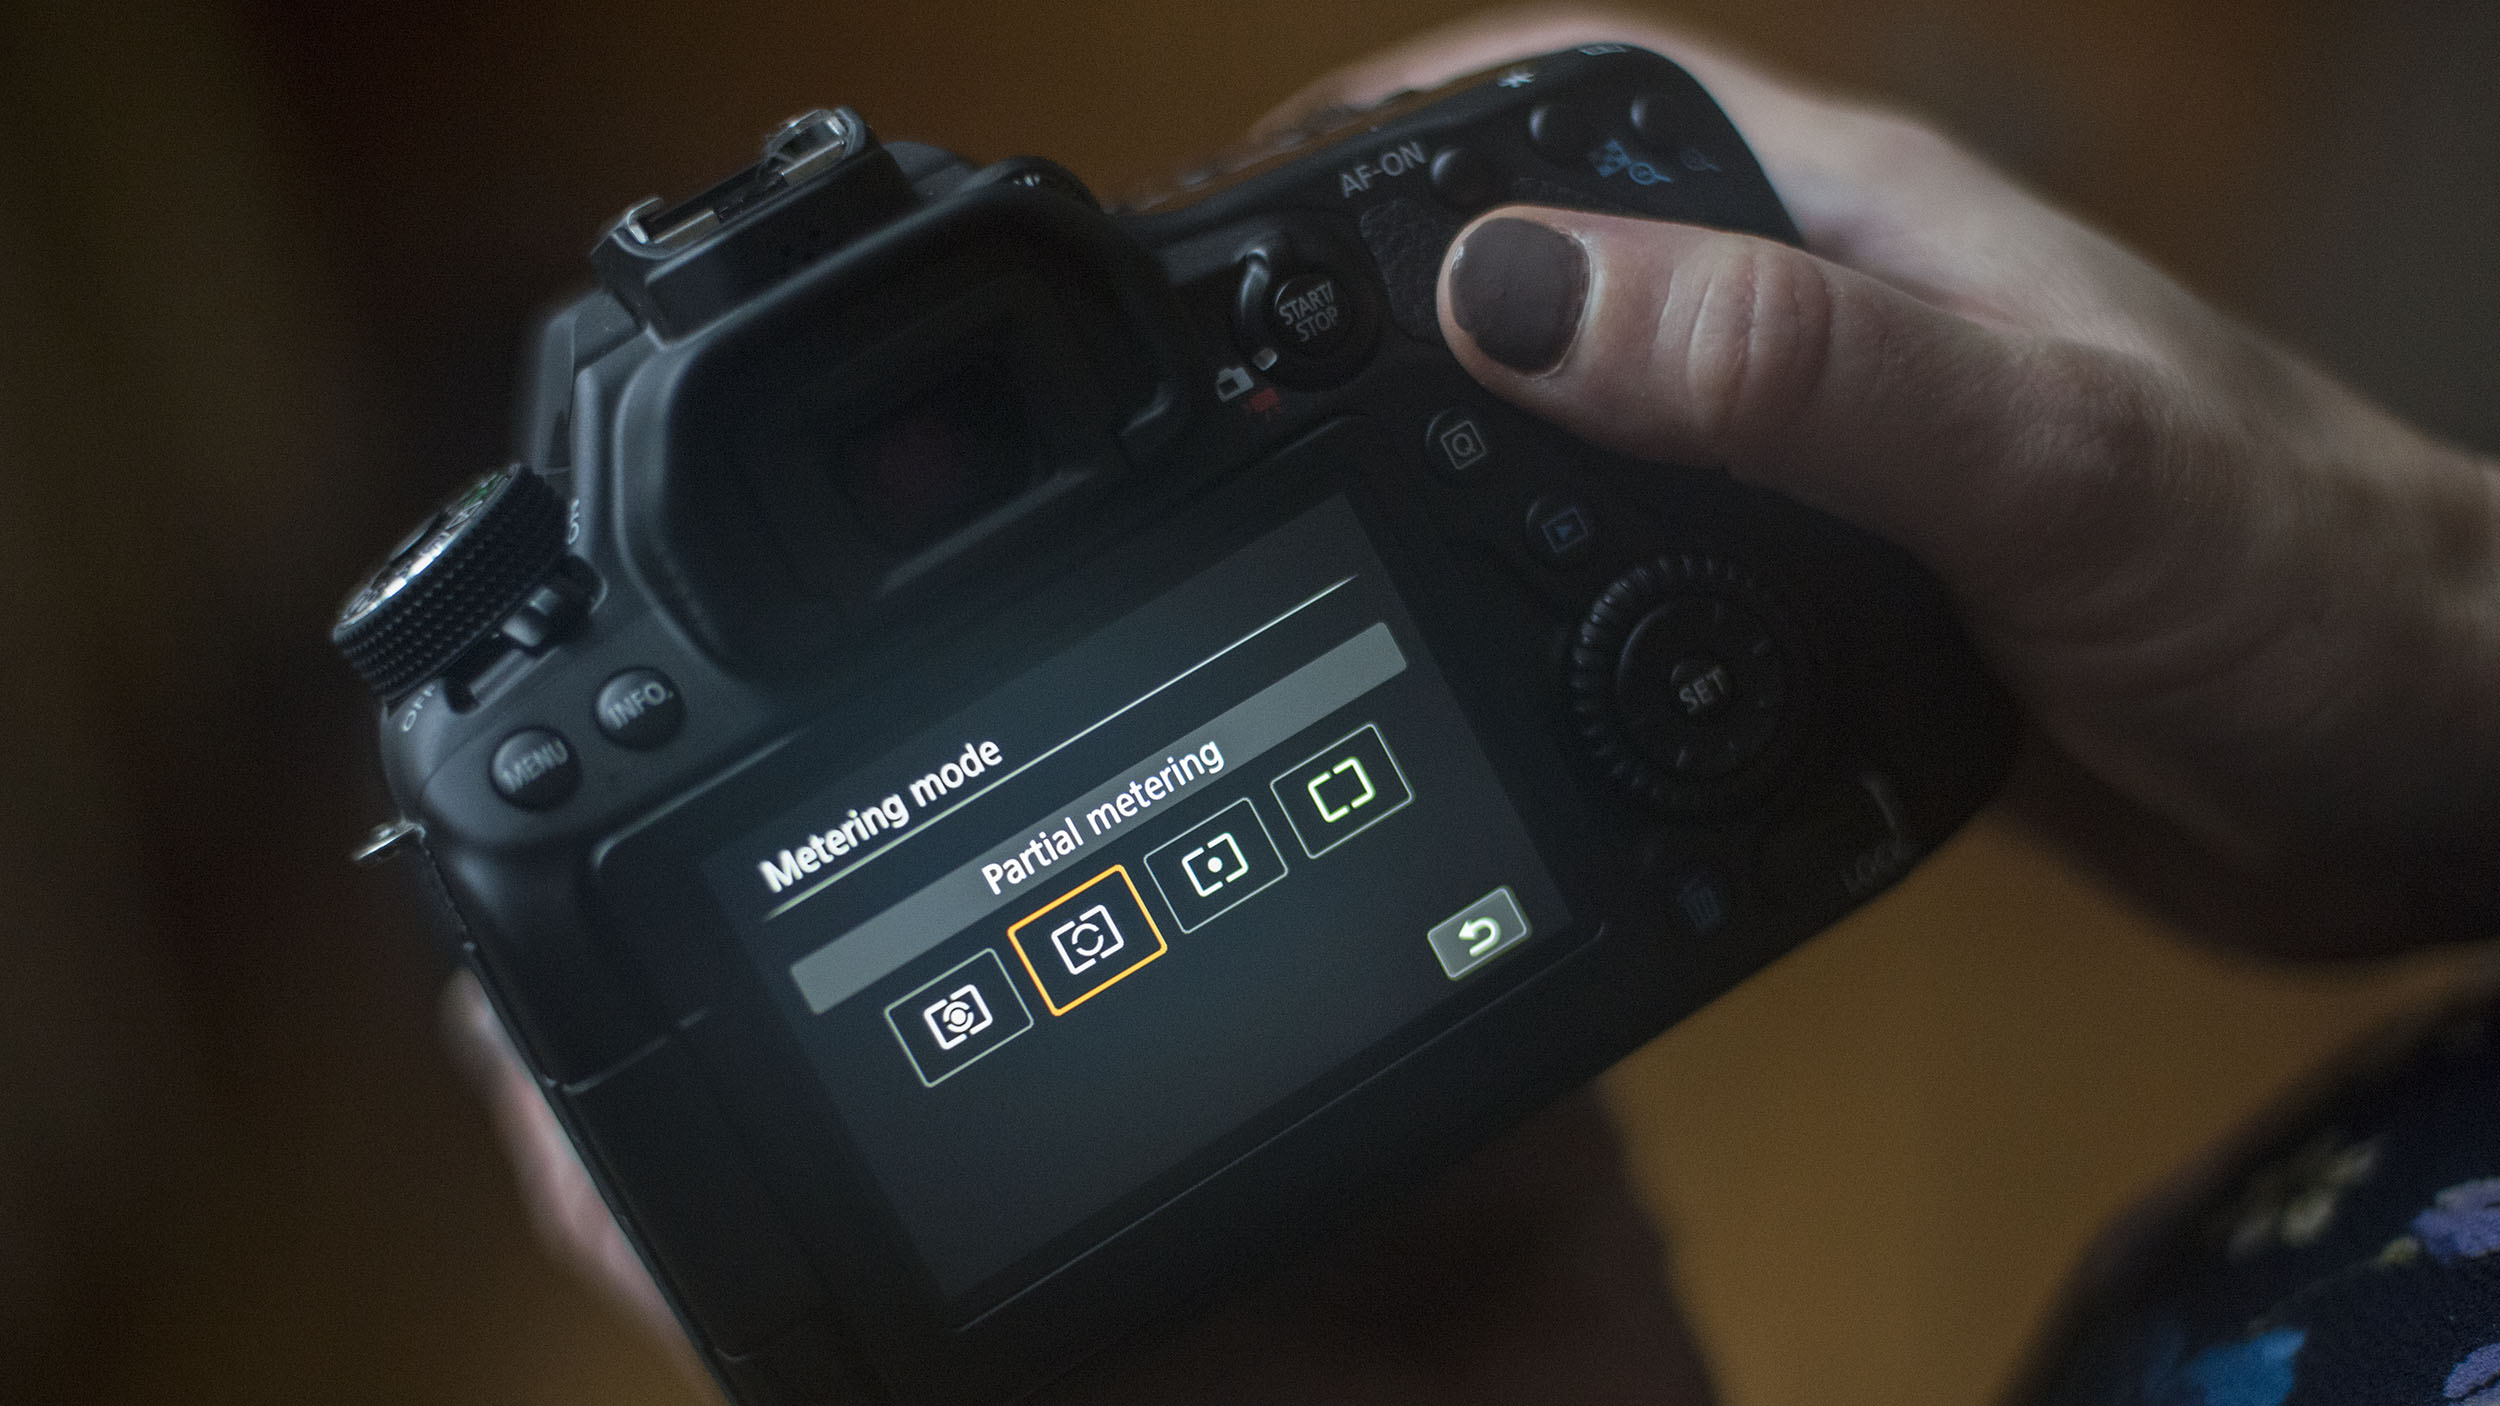
Subjects photographed against a bright background or dark backdrop will need Exposure Compensation to avoid appearing as shadowy silhouettes. You could also switch the Metering mode to one that just measures the brightness from the centre of the screen. We find that Partial metering works well in most situations.
26. Other metering modes
Two other Metering modes to try with your camera are Evaluative and Centre-weighted. Evaluative is pretty intelligent, but not infallible, while Centre-weighted can be easier to predict and adjust for.
27. Focus Lock
One of the handiest DSLR features, Focus Lock gets the autofocus (AF) to focus on a specific part of a scene. Access it by using the One-Shot AF mode, then gently press on the shutter release for the AF system to spring to life - it will then lock when it has homed-in on its target. Keep your finger half-pressed down and recompose your shot, then press the button fully.
Current page: Canon DSLR tips: 15-27
Prev Page Canon DSLR tips: 1-14 Next Page Canon DSLR tips: 28-49
Phil Hall is an experienced writer and editor having worked on some of the largest photography magazines in the UK, and now edit the photography channel of TechRadar, the UK's biggest tech website and one of the largest in the world. He has also worked on numerous commercial projects, including working with manufacturers like Nikon and Fujifilm on bespoke printed and online camera guides, as well as writing technique blogs and copy for the John Lewis Technology guide.