 Become a TechRadar Insider


We also looked at:
1. How to install Kodi on iPhone/iPad without jailbreaking
2. How to install Kodi on Android and Android TV
3. How to install Kodi on a Fire TV or Fire TV Stick
4. How to install and set up Kodi on Xbox One
5. The best Kodi add-ons and how to install them
6. The best Kodi VPN in 2018
While Kodi for Linux was developed for Ubuntu-based distributions, there are plenty of third-party packages available for other Linux distros, and you can also compile Kodi directly from the source code.
If you want to get Kodi for Linux, you’ve come to the right place! We’ll also go over what codecs and subsequent add-ons you should use with Kodi to boost you media streaming experience.
What is Kodi?
Previously called XBMC (Xbox Media Centre), Kodi is an open source home media hub. It enables you to enjoy your media library all in one place – that includes movies, TV shows, music, and video games.
Article continues belowAlthough Kodi doesn’t come bundled with any of its own content, it has a highly customizable interface, from themes through plugins to add-ons, as well as an active developer community.
Unsurprisingly, Kodi is a natural choice for power users.

How to install Kodi on Linux
As mentioned earlier, Kodi for Linux was built primarily for Ubuntu and Ubuntu-based distributions. If you don’t have an Ubuntu-based distro, you can compile Kodi from the source code, a process that does not deviate too much from the following, aside from the build dependencies.
Because of the sheer number of distributions that Kodi can be installed on, we’ve narrowed down this installation guide to Ubuntu and Ubuntu-based distributions, as well as Arch distros.
If you don’t have Linux yet and you’re not sure which distro to go with, check out our roundup of the best Linux distros.
Install Kodi on Linux Ubuntu-based distros
If you have Ubuntu, Linux Mint, or other Ubuntu-based distributions, there are two ways you can install Kodi: the default way from pre-compiled binaries, or by compiling it with the source code. We shall look at those two methods in turn.
Method 1: How to install Kodi
Use the command line terminal and enter the following commands, making sure to follow their prompts.

1. Enter:
sudo apt-get install software-properties-common

2. The next command you enter depends on which Kodi repository you want to add. There are three versions: the final release build, the beta build, and the nightly builds. Enter which one you want to install.
Final release build: sudo add-apt-repository ppa:team-xbmc/ppa
Development build: sudo add-apt-repository ppa:team-xbmc/unstable
Nightly builds: sudo add-apt-repository ppa:team-xbmc/xbmc-nightly

3. Enter:
sudo apt-get update

4. Enter:
sudo apt-get install kodi
And then confirm installation.

5. When Kodi finishes installing, launch Kodi.
Method 2: How to compile and install Kodi with the source code
1. Install Git to download Kodi. For the stable branch, type into the terminal:
sudo apt-get install git

2. Get the source code for Kodi. For the stable branch, you’ll need to explicitly name the version of Kodi you want. In this case, you’ll want Krypton:
git clone -b Krypton git://github.com/xbmc/xbmc.git

3. Go to Software & Updates in your settings and check to see that Source Code has been selected.

4. Install the required packages and dependencies, by entering the following:
sudo apt-get update
sudo apt-get build-dep kodi

5. Configure your Kodi by entering:
cd xbmc
./bootstrap
./configure
If you want to use supported system libraries, just enter:
./configure
There may be errors that come up during this stage. Kodi now requires crossguid for example, which is not available in Ubuntu repositories. You’ll need to supply a Makefile in tools/depends/target/crossguid, so enter:
Make -C tools/depends/target/crossguid PREFIX=/usr/local

6. Build your Kodi by entering:
make

7. With everything compiled and built, you can now install Kodi:
make install or sudo make install
8. Once Kodi has installed, launch Kodi either on your terminal or from your search bar.
How to update Kodi on Ubuntu-based distros
To check which version of Kodi you have, go to Settings > System information and you’ll find the version number at the bottom.

To update your Kodi, simply open up your terminal and type:
sudo apt-get update
sudo apt-get upgrade
If you’re missing additional packages and the update doesn’t work, type:
sudo apt-get dist-upgrade
How to downgrade to a stable Kodi build
If you’re on a development build and want to switch to a stable build, here’s what to do.
1. Locate the PPA you’re currently using by entering:
sudo apt-cache policy | grep team-xbmc
2. Remove the unstable PPA where it says ppa:PPAHERE, like so:
sudo add-apt-repository -r ppa:PPAHERE
3. Now you can build a stable version of Kodi by entering the following:
sudo add-apt-repository ppa:team-xbmc/ppa
sudo apt-get update
sudo apt-get remove kodi kodi-bin
sudo apt-get install kodi

How to uninstall Kodi
To uninstall Kodi, enter the following on the terminal:
Sudo apt-get update
Sudo apt-get remove kodi*
Sudo apt-get purge kodi*
To remove settings and library data (not including videos and music) enter:
rm -r ~/.kodi/
Or for a version of Kodi that’s older than 14.0:
rm -r ~/.xbmc/

How to install Kodi on Arch distributions
Installing Kodi on Arch is very simple – just type:
pacman -S kodi
And confirm installation. Once it’s installed, type kodi to launch.
How to uninstall Kodi from Arch
To uninstall Kodi from Arch simply type:
pacman -R kodi
To uninstall dependencies, type:
sudo pacman -R libmariadbclient libmicrohttpd libxslt python2-pillow kodi
Best Kodi add-ons for Linux
With Kodi now installed on your Linux distribution, you can start downloading your favorite add-ons for Kodi. If you’re not sure where to start, here are some of the most popular Kodi add-ons you can find in the official repository.
The YouTube add-on works just like the eponymous website: you can search for videos, channels, and the top trending clips. Sign in and you’ll also be able to access your personalized subscriptions and recommendations.
BBC iPlayer WWW
To get your fix of British TV, simply download the BBC iPlayer add-on and start viewing your favorite shows, either live or recorded. BBC iPlayer does geoblock its content, which means you either have to be in the UK and possess a TV license, or have a Virtual Private Network (VPN) to access it.
If you already have an account but aren’t in the UK, a VPN will help by masking your real IP address with an IP from a UK location. Once you’re connected to a UK VPN location, you’ll be able to access all your favorite shows on iPlayer.
SpotiMC
Spotify doesn’t have an official Kodi add-on, but audiophiles can still get their fix with an unofficial add-on, SpotiMC, which you can download as a zip file here.
Once installed, you can locate the SpotiMC add-on in Kodi Emby Beta Addons > Music Addons > Spotify. Launch the app and authenticate your Spotify account to grant SpotiMC access.
Twitch
Twitch is a popular live streaming platform mostly for gamers, although there are non-gaming streams too. Download this add-on to watch countless streams and get involved in chat.
Enhance your Kodi experience with a VPN
With some of the most popular Kodi add-ons geo-blocking users from their content, streaming your favorite shows could be futile if you’re not in the right region. If you’re looking to watch BBC iPlayer, for instance, and you’re not in the UK, you’re going to have a hard time logging in.
The good news is that most VPNs (Virtual Private Networks) are Kodi-compatible, so all you need to do is connect to a VPN location in the region where you want to stream (like a UK location to access iPlayer) and everything should work fine. A VPN also helps secure your devices so you can watch, listen, and download without having to worry about snoopers looking at your network activity.
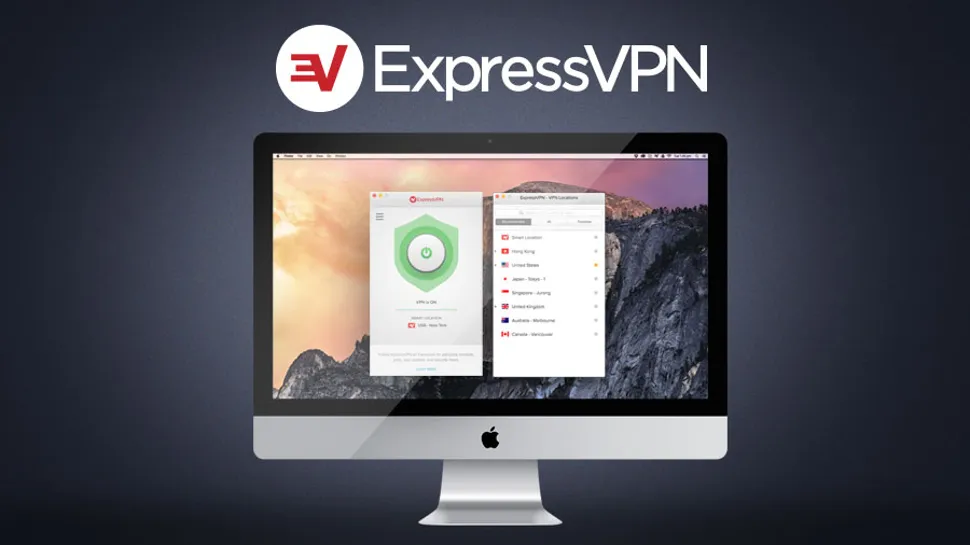
As our highest-rated VPN provider, we recommend downloading and installing ExpressVPN before you start customizing Kodi.
- Check out our list of best VPN service providers
