Linux fanboys will probably have had one thought when they saw this article's title: 'Why would you go to the trouble of making Linux look like Windows when Linux already looks pretty good?'
Well, there are a few good reasons. Firstly, you may want to install Linux for someone who's only familiar with Windows, and you'd like to make their working environment as friendly as possible.
Article continues below 
This is because KDE is more Windows like than Gnome and the other Linux desktop environments. Its file manager behaves more like the Windows equivalent and its applications behave more like their Windows counterparts.
However, many of our suggestions will work for Gnome too, and you can always run KDE applications within the Gnome desktop if you want the best of both.
1. Colour scheme
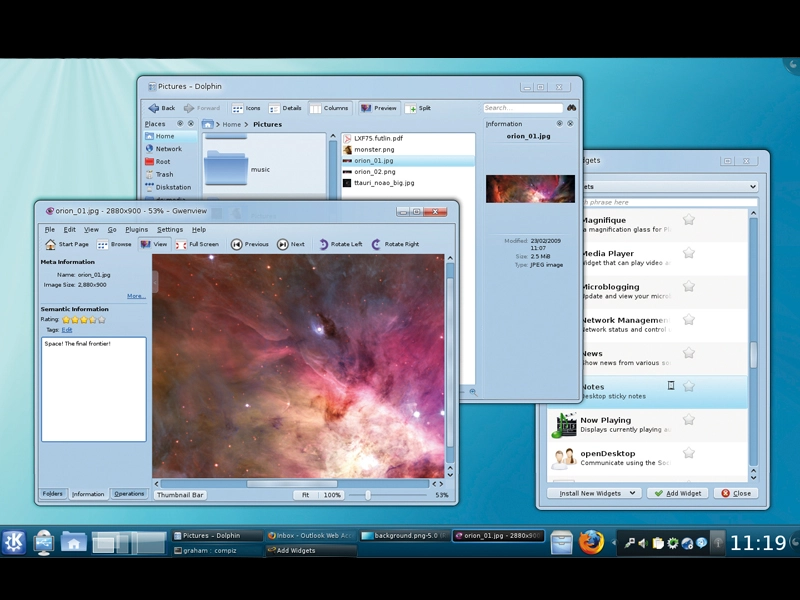
KDE has the most comprehensive theming engine of any Linux desktop. If you can see it, you can almost certainly change it. We're going to start our theme experiment with the Windows colour scheme. This is easy to emulate and, as it's a non-destructive process, it can quickly be switched back with just a couple of mouse clicks.
The Colour Scheme configuration panel can be found by clicking on the System Settings application from the Launch menu and then clicking on the Appearance icon in the top right. This is the main page for changing the look of your desktop, and the colour palette can be adjusted by selecting the 'Colours' option.

This will open another window that lists a selection of installed colour schemes, with the current one selected at the top of the list. Despite the KDE 4 theme being mostly blue, there's still a big difference between KDE and the palette used by Microsoft.
Click on the Colours tab on the right to see a list of the current colour configuration. It's a big list, including elements such as 'active window background', 'inactive title bar', 'hover decoration' and 'neutral text', but you can apply your changes as you go to see the results, and a small preview at the bottom of the window gives an indication of how things will look.
The most significant change is the window background colour. Click on the colour box to the right of this label to open the colour selector, and enter an HTML value of B7D0E6. This is the closest match to the Windows blue we could find, and if you click on the 'OK' and 'Apply' buttons, you should see your desktop leap in the direction of Windows 7.
The other major colour changes include a button background value of CFDCE9, a selection background value of 96E2FB, an inactive title value of BCD4EB, an inactive titlebar text value of 485359, and switching selection text to white and active titlebar text to black.
The result should be a very Windows-like palette. You need to click on the Scheme tab followed by 'Save Scheme' to save your changes.
2. Window decoration
The next step is to alter the decoration that surrounds the window. Unsurprisingly, this is the job of something called the Window Decorator, and while KDE's is very flexible, it's not the most user-configurable.
The winner of that accolade goes to the Emerald project, which is closely tied to the Compiz framework used by Gnome to do all the graphical frippery we've come to expect from the Linux desktop. Emerald needs to be installed along with Compiz and its dependencies, but this can be accomplished with either the Kubuntu package manager or your package manager of choice.

You then need to launch the applications from the command line by typing compiz-manager followed by emerald-thememanager. The first thing you'll notice is that your window borders will switch to a hideous shade of red. This is a sign that Emerald is working properly.
You should also see the Emerald theme manager now sitting on your desktop, and it's this we're going to use to create our new window decoration. If you visit www.compiz-themes.org and download the Who Needs Windows 7 theme, you'll have a good foundation for building a slightly more accurate theme.
To install and use any Emerald theme you download, click on the Themes tab in the main window of the Emerald manager, followed by 'Import'.
Next, select the downloaded file. This should then appear in the Themes list, and it can be activated by clicking on it. Within Emerald, theme editing updates the desktop in real-time, which makes it perfect for experimentation. We'd suggest opening a screenshot of Windows 7 and switching to the Edit Themes view.
From there, we found that setting all the blend colours to B7D0E6 gave a closer result than the default Windows theme, as did increasing opacity to 0.95.
However, as with Windows 7, window opacity is a matter of taste. Darkening one of the blend colours also emulates the Windows radiant. If you switch to the Titlebar page, we changed the vertical and horizontal offset to 13 in an attempt to copy the new style of button layout.
We also increased the size of the font used in the titlebar and reduced the titlebar height to 35. The button images aren't perfect, but they're fairly representative of those used by Windows 7.