Macro lenses: how to choose one, and how to use it
Magnification, minimum focus and more explained
Sign up for breaking news, reviews, opinion, top tech deals, and more.
You are now subscribed
Your newsletter sign-up was successful
How to shoot close-ups
There are some useful tricks and tips to be aware of when shooting close-ups. For starters, stillness is essential. More than in any other type of photography, any vibration or movement in the camera can massively degrade the sharpness of the image. For this reason, a tripod is all but essential for shooting extreme close-ups. A problem, however, is that it can be difficult to get the camera sufficiently close to many types of subject when using a regular tripod. A growing number of tripods have a pivot facility, so you can rotate the centre column and use it as a horizontal boom for supporting the camera. This is great for macro shooting, but it’s wise to hang a your camera bag or other additional weight from the tripod to avoid the risk of it toppling over.
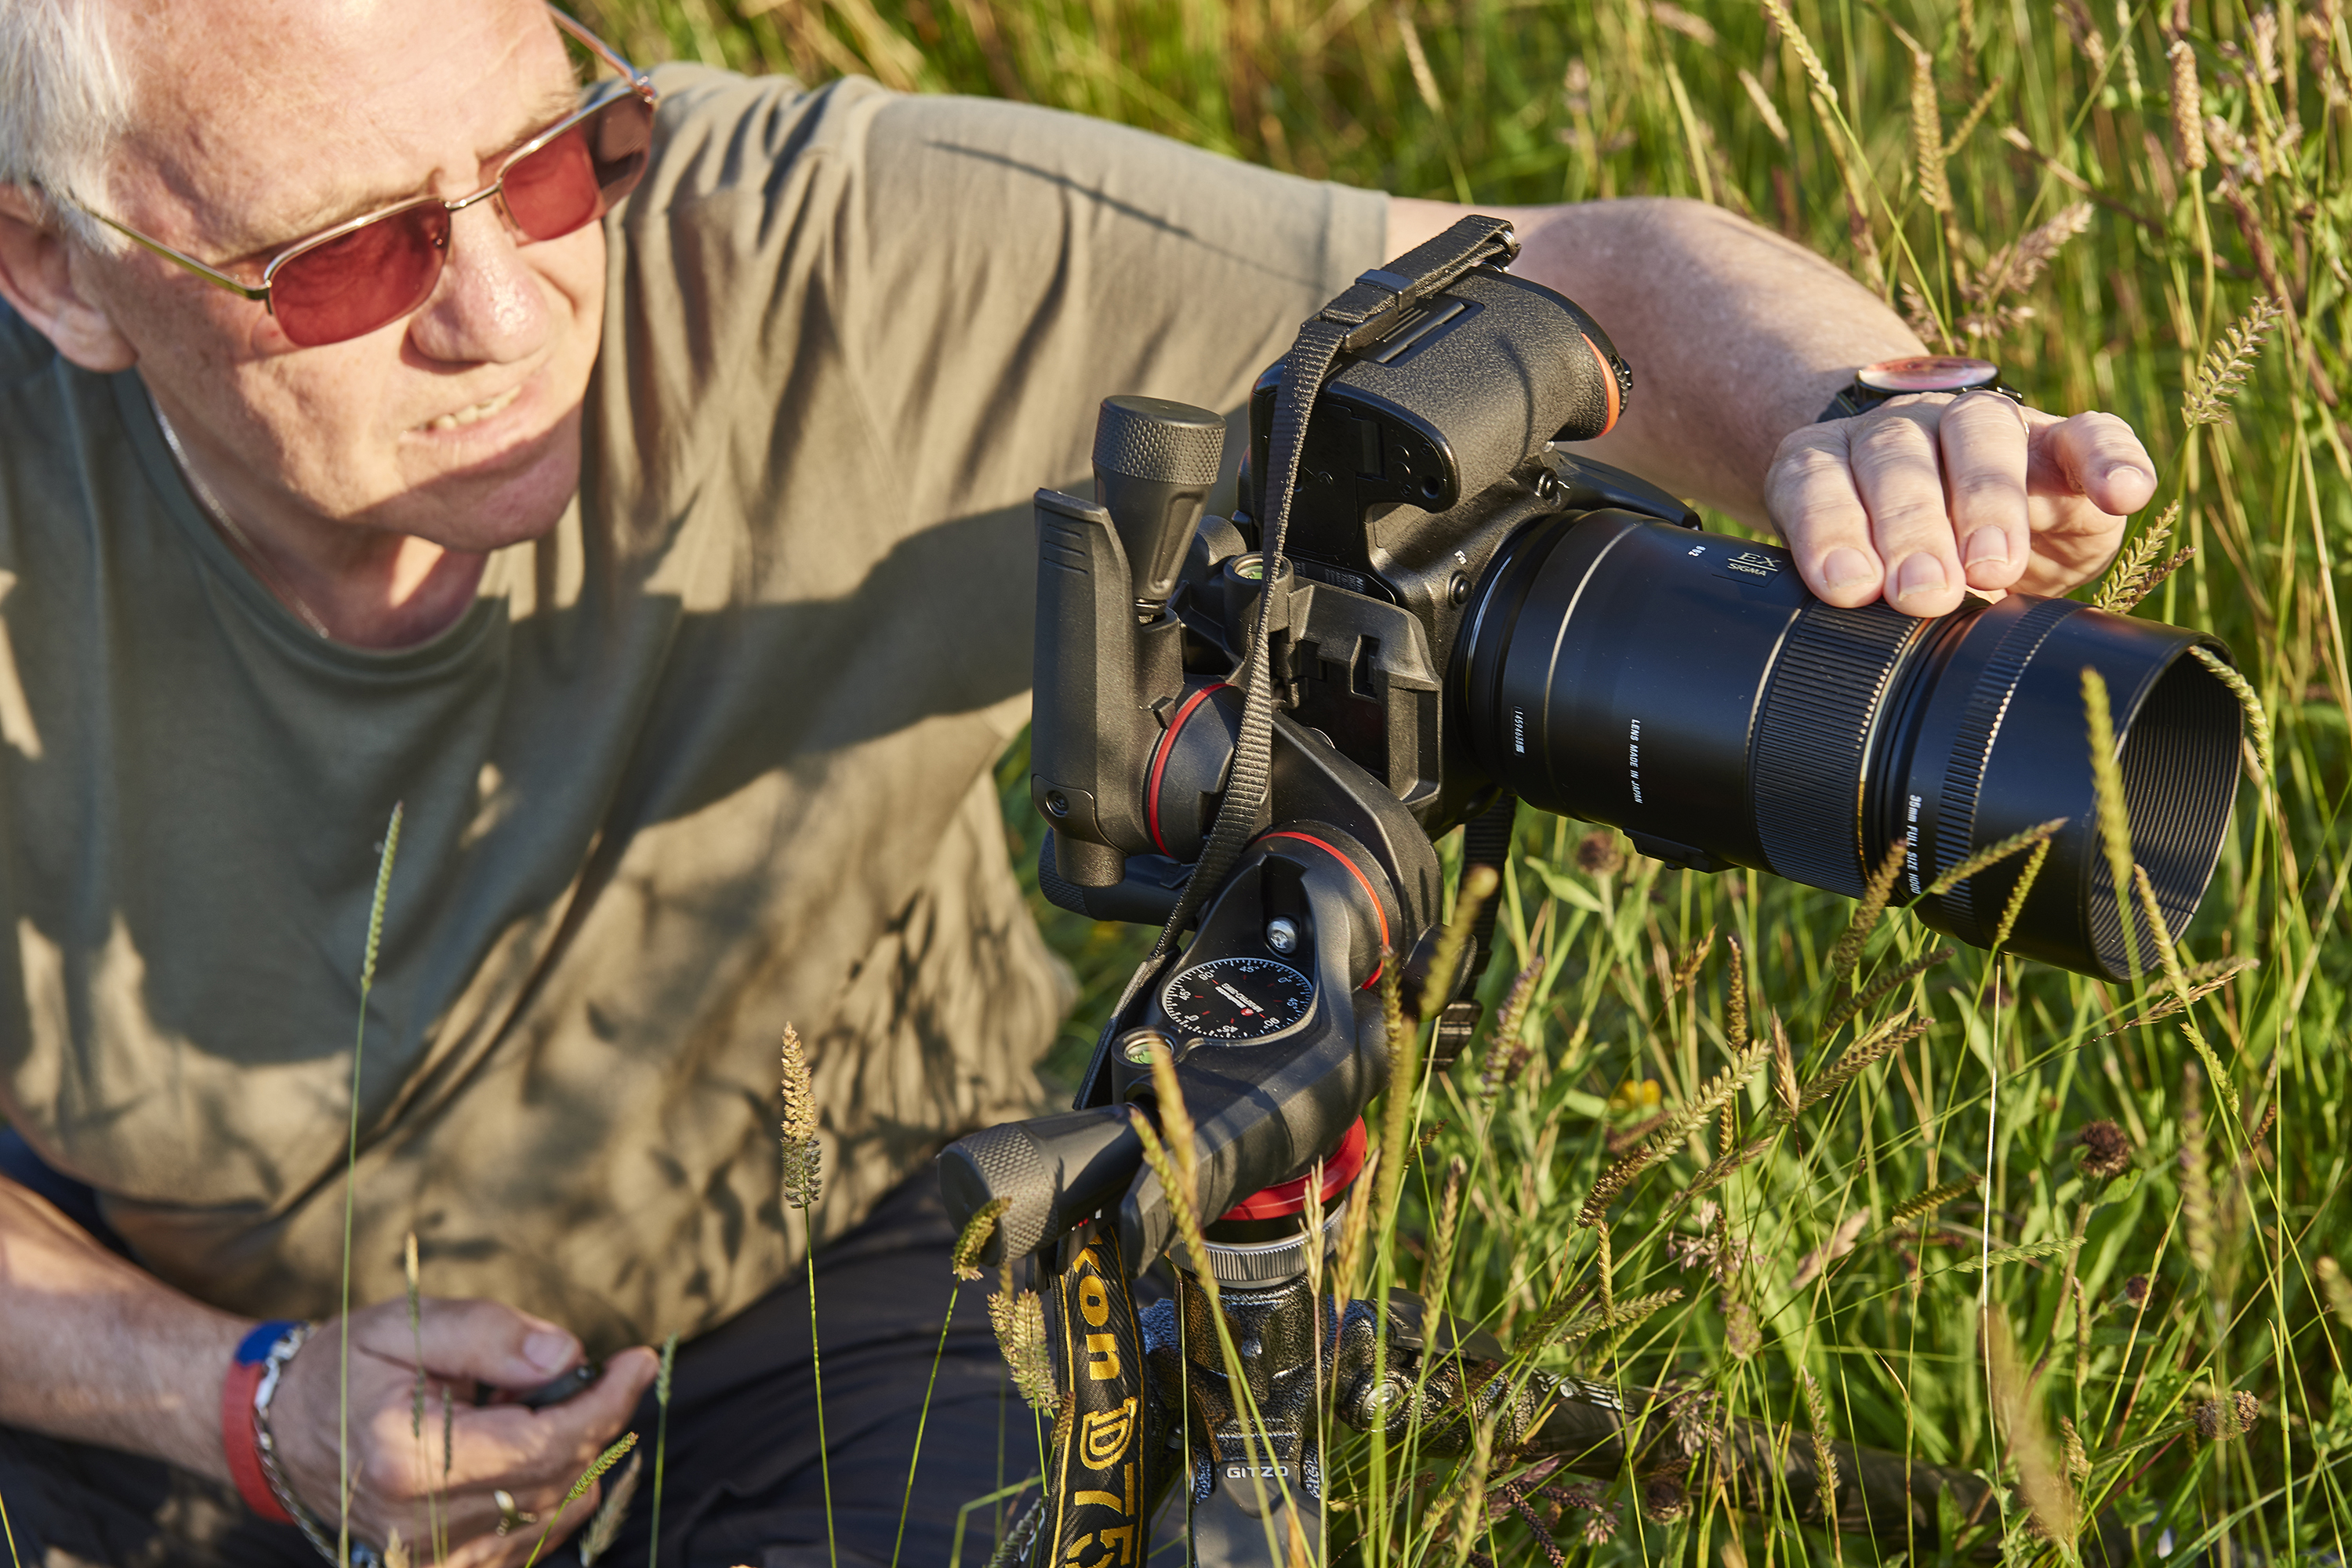
Even with the sturdiest tripod in the world and a remote controller than enables you to shoot without touching the camera, DSLRs can still suffer from vibration. This is due to a phenomenon called ‘mirror-bounce’, caused by the action of the reflex mirror flipping up immediately prior to the exposure. This introduces vibrations that can take a moment to dissipate, and it can actually be more of a problem when using a tripod than in handheld shooting, where the relative softness of your hands can act as a vibration damper.
If you don’t have a remote controller, some cameras enable you to use the mirror lock-up mode with a self-timer release of between two and 10 seconds
To overcome mirror bounce, many DSLRs have a mirror-up or mirror lock-up shooting mode. On the first press of the shutter/remote controller button, the mirror flips up but the shutter doesn’t open. You can then apply a second press purely to release the shutter, once vibrations have died down. If you don’t have a remote controller, some cameras enable you to use the mirror-up mode with a self-timer release of between two and 10 seconds. Most current Nikon DSLRs don’t enable this combination but, instead, have an ‘exposure delay’ custom setting, which sets an automatic delay between the mirror flipping up and the shutter opening. Indeed, some top-flight cameras also give you the option of using an electronic first curtain to open the shutter, thereby eliminating vibrations from the mechanical shutter as well.
Using Live View
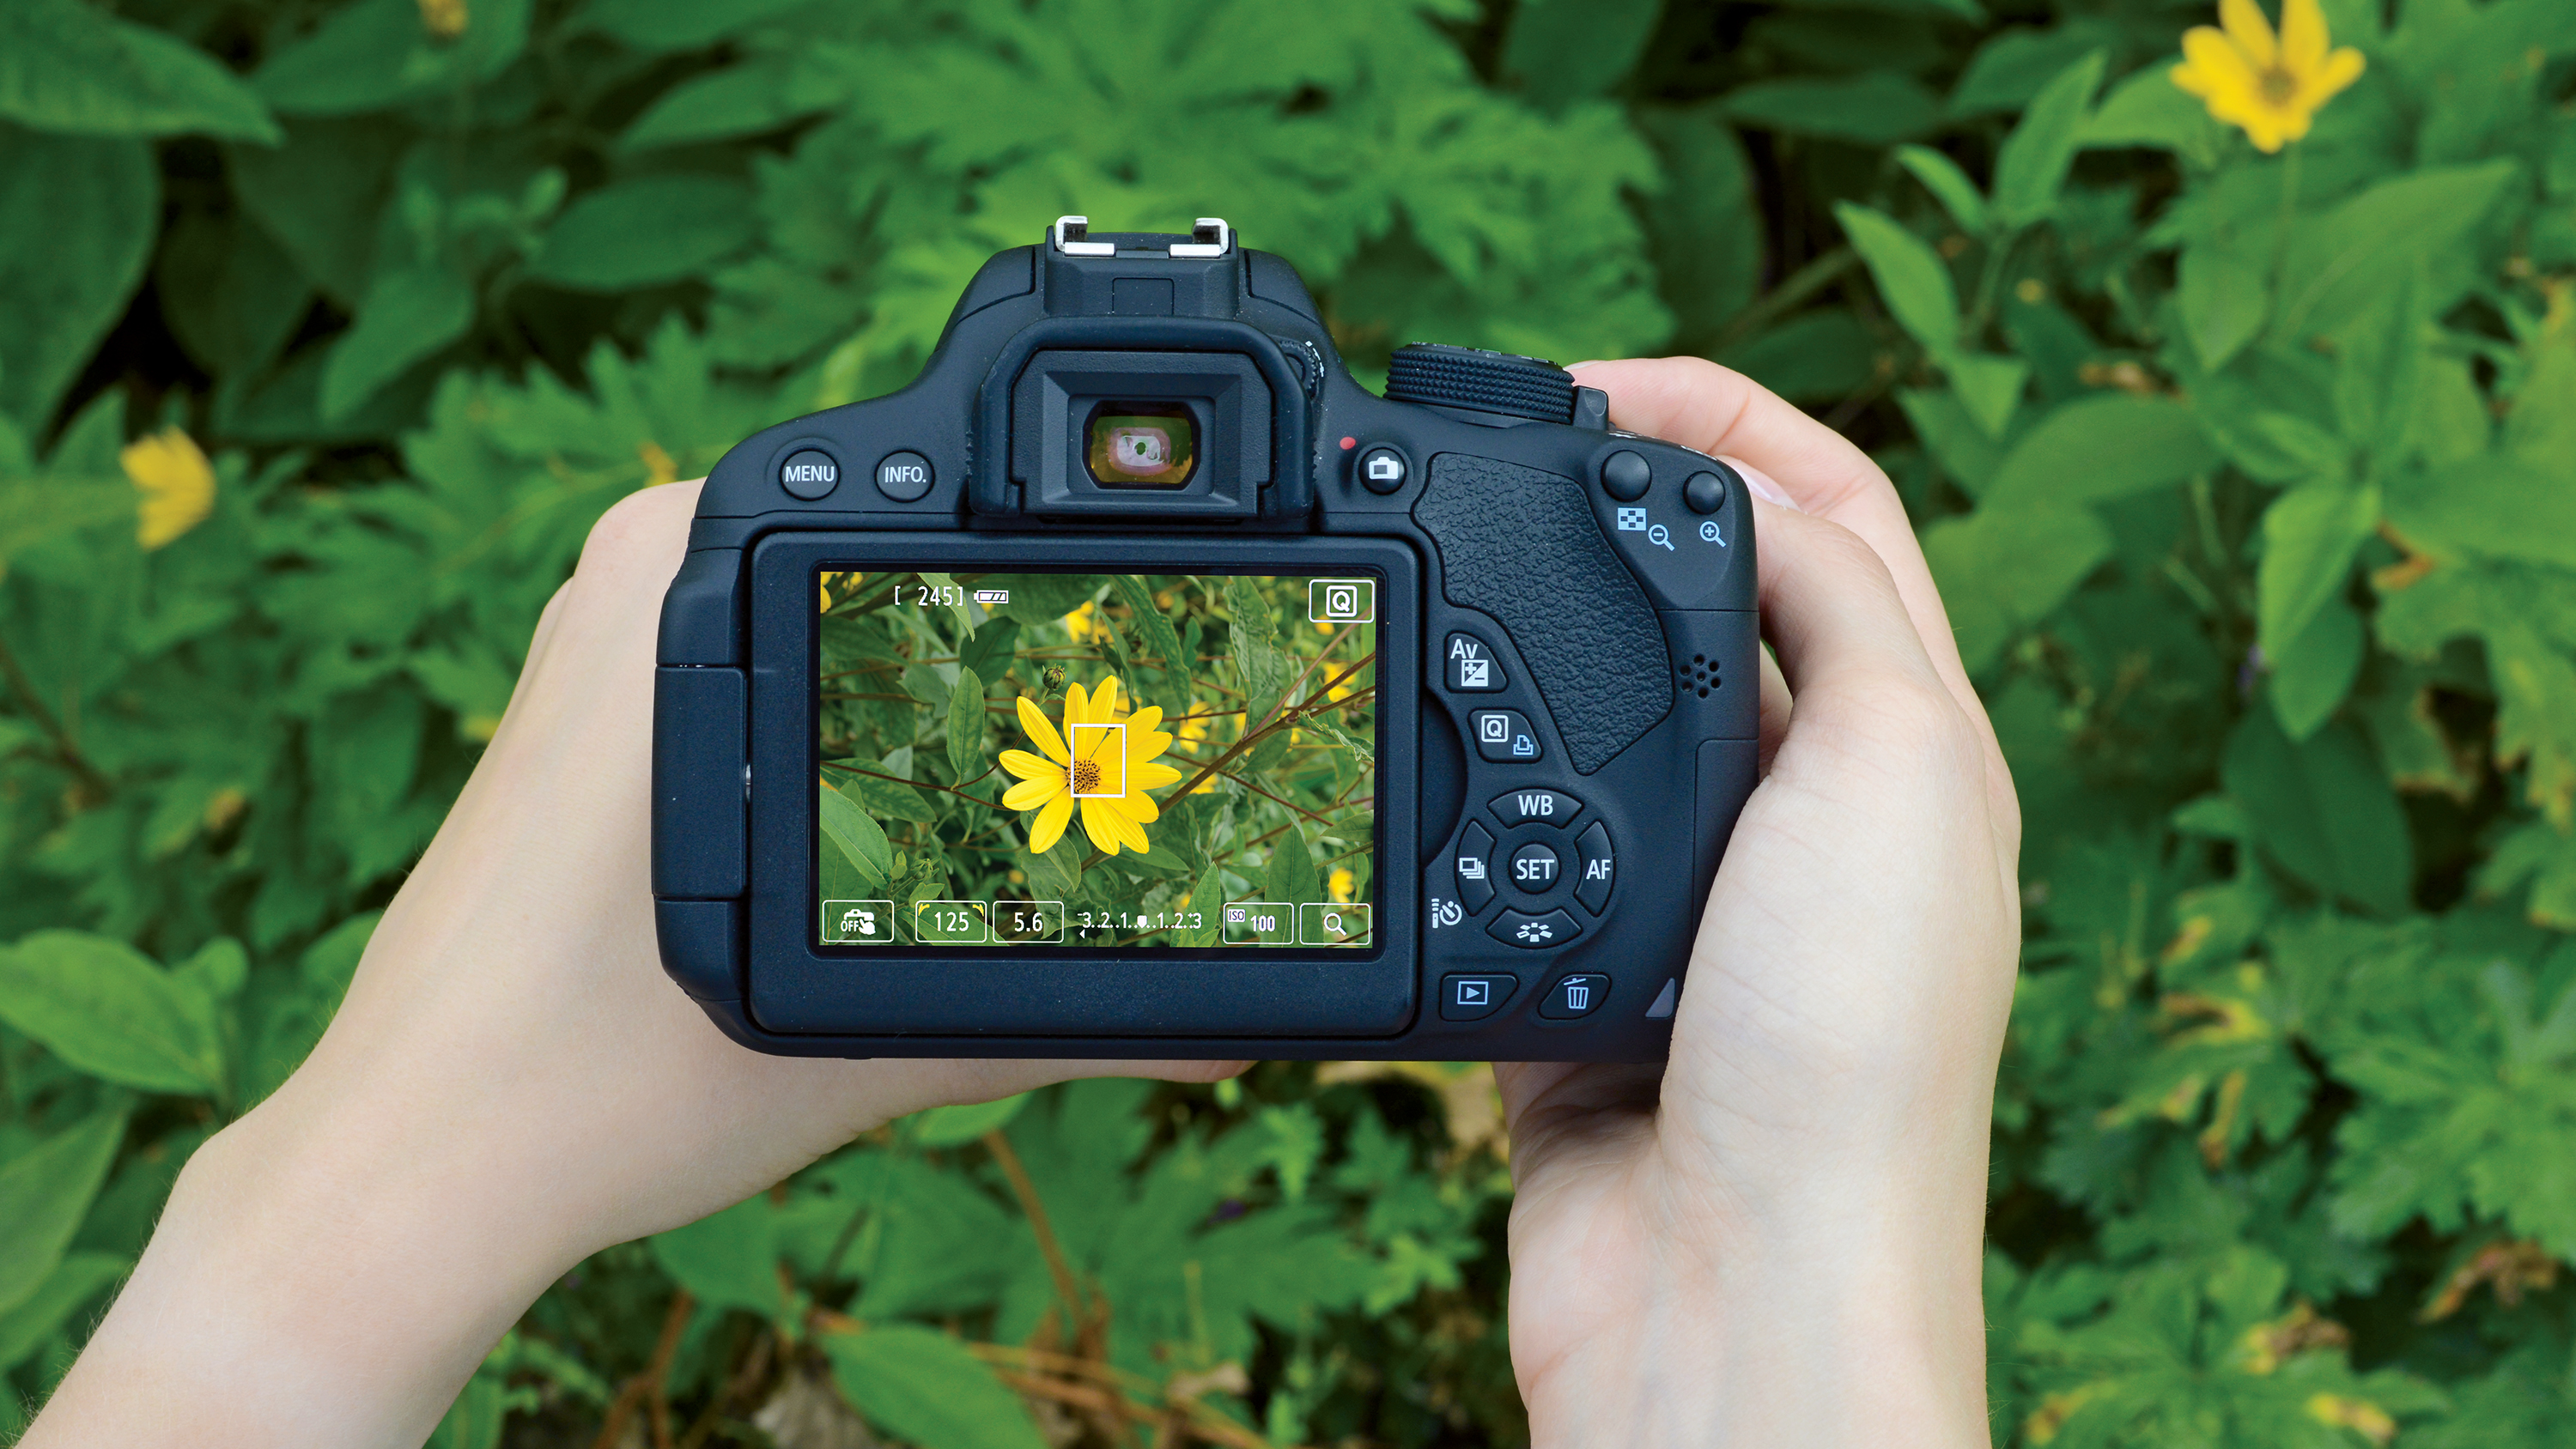
Entry-level DSLRs usually don’t have a mirror-up or exposure delay mode to avoid mirror bounce. A good workaround is to use Live View shooting mode, which locks up the reflex mirror for viewing the subject on the camera’s LCD screen, via the image sensor. You can therefore use Live View with a remote controller or a self-timer delay to avoid mirror-based vibrations. A further bonus of using Live View mode is that you can utilize the magnified preview option to gain utmost accuracy with critical manual focusing, zooming in on the most important part of the subject.
Macro lenses are typically ‘flat field’ lenses, in that they don’t suffer from field curvature. This means that if you’re photographing a flat, two-dimensional object like a postage stamp from head-on, everything should be sharply in focus from the centre to the corners. It’s a bit academic in most cases, however, as you’ll most probably be shooting three-dimensional objects. The problem here is that, at or near their minimum focus distances for gaining high levels of magnification, macro lenses have a tiny depth of field. This is a measure of the distance between the nearest and furthest points in a scene that can be rendered sharply.
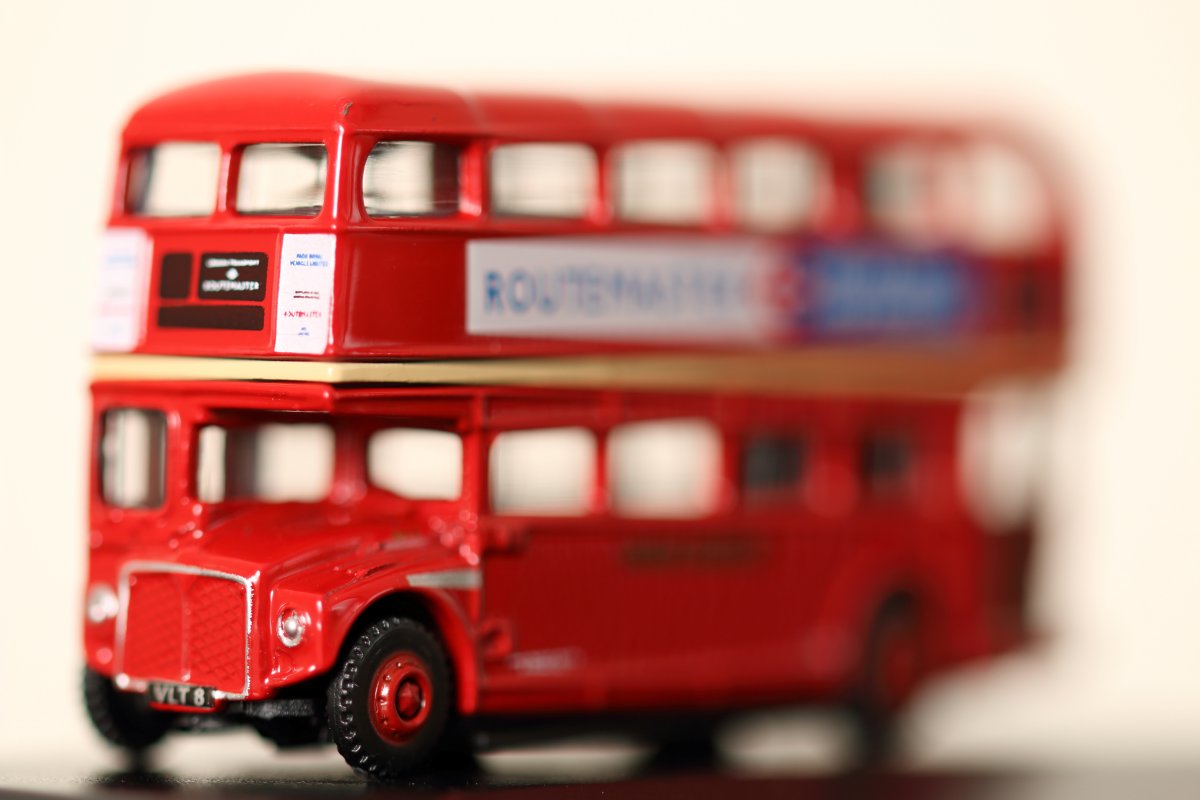
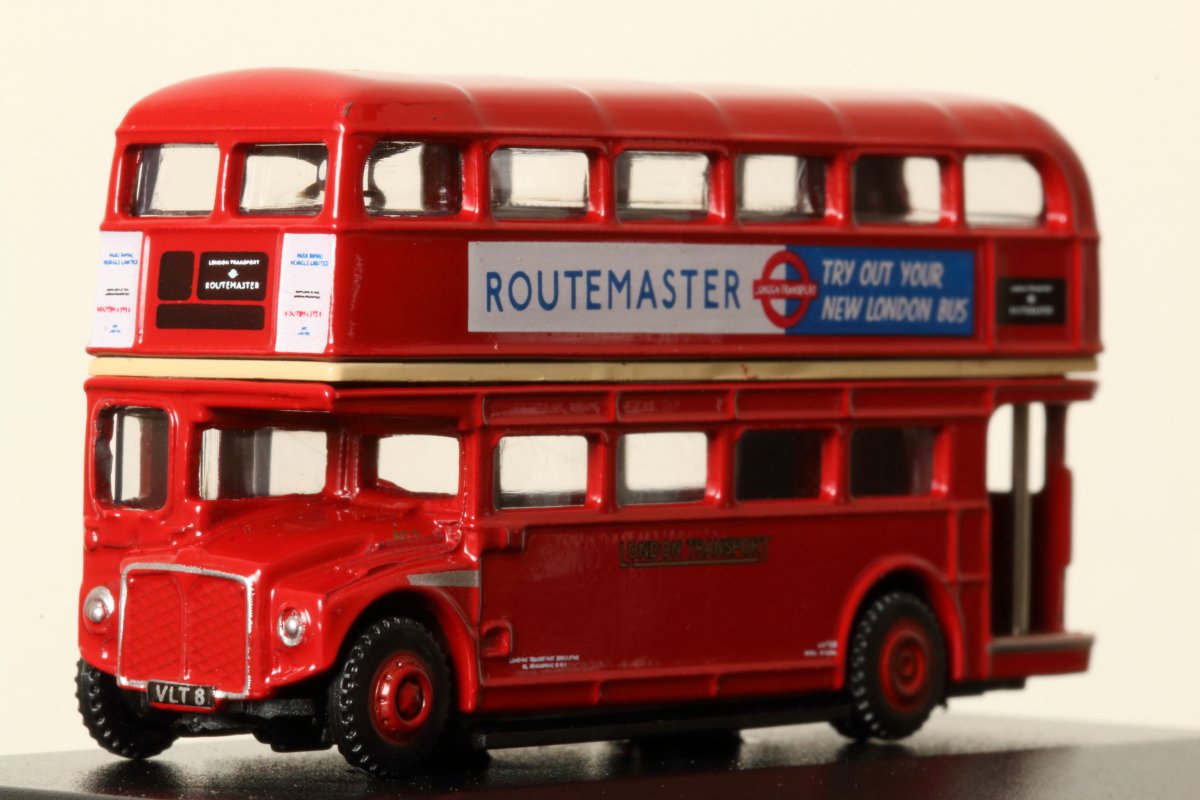
As a case in point, let’s say we’re shooting with a 100mm macro lens on a full-frame DSLR, at its closest focus distance: the entire depth of field will be just a single millimeter. Narrow the aperture to f/8 or f/16, and the depth of field only increases to 3mm or 6mm respectively. This is why optical performance at narrow apertures is important with macro lenses. Even so, you can find that only a small part of a three-dimensional object will be sharp in an image, and it’s why accurate focusing is so important.
Focus stacking
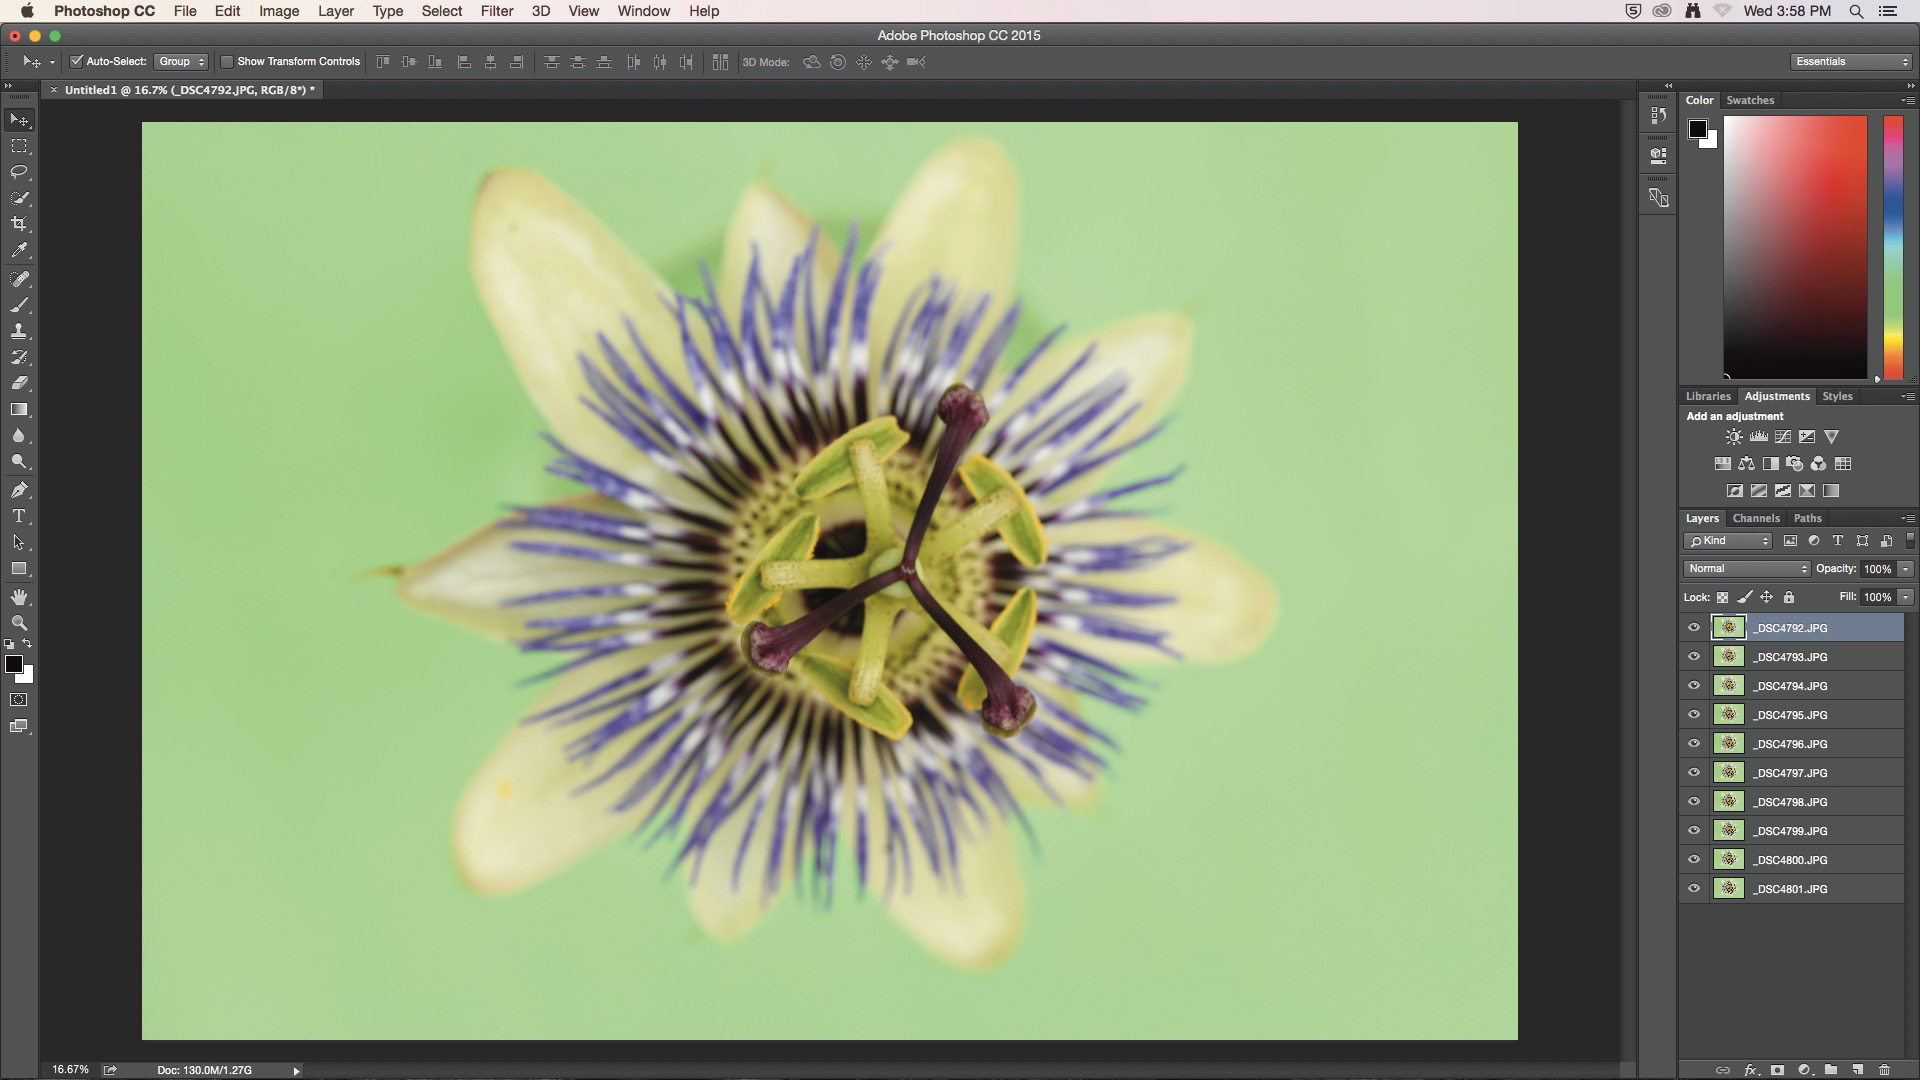
One trick for extending the depth of field is ‘focus stacking’. This requires you to capture a number of images with the focus distance or the camera itself shifted slightly between successive shots. A ‘macro focusing rail’ like the Manfrotto Micro-positioning Sliding Plate can be a big help in practical terms, but you’ll still need to merge the resulting shots together, using a layer-based editing program like Adobe Photoshop.
Sign up for breaking news, reviews, opinion, top tech deals, and more.
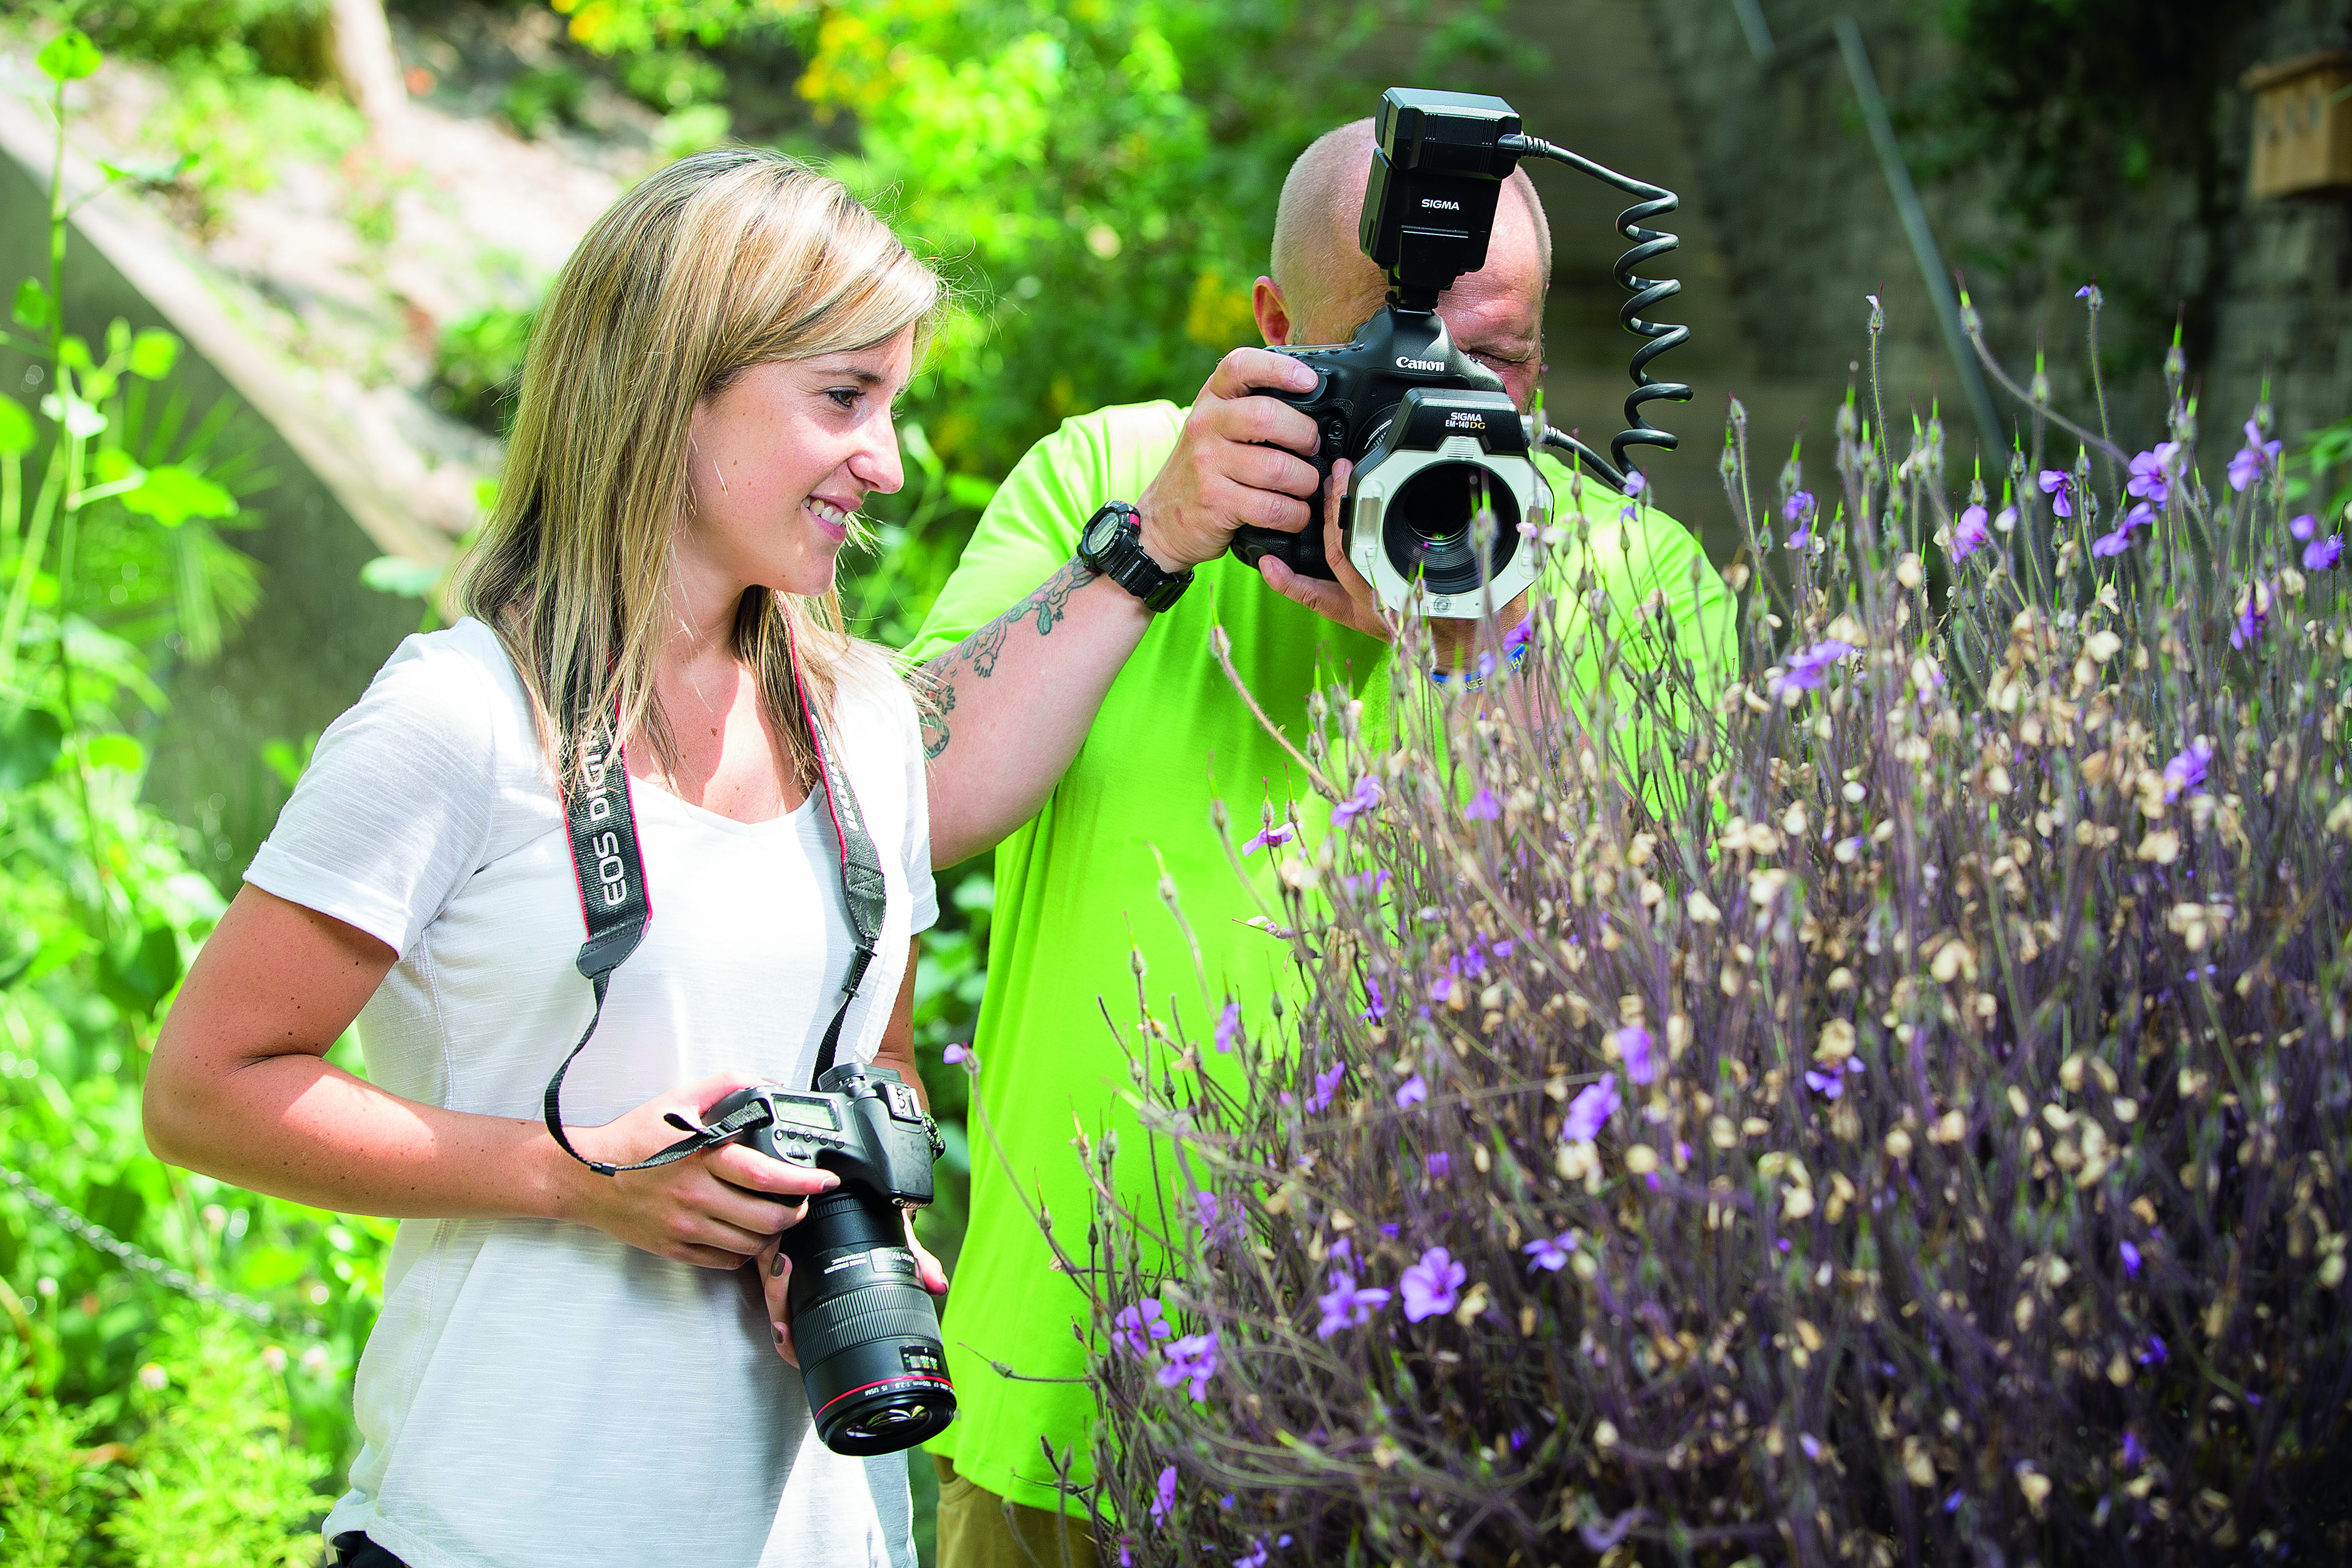
Another difficulty with using narrow apertures to gain depth of field is that it can result in relatively slow shutter speeds. That’s bad news, considering that it’s so important to avoid any camera or subject movement. An ideal solution is to use flash, which not only adds illumination right where you need it, but also helps to freeze any motion due to its extremely short duration. The only real downside is that the light from a regular flashgun can be very harsh for macro photography. Also, if the flashgun is placed in the camera’s hotshoe, it’ll be at an oblique angle to the subject when you're shooting at close range, resulting in the likelihood of deep, dark shadows.
Many camera and flashgun manufacturers therefore make ‘macro flash’ alternatives, based on a ring-shaped flash tube or twin compact flash heads that attach to the front of the lens and are driven by a separate control module, which sits in the camera’s hotshoe.
One final thing to bear in mind with lighting is that apertures for macro shooting might not be what you think they are. As you adjust the focus distance of a macro lens towards its closest setting, less light passes through the lens to the camera. At the very closest focus distance, transmittance is reduced by an amount equivalent to about two f/stops. You’ll need to take this into consideration if you’re using a dedicated light meter, rather than the camera’s built-in light metering system, or applying manual power settings on a flashgun or studio flash heads.