Raw Masterclass
The power of raw
Sign up for breaking news, reviews, opinion, top tech deals, and more.
You are now subscribed
Your newsletter sign-up was successful
Join the club
Get full access to premium articles, exclusive features and a growing list of member rewards.
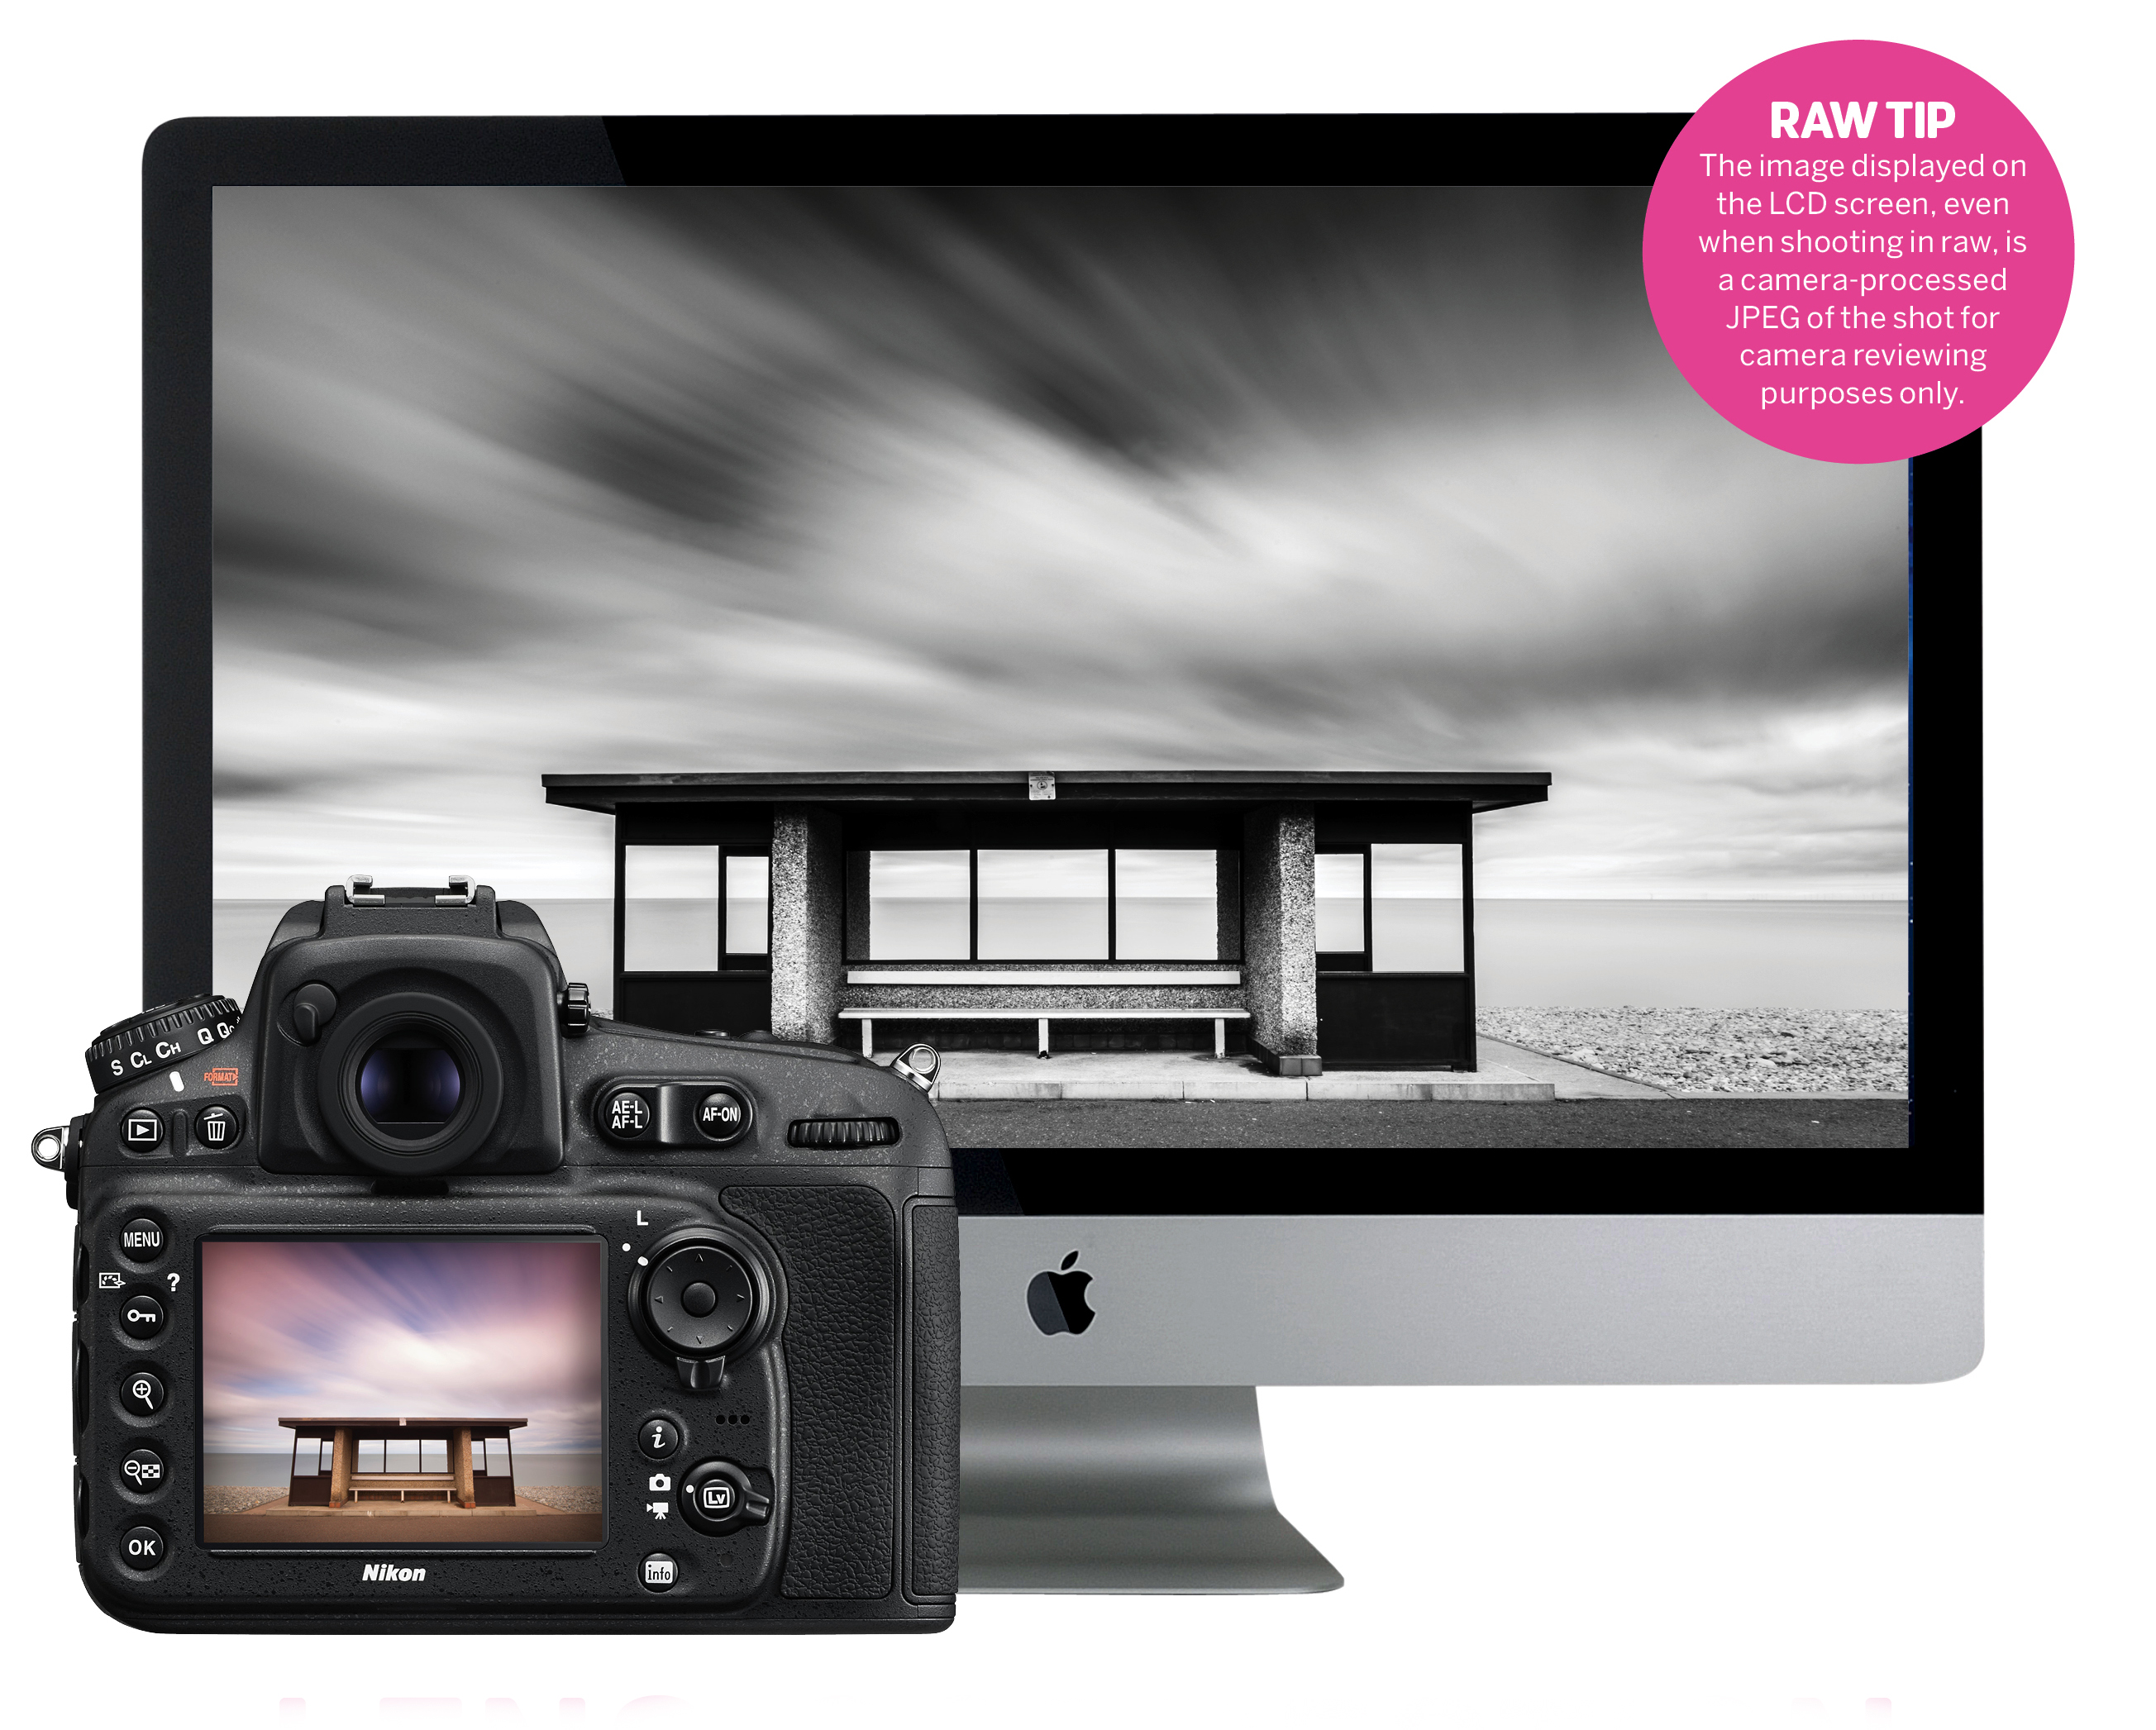
Adobe Camera Raw is packed with tools and controls that are designed specifically to give you the control you need to make your shots look their very best. All you need to know is where to find them. By using Lens Corrections you can remove distortion caused by your lenses, and with the Transform Tool you can fix any perspective distortion created by the choice of focal length.
We're also going to take a quick look here at the localised adjustment tools. These comprise the Adjustment Brush, Graduated Filter and the Radial Filter. They can affect a wide range of settings in controlled areas of the image, rather than changing the entire image. Mastering these will transform the way you process your images.
Graduated and radial filters
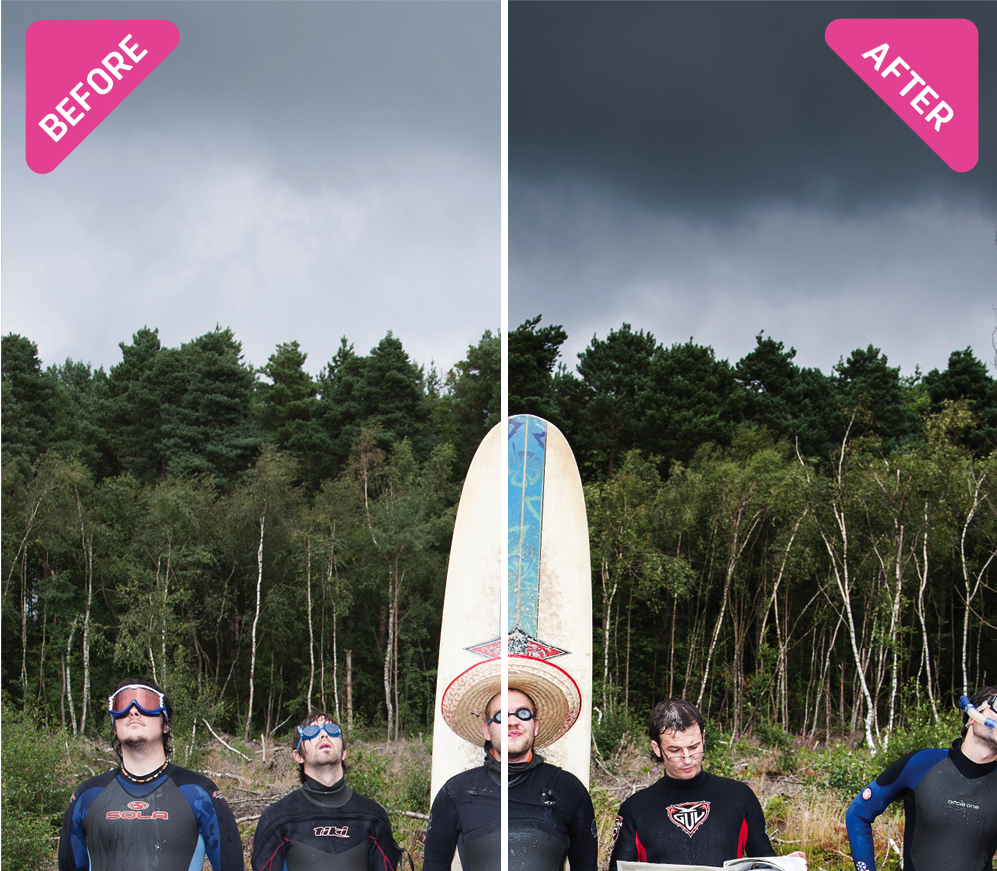
With the Graduated Filter you can apply a linear-effect version of the main options in the Basic tab, as well as settings like Sharpening. If you tick Mask in the panel, a red mask shows you where the Filter will take effect. The Radial Filter creates a similar elliptical effect.
Article continues belowAdjustment brush
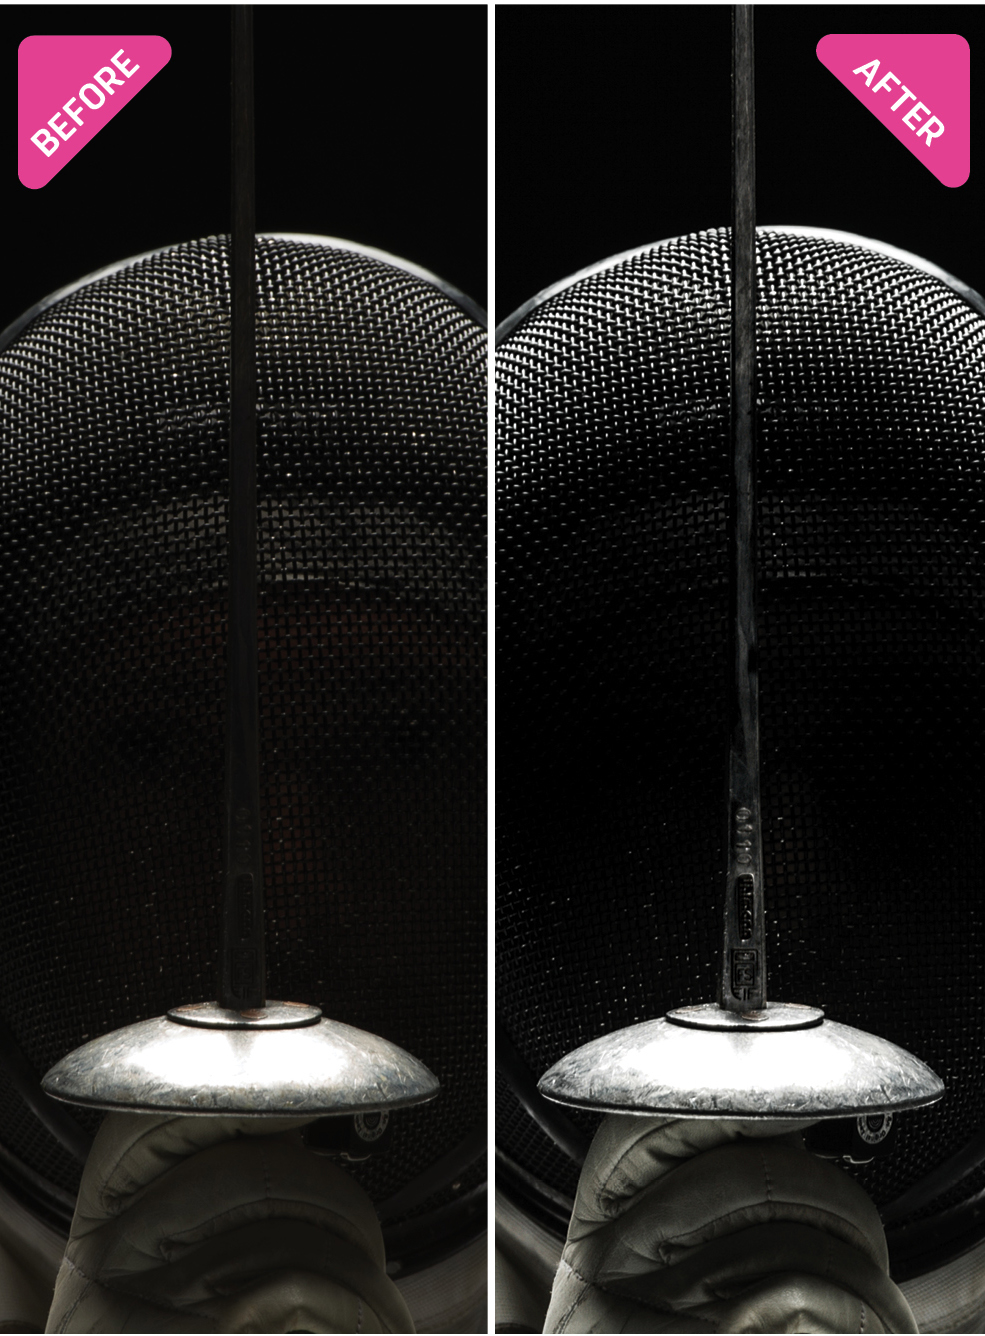
With the Adjustment Brush you first paint over the area of the image that you want to edit. Tick Mask to get a clearer illustration of where you're painting. Now all you need to do is use the Adjustment sliders on the panel to alter the affected area.
How to fix distortion
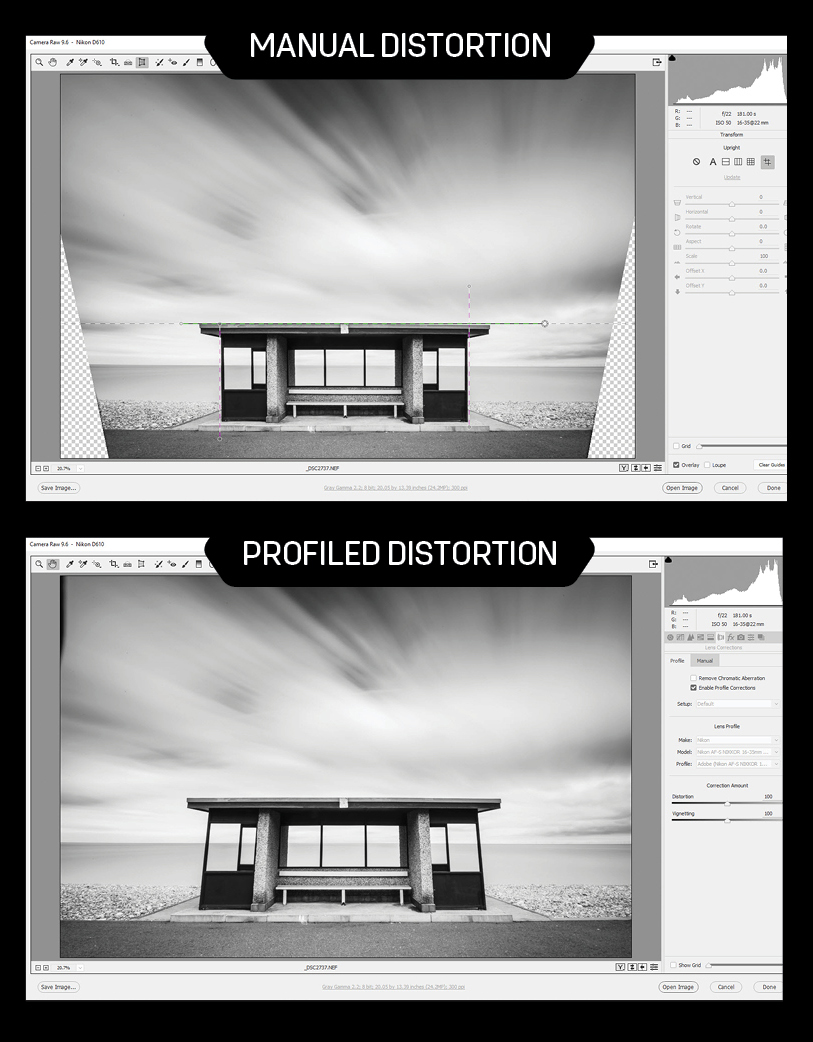
Fix lens and perspective deficiencies in your shots to make them appear optically perfect using Lens Corrections and the Transform ToolUnless you have the very best lenses, there will often be a small amount of distortion present in images.
Barrel distortion is where the image appears to bulge outwards towards the outer edges of the frame, while the opposite pincushion distortion is where it appears sucked in at the outer edges. Then there's perspective distortion; where the camera wasn't positioned 100% square to the subject, so horizontal or vertical lines appear to converge.
For Lens Corrections, click on the tab by the same name, and tick Enable Profile Corrections. If your lens is held in the Camera Raw database (which is updated periodically), the profile will be loaded and the corrections will be applied. If not, click Manual and use the sliders to do it yourself.
Sign up for breaking news, reviews, opinion, top tech deals, and more.
To address perspective distortion, select the Transform Tool. When the panel opens, below the word Upright, click on Guided. Now click and drag the guides to follow the lines of the subject, and the corrections will snap into place.
Current page: Raw Masterclass: Local adjustments
Prev Page Raw Masterclass: Exposure recovery Next Page Raw Masterclass: Advanced mono conversion
James Abbott is a professional photographer and freelance photography journalist. He contributes articles about photography, cameras and drones to a wide range of magazines and websites where he applies a wealth of experience to testing the latest photographic tech. James is also the author of ‘The Digital Darkroom: The Definitive Guide to Photo Editing’.
 Become a TechRadar Insider


