


TechRadar Verdict
Zoner Studio is a photo editing tool that’s loaded with all the core tools most people, particularly serious beginners and intermediates will need to touch-up or fine-tune images. I particularly enjoyed the AI options here, which were accurate and quick to action. The interface may seem overwhelming at first glance - and if you’re new to all this, I’d strongly recommend checking out Zoner’s raft of tutorials. But once you know what you’re doing, it all falls into place. Compared to the competition, for the price it’s difficult to beat.
Pros
- +
Price
- +
Editor and organizer
- +
RAW photo editing
- +
Layer-based editing
- +
Browser-like tabs
- +
Useful AI tools
Cons
- -
Windows only, no macOS
- -
Interface may overwhelm newer users
- -
No support for .PSD files
Why you can trust TechRadar We spend hours testing every product or service we review, so you can be sure you're buying the best. Find out more about how we test.
Zoner Studio is a Windows-only take on both Photoshop and Lightroom. There seems to be a slew of regular updates to keep on more or less on par with Adobe's apps, and to my mind, it's an ideal good entry-level/intermediate photo editor and organizer that comes in at a fair price.
After a recent name change from Zoner Photo Studio X to Zoner Studio, to better reflect the broader usage, the company says, I took the latest version out for a spin to see how it measures up against some of the best Adobe Photoshop alternatives.
Zoner Studio: Pricing & plans
Zoner Studio is available for a monthly subscription of $5.99, or $59 for the year. A family plan, letting two or more users in the same household use the app, is available for $9.98 a month or $98 a year.
For me, the pricing here is a big plus. There may not be a free version available (although there is a welcome free trial), but the cost is low, especially when compared to Adobe’s Creative Cloud suite of apps. The Photoshop and Lightroom Photography plan is currently priced at $22.99 a month. Your other option would be a tool like Affinity Photo, which has a one-off cost of $70.
The main differences between Zoner Studio and its rivals is that Zoner is only available on Windows machines, and it leans slightly more towards entry-level and intermediate users compared to Affinity Photo and Photoshop’s professional-grade photo editor.
You can check out Zoner Studio by clicking here.
Zoner Studio: First impressions

Operating system: Windows 10 or Windows 11 64-bit
Processor: Intel or AMD CPU 64-bit with SSE 4.2 support
RAM: 8GB
Storage space: 2GB
Screen resolution: 1280 × 800
If you’re familiar with photo editing software, you’ll have no problems navigating Zoner Studio. And, if you’re not, it’s not especially tricky to figure out - for me, that’s part of the appeal of the app, making it pretty welcoming to new users who want to do more with their photographs.
The main part of the screen is devoted to your selected image, with files and folders beneath, which can be scrolled through with your mouse. It’s a nice touch, making navigation that much easier.
Where new users may come unstuck are the five options to the right of the screen. Manager, Develop, Editor, Print, and Video (ok, those last two are self-explanatory). So, a little exploration wouldn’t go amiss - Zoner does at least feature non-destructive editing, letting you experiment with new tools without irretrievably modifying the original file.
Basically, Manager is for organizing and tagging photos. Develop is Zoner’s take on Lightroom, where you can edit RAW images, and Editor is for all other tweaks you want to make to your media, like adjusting the color temperature, or sharpening images. It’s all nicely laid out and generally easy to find what you’re looking for - and most options are also replicated in menus along the ribbon, which contextually change depending on which mode you’re in.
Zoner Studio: In use

Using Zoner Studio isn’t especially tricky, but it may still feel a little overwhelming if you’re new to image editing given the sheer amount of options available here. I’d also advise beginners to hover over the side-panel icons - there are a lot here, and not all of them are especially intuitive, so hovering your mouse will serve up a name and brief description of each.
Your photos automatically appear in Zoner, since there’s a file explorer tab to the left of the screen (there is an import function along the ribbon, too, but I never found the need to use this). These will appear on a timeline at the foot of the main panel. When you’ve selected your image, it can then be edited and adjusted via the Editor tab.
All the familiar tools are here, from cropping and rotating to adding watermarks or directional blurring. As expected, then, there are heaps of tools for toying with the exposure (shadows, contrast, and so on), white balance (temperature and tint), and color (like saturation). I also like the addition of the tone curve, as you’d find in Lightroom, for lightening or darkening an image, or bringing specific color channels to the fore.

There’s also a Quick Edit option, which populates the panel with the core tools most photographers and designers use without needing to fumble through the menus. The editing process can further be streamlined with the likes of Quick Fix and, ideal for social media, Quick Filters. All of these work instantly, just a press of the button.
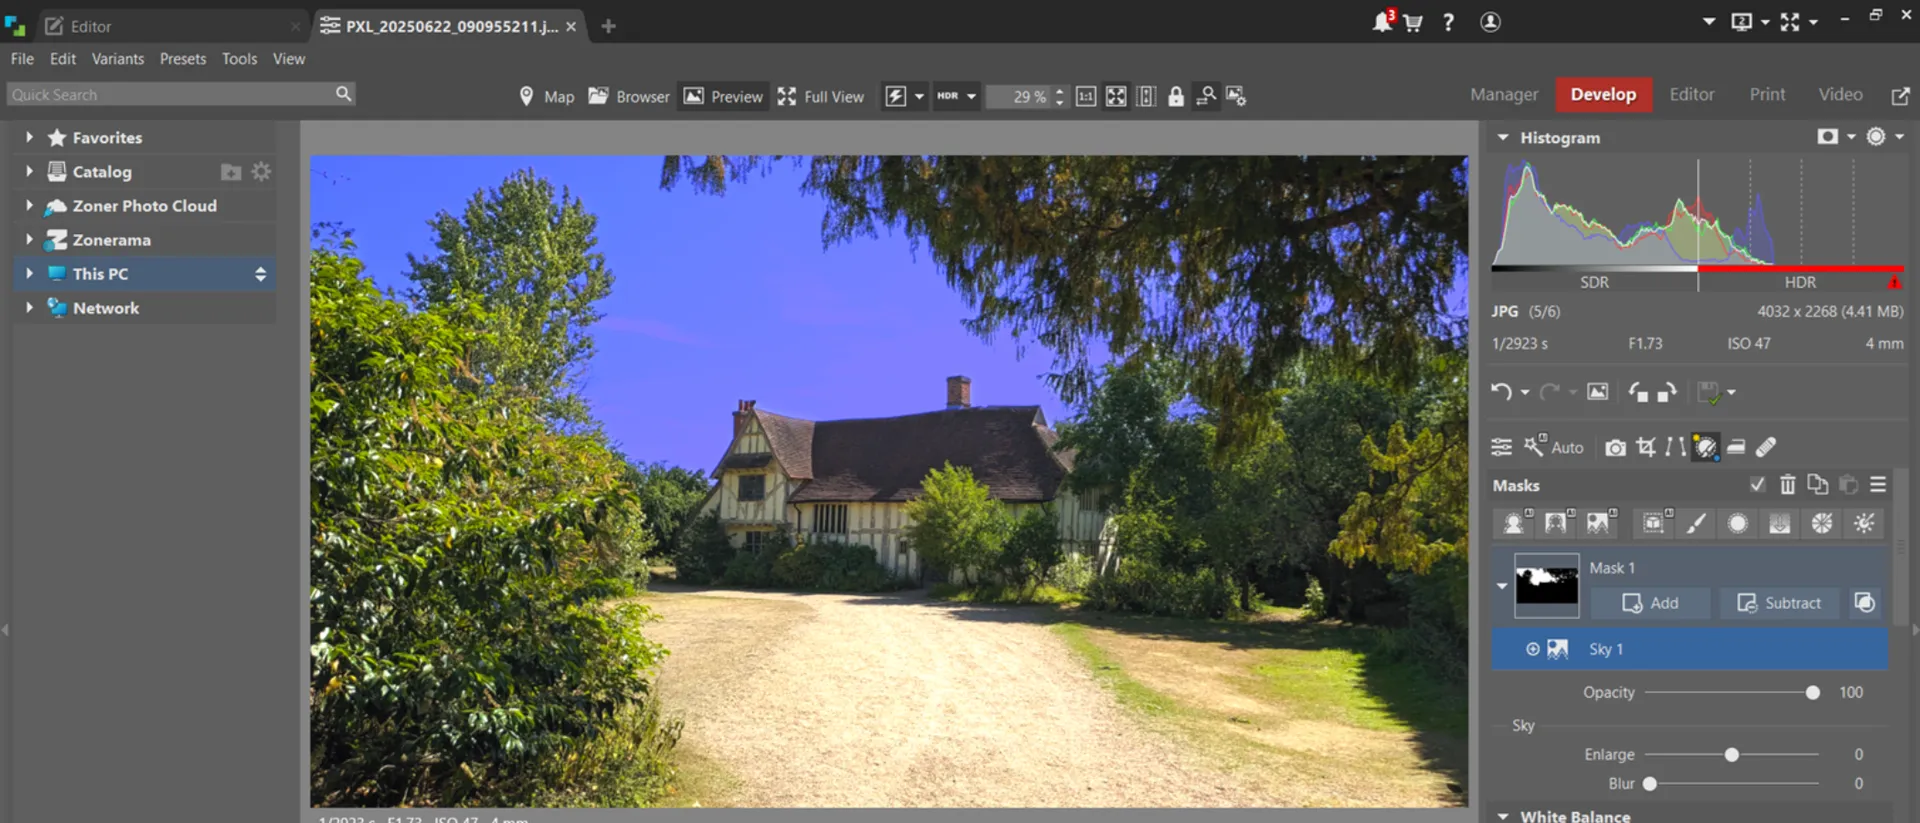
The software includes some AI-powered tools, all of which deliver good results impressively quickly. This includes AI Masking, found in the Develop tab. Choosing this gives you the option to let Zoner automatically select the photo’s subject, background, objects, or sky for fine-tuning. For anyone looking to streamline the workflow, these are must-use tools, and I was pretty pleased with the speed and accuracy here.
One of the stand-outs for me is the AI Background Remover, which I found generally works very well. Once completed, I could then add a color background or create a transparent one for compositing into other images. Occasionally, the process removed elements of the image subject - typically when on darker or a similarly colored backgrounds - but on the whole, I had no serious complaints with this one-click background removal tool.
Perhaps the biggest issue, at least for those looking to make the switch away from Photoshop, is the lack of support for .PSD files. Instead, the software uses its own .ZPS files, which functionally work the same with layers and effects. But there’s no way to import or export Photoshop files into the app.
Overall, Zoner Studio packs in a wealth of tools for photo editing. It will take some getting used to if you’re new (and absolutely no time at all if you’re familiar with any of the best photo editors). But if you don’t need .PSD file support, there’s plenty to like here, especially for the price.
Should I buy Zoner Studio?

Buy it if...
You’re new to photo editing: This is a great place to start if you’re new to editing images but want a good amount of powerful tools for bringing out the best in your photos.
You don’t want to spend too much: Zoner Studio is a lot cheaper than Adobe Photoshop or similar pro-grade packages.
Don't buy it if...
You want a basic app: If you’re just looking to crop or brighten images, you’ll find plenty of other options that won’t overwhelm.
You want a professional-level app: Similarly, if you want a pro-level software that delivers the very best results, you’ll get better results from the likes of Photoshop and Lightroom.
