How to install Linux on an Android phone
Why not?

Your Android phone is already powered by the goodness of Linux, but you can enhance it further and make better use of its multi-core processors and oodles of RAM by running a full-blown Linux distro alongside the existing mobile OS.
We can think of many reasons why you'd want a proper Linux PC in your pocket. You can, for example, use it to power a LAMP server that can run web apps and serve web pages. If you're a network admin, you can install your favourite Linux tools and turn the smartphone into a portable network troubleshooting or pen-testing device.
The LinuxOnAndroid project produces an Android app and a couple of shell scripts, and hosts a bunch of Linux distros that you can boot using the app. In a snap, the scripts mount the Linux image within the Android filesystem and the SD card within the Linux filesystem.
They then call on chroot to change the root directory to that of the mounted Linux and open up a shell for you to interact with the mounted Linux system. The scripts also set up SSH for secured remote access, along with VNC to allow you to access this Linux system's graphical desktop.
The scripts only prepare the environment for Linux to run on the device. The Linux image files hosted by the project are just customised Linux environments packaged by the project developers to suit different use-cases and devices.
The important bit is that all the Linux distros offered by the project are made up of ARM packages, and instead of running in a virtual machine they run on the real hardware on your Android smartphone. This is why you can run it on the measliest of devices.
We've managed to run Arch Linux along with the Enlightenment desktop on a Samsung phone with a single-core 1GHz processor and about 400MB RAM.
Sign up for breaking news, reviews, opinion, top tech deals, and more.

At the time of writing, the project has stable images for Arch Linux, Debian Lenny, Debian Testing, Fedora 20, Fedora 19, Kali Linux, Ubuntu 13.10, Ubuntu 13.04, and Ubuntu 12.04 LTS.
There are also Alpha images that aren't meant for production use for other distros, including Slackware, Bodhi, OpenSUSE and Ubuntu 14.04. Each of these distros is available in multiple editions.
The Core image is the smallest in size, and includes the minimum set of packages you need to run the distro. This is ideal for creating your own images and include the Openbox window manager.
Next there's the Small image, which ships with the LXDE desktop and its suite of programs. Finally you have the Large image, which includes the KDE Plasma Desktop, LibreOffice and Gimp.
Some distros have additional images as well. Arch Linux produces images with the Enlightenment desktop, and Fedora ships an image with the MATE desktop. You can grab the images with either the ext2 or ext4 filesystem.
The ext4 images are compatible with Android 4.3 while the ext2 images are compatible with earlier versions of Android.
Prep the device
Start by grabbing the Complete Linux Installer app from Google's Play Store. Alternatively you can head to the LinuxOnAndroid project's website and download the open source version of the Android app (but go into the Settings > Security menu and toggle Unknown Sources to enable installation of non-Play Store apps).
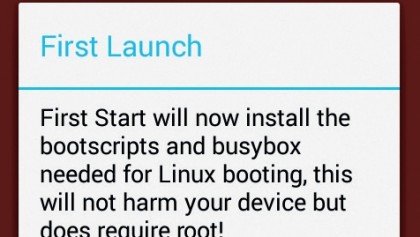
The app requires a rooted Android device. The exact procedure necessary to root an Android device varies between models.

Besides the app produced by the LinuxOnAndroid project, you'll also need a VNC viewer to use the graphical desktop.
The project suggests using the popular Android VNC Viewer app. You'll need another app to access Android's built-in command line, but you'll already have this if you've rooted your device. In any case, the project suggests using the Android Terminal Emulator app.
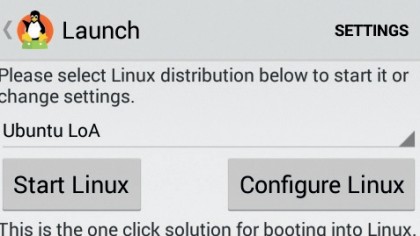
Once you've grabbed these, you can launch the CompleteLinuxInstaller app. Tap on the project's icon in the top-left corner of the screen to reveal the navigation menu, which contains several items. The first two are the most important: Install Guides will take you through the steps required for setting up and installing the various supported Linux distros, and the Launch item is the integrated launcher that you can use to boot into the configured distro.
The other items will bring up various information and tips to assist you. To begin the process of setting up a distro, launch the CompleteLinuxInstaller app, bring up the navigation menu and tap on the Install Guides item. This will bring up a list of distros that you can run on your device. Once you've decided which distro to run, tap on its entry for further instructions.
For this tutorial, let's assume you want to set up Ubuntu. However, note that the process to set up a distro is pretty much similar for all.
- These are the best Linux training providers and online courses in 2017

With almost two decades of writing and reporting on Linux, Mayank Sharma would like everyone to think he’s TechRadar Pro’s expert on the topic. Of course, he’s just as interested in other computing topics, particularly cybersecurity, cloud, containers, and coding.