


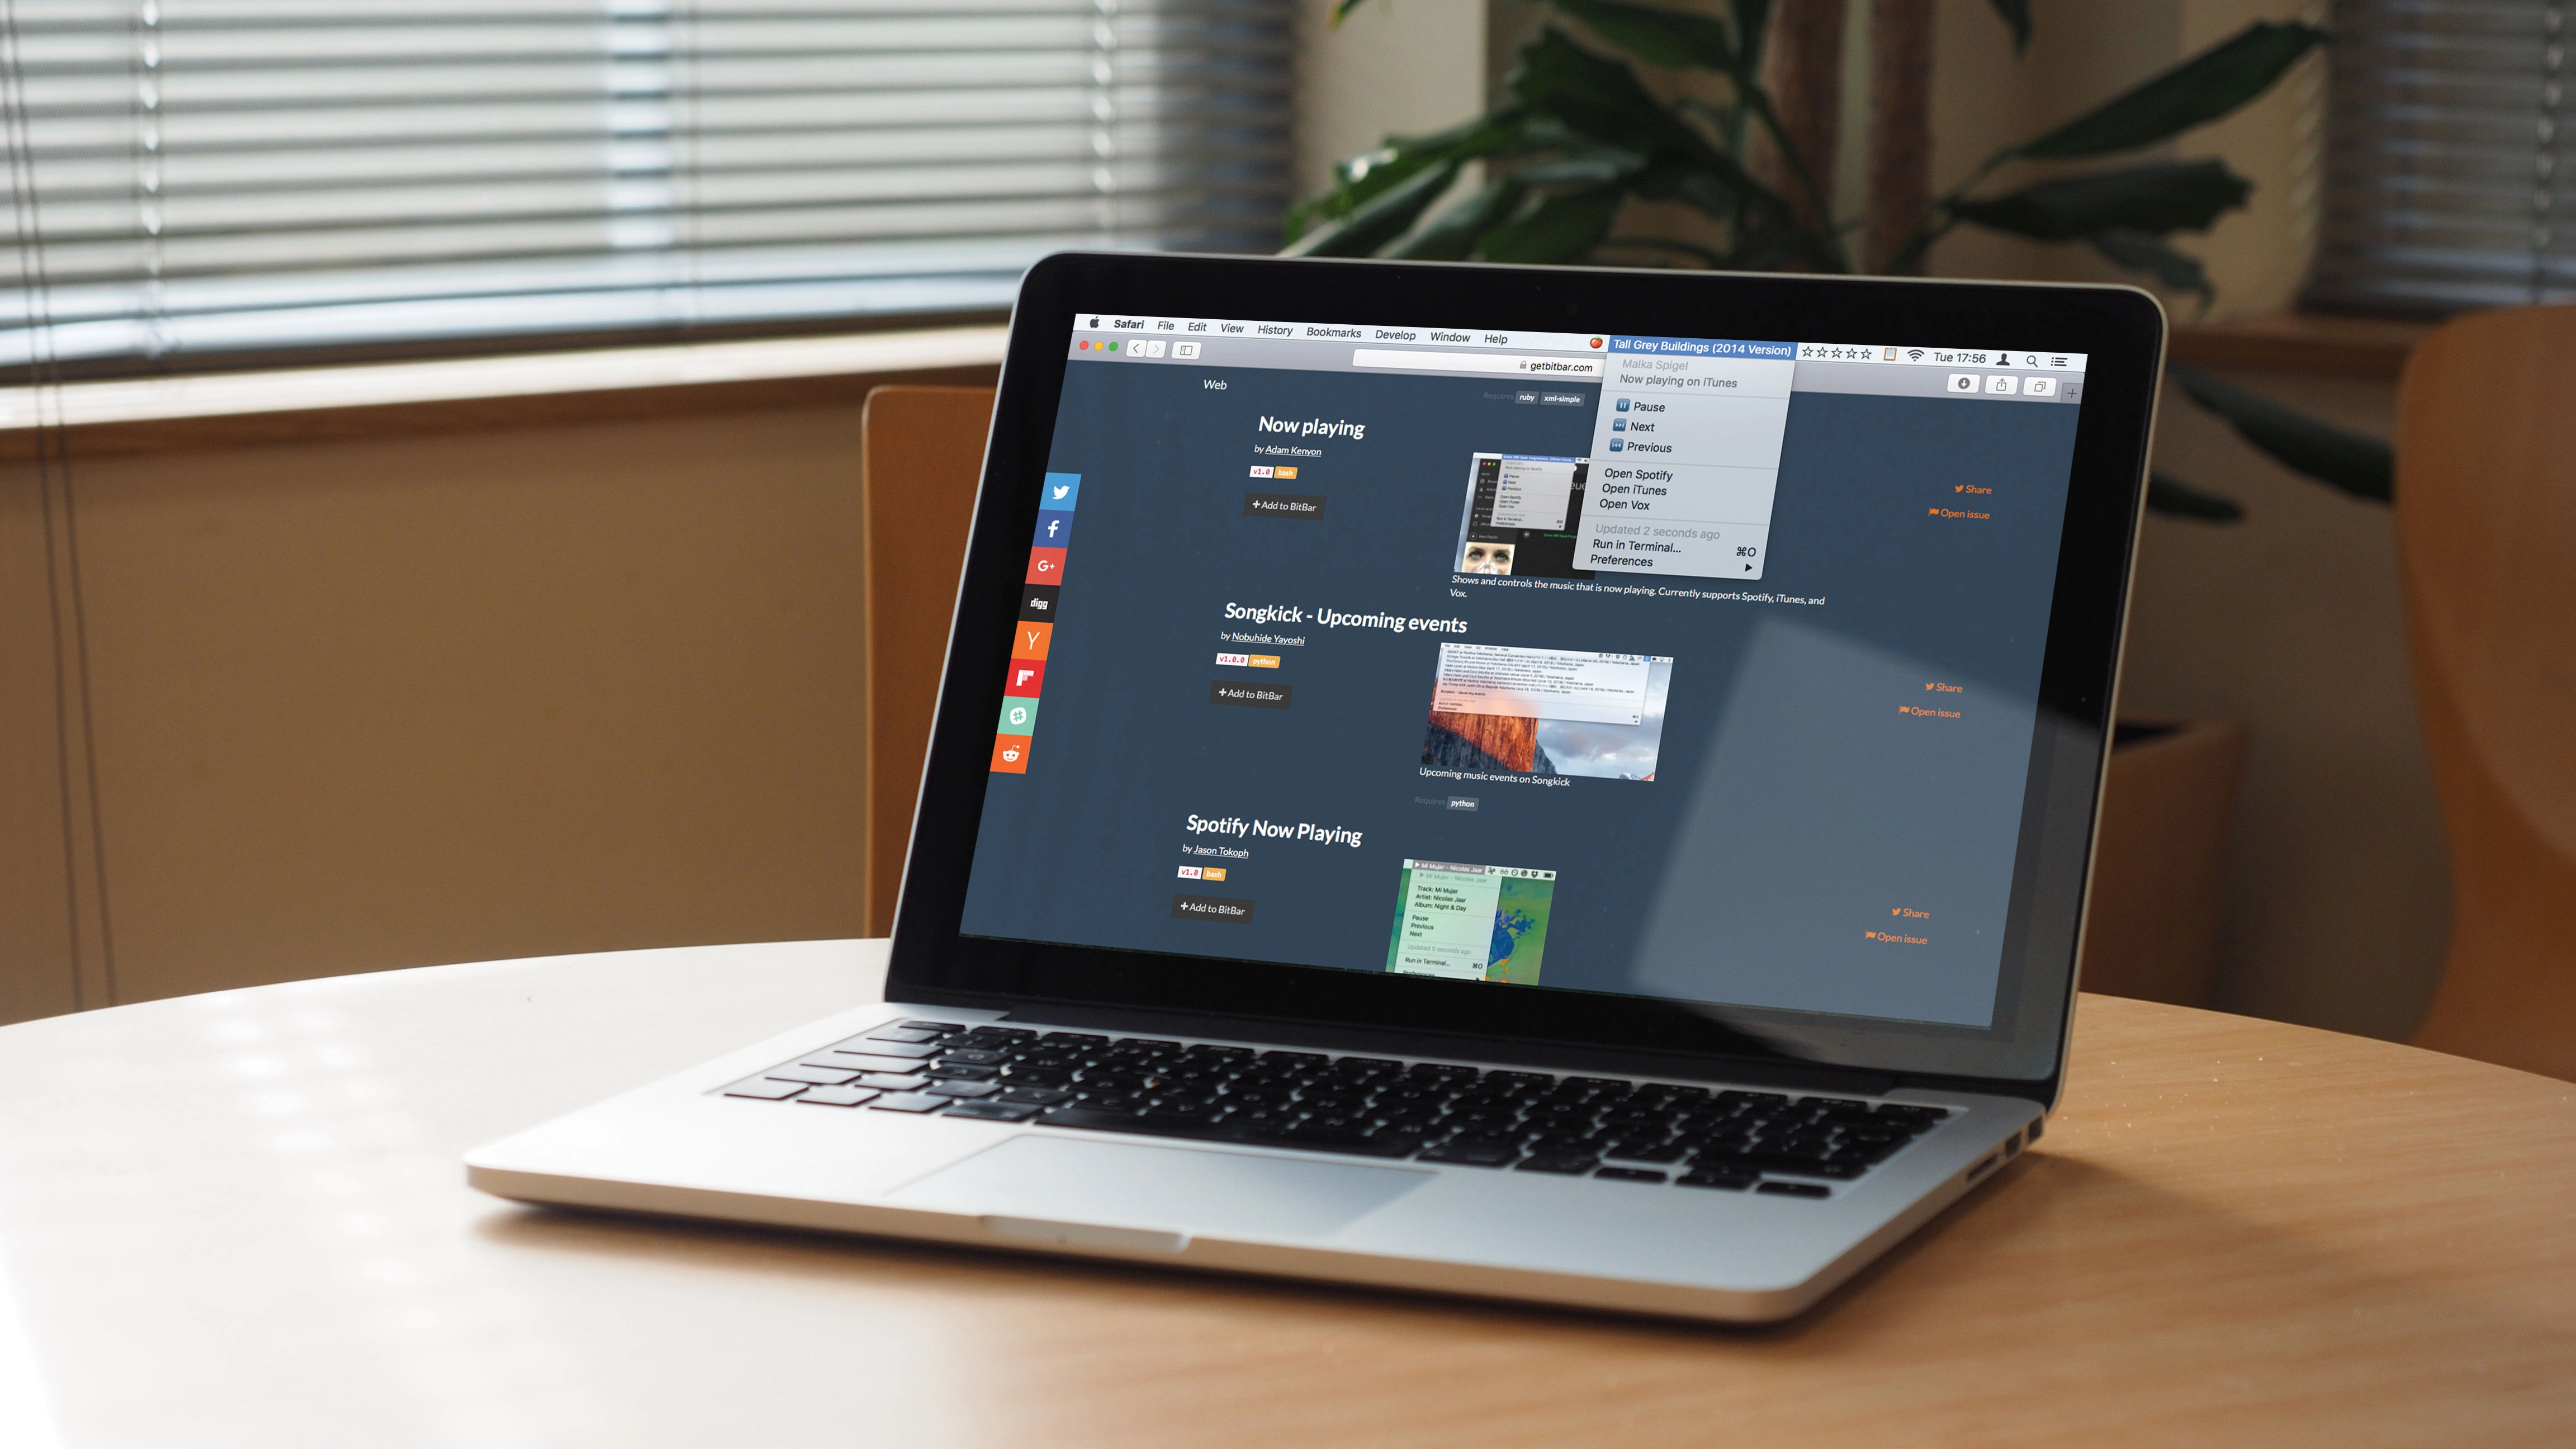
The lofty claim made by BitBar is that you can use it to put anything in the OS X menu bar. Before your imagination runs amok, what this refers to is installing scripts that output to the menu bar.
So, alongside the clock and your Mac’s Wi-Fi status, you can add additional widgets to track important info and quickly perform basic system tasks. In our walkthrough, we show you how to get started with BitBar, and run through a few of the plug-ins we’ve found useful: an iTunes track rater; a Clipboard history; a Pomodoro timer (for tracking work/break cycles); and displays for currently playing music and currency rates.
However, those are just our favourites, and we encourage you to explore BitBar’s website for other plug-ins to suit your own setup. Examples you might find useful include bandwidth testers, sports scores, an amusingly morbid ‘death timer’, and even a plug-in that enables you to install additional BitBar plug-ins right from the menu bar!
However, we’ve gone resolutely manual in this tutorial, so you can get to grips with BitBar and how it works. In part, this is because the app is very much the brainchild of scripting people. It’s therefore lacking some of the elegance usually associated with Mac utilities.
Tailored to fit your needs
Fortunately, BitBar makes it possible to deal with such issues, if you’re willing to get your hands a bit dirty. For any plug-in you find needs a tweak, you can open its script in a plain text editor – for a couple of the examples opposite, we’ve used BBEdit, which has a free trial version that simply disables some features after 30 days.
Elsewhere, if something doesn’t really work at all, just open BitBar’s plug-ins folder, drag the offending item to the Trash, and refresh BitBar by selecting ‘Refresh all’ from the Preferences menu of any installed plug-in.
Although this is more effort than some utilities we cover, BitBar’s extensibility and usefulness make it worth that little bit of extra hassle. And if you get really into BitBar and also fancy yourself a dab hand at scripting, you can always write your own plug-ins.
1. Create a folder

On first starting up BitBar, it’ll display a dialog box so you can decide where its plug-ins will be stored. Create a new folder in your chosen location (perhaps one called BitBar in your Documents folder) and click Use as Plugins Directory.
2. Activate BitBar

You should now see BitBar in the menu bar. Right now, it doesn’t do an awful lot — you can click to open its menu and change the plug-ins folder, set the app to open at login, or quit it entirely. We need to install some plug-ins!
3. Check out plug-ins

In BitBar’s menu, click 'Get Plugins'. You’ll be sent back to the website you downloaded the app from. Let’s start with a plug-in for quickly rating iTunes tracks. In the Music section (on the left), find iTunes Rating.
4. Install the plug-in

Click 'Add to BitBar' under the plug-in and a confirmation dialog will appear. Click 'Install'.
In the menu bar, the ‘BitBar’ text will be replaced by the plug-in’s icon. If iTunes isn’t open, this will be a musical note — click it and choose 'Launch iTunes'.
5. Use the plug-in

Prior to iTunes playing, the widget might register an error, but as soon as you play a track, the widget should show the corresponding star rating. You can update this by clicking the stars in the menu bar and choosing a new rating.
6. Install a timer

From the Time section of BitBar’s website, install the Pomodoro Timer plug-in.
When activated by choosing Work from its menu, it starts a 25-minute countdown that cycles with three-minute breaks to keep you focussed.
7. Power up the Clipboard

From the System section, install Clipboard History. This places a clipboard icon in the menu bar.
Click it and you can access the last ten pieces of text or links you copied. To send an item back to the Clipboard, just choose it from the menu.
8. A ‘Now playing’ widget

From Music, install Adam Kenyon’s ‘Now playing’ plug-in. When music’s playing, this displays the track name, making it a handy companion to the rating plug-in. Open its menu to access playback controls and artist info.
9. Edit a plug-in

Open BitBar’s plug-ins folder (pick Preferences > Open Plugin Folder from any BitBar plug-in’s menu) and then open the nowplaying.sh script in a text editor. In the output section, find the part that starts echo $track | length=40.
10. Make some changes

After the opening quote, add
$artist:
Then save the file. You should now see the artist and track name in the menu bar, to a maximum of 40 characters as stipulated in the script — you can change that too, if you like.
11. Get a currency tracker

In Finance, install Currency Tracker. By default, this cycles through how many US and Canadian dollars you get for a Euro.
In BitBar’s plug-ins folder, open currency-tracker.py in your text editor and find the currFrom and currTo values
12. Edit currency settings

To set a new base comparison currency, change currFrom’s EUR to something else (say, GBP). Then update the currTo list as you like.
Save, then pick Preferences > Refresh all from BitBar’s menu. Your new settings will be applied.
- Enjoyed this article? Get more tutorials, guides, and tips on how to get the most from your Apple devices inside MacFormat. Take advantage of an exclusive offer in our sampler today.