Essential Sony Alpha camera settings
Sign up for breaking news, reviews, opinion, top tech deals, and more.
You are now subscribed
Your newsletter sign-up was successful
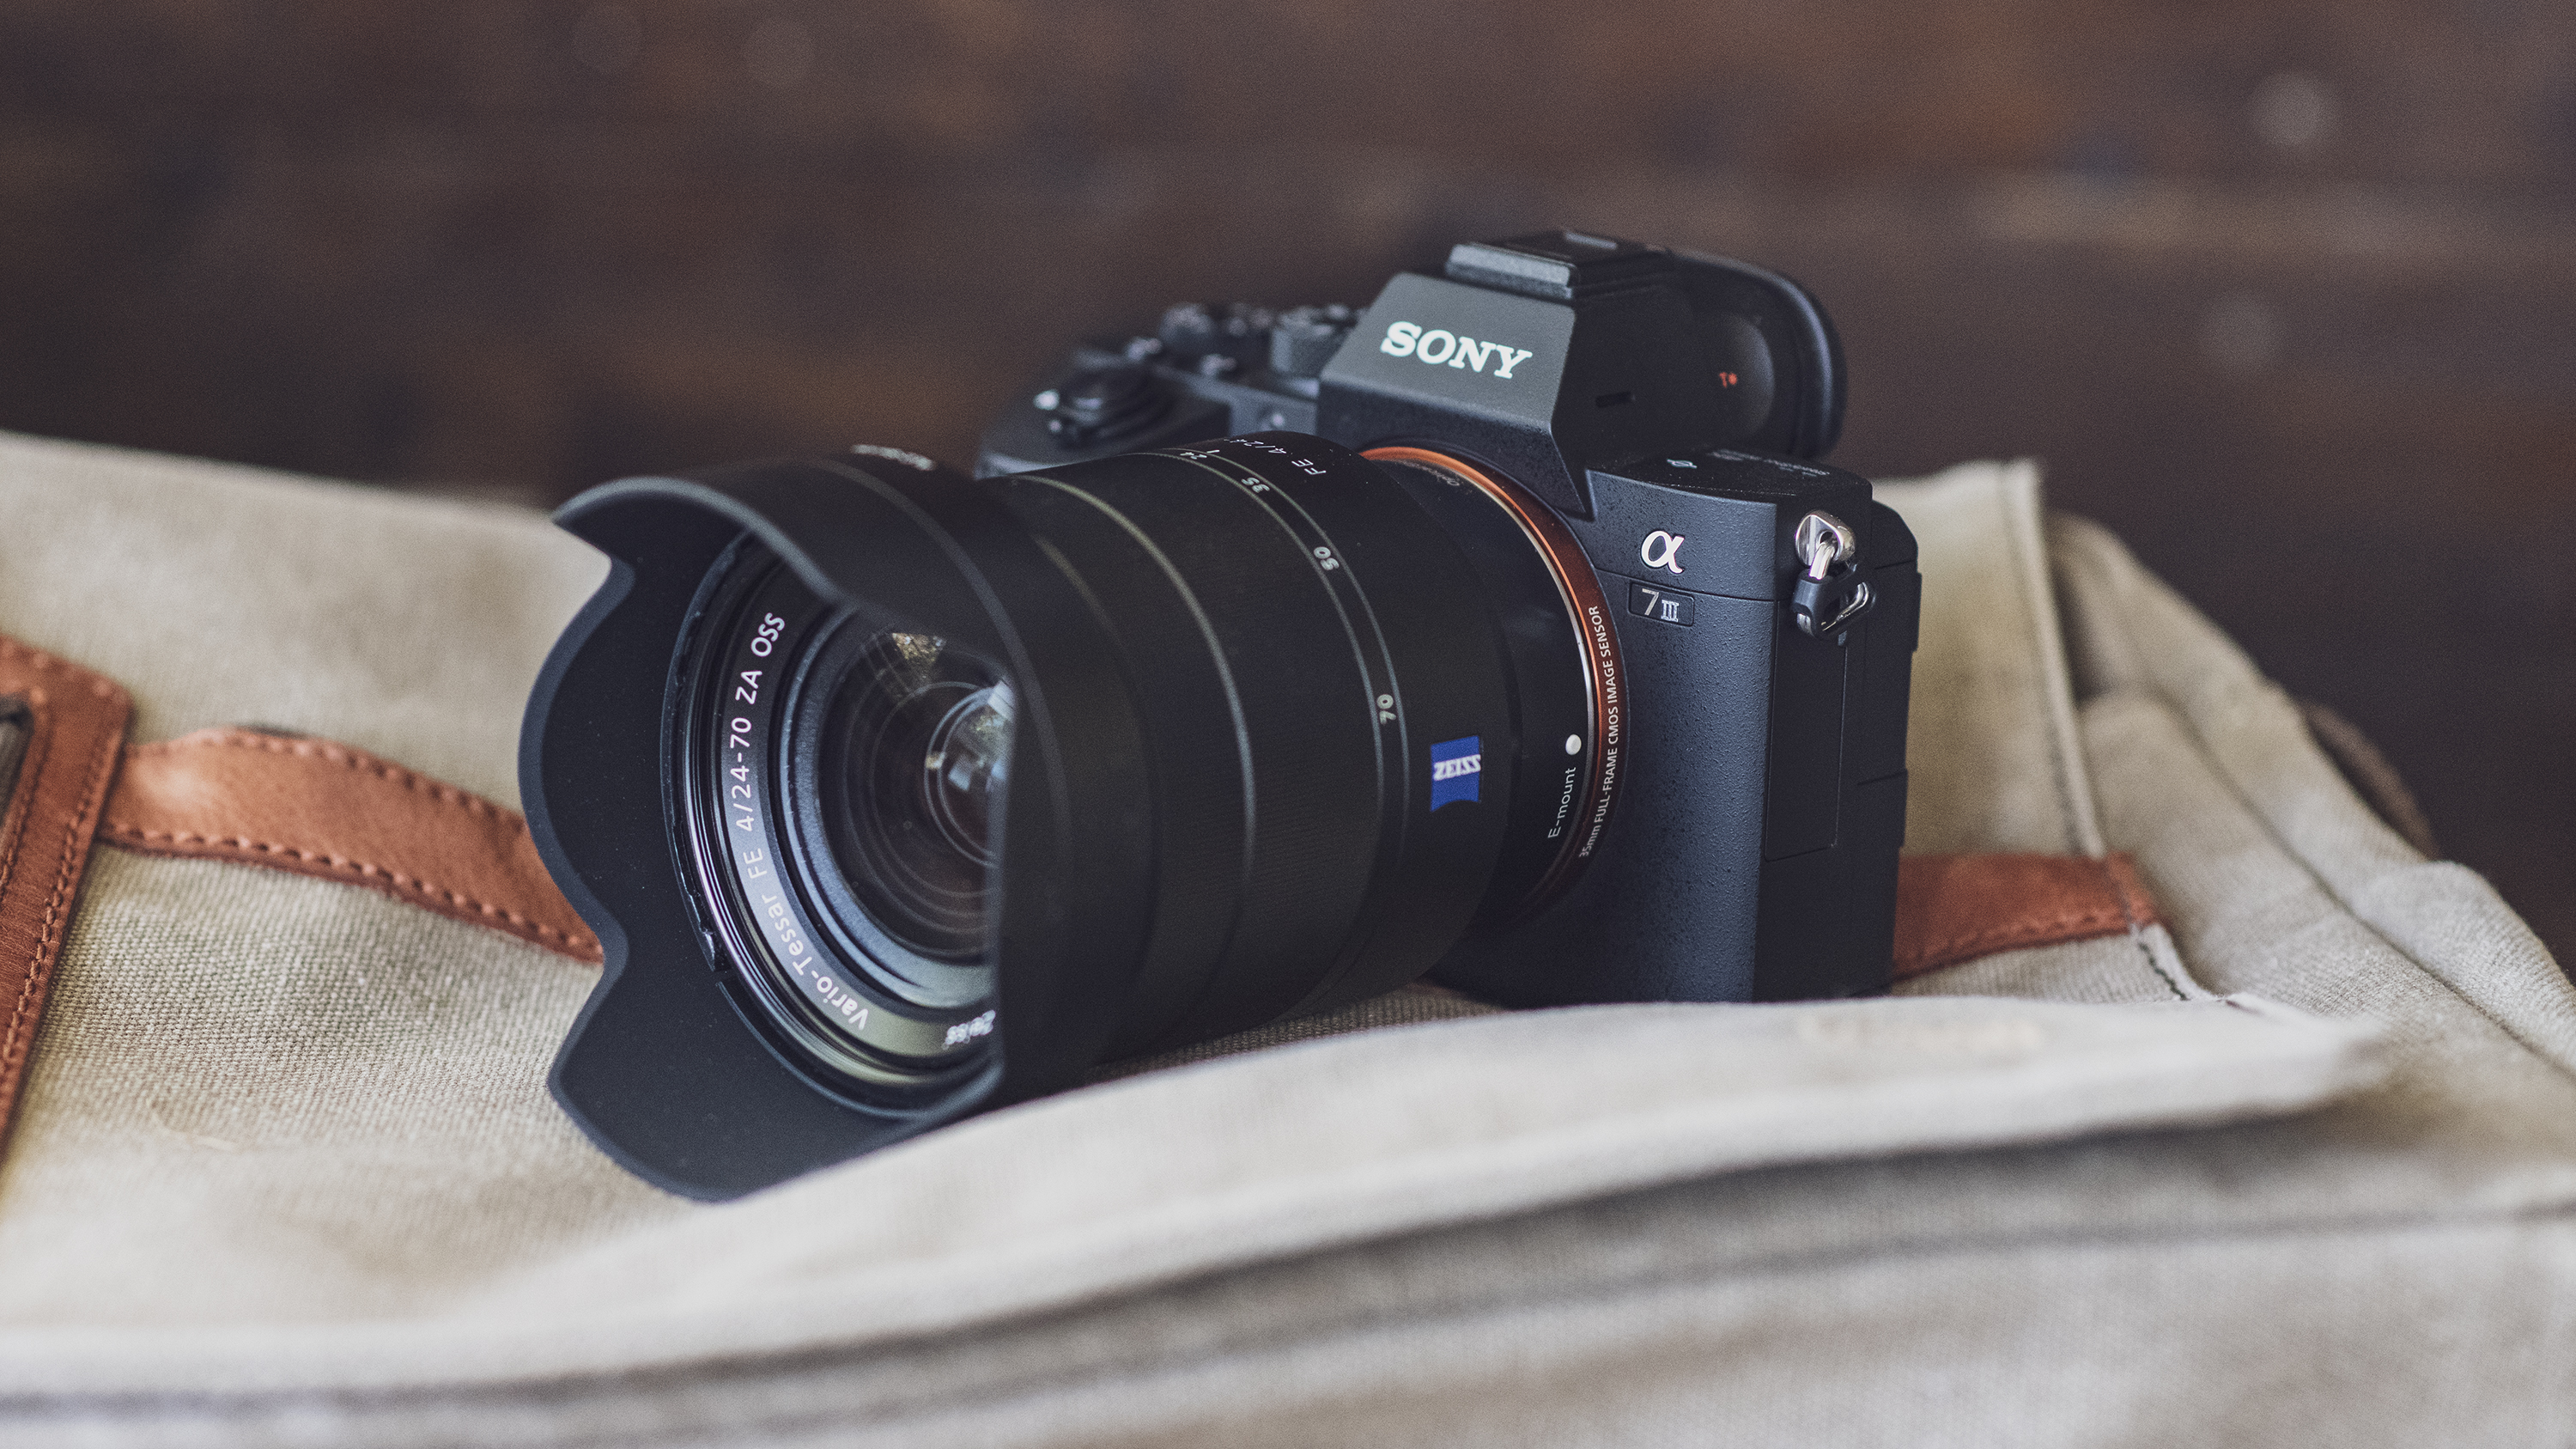
Modern cameras are much more than simple devices offering control of ISO, aperture and shutter speed with a basic lightmeter thrown in for good measure. They’re now advanced devices that now offer a wide range of features and option to help you shoot better photos and videos.
Sony Alpha cameras are literally bursting with settings and options that can be tweaked and changed to your own preference and shooting style.
Dig deep enough, and you’ll find that there are actually very few things that can’t be customised in some way. From settings within the menu to customising direct access buttons, you are very much in control of how you use your Sony Alpha camera.
In this top ten list of Sony Alpha settings you need to know, we’ll cover some of the more basic yet important options you should know about, as well as some of the more hidden away options that you really shouldn’t miss.
- Buying guide: Best Sony Cameras
- Review: Sony Alpha A7 III
- Review: Sony Alpha A7R III
- Review: Sony Alpha A9
1. Turn on grid lines
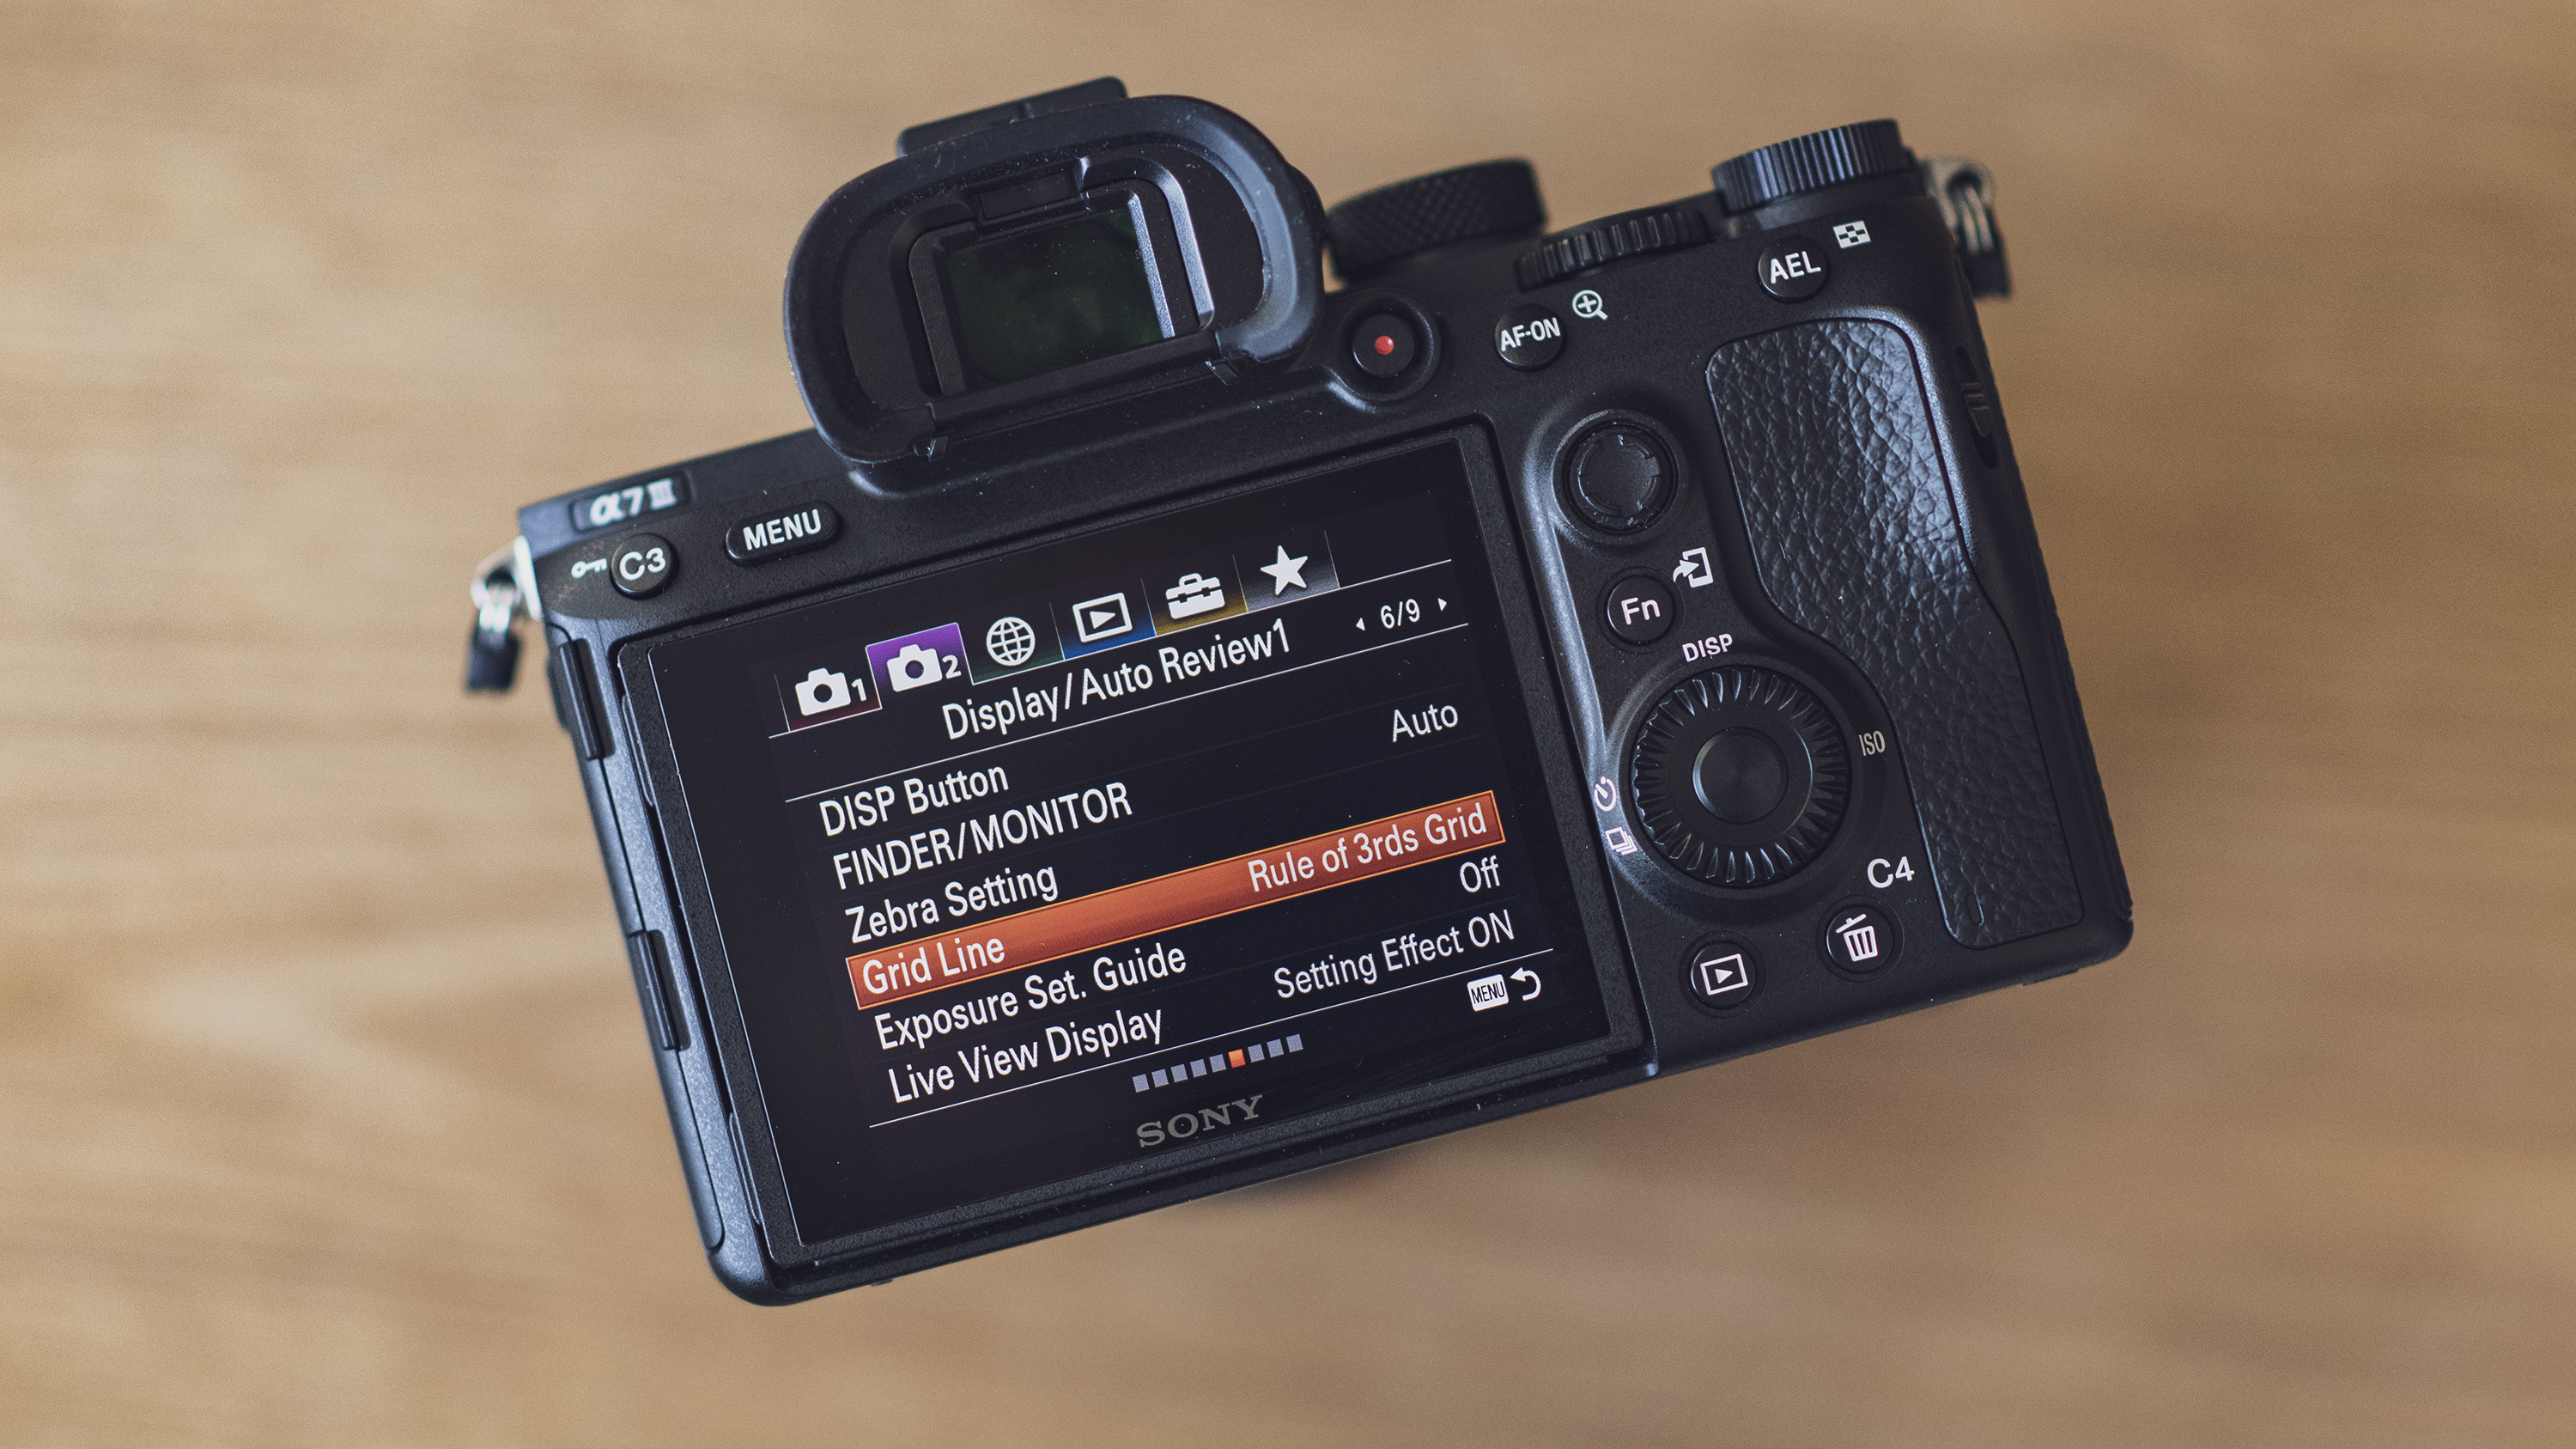
Most mirrorless cameras allow you to turn on a rule-of-thirds grid that displays in both the EVF and on the LCD, and Sony Alpha cameras are no exception. Even if you’re a highly experienced photographer, this unobtrusive guide is an excellent way to make sure that your compositions are absolutely perfect. It may seem a little like jumping on a bike with stabilisers, but this setting takes all the guesswork out of composition and helps you to compose and shoot much quicker because you have a clear visual representation to work with.
- Learn more: The 10 rules of photo composition
2. Switch on touch operation
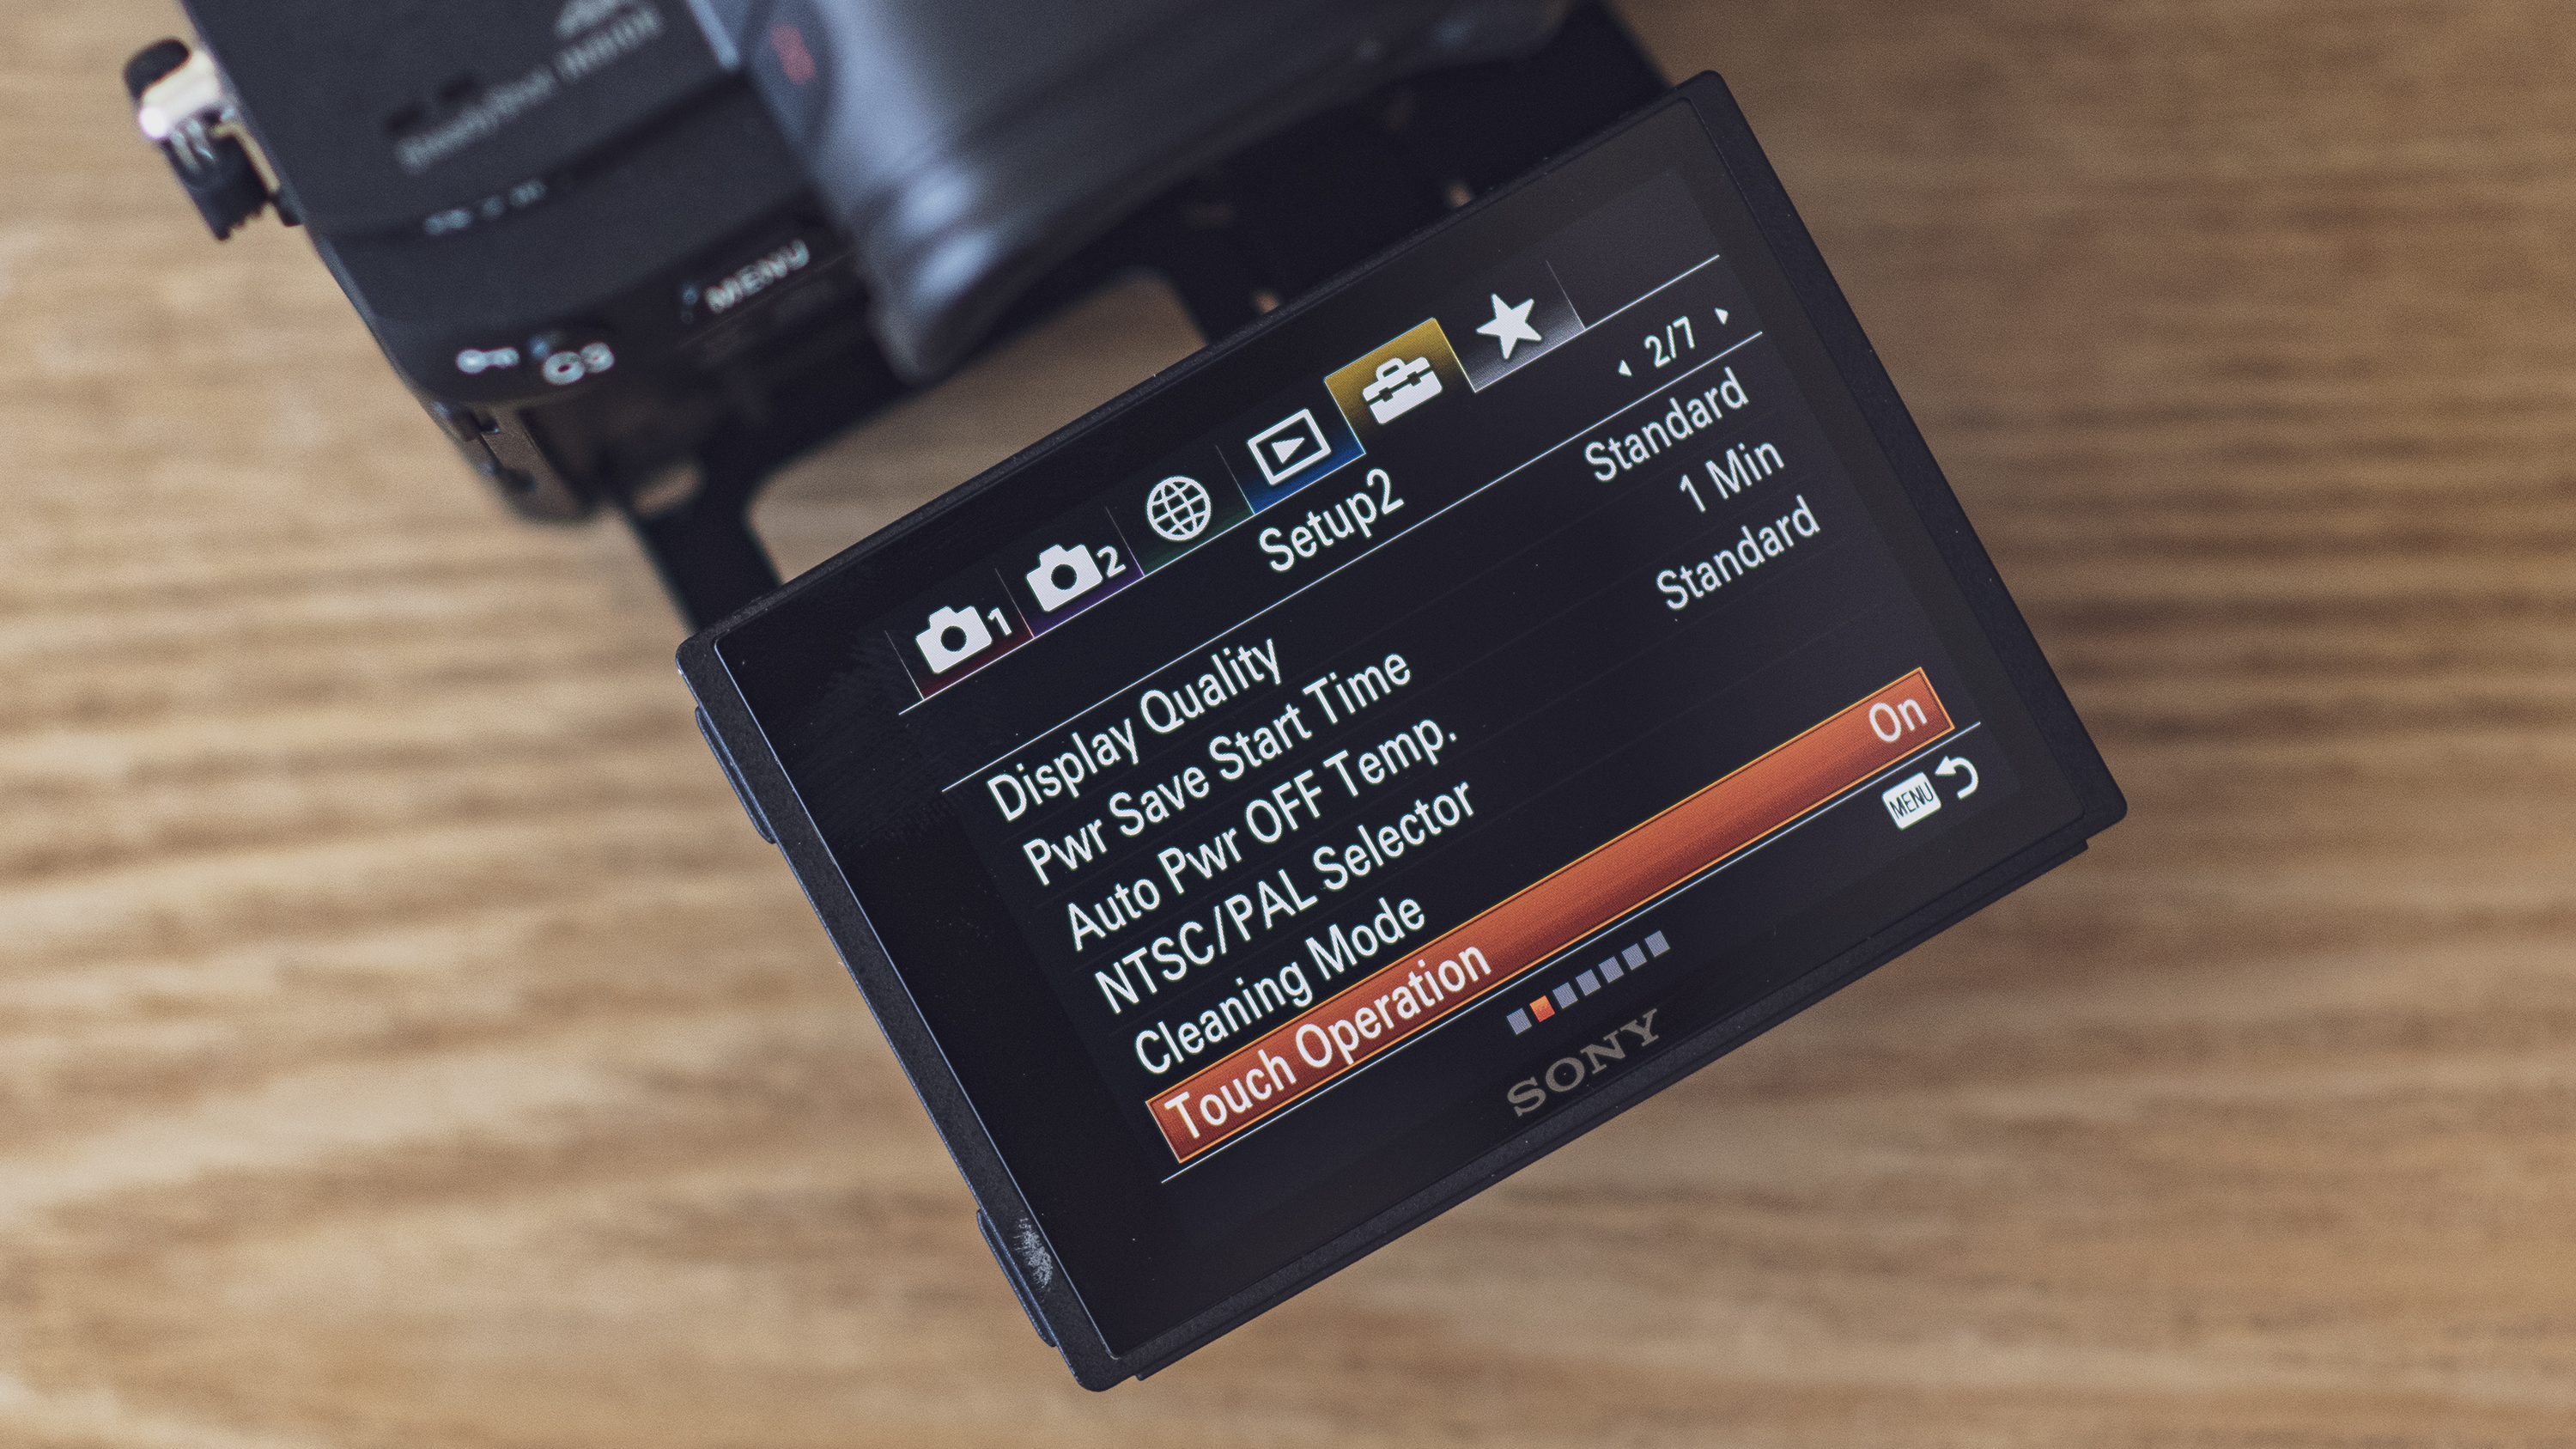
The latest A7 series and A9 cameras have touchscreen operation, and it certainly makes sense to use it because it makes techniques such as focus stacking quicker and easier than using the joystick to select focus points. At the time of writing, this functionality only allows you to select focus points by tapping the desired part of the LCD screen, but with a firmware upgrade we could see improvements including menu navigation, touch shooting and the ability to swipe and pinch images when reviewing them on the LCD.
3. Set display quality
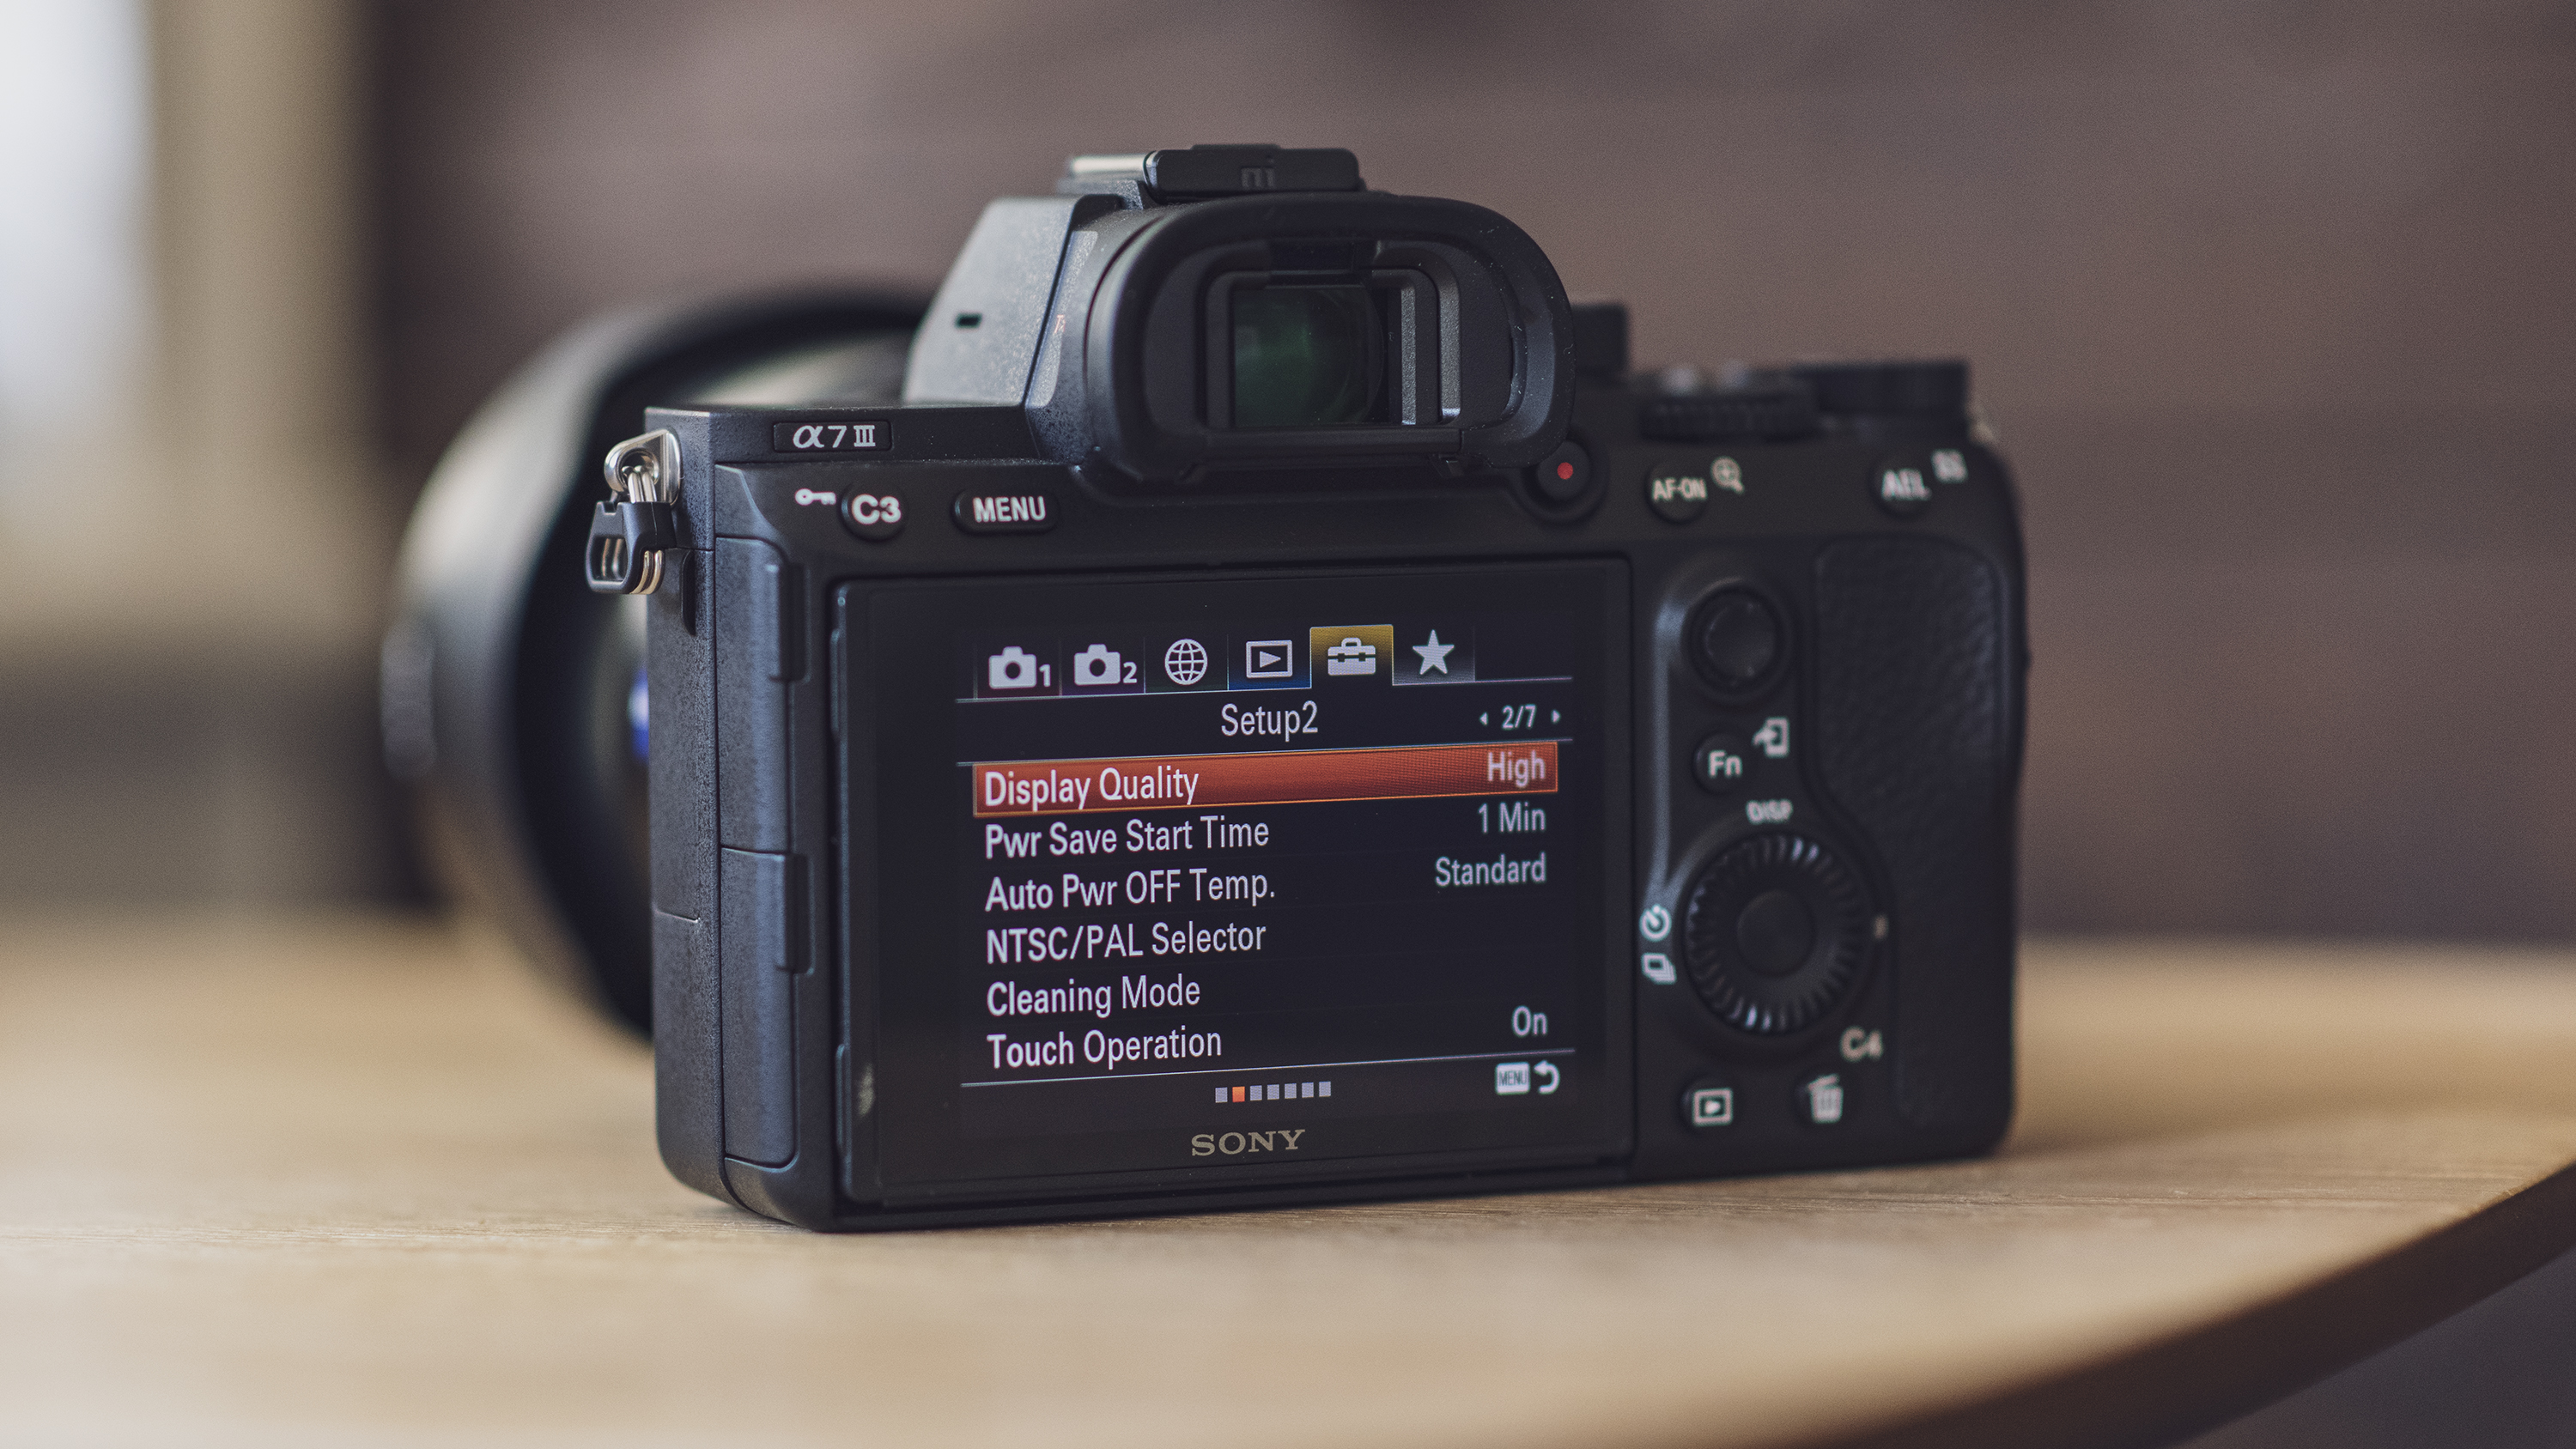
By default, display quality is set to standard, but there’s a high option that provides a higher resolution image in both the EVF and on the LCD screen. This will simply allow you to enjoy sharper, more detail-packed images when composing shots and reviewing images, especially when zooming in to check sharpness. With such a high resolution EVF and LCD available on these cameras, it makes sense to take full advantage of what’s on offer, and there’s nothing better than being able to see the highest resolution versions of your shots in the field.
Sign up for breaking news, reviews, opinion, top tech deals, and more.
4. Save battery with Airplane Mode
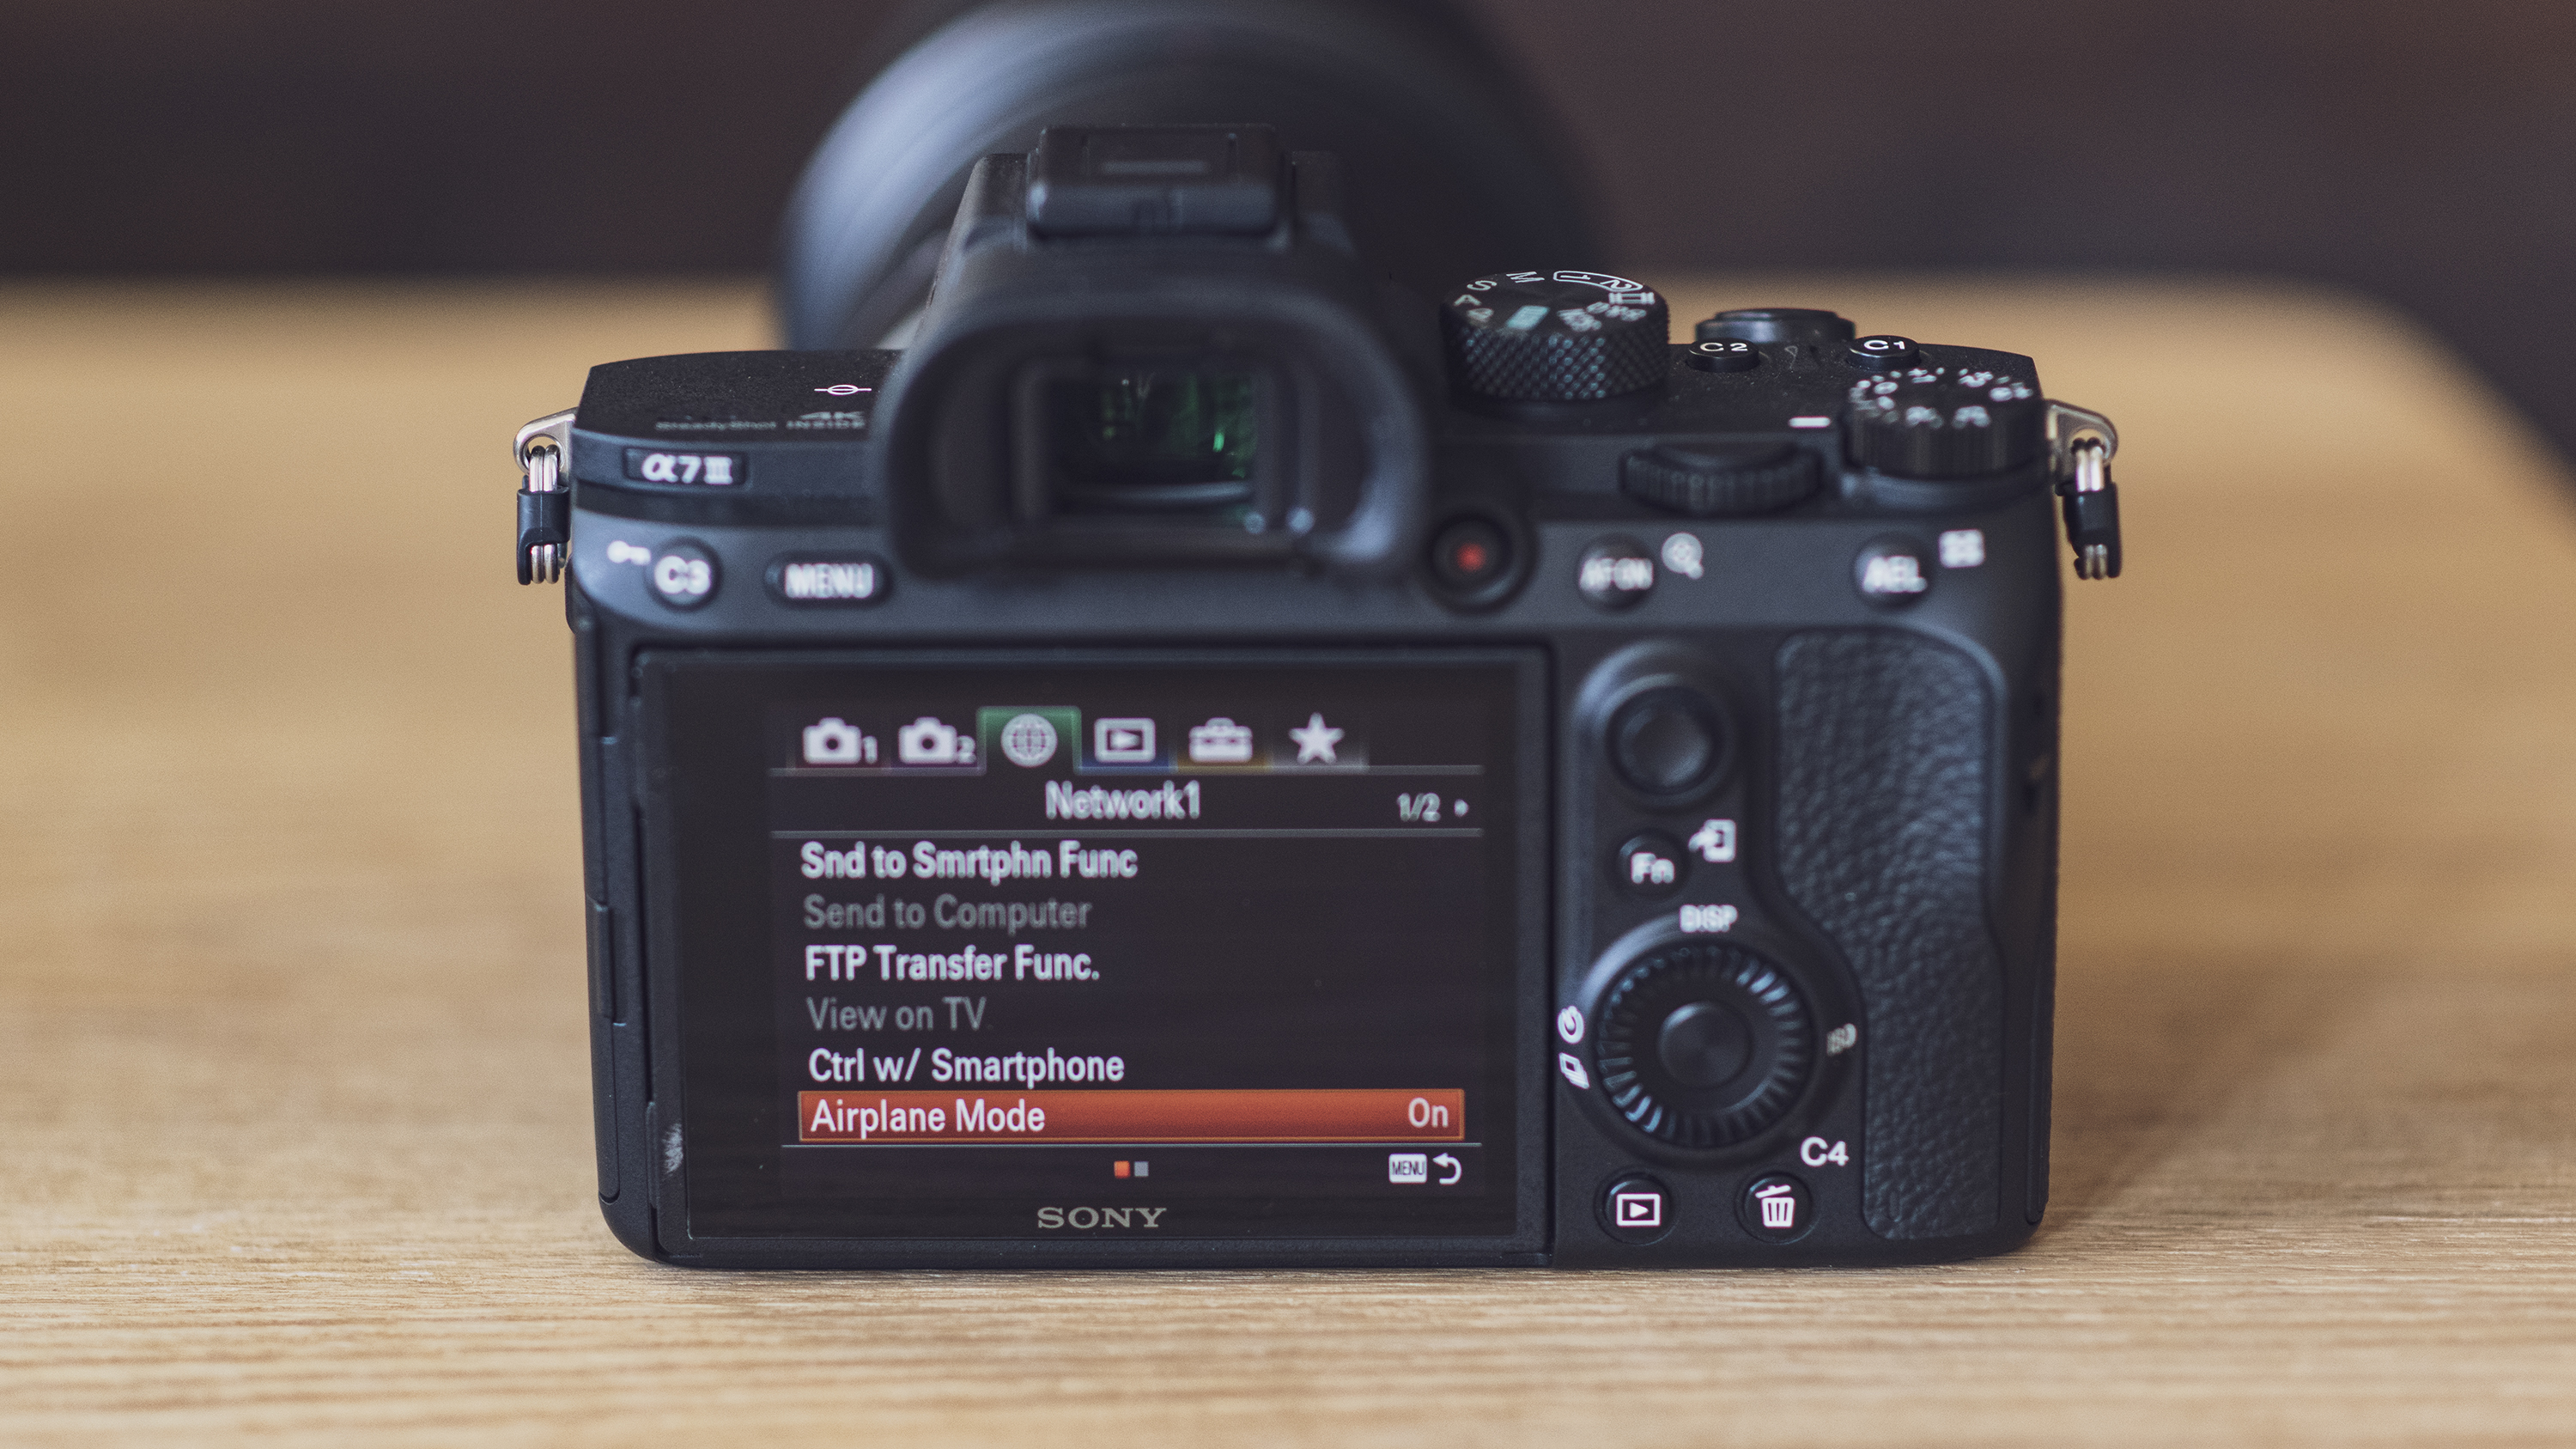
By default everything seems to be turned on when you get a Sony camera, so to save valuable battery, switch the camera to Airplane Mode. This will turn off all types of wireless connectivity and can simply be turned off when you need to use Wi-Fi or NFC to connect your smartphone or tablet to the camera using the Sony Play Memories app. Alternatively, you could turn these off individually, but Airplane Mode is a quick and easy way to ensure you’re not inadvertently wasting battery power and can be switched off in seconds.
5. Customise the button layout
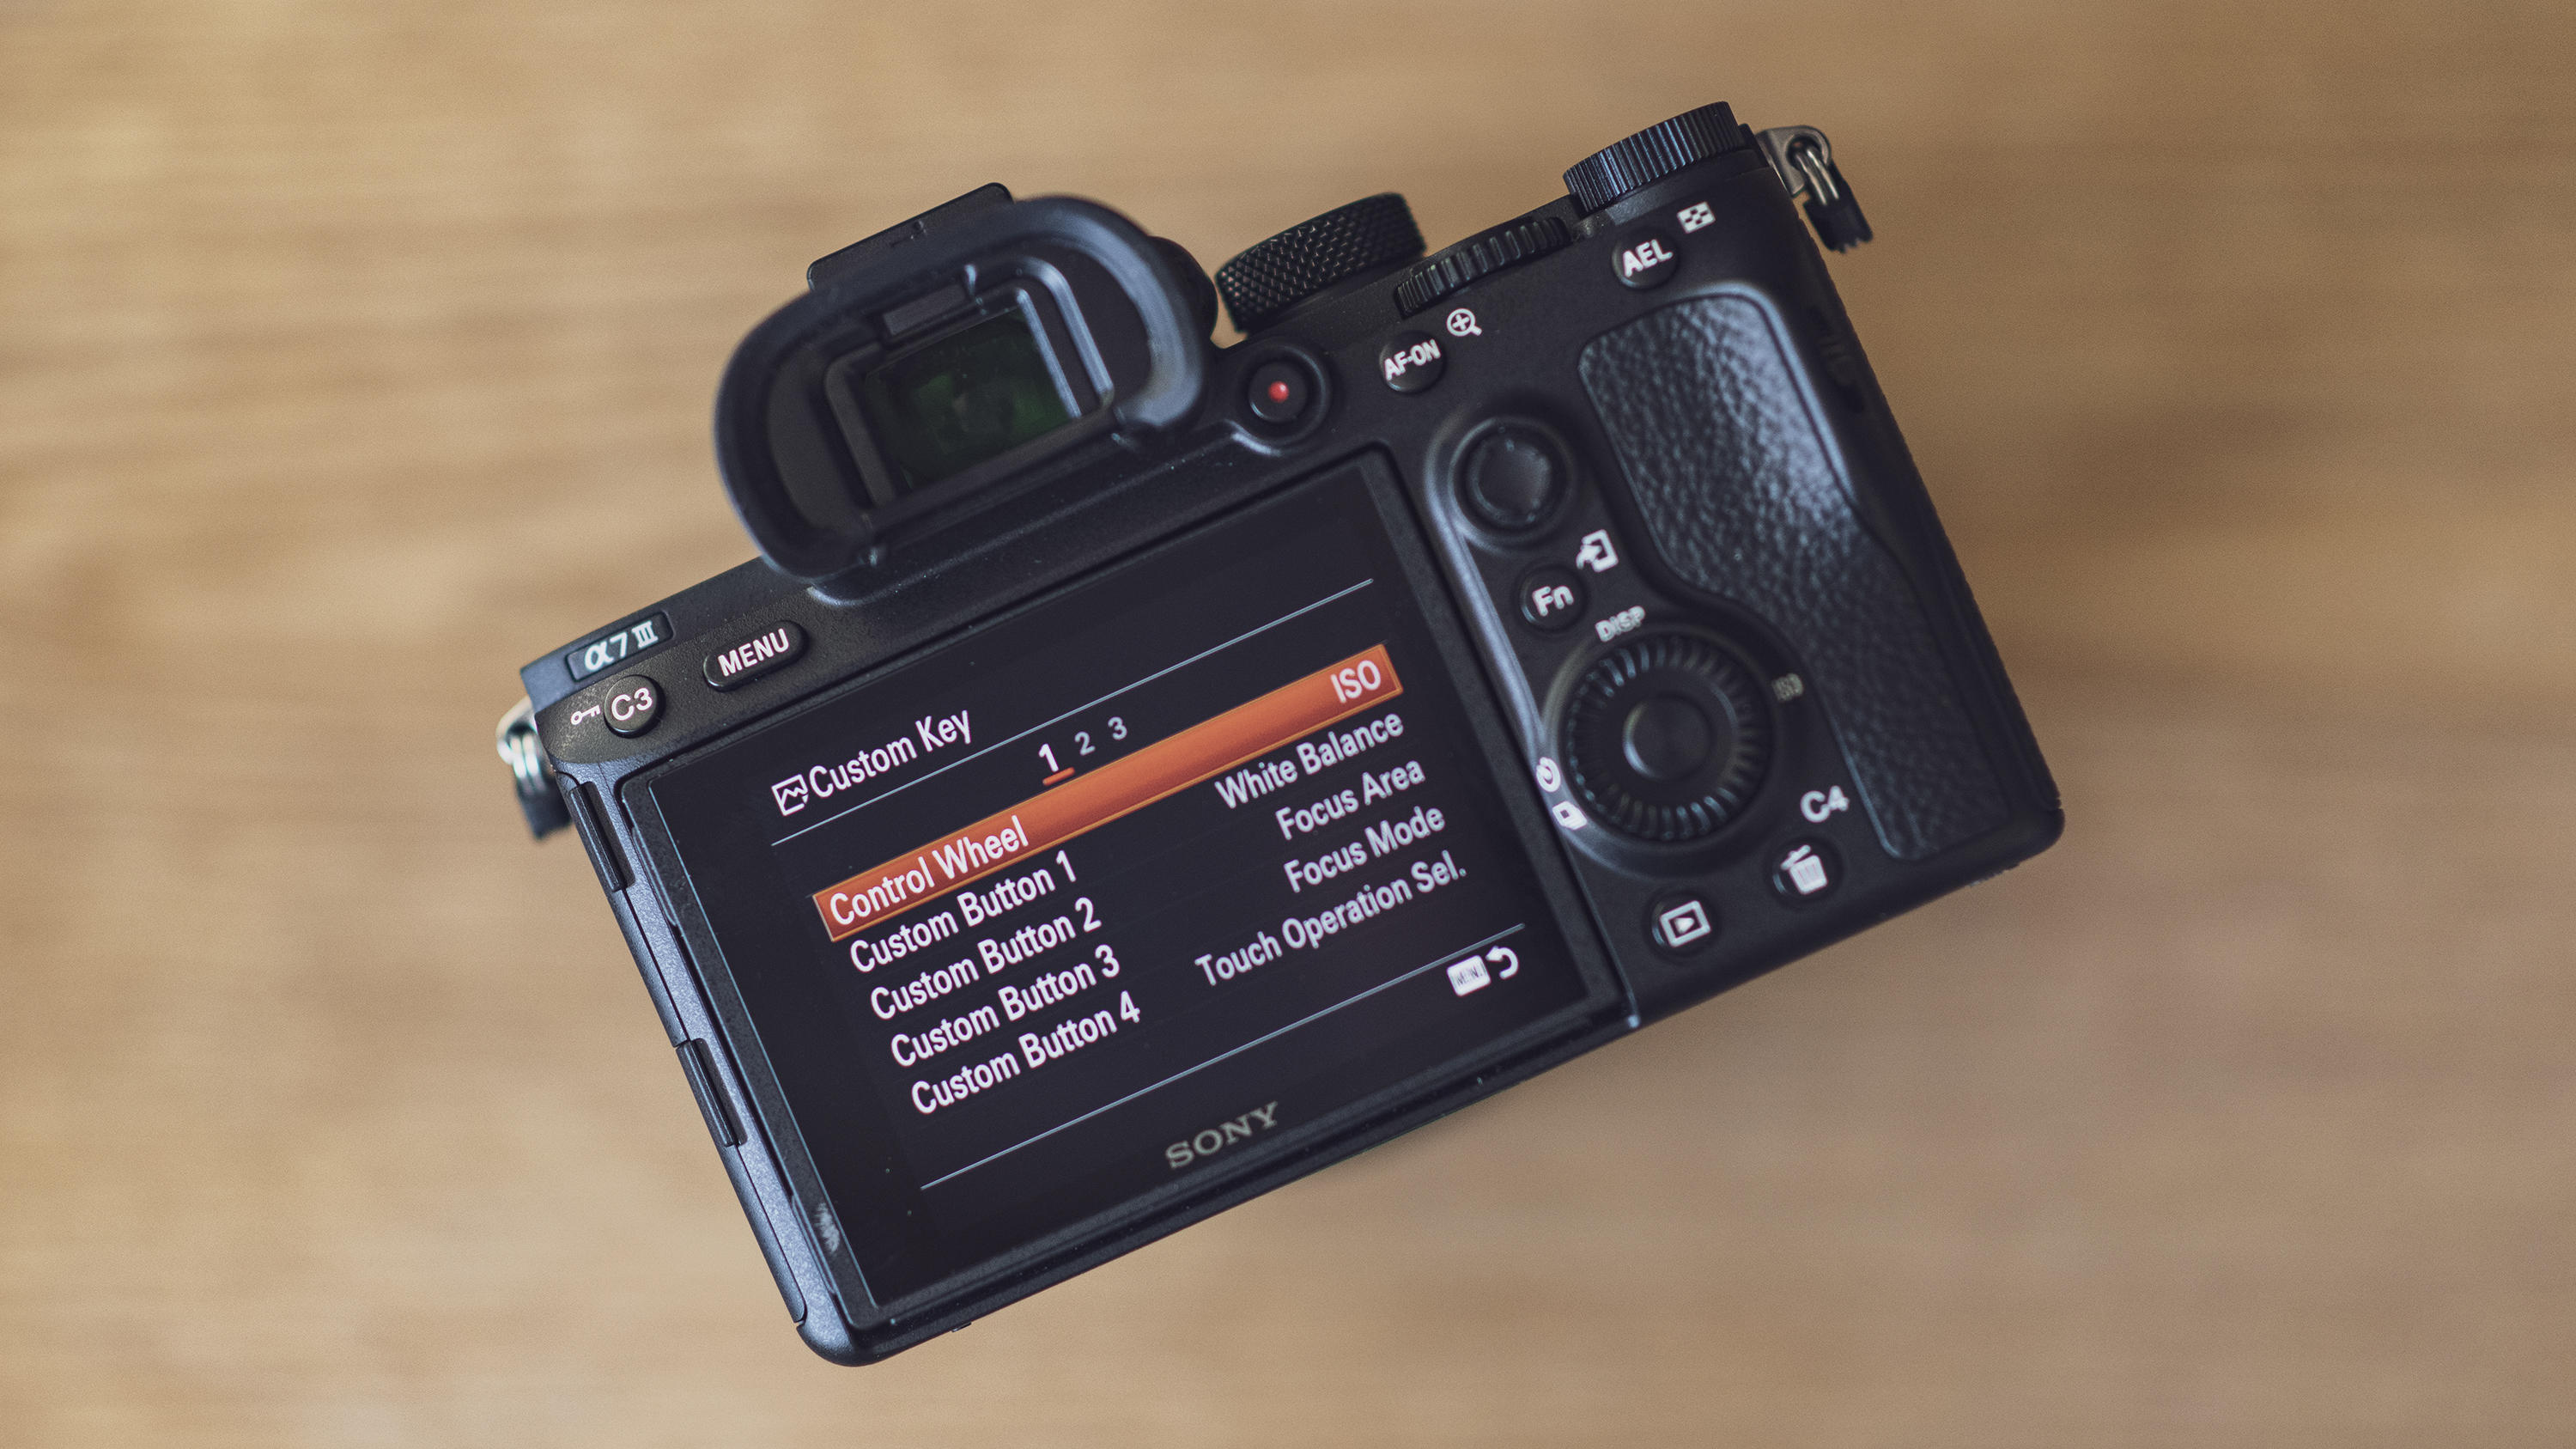
One of the great things about the A7 series and A9 cameras is that the vast majority of the dials and direct access buttons can be configured to your own preferred layout. For the most part, the standard default button layout works well and you can often keep half or more as they are, but there are a number of buttons on the back of the camera that you can set up to better meet your needs and help you to access the settings you use most often. Take a look at tip number nine below for one useful recommendation.
6. Set custom shooting modes
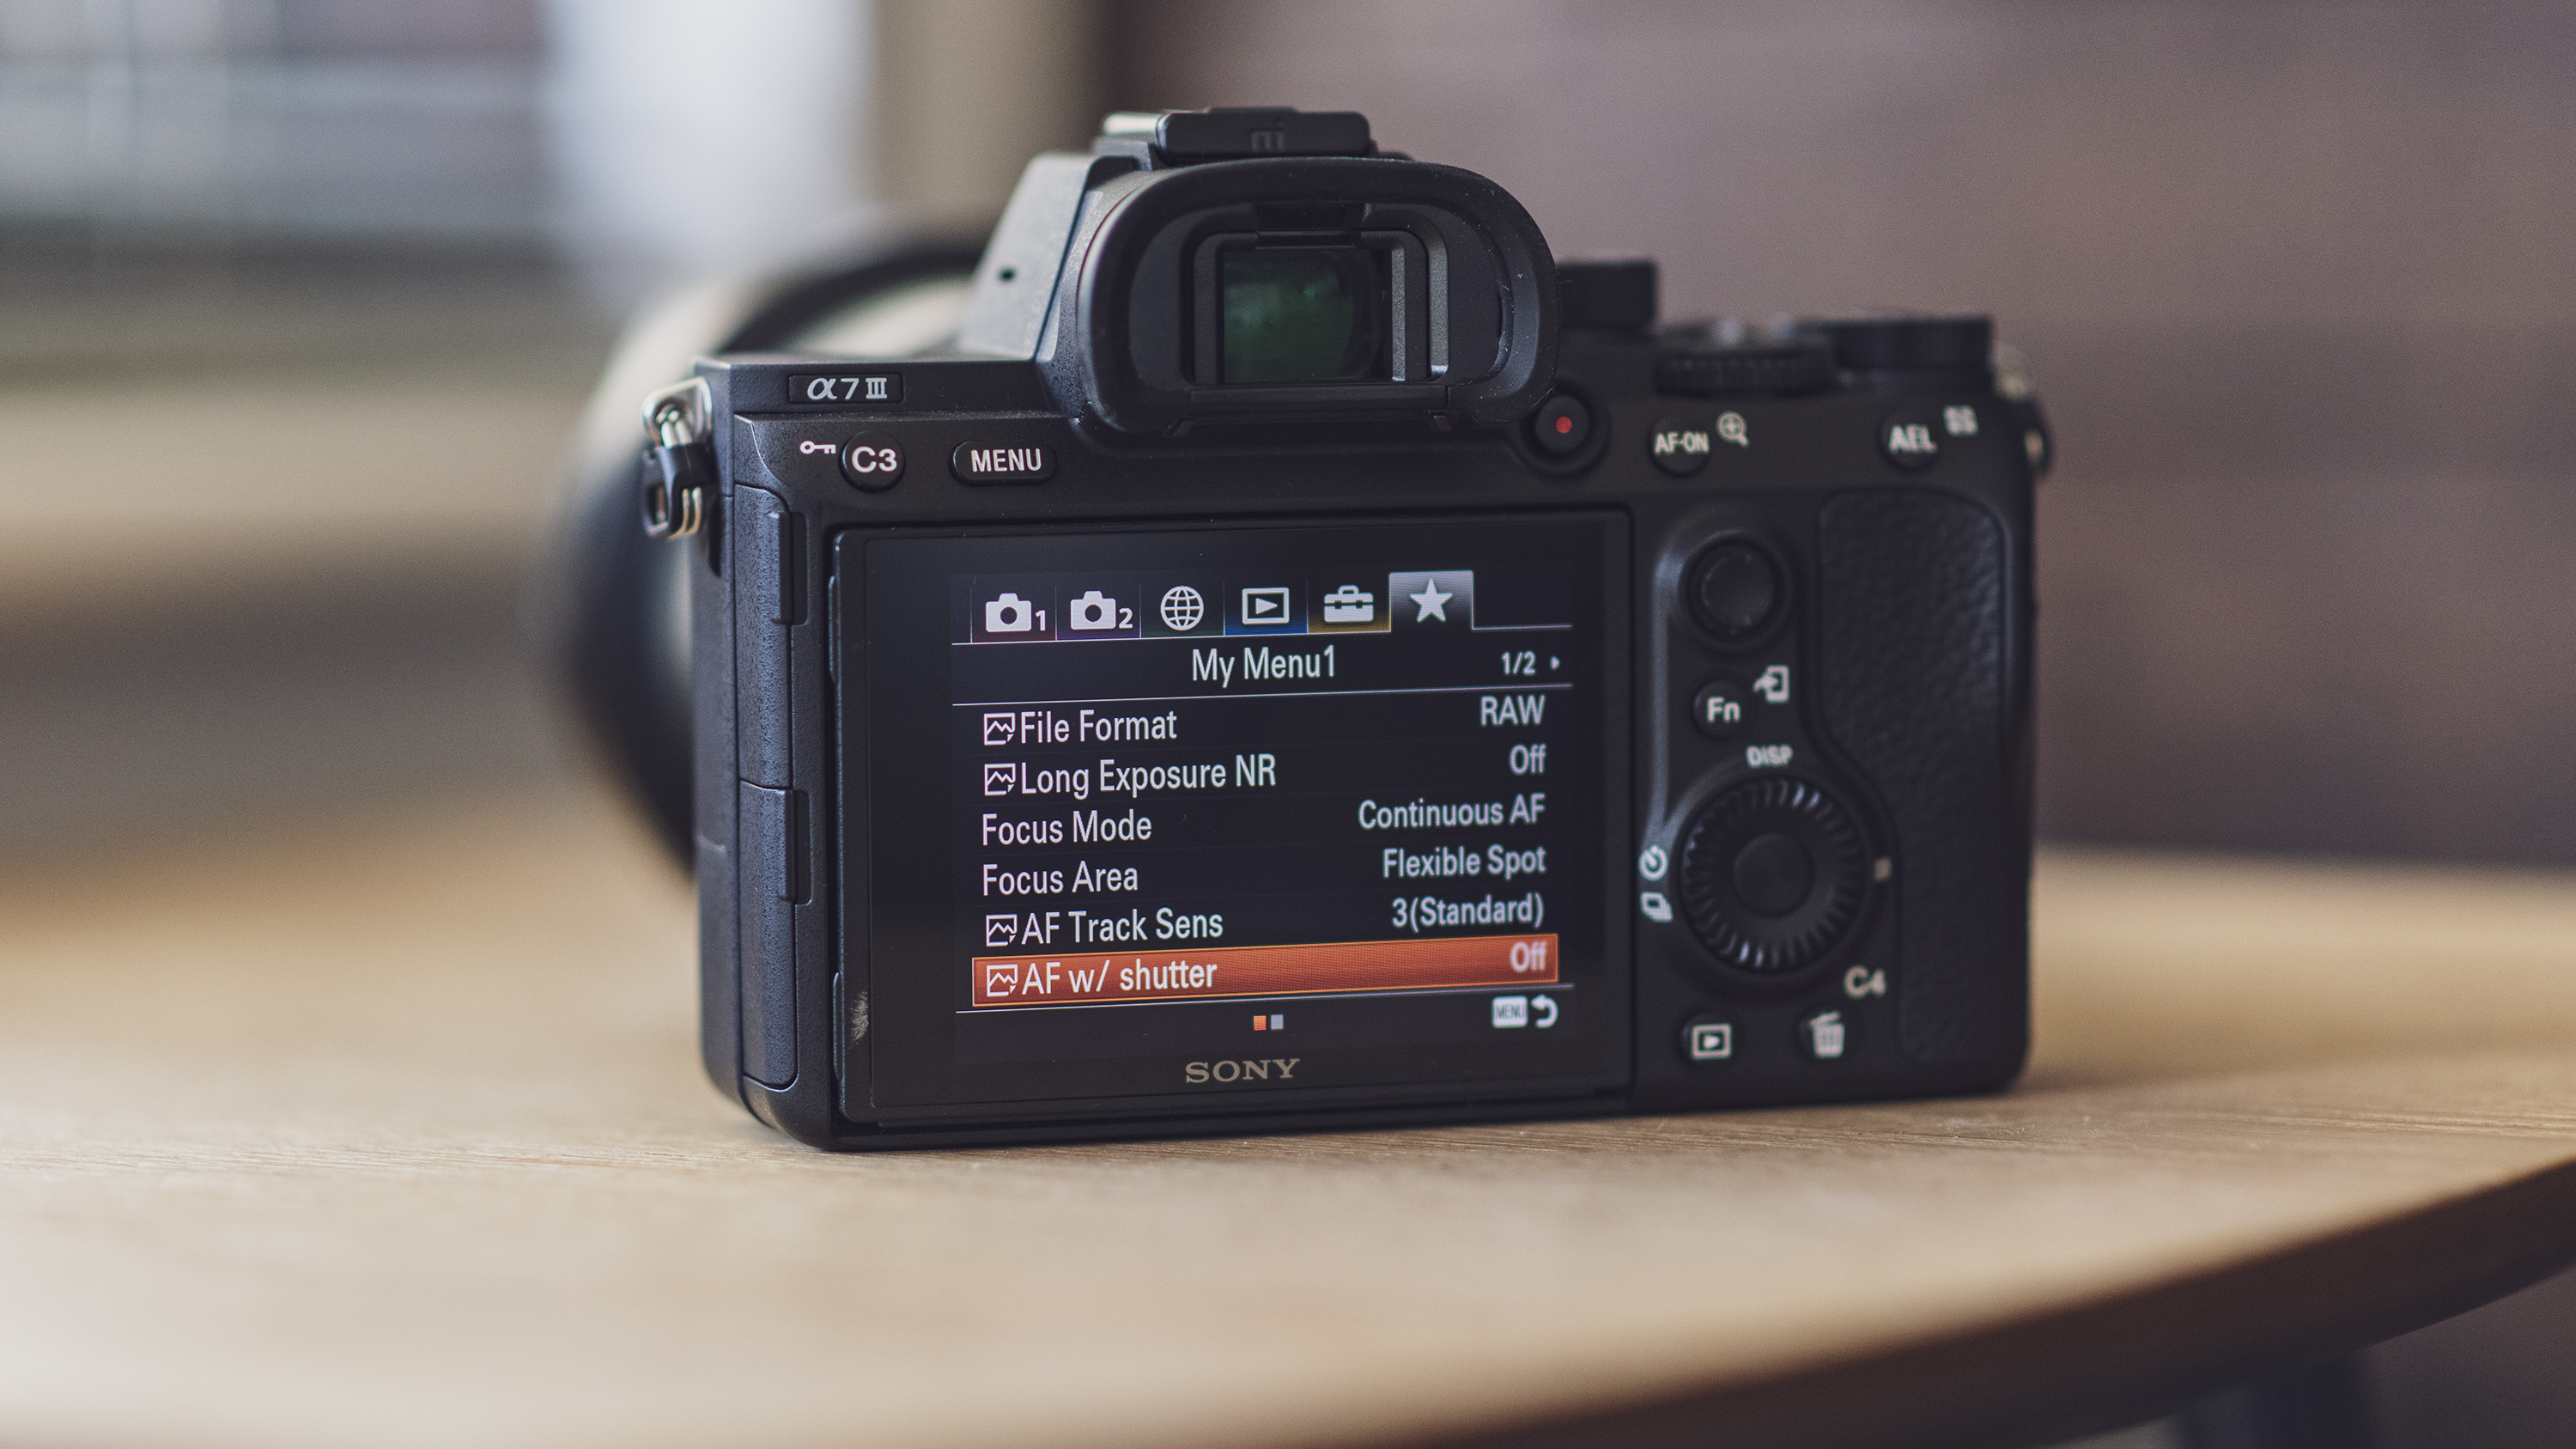
With three custom shooting modes available, you can programme different camera settings and shooting modes etc. into these. This means that the camera is ready to shoot a specific subject or to behave in a particular way in an instant. If you shoot stills and video, for instance, you could set up one of the customised shooting modes to shoot a flat HDR profile at 4K, and another at 1080p. The possibilities really are only limited by the photographer’s desire to take advantage of these simple, yet highly useful shooting modes.
7. Change the display view while shooting
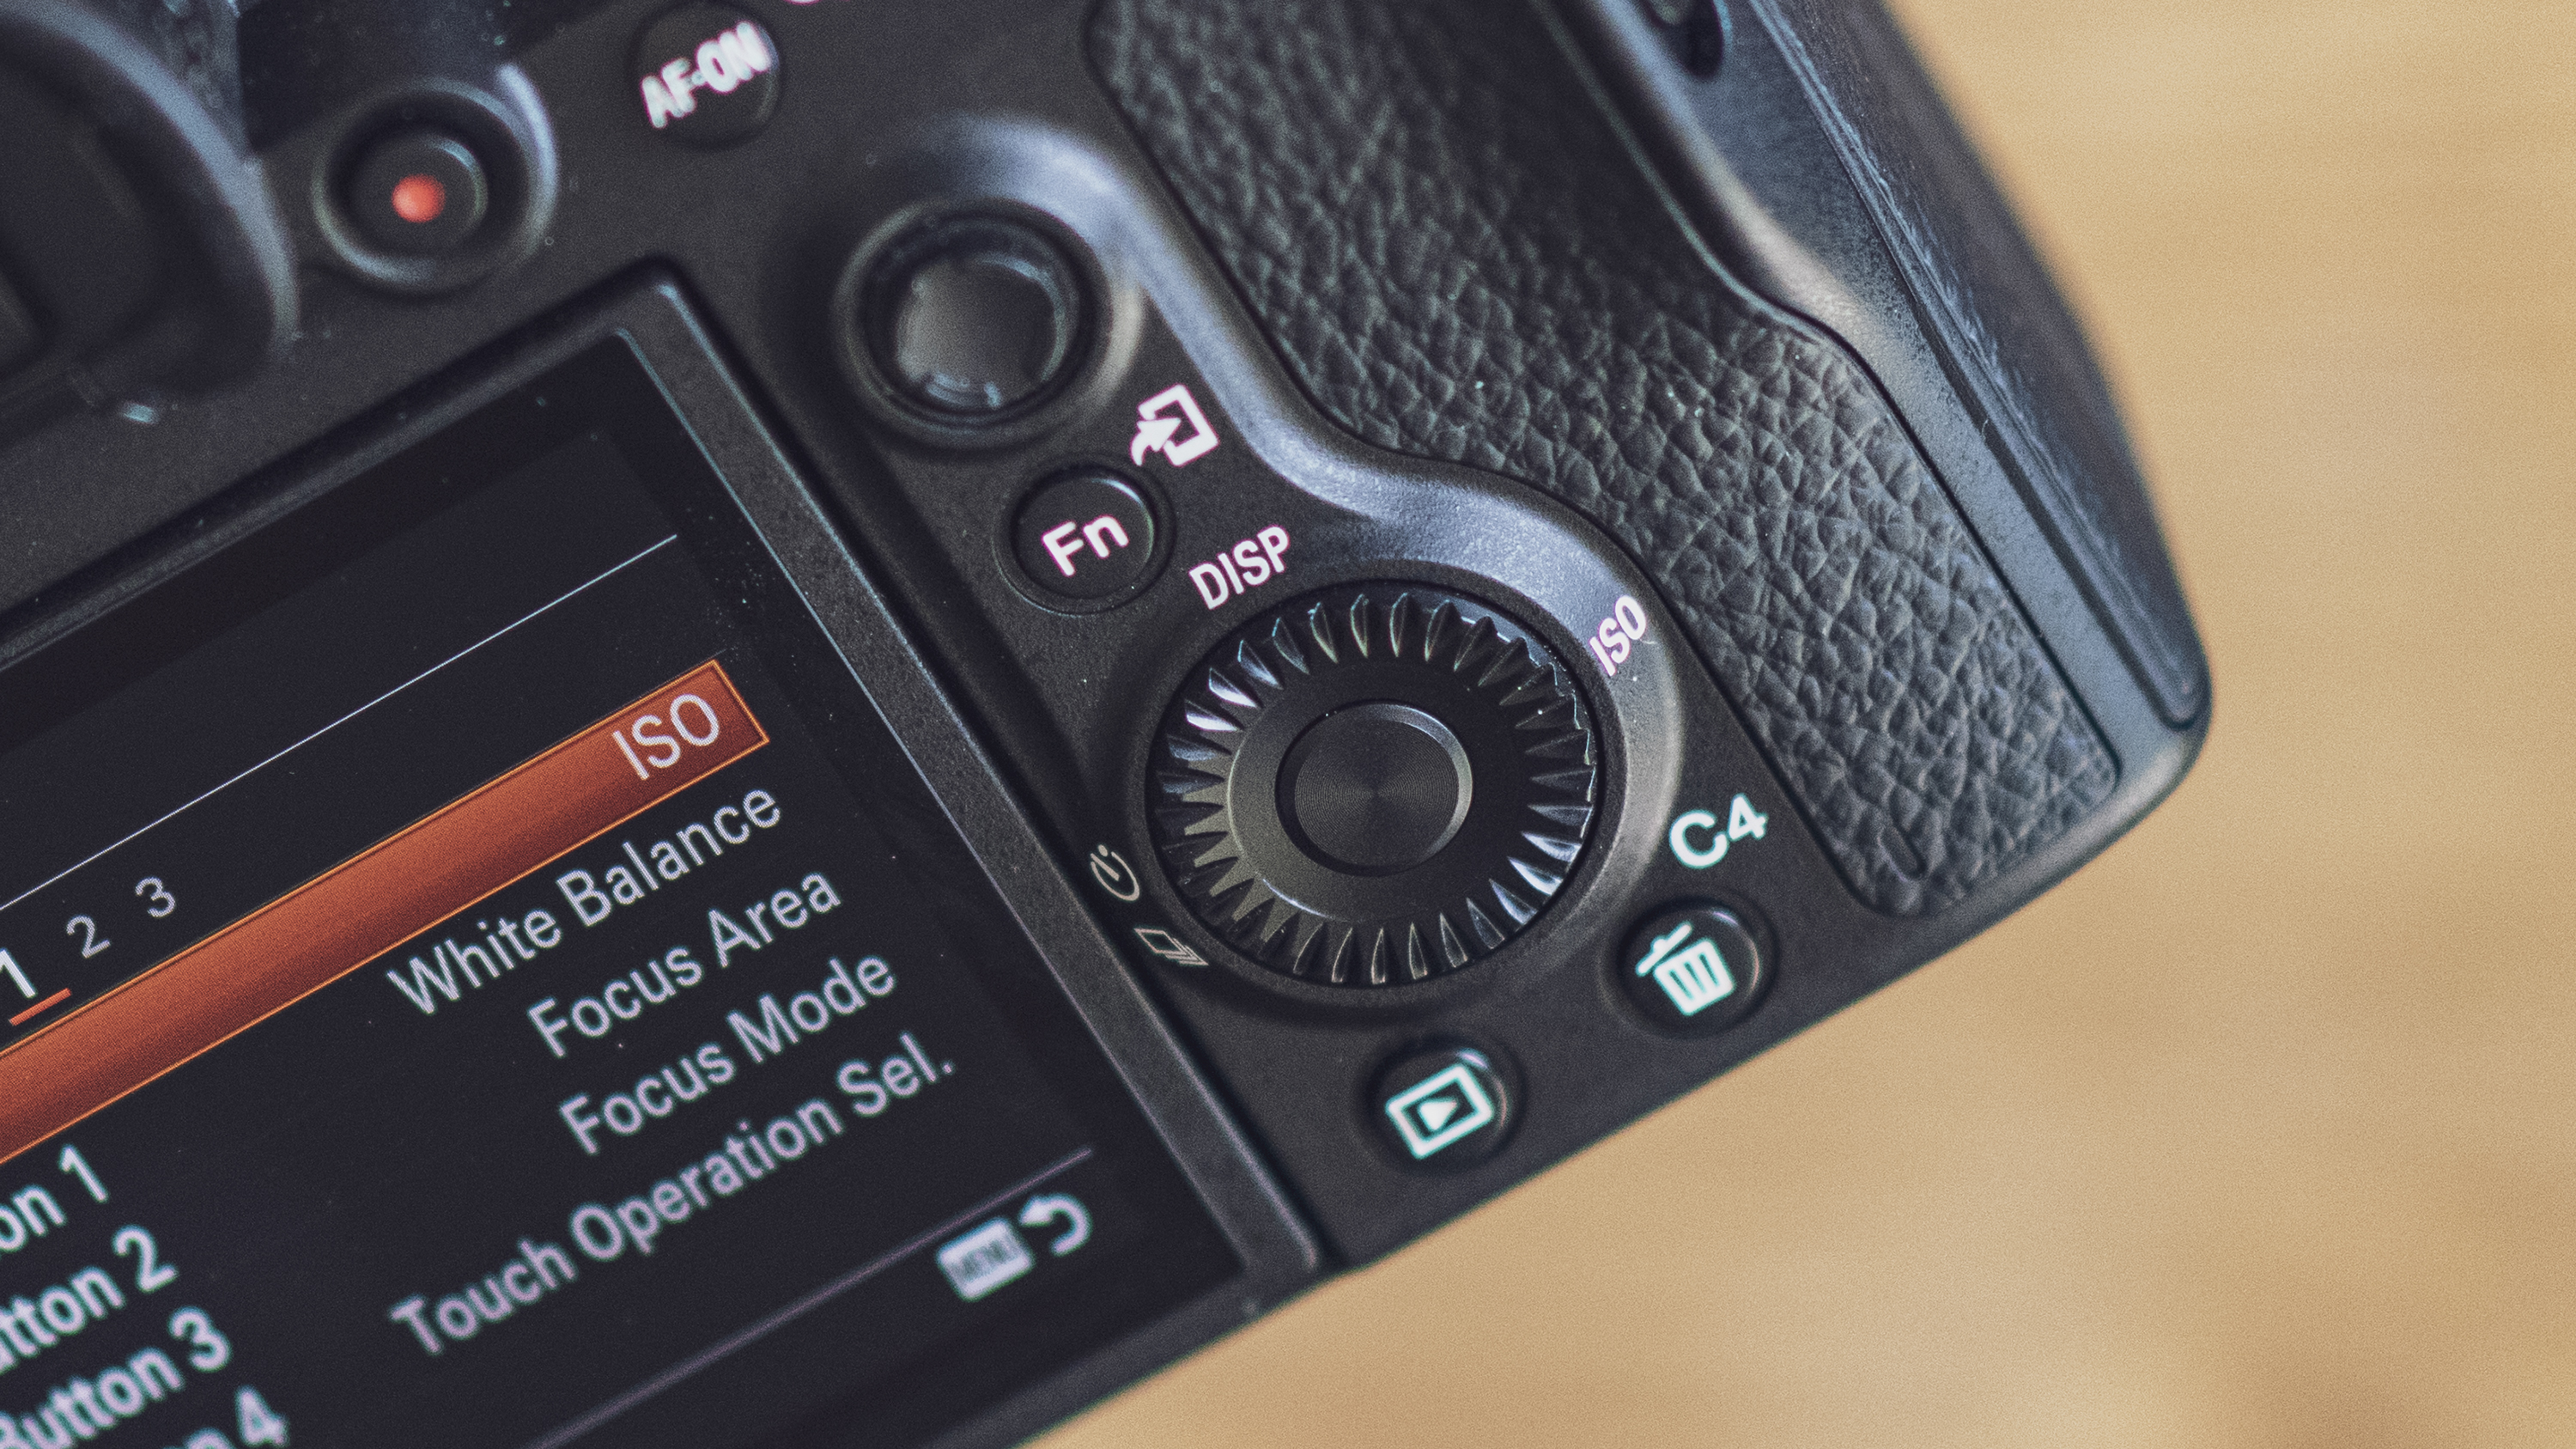
Whether you’re shooting with your eye to the electronic viewfinder (EVF) or using the LCD you can quickly and easily change the information that’s displayed on-screen or in the EVF simply by pressing the Disp button at the top of the scroll wheel on the back of the camera. You may prefer a view showing just camera settings and a histogram, or a virtual horizon to square up your shots, or Live View with a live histogram to view the scene and assess exposure. Many photographers will use all of these with a single shot, so scrolling through the options is quite common.
- Learn more: The A to Z of Photography: Histograms
8. Try silent shooting
Silent shooting is a great feature that many mirrorless and DSLR cameras offer and can be invaluable for any photographer working in an environment where shutter noise could be a problem (weddings are a perfect example). With Sony Alpha cameras this setting is accessed through the menu rather than a direct access button some DSLRs provide. But if you need quick access to this or any other setting, you could set up a custom menu covering all the menu options you frequently use. This is the last menu option on the right and is called ‘My Menu Setting’.
9. Use Eye AF

When shooting portraits with fast prime lenses getting the focus point exactly where it need to be over the eye isn’t always quick and easy. Many Sony Alpha cameras now feature Eye AF which does an incredible job of detecting a subject’s eye for precise focusing. By default, this is activated by pressing the button in the centre of the scroll wheel on the back of the camera. This may not be the most comfortable button to use but you can reassign a different button when customising the button layout.
10. SteadyShot
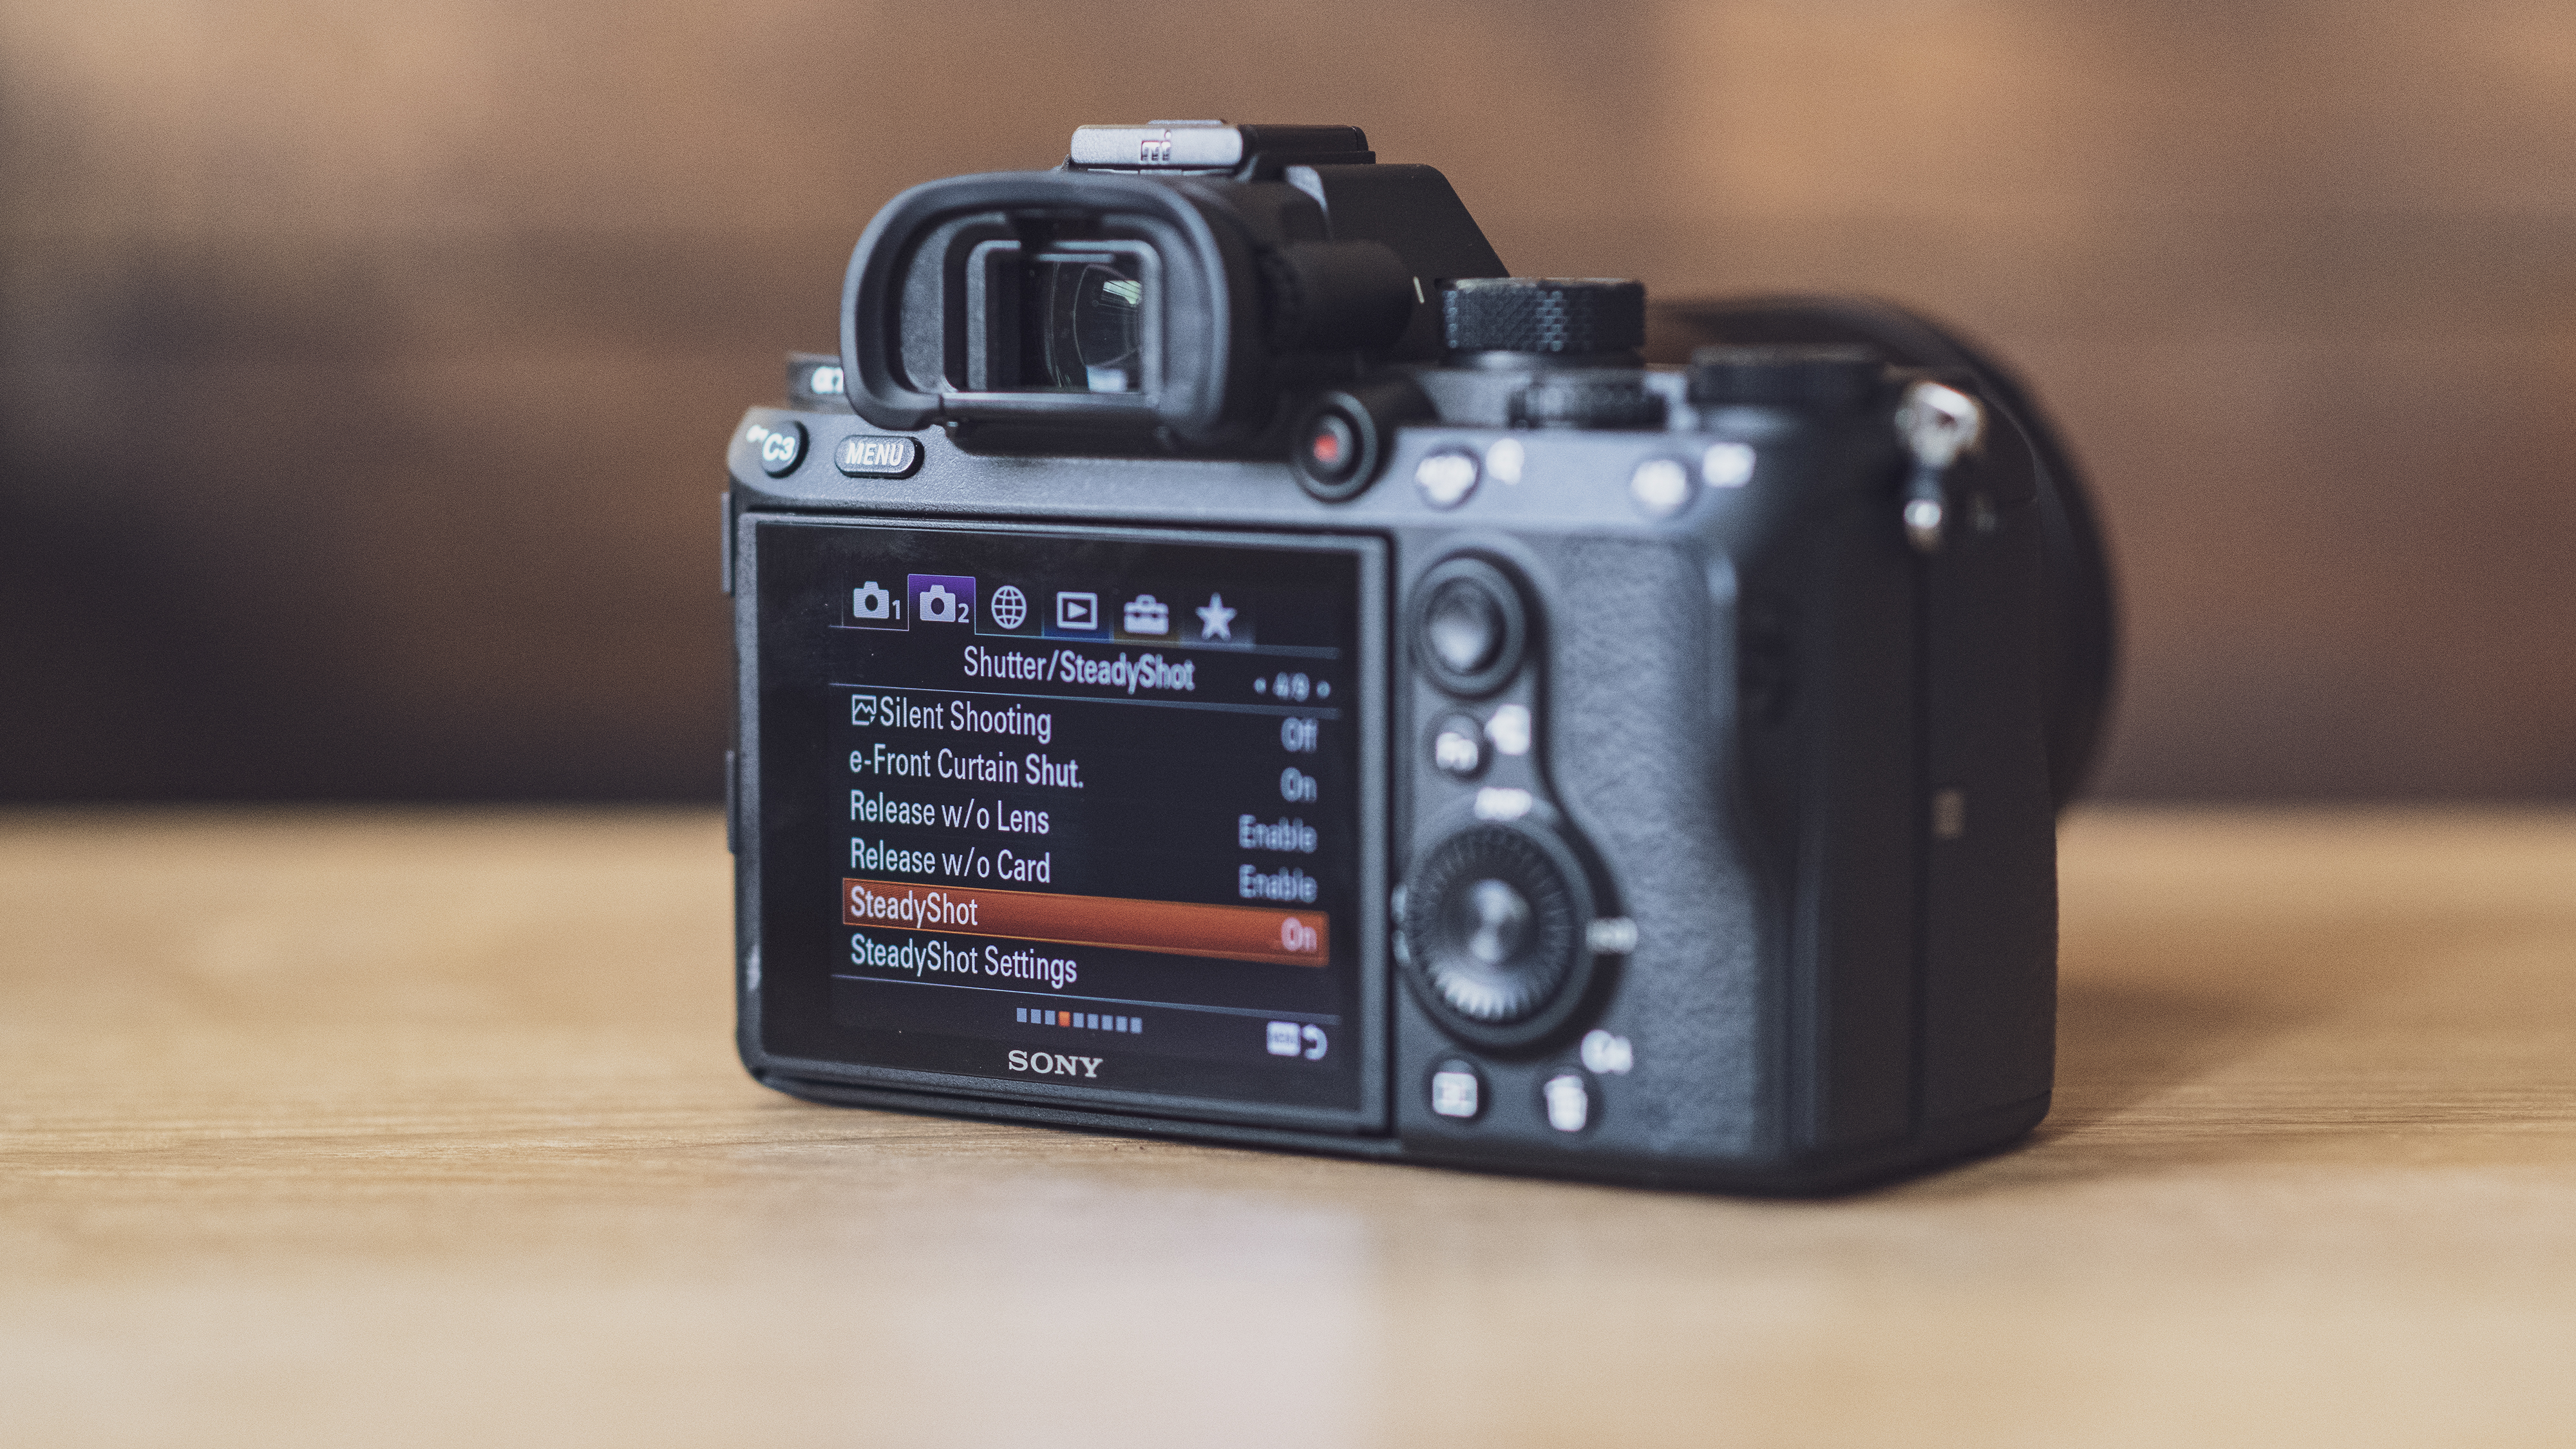
By default in-camera image stabilisation – SteadyShot – is turned on. And while for most handheld shooting it's not going to cause too much of a problem, if you're shooting with the camera on a tripod you should really switch it off to avoid blurred images, only turning it on when you actually need it. Some Sony E-mount lenses have optical image stabilisation built-in, so the SteadyShot switch on the side of the lens will always override the in-camera setting. Although, with lenses that don’t have a switch or rely on sensor-based stabilisation, the menu option is the only way to turn stabilisation on or off.

James Abbott is a professional photographer and freelance photography journalist. He contributes articles about photography, cameras and drones to a wide range of magazines and websites where he applies a wealth of experience to testing the latest photographic tech. James is also the author of ‘The Digital Darkroom: The Definitive Guide to Photo Editing’.