10 camera settings you need to learn to master your Nikon
Sign up for breaking news, reviews, opinion, top tech deals, and more.
You are now subscribed
Your newsletter sign-up was successful
Essential Nikon camera settings: 7. Shutter Priority

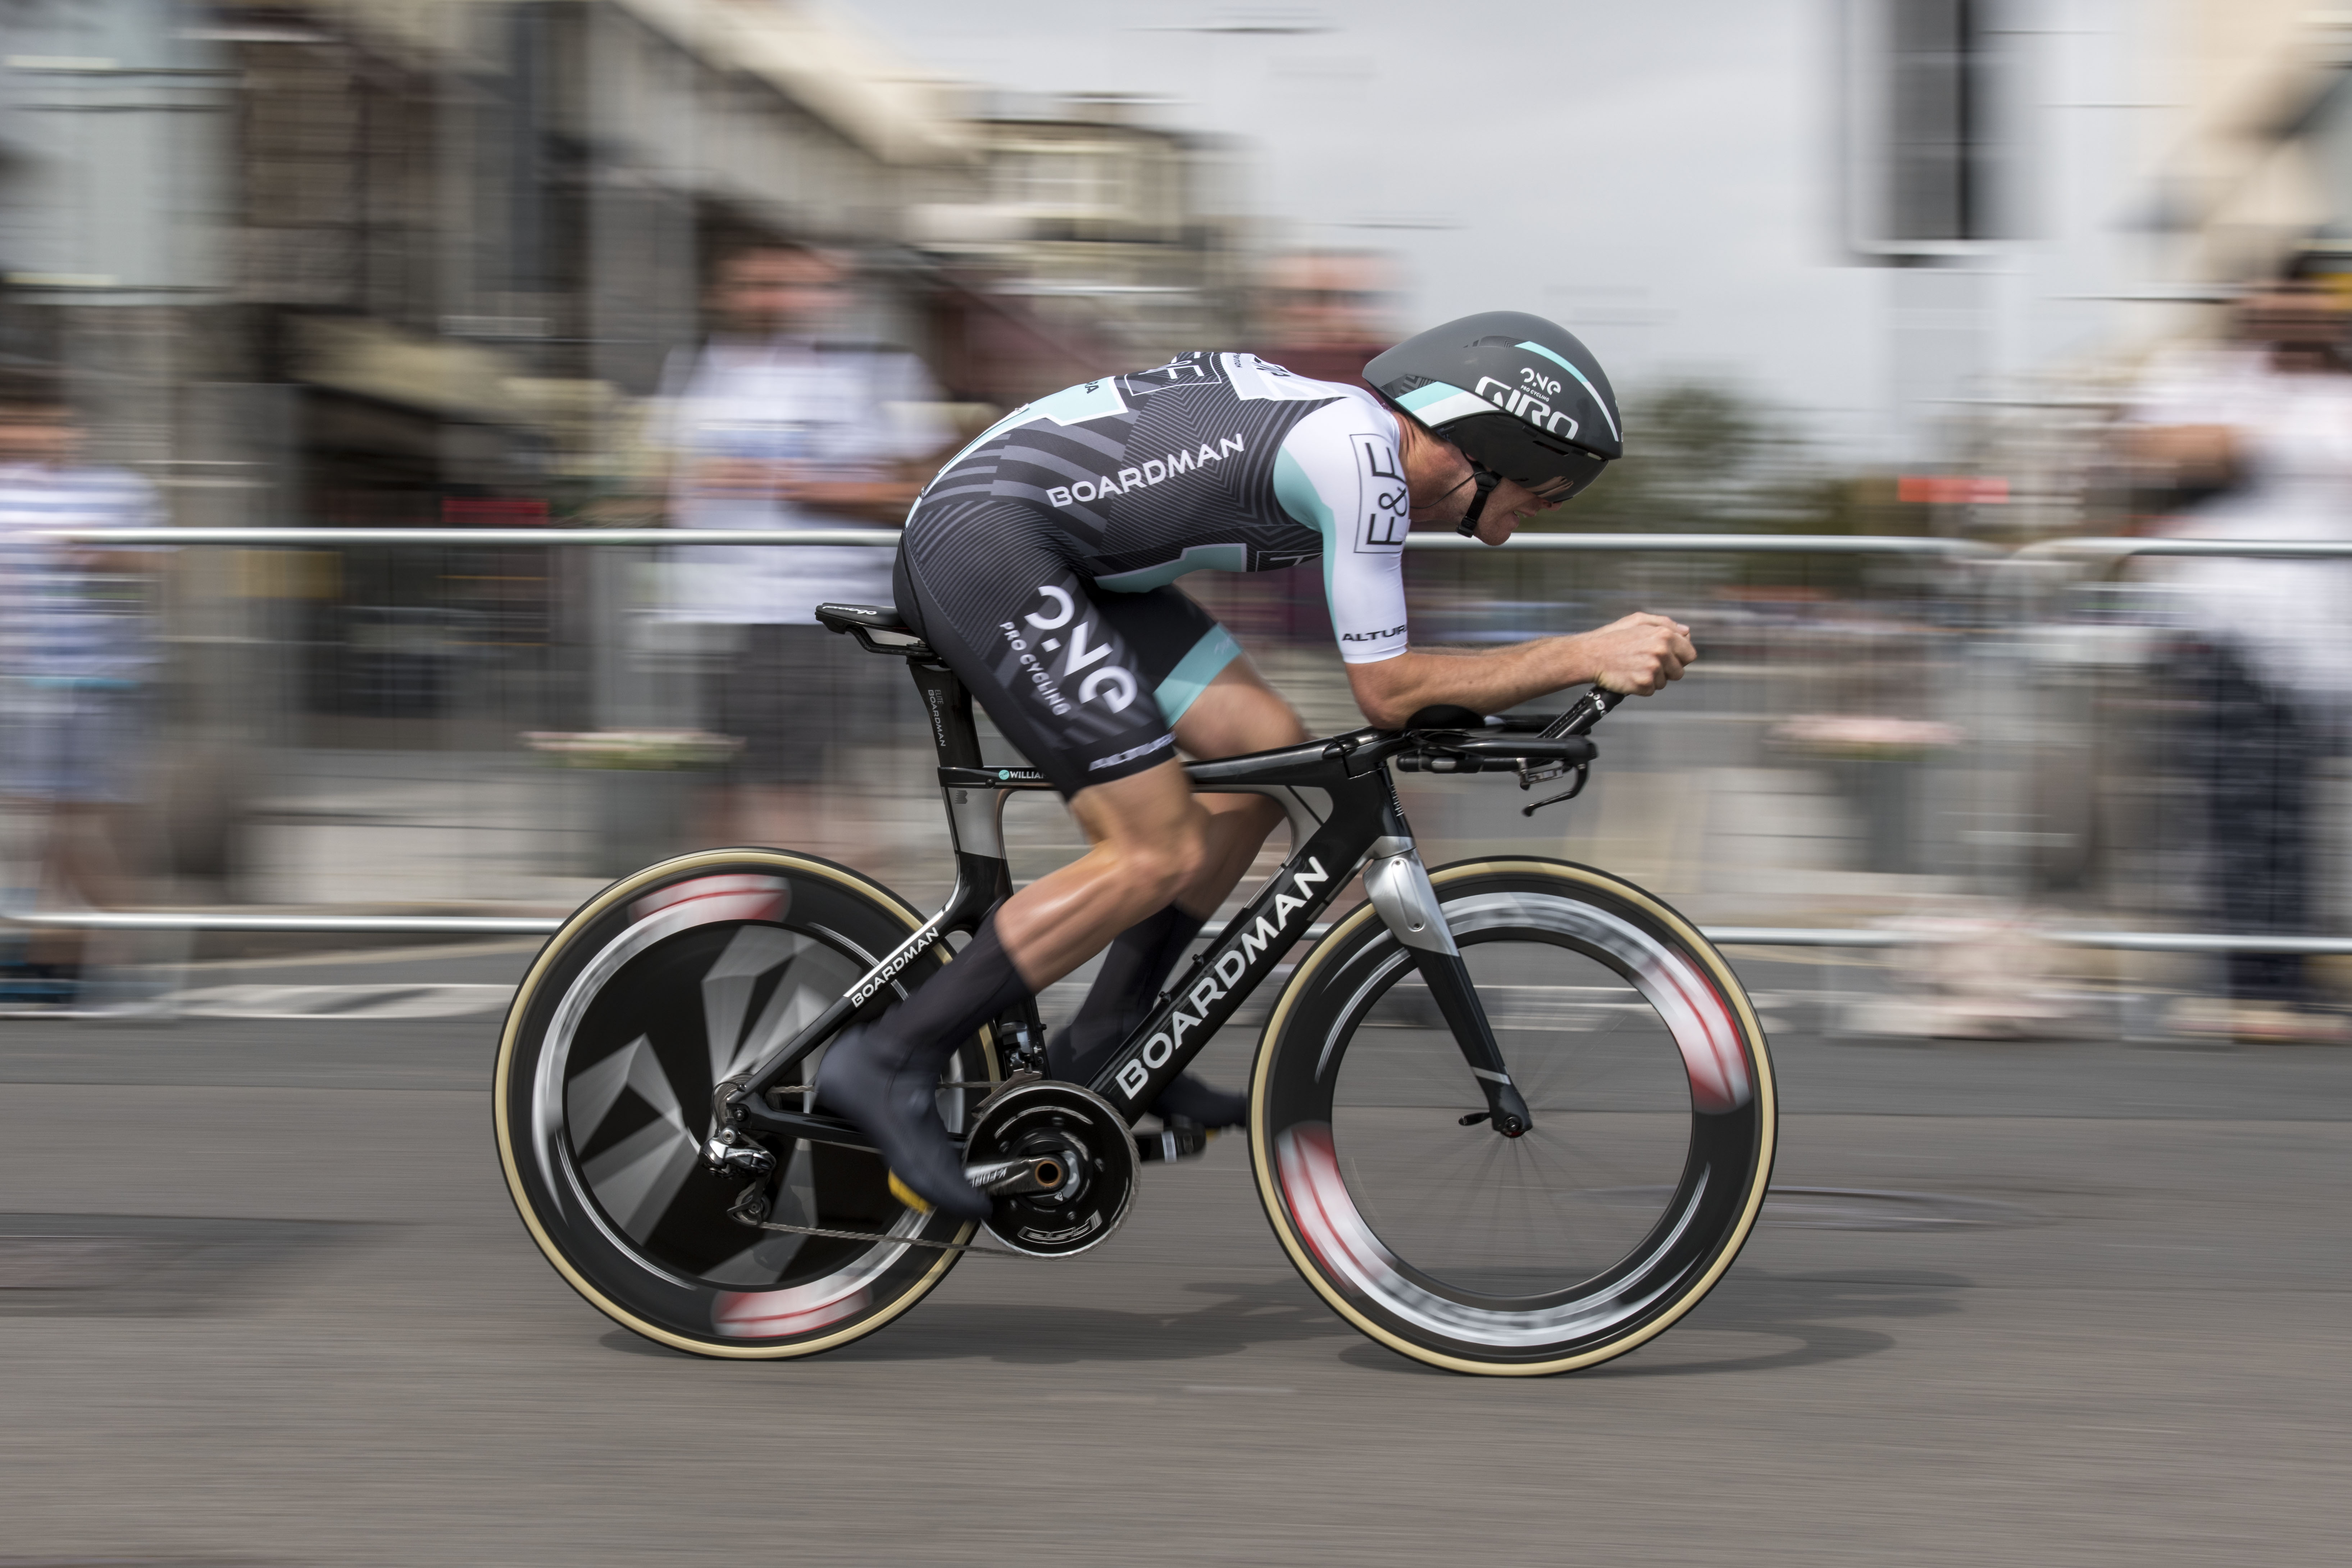
Taking control of the shutter speed gives you the ability to freeze or blur motion
What is it in a nutshell?
Choosing whether to capture moving subjects as sharply as possible, or with some blur, is a critical. For maximum sharpness you'll need a fast shutter speed, usually 1/500 sec or less. At these speeds there needs to be plenty of light, or you have to increase the ISO.
Why is it so important?
It's usually important that the main subject is sharp, but using fast shutter speeds to freeze movement can also create images that reveal details that are invisible to the naked eye.
That said, the down side to freezing movement is that the subject can appear static, so you need to use this technique with care.
For the best results there needs to be some aspect of the subject that implies movement, so look for moments when your subject leaves the ground, kicks up dust or spray, or is in a position that would be impossible if it were standing still.
How do you use it?
Shutter-priority exposure mode is perfect for giving you control over the shutter speed in most situations. In this mode you can select the shutter speed via the input dial, but this doesn't mean that the camera can always choose an aperture that will give you the correct exposure.
When using fast shutter speeds to freeze movement, you need to watch the aperture displayed in the viewfinder, and if it starts to flash (and the exposure scale displays a negative value), it means that there isn't enough light for a correct exposure, even at the widest aperture available on your lens.
Sign up for breaking news, reviews, opinion, top tech deals, and more.
In this case you will need to set a higher ISO - do it in stages until the display stops flashing.
What you can ignore: Extremely fast shutter speeds
Nikon DSLRs offer maximum shutter speeds of 1/4000 sec or even 1/8000 sec, but these speeds are rarely useful in real-world situations.
Most moving subjects can be frozen by speeds of 1/2000 sec or slower, and you'll need extremely bright conditions, a wide aperture and a high ISO setting to use shutter speeds faster than this. It's much better to use high-speed flash to freeze subjects like water splashes or other extremely fast-moving objects.
Taking it further: Slow shutter-speed effects You don't always have to freeze movement; using a slow shutter speed to add some blur can add a sense of movement and action to a photograph.
There are many ways that you can do this, such as panning with a moving subject to blur out the background (right), or keeping the camera completely static and blurring any elements of the scene that are moving during the exposure. Which technique you use really depends on the effect you're trying to create.
Essential Nikon camera settings: 8. Aperture Priority

Deciding how much of the scene is in focus can make or break the impact of your shots, so here's how to control it
What is it in a nutshell?
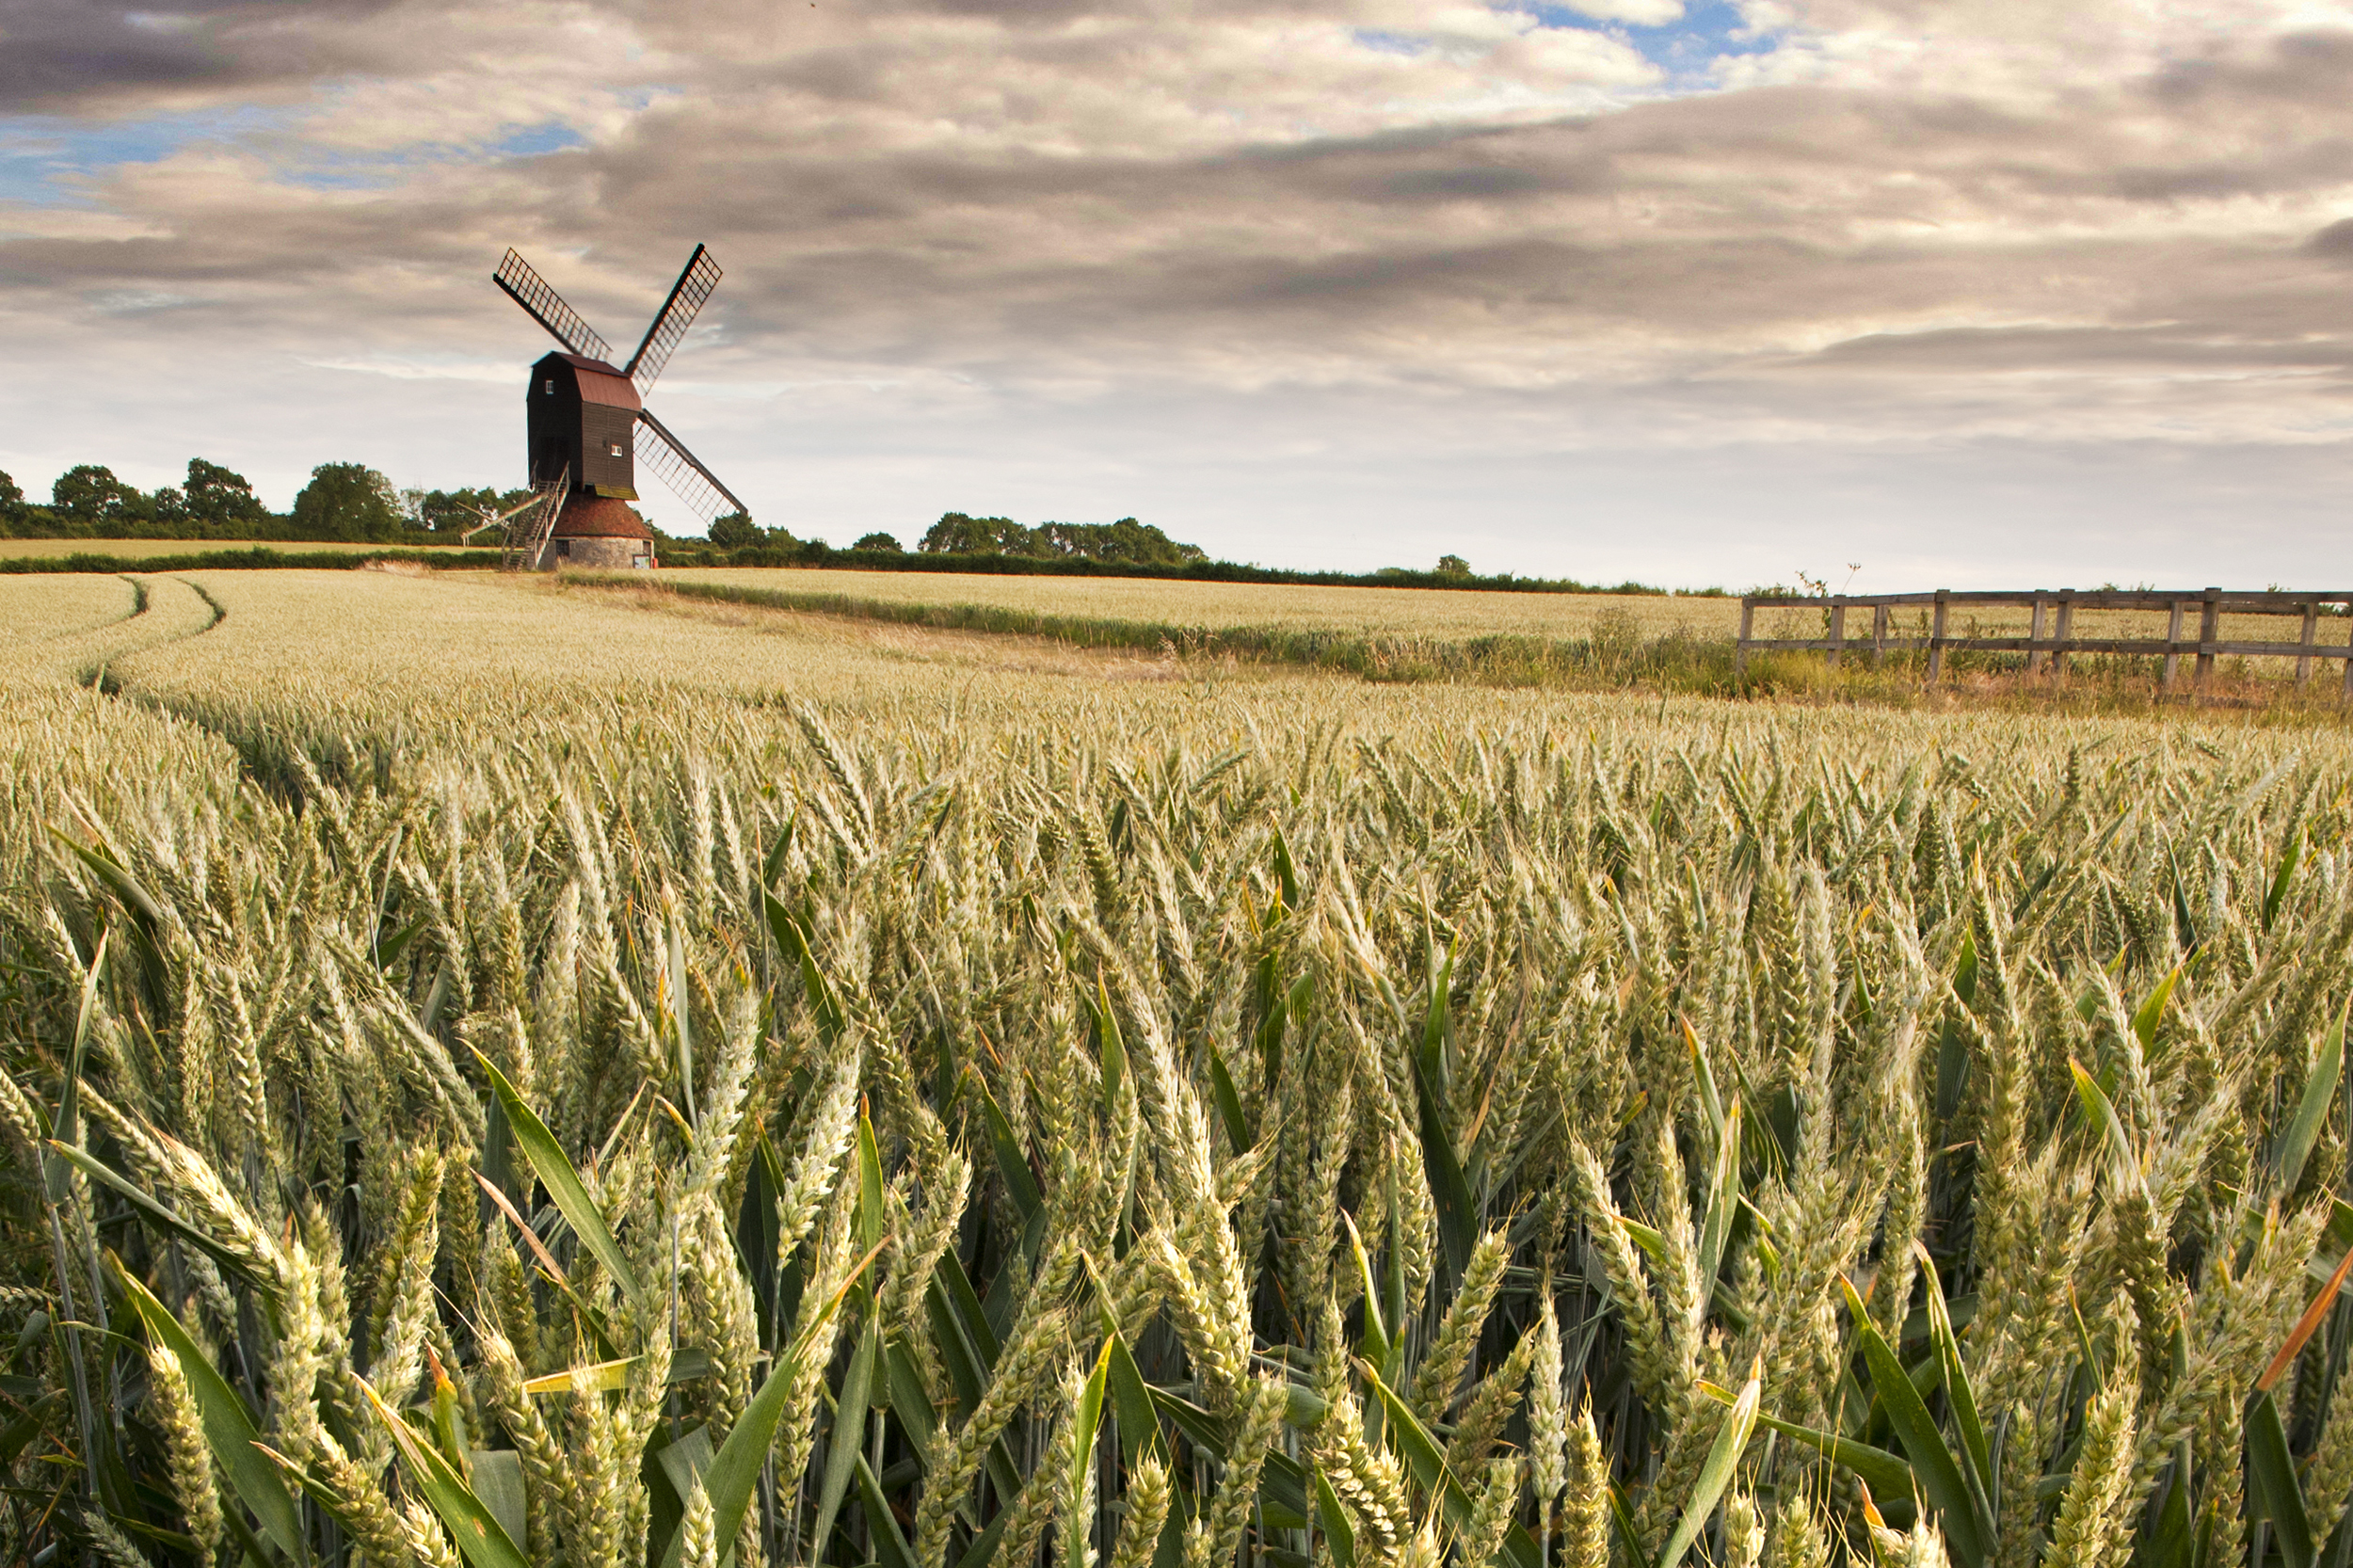
The amount of a scene that's sharp in front of and behind the focus point is known as depth of field. Depth of field is affected by three factors: the aperture, the focal length of the lens, and the distance between your camera and the subject.
Once you have decided on a composition, the focal length and the distance will remain almost constant, so the main variable that you can control to alter the depth of field in your shot is the aperture.
Why is it so important?
Along with choosing the shutter speed, controlling the depth of field is one of the most important creative decisions you have to make when you're taking a photograph.
Keeping the whole scene sharp is typically used in landscape photography and architectural photography as it's important that the viewer can see everything clearly, but many other subjects, such as portraits or flowers, will often benefit from using shallow depth of field to help isolate the subject from the background.
When you're using shallow depth of field it's important to remember that you don't always need to use the widest possible aperture, particularly if you're using a lens such as a 50mm f/1.8.
You can run the risk of the depth of field being so shallow that too little of the subject is sharp to result in a pleasing image. It's always worth checking that you haven't gone too far.
How do you use it?
The best way to take control of the depth of field is to set your camera to aperture-priority mode. You can then use the input dial to select the aperture you want, and the camera will automatically select the shutter speed for you.
You need to use large apertures, such as f/4 or f/2.8, to get images with very little in focus in front of and behind the focus point, and small apertures, such as f/11 or f/16, when you want to keep as much of the scene in focus as possible.
What you can ignore: Very small apertures
While using a lens's smallest aperture (usually something like f/22 or f/29) will result in images with the maximum depth of field, it's not always a good idea to use very small apertures if you're aiming to get the sharpest possible results.
This is because the image can be affected by an optical effect called diffraction, which actually reduces the sharpness.
Unless you really need such a small aperture to keep absolutely everything in focus, you should use a slightly larger aperture, such as f/16 or f/13, to ensure the sharpest results.
Taking it further: Finding the 'sweet spot'
Lenses don't produce the same sharpness at every available aperture. At wide apertures you'll find that the centre of the image is sharp, but the edges are soft, while at small apertures the whole image lacks sharpness.
If you are after the best quality, it's worth setting up your camera on a tripod to shoot a flat subject (ideally a test chart). Then shoot it at different aperture values, and check the sharpness at 100% on your display, to find the best aperture to use. This known as the 'sweet spot' of the lens.
- Learn more: The A to Z of Photography: Aperture