How to organise your media and photos in Windows 10
Sort out your library
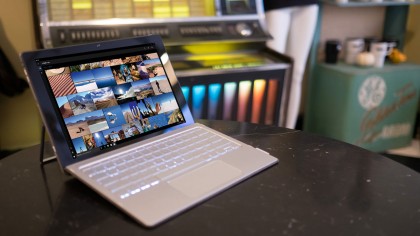
Get super organised
These days most people have multiple devices, with multiple ways to take photos, play music and record videos, so it's more important than ever to stay well organised.
Otherwise, before you know it, you'll have gathered a huge library of media, and no way to easily find what you want without trawling through endless folders.
Fortunately, Windows 10 is making it easier to stay on top of things. The basis of the new system remains the same with folders – now called Pictures, Music and Videos – that you'll be familiar with from previous versions of Windows.
There is also seamless integration with Microsoft's universal OneDrive, which safely backs up files in the cloud, while linking your devices.
Added to that, however, are new easy-to-use apps, such as Photos and Groove Music. Here's how to get organising.
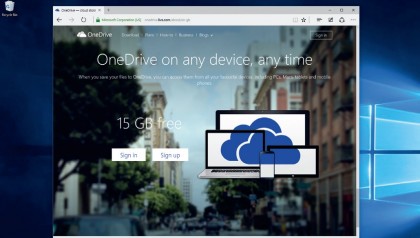
1. Set up OneDrive
If you've set up your Microsoft account, you'll have access to Microsoft's cloud storage service, OneDrive. If not, sign up at the OneDrive website.
You get 5GB of free storage, which rises to 1TB if you're an Office 365 subscriber. Next, install the OneDrive app on your phone and tablet, then set your device to automatically upload photos and videos to your OneDrive account.
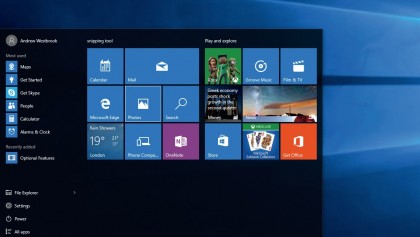
2. Find your desktop app
You'll discover the new Photos app within the Start menu. It should be one of the blue tiles on the right, unless you've already got some snaps on your PC, or in your OneDrive account, in which case it will feature one of those pictures.
If you can't spot it, click 'All apps' in the bottom-left of the menu and scroll down. It's the same process for the apps we'll talk about later.
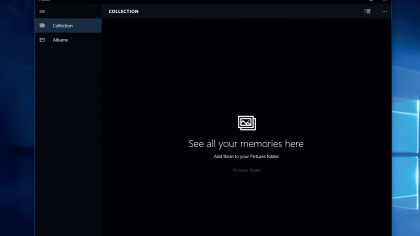
3. Exploring Photos
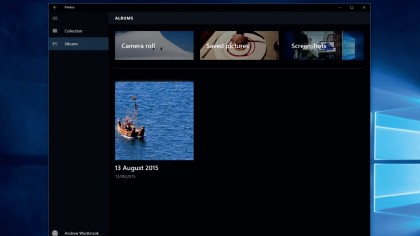
If you haven't added any pictures yet, you'll be met by a plain screen. On the left are the 'Collection and Album' menus – click into 'Albums', and you'll see it's split into Camera roll and Screenshots.
As soon as you import photos, or enable OneDrive on your phone or tablet, the app will add those snaps. Imported OneDrive files are also saved locally, in 'Local Disk > Users > OneDrive'.
4. Importing photos
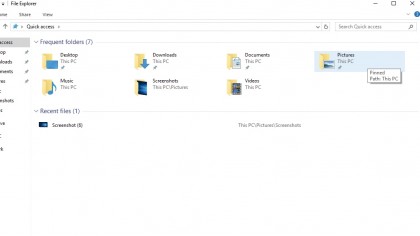
To retrieve photos from a memory card, plug it into your PC. Windows will ask where you'd like to import your photos to. Select 'This PC > Pictures', then 'Import'. Your media will be imported into the folder.
Next, open the Photos app, which will automatically grab all the images. The app will also automatically add them to your online OneDrive account.
5. Arranging folders
Photos organises your images into folders – 'Camera roll' sorts them by date; 'Saved pictures' are ones you've edited; and Screenshots, which you take by hitting [Win]+[Print Screen].
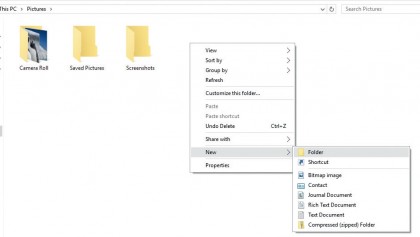
It's a good idea to add subfolders to the source folders. In Pictures, right-click anywhere, hit 'New > Folder', fill in a name and drag in the relevant files. Do the same in OneDrive, using the 'New' menu.
6. Easy access
Now, with minimum hassle, all of your images, from your phone, tablet and PC, are stored and organised on your PC and remotely in the cloud. This makes life simpler and more secure, while also making it easy to move your collection if you switch PC.
You can even see your snaps in camera-roll form and stream videos by logging into OneDrive, if you can't access your own PC.
7. Groove Music
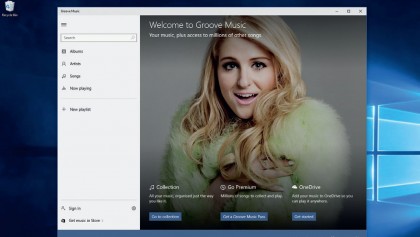
Music has been given an overhaul, due to the end of support for Windows Media Player. And Windows 10 has a new music app called Groove Music, which will be self-explanatory if you've used music players before.
Like the Photos app, it helps you organise your collection and playlists in one location. Again, you'll find the app through one of the tiles in the Start menu.
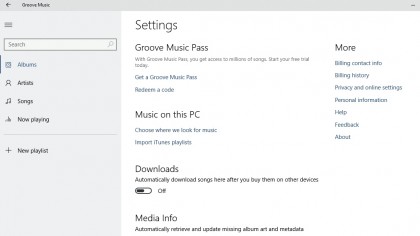
8. Finding your music
When you first open the app, it will automatically search your PC, adding songs to your library that it finds in your Music folder, and organising them.
You can also add any song already bought on other devices linked to your account, or any iTunes playlist already created. To do that, click the 'Settings' cog in the bottom-left of the app, then toggle the 'Downloads' option to 'On'.
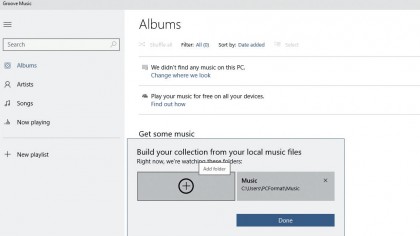
9. Music in the cloud
Groove Music isn't automatically linked to OneDrive. If you're confident you have enough storage and want to connect it, stay in Settings and click 'Choose where we look for music'.
Making sure you're logged in, hit 'OneDrive'. The app will now sync your songs, making it easy to have one music collection for all your devices. Just remember to save enough storage for your photos.
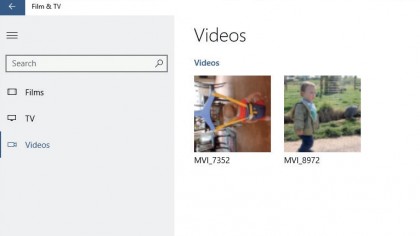
10. Videos
Return to the Start menu and hit the 'Film & TV' tile. This app is a media player for watching TV shows or movies you buy through the Store.
It's also home to your own videos. It will automatically search the Videos folder on your PC, but, like Groove Music, you can also link it to OneDrive. Hit 'Settings', in the bottom-left, click 'Where to look for videos', then add OneDrive.
- Enjoyed this article? Discover how to get the most from your PC and new things to do in Windows Help & Advice. Take advantage of an exclusive offer in our sampler today.
Sign up for breaking news, reviews, opinion, top tech deals, and more.
You are now subscribed
Your newsletter sign-up was successful