How to load and use your new film camera
A beginner's guide to film cameras, from loading film to developing it

Film cameras have seen a real surge in popularity in recent years, but if you’ve just picked one up for the first time, you may be wondering how on earth you use it. Luckily, we're here to help – in this guide we’ll be discussing the basics of how to use your film camera, from loading your first roll to mastering the controls, getting focused and finally developing your film.
What are the main differences between digital and film photography? The storage method is the most obvious change. Digital cameras store binary code on files held on a memory card, whereas film cameras expose photosensitive film to produce a chemical reaction, be that in 35mm, 120 medium format or large format films.
Despite this fundamental difference, there are a surprising amount of similarities between digital and film photography. So if you’re used to snapping photos on your smartphone, tablet, point-and-shoot or DSLR, then you’ll be most of the way to shooting great analogue snaps with the best film cameras, too.
Balancing the exposure triangle is the same for both realms: aperture controls how much light is let in, shutter speed determines the amount of time the film (or image sensor) is exposed to the light, and ISO gives a light sensitivity rating with either less sensitive (for example, ISO50) or more sensitive (ISO800) reactions.
It’s in that last leg of the triangle, the ISO, where film forces photographers to think laterally, as the film has a fixed sensitivity for shooting between 24-36 photos. But with that limit and the inability to review images as you shoot comes a magical quality that digital simply can’t match. So let’s take a look at how to use your film camera before you head up and snap up those scenes.
1. Choose your film
Aside from investing in one of the best film cameras, your choice of film is crucial. It determines both color balance and light sensitivity and will remain fixed throughout the exposures until the roll of film is changed.
If you're shooting indoors with artificial lighting, you may want to opt for a Tungsten-balanced film in order to reproduce more natural-looking colors in your photos. Take that same film outside, though, and things will go blue. This is because natural light has a higher Kelvin rating, so you’ll want to swap that out for a daylight-balanced roll.
Sign up for breaking news, reviews, opinion, top tech deals, and more.
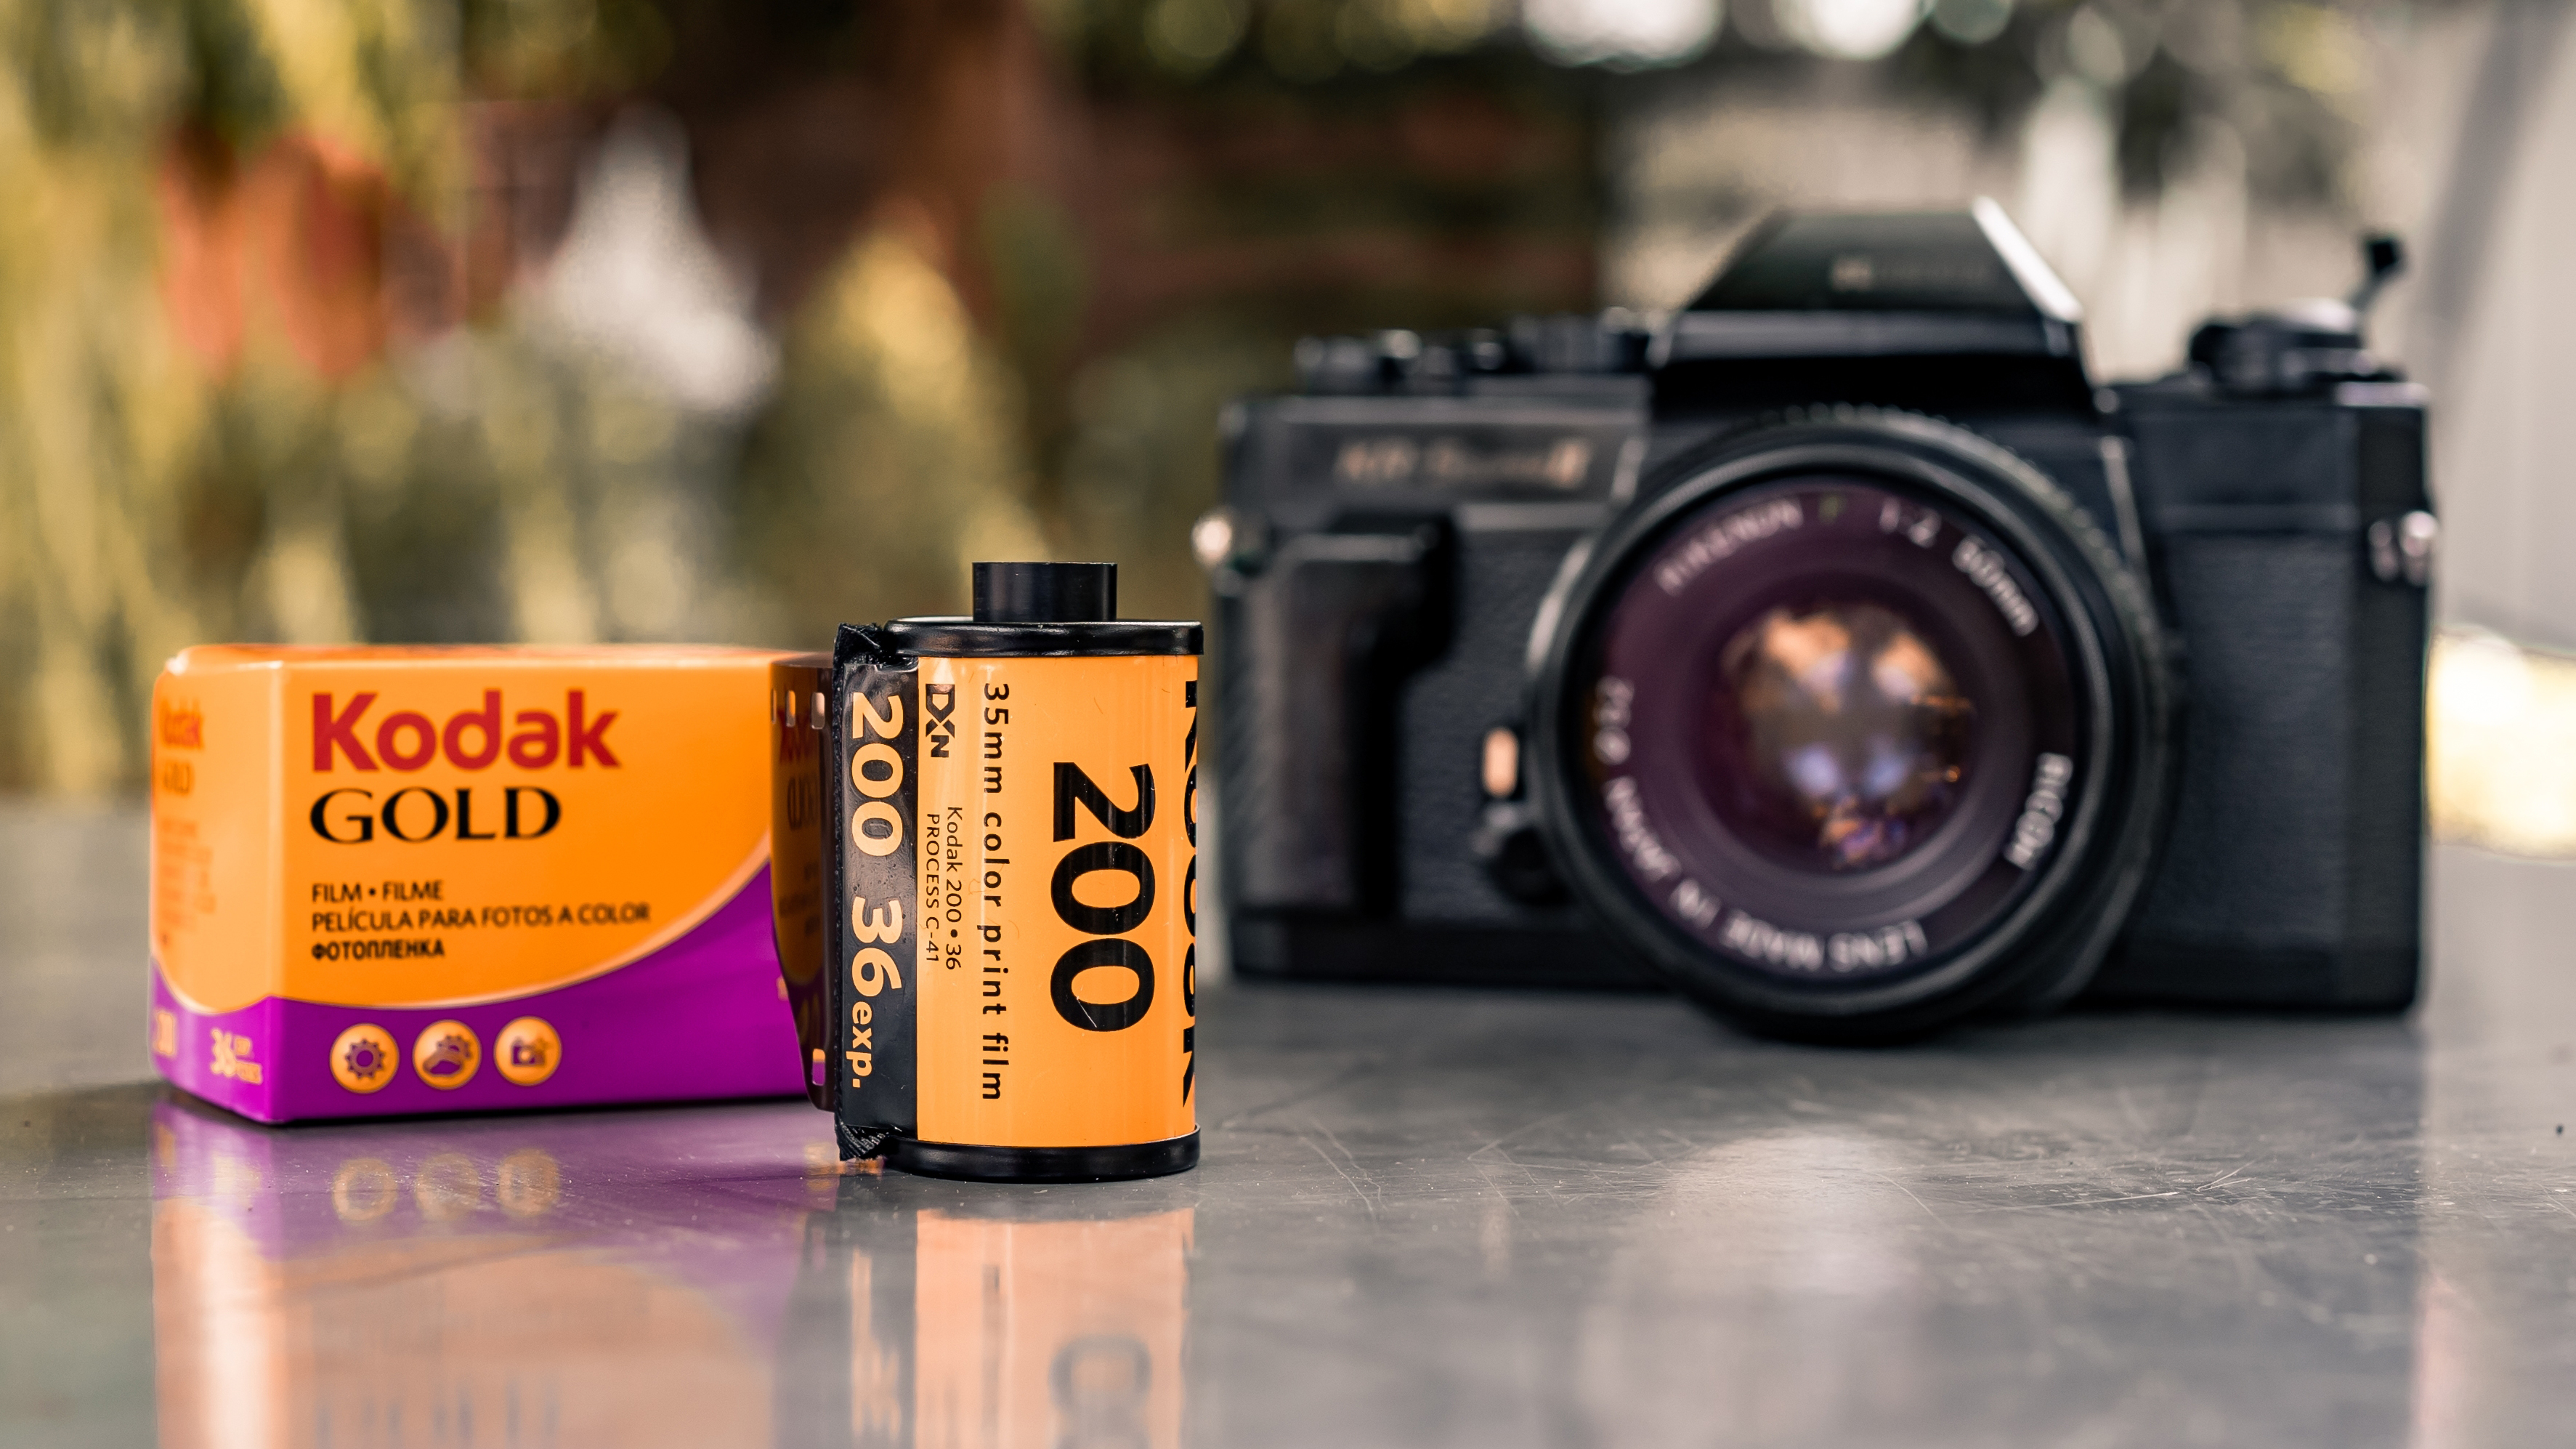
The same is generally true for light sensitivity. Indoors is generally dimmer (unless you’re using camera lighting) so will require a higher ISO sensitivity like ISO400 or ISO800. Outside during the day, though, the sun provides an enormous amount of light, so we can keep ISO lower to around 50-200.
Keeping the ISO as low as possible helps to reduce film grain which is, usually, an unintended consequence when photographing, but also sometimes an artistic decision.
2. How to load film into a camera
If you've recently bought a film camera, there is a good chance it will be a second-hand model. We don't want to ruin memories or waste any unused film by exposing it to light, so it’s always good practice to check if a film is inside before opening the camera.
Don't press the rewind release button (if there is one), rotate the rewind crank instead. If you feel tension, that means a film is loaded. If it turns freely, the camera does not have film loaded. Some cameras may also have a frame counter on top. If it shows an 'S,' this means start, or you'll see a '0', meaning no film.
To load a film, the most important tip is to take your time. It's not a complicated process, but we want to eliminate the risk of damaging the film and your photos. In this step-by-step guide we focus on a typical rear-loading 35mm film camera, but your specific model may differ.
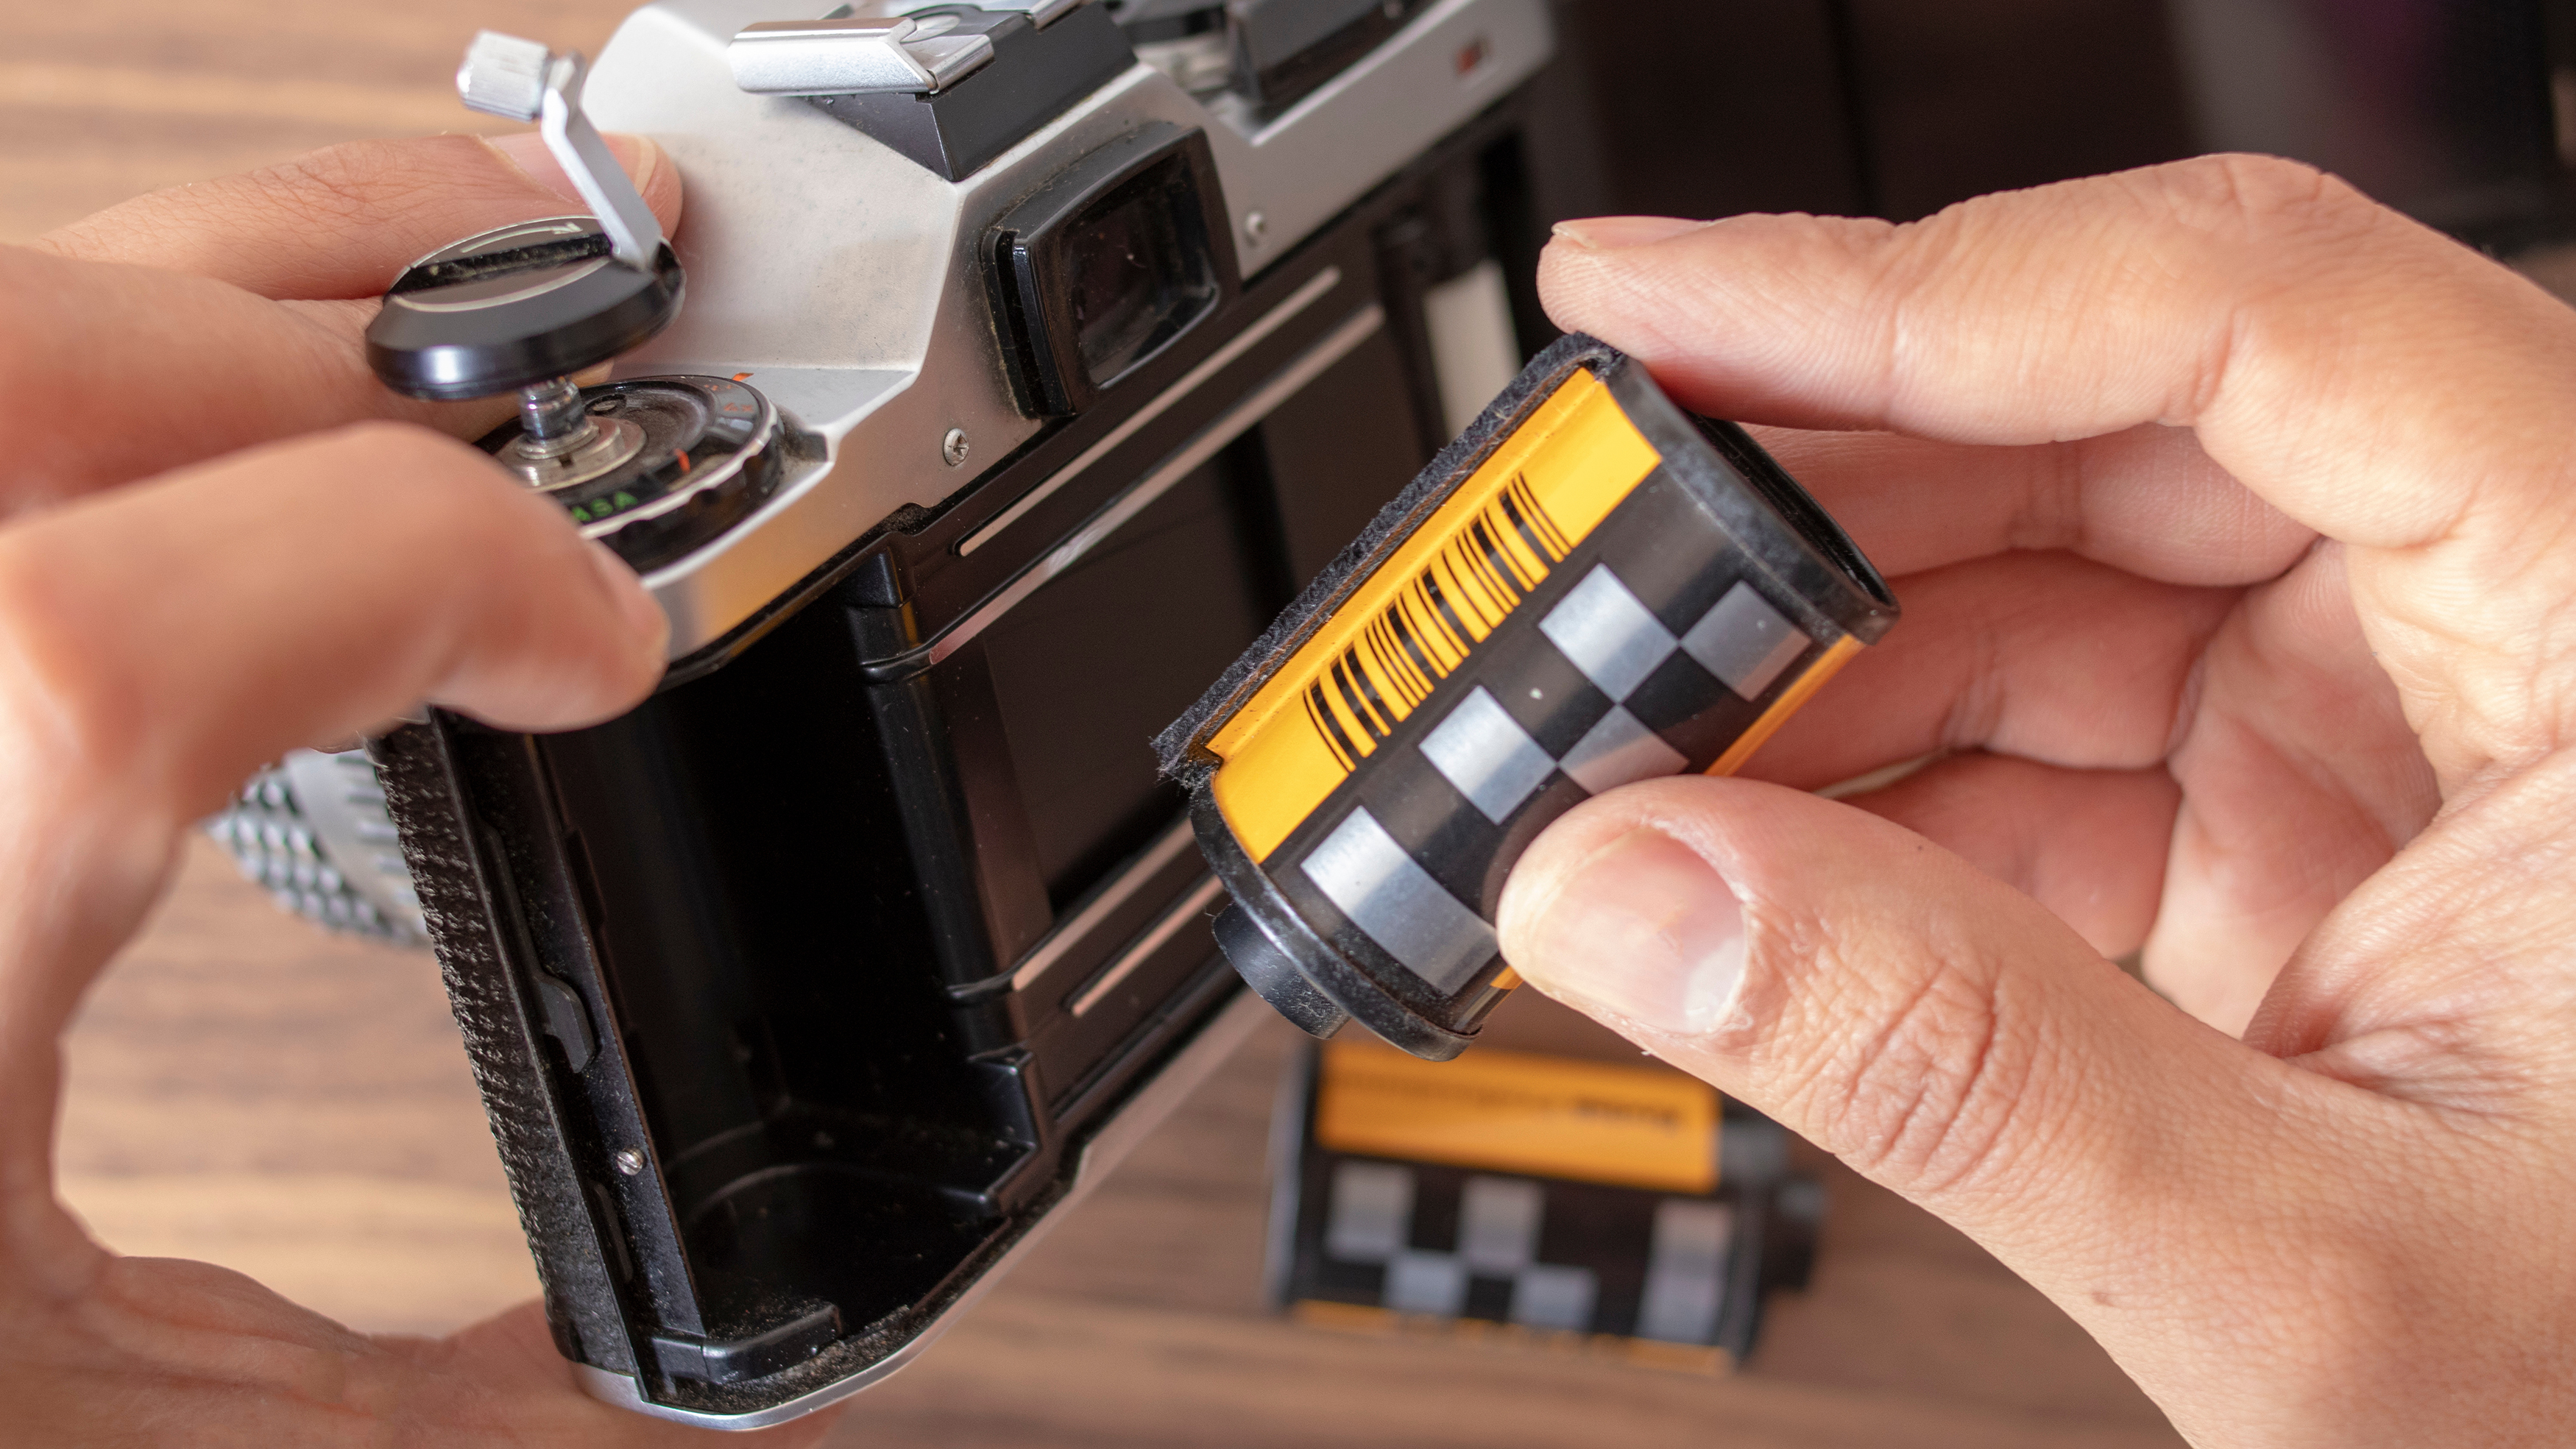
- Open your camera. Lift the rewind knob until you hear a click. The back of the camera should open simultaneously. Alternatively, there will be an obvious switch to open it.
- Get your film ready. Take your film out of its container. Don't worry, you won't do any damage, the only bit of film you will see is sacrificial (called 'the film leader') although it is good practice to change films away from bright lights just in case.
- With the film leader pointing right, it is obvious where the film should sit. Push it in. You will hear it click securely into place.
- Once positioned, pull the film leader across the camera to the take-up spool, pushing the narrow end in far enough that the spindle can grab it.
- Turn the film advance lever on your camera (some models require you to hold the shutter button simultaneously). Do this just enough that the film is securely wrapped around the spindle at least one full rotation.
- You're now ready to close the camera. Wind the film until the counter says '0' (some cameras will do this automatically with an in-built motor).
- Tell the camera what ISO you are using (the ISO of your film, which will be on the box/canister). Often this will read as 'ASA' on the camera.
- Leave the camera closed until you've rewound the film into the canister, having used all of the frames.
3. Master the controls
A film camera's simplicity is one of its allures. You will find basic but important controls. These are similar to the ones on digital and mirrorless cameras, although not many of the latter – apart from some retro models like the Nikon Z fc and the Olympus OM-D-E-M10 Mark IV – have these controls as pronounced as film cameras.
There are three essential parameters that film photographers need to control in order to produce well-exposed photos: aperture, shutter speed and ISO sensitivity. Depending on the type of film camera you have, the aperture may be controlled via an aperture ring on the lens or on the camera body itself. A narrow aperture restricts light passing onto the film but deepens depth of field, and vice versa.
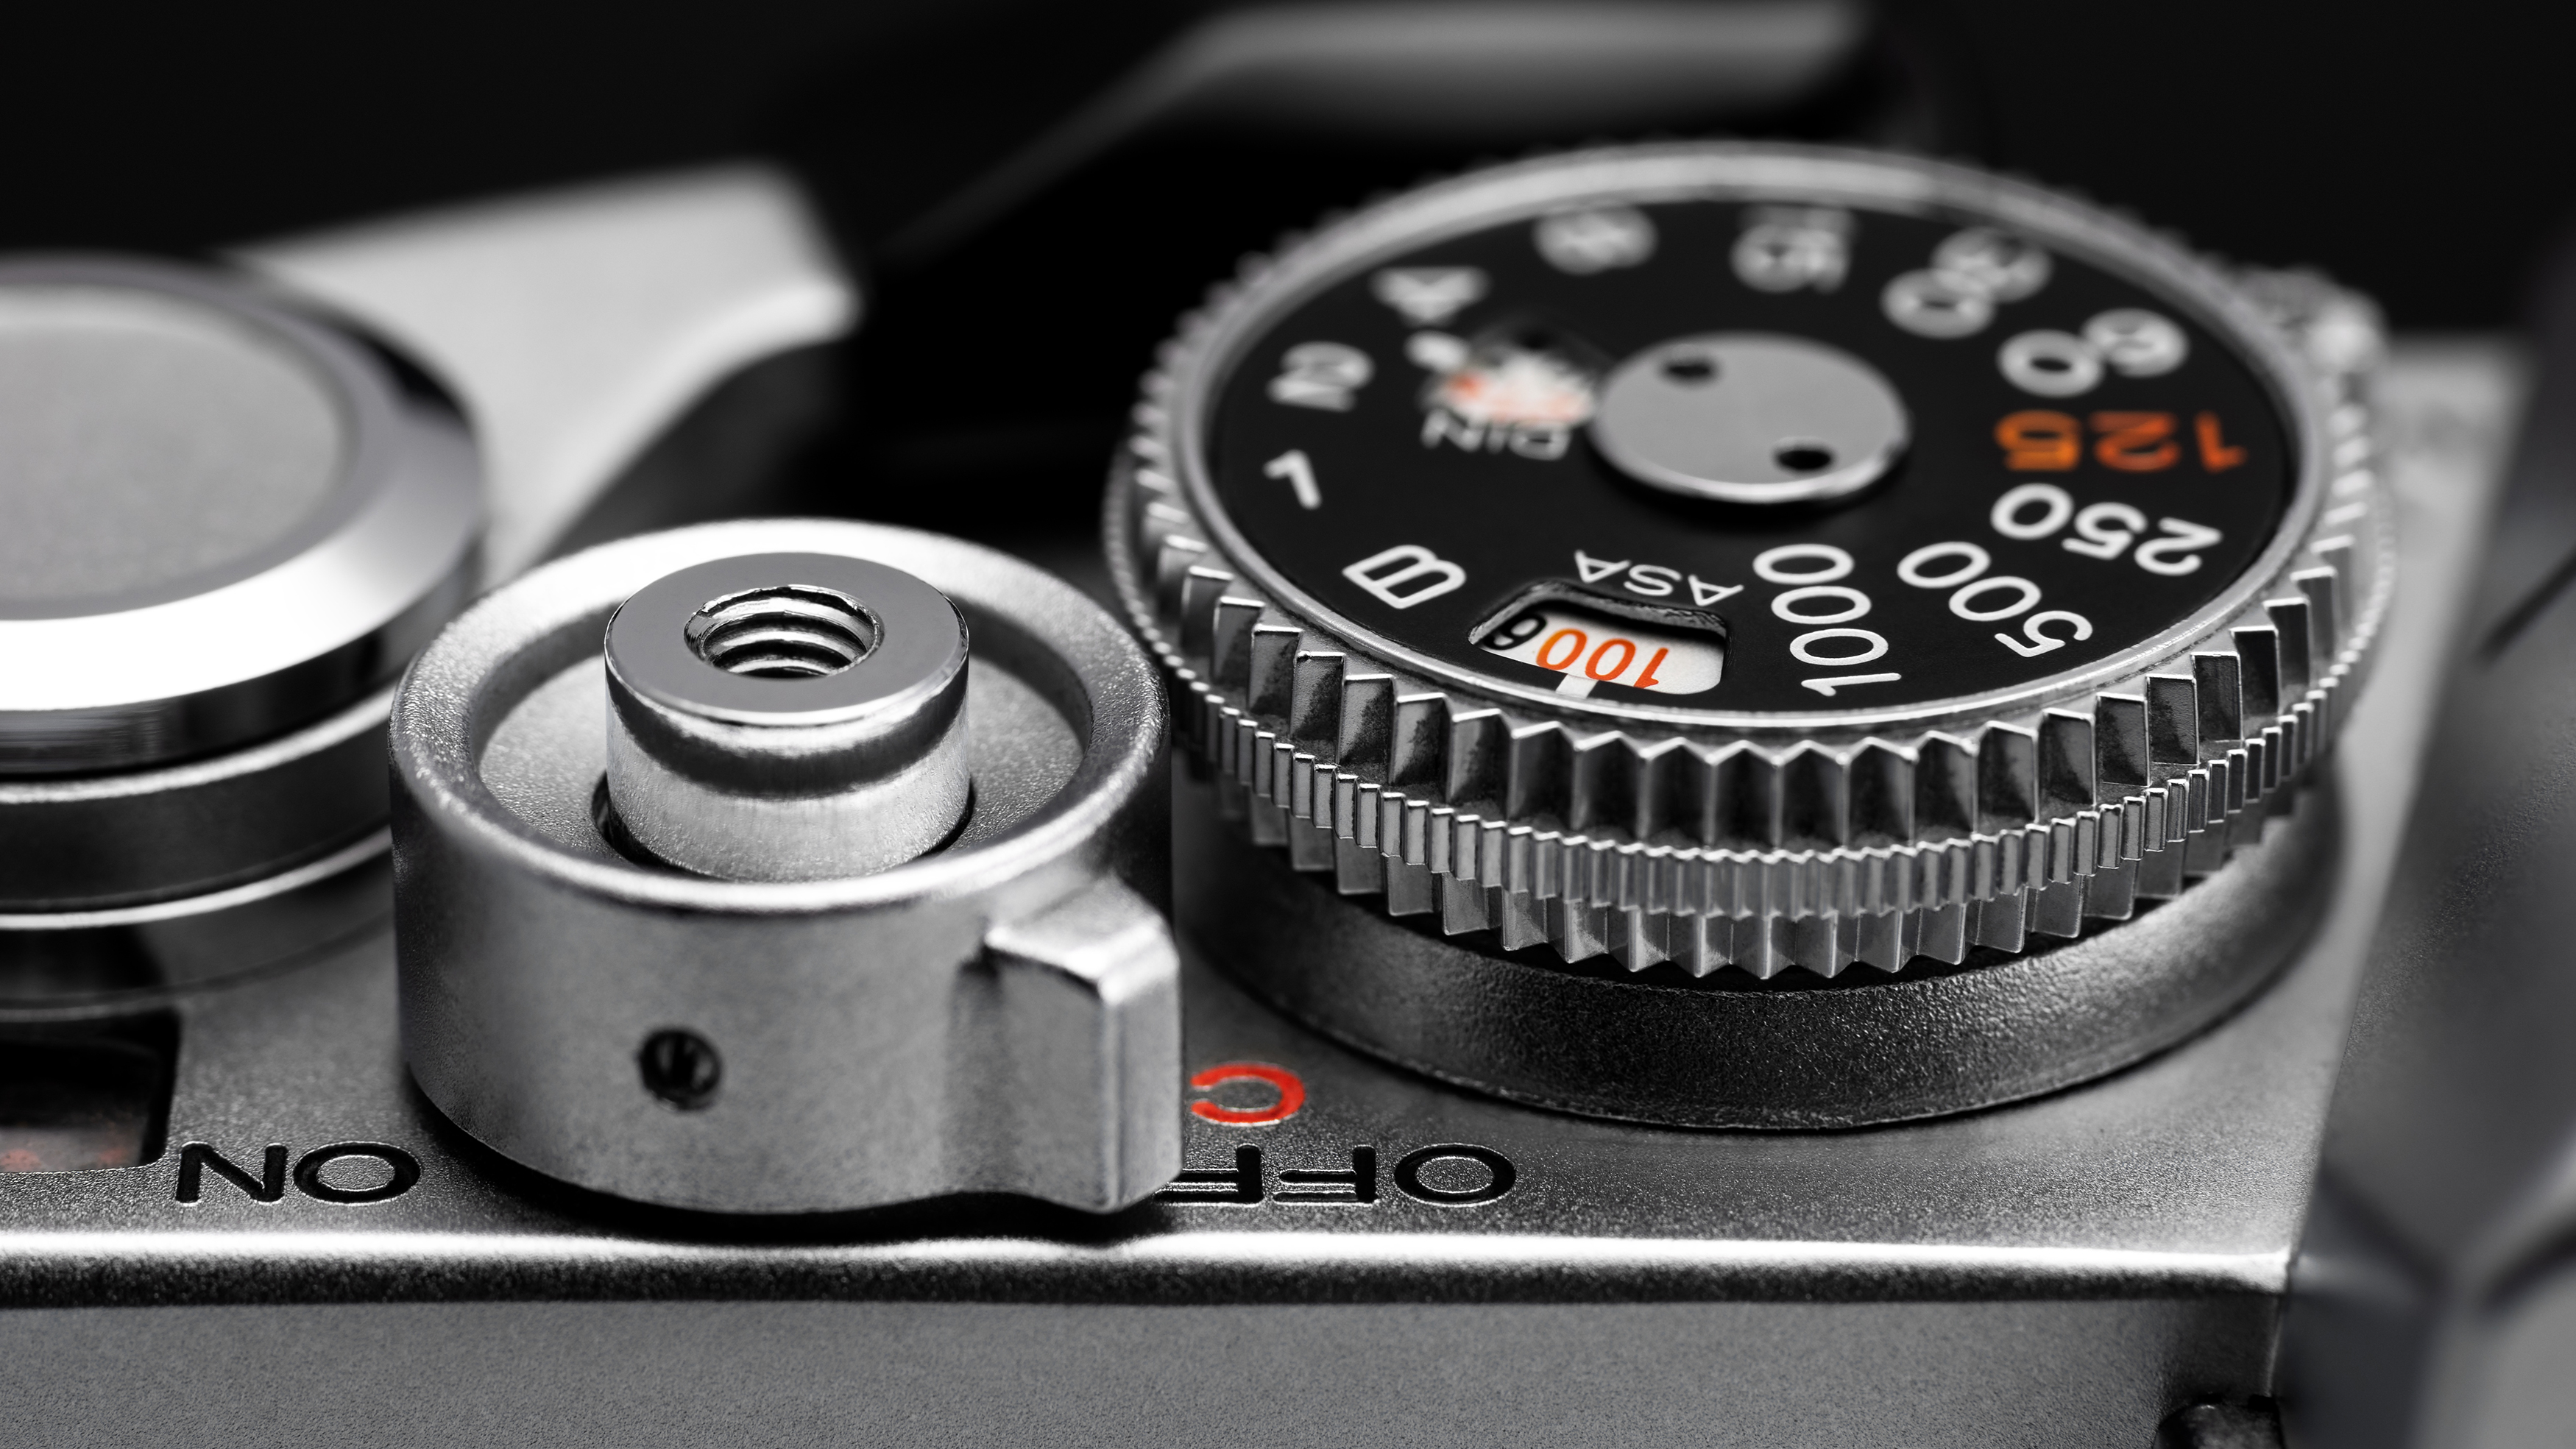
Shutter speed is controlled with dials on the camera itself and will determine how long the film is exposed for. The longer the shutter speed the more likely you are to capture moving objects as a blur (or introduce camera shake blur when handholding the camera).
ISO, as previously mentioned, is fixed based on the film you buy. If you're not sure which one you need, a good rule of thumb is to load either ISO200 or ISO400 film. Interestingly, ISO (International Standards Organization) is the replacement standards body for ASA (American Standards Association), which you’ll likely see on older film cameras – the terms are interchangeable when it comes to shooting film.
Your camera may also have a mode dial which, like on digital cameras, are automatic or semi-automatic exposure modes. Most users will keep it in 'P,' which signifies automatic mode. Not all film cameras will let you make these adjustments but some users just getting started may want to experiment with this feature.
4. Get focused
If your camera was manufactured after the mid-1980s, you'll likely have an automatic focusing camera. Much like a digital camera, half press the shutter, and the camera will meter the light and obtain focus over the autofocus points.
You may see everything in focus through the viewfinder, or will possibly be notified by a sound when the focus is acquired. The aperture may need to be manually stepped down on older models to focus.
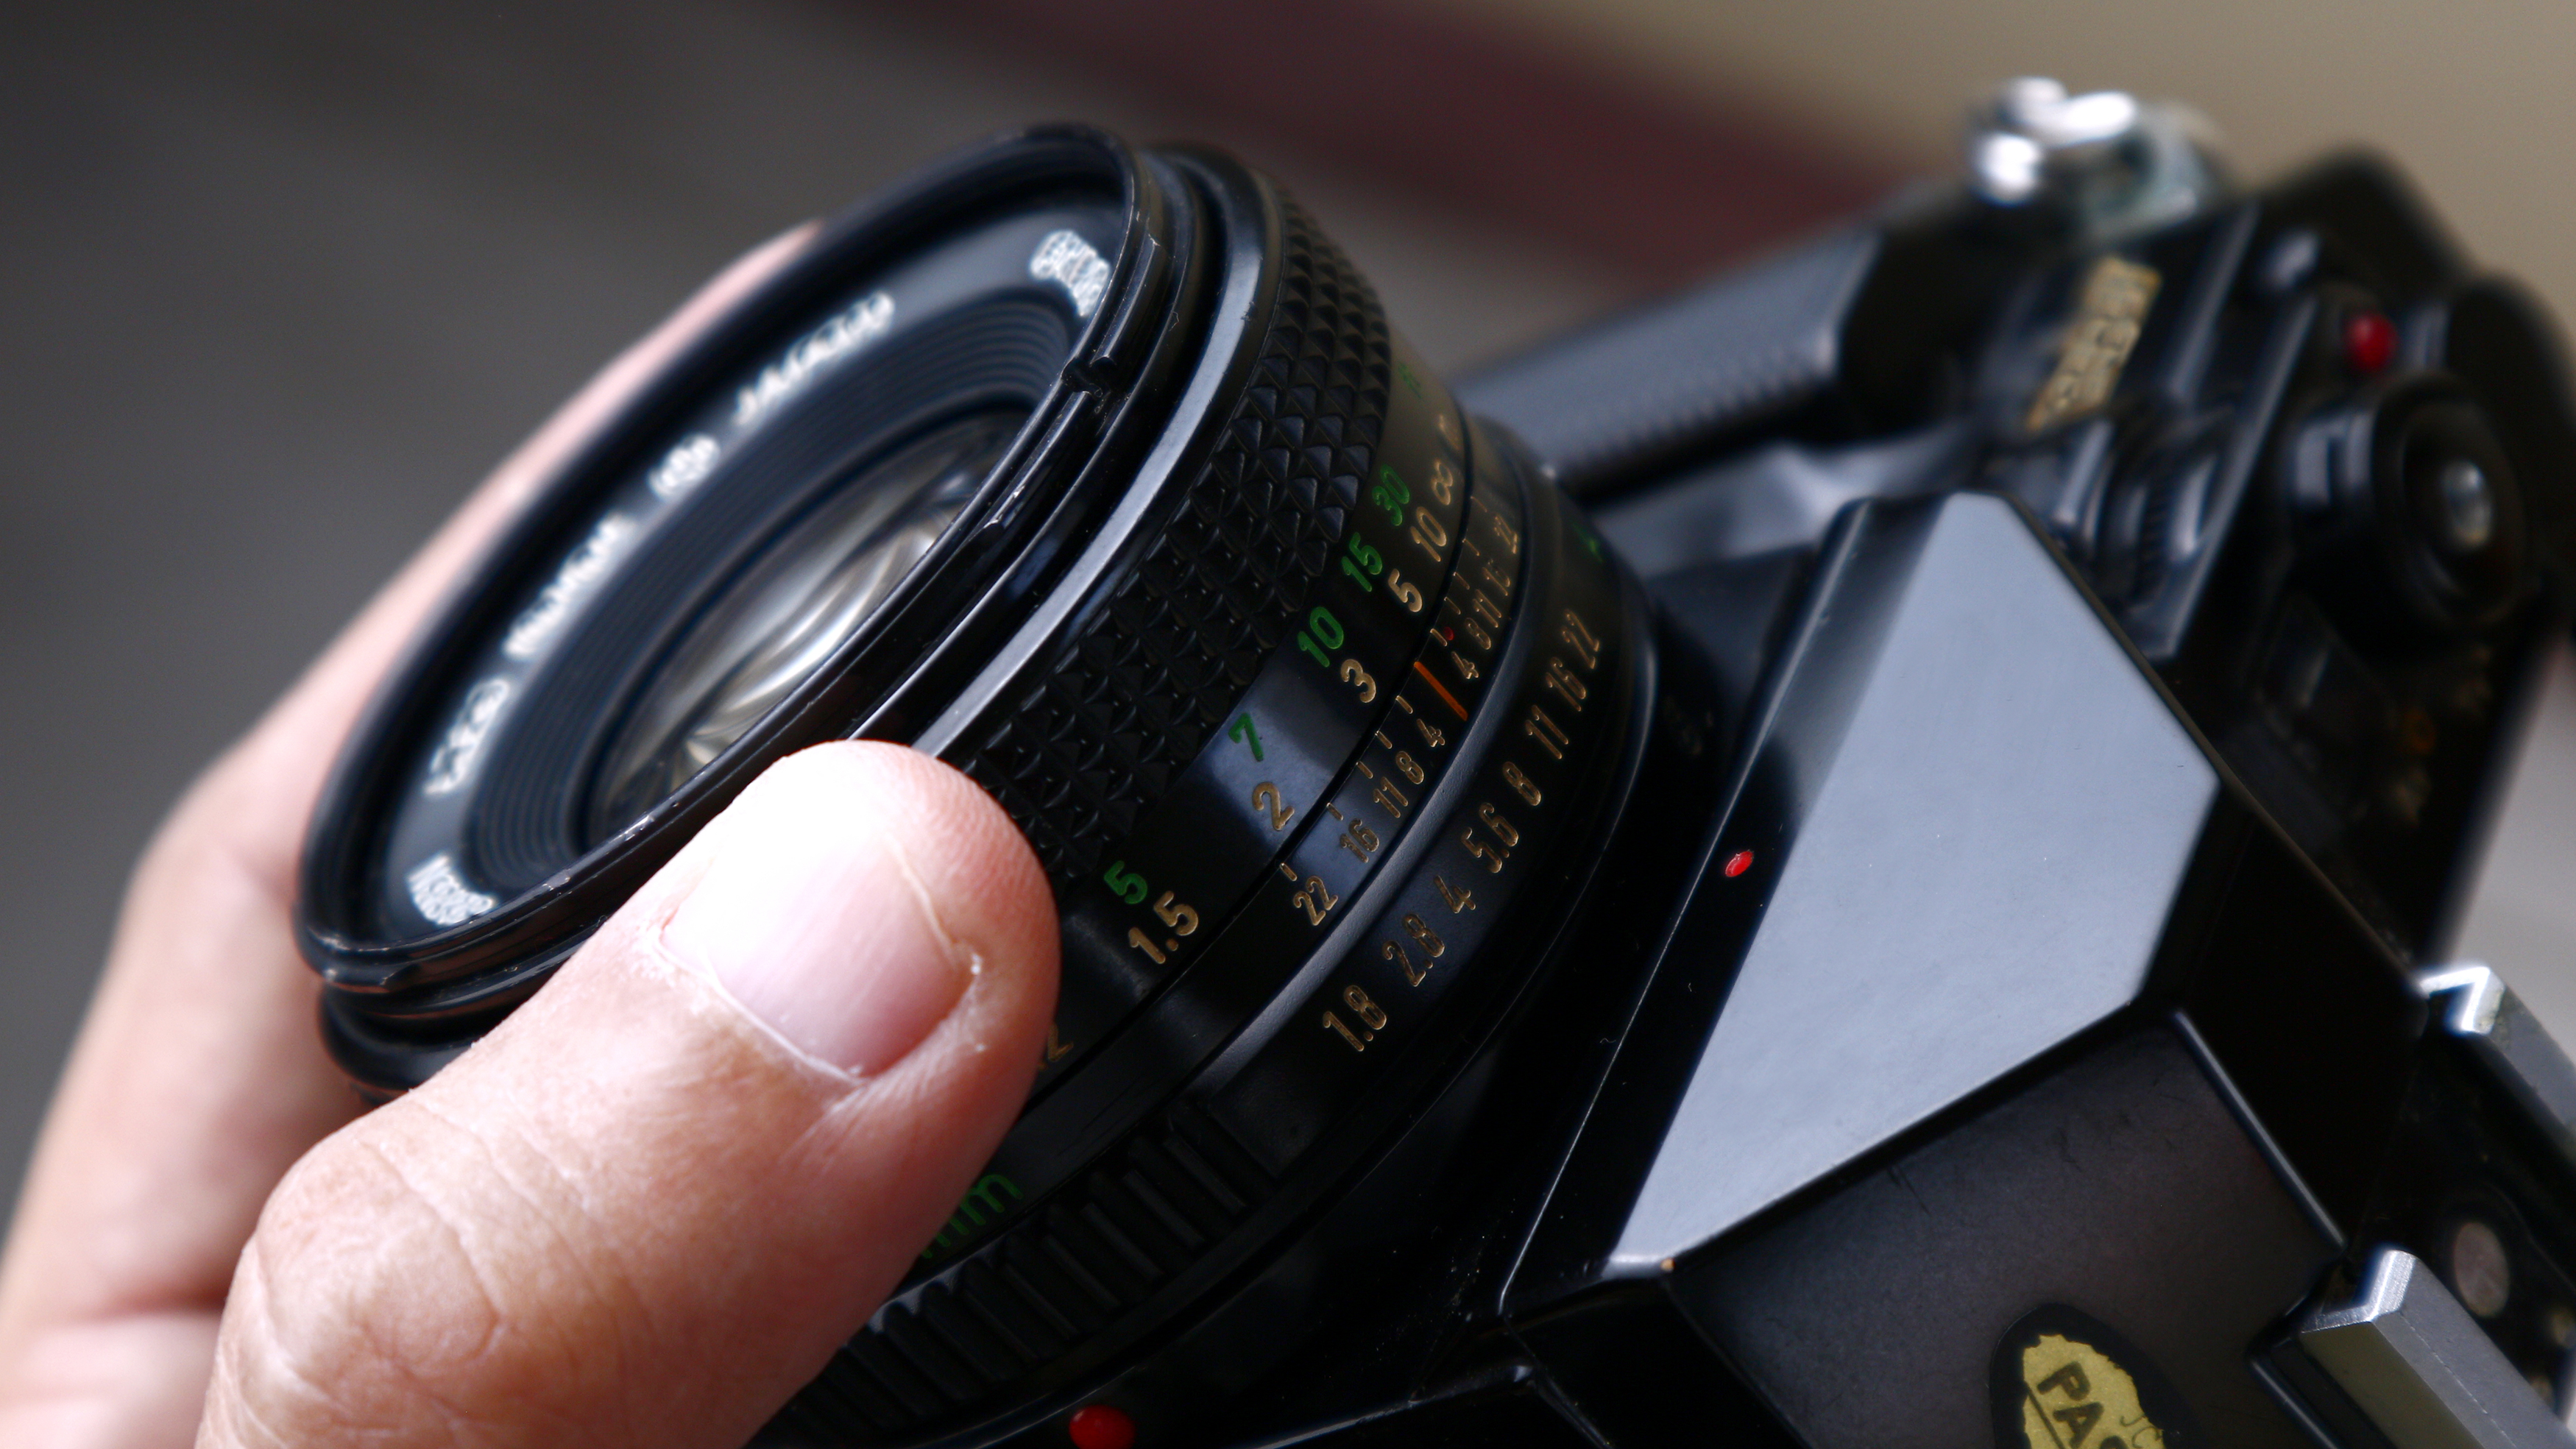
When manually focusing, however, careful adjustment of the lens’ focus ring is required to place the focus point exactly as desired.
This slice of focus changes with the depth of field (controlled by the aperture) and some lenses don’t have a focus ring, instead offering a barrel slider, which photographers can move up and down the lens barrel to adjust focus (though these are rarer).
5. Develop your film
You'll know when you've used all of the available frames in your film camera when your camera stops winding on (either manually or automatically). This will likely be after either 24 or 36 exposures.
Don't forget to rewind your film safely back into its canister before opening the camera. Again, different cameras will require different levels of input. Some have a motor built in and will detect when the film has run out and will rewind it for you once it's full, whereas others have a switch to automatically rewind that you must press.
Other film cameras require photographers to manually turn the rewind crank to wrap the film back into the canister. If this is the case, keep going until there is no resistance, meaning the film is safely stored away, and you can open the camera to remove it.
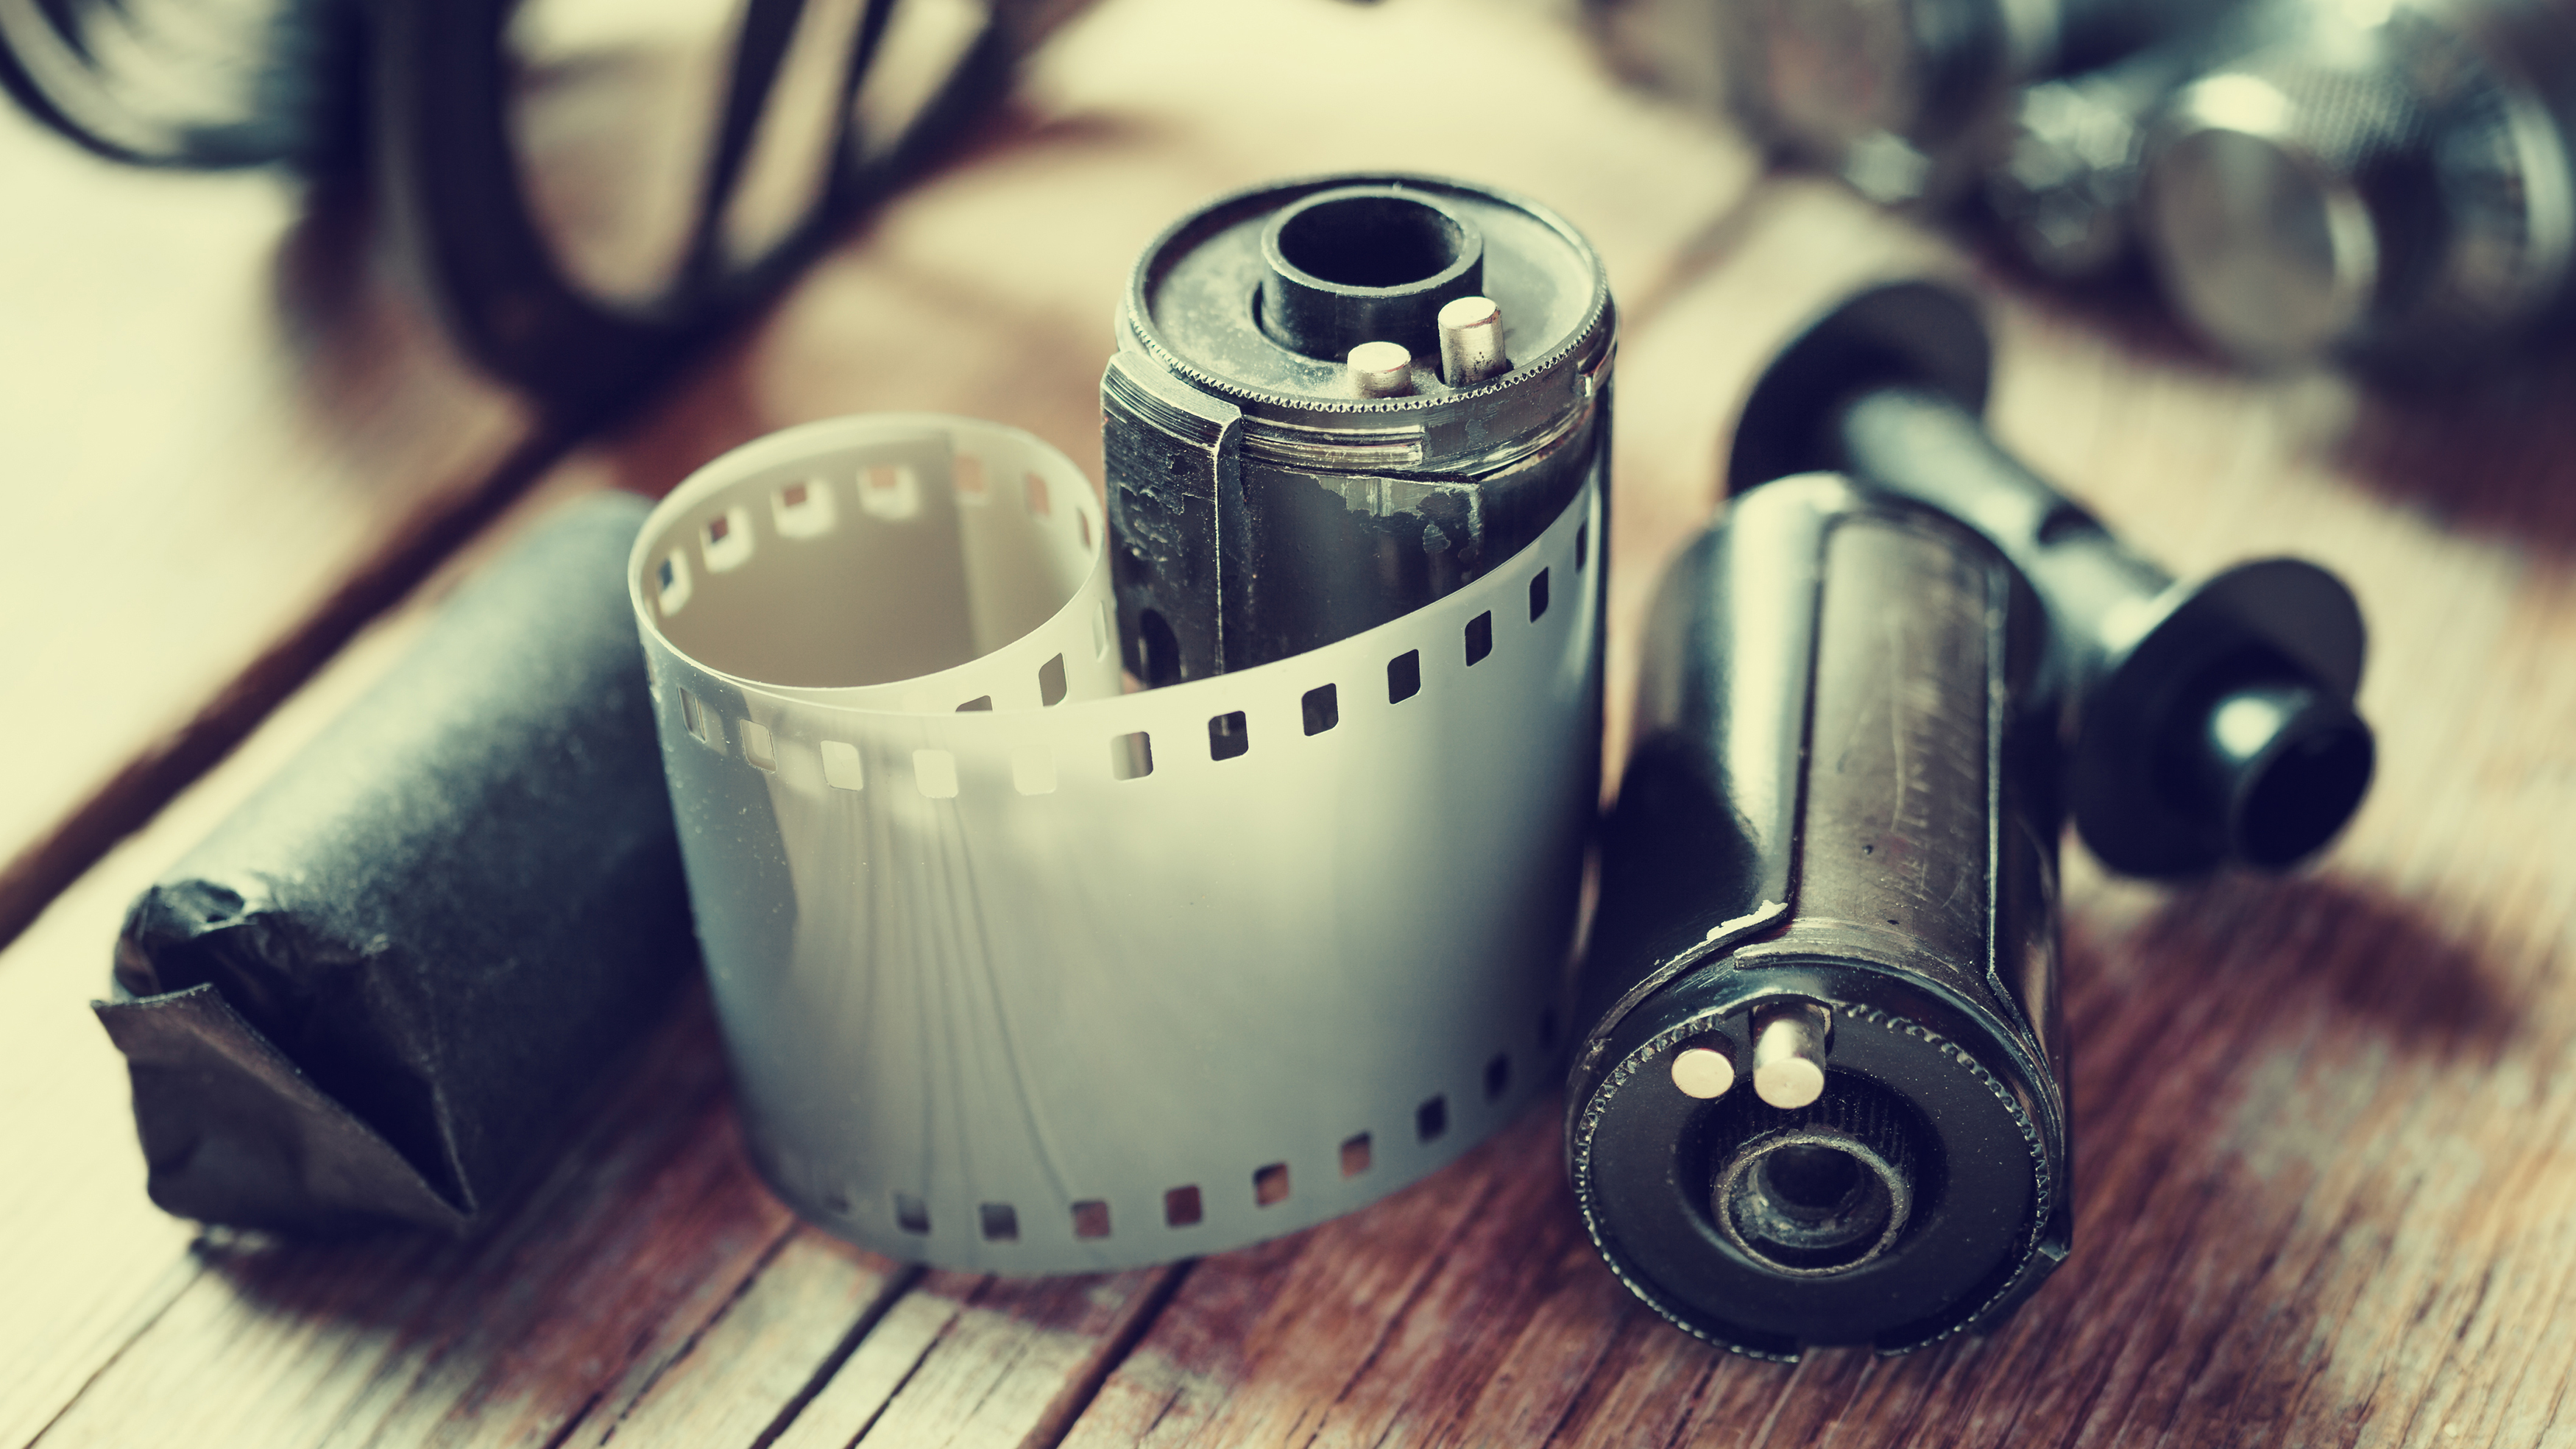
Now that your film canister is full of memories, the easiest thing to do is get them professionally developed. Even though film is nowhere near as popular as it once was (we remember waiting in queues to get our holiday snaps developed using a seven-day service), plenty of places still offer this, from walk-in stores such as Richard Photo Lab (in the US) or Boots (in the UK), or using an online service such as The Darkroom (US) or Film Processing(UK).
Of course, if you want to add to the satisfaction of your image-making journey, you can develop your film at home. However, this will require an array of specialist materials and equipment which is beyond the scope of this article.
6. Start experimenting
Once you've received your developed photos and the strip of negatives, you'll be able to see what worked, what didn't, and what to change for your next outing with your film camera.
You'll notice between films, and cameras, the color palette will vary a lot compared to shooting digitally. Be sure to try out a range of films, and give other film cameras a try if you can.
There is plenty of fun to be had in the world of film photography. Purposely mis-matching film types with lighting conditions to produce a variation of colors and grain intensities can produce beautifully creative effects.
There are also some films such as the Kodak Aerochrome (see above for its interesting backstory) which purposefully distort colors for artistic effect. An increasing amount of companies also provide accessories to push things further, like filters and distorting lenses such as the Lensbaby for adding light leaks onto shots.