5 things to shoot with your new camera
Start shooting great photos straight away
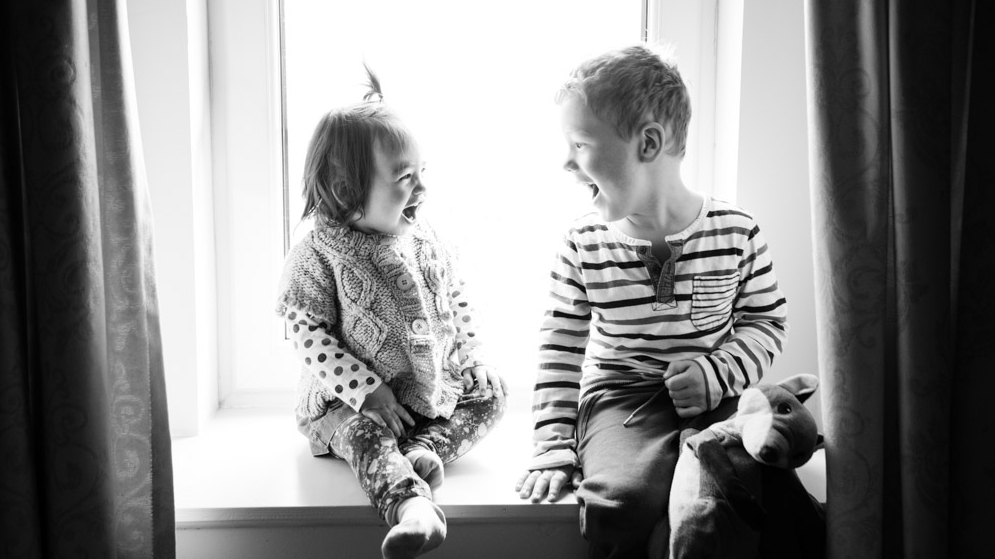
There are few things more exciting for a photographer than getting a new camera. OK, taking a great shot is actually the best, so how do you combine the two when the weather outside may not be forgiving? Winter is a great season for photography, but over the Christmas and New Year period getting out to a stunning location can often be easier said than done.
Thankfully, you really don’t have to travel far to put your new camera through its paces. Creative and interesting subjects are all around if you know where to look. From indoors to the garden and on to local woodland, here are five varied subjects you can shoot with minimum effort, yet enjoy fantastic results.
We’ll give you all the settings information you need to take your first steps away from Auto and towards more creative control.

1. Shoot a zoomburst
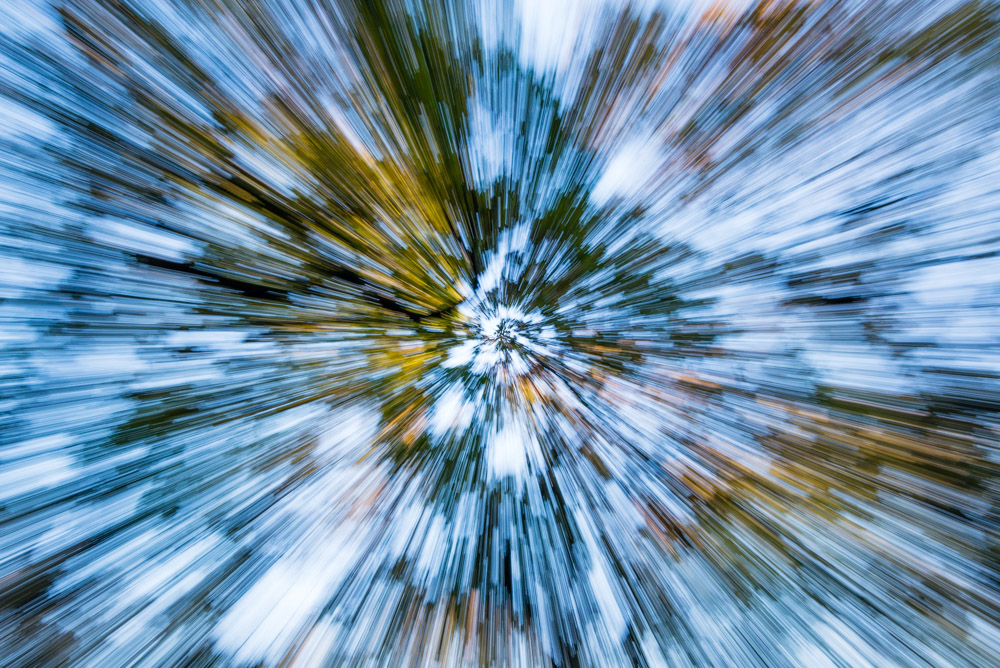
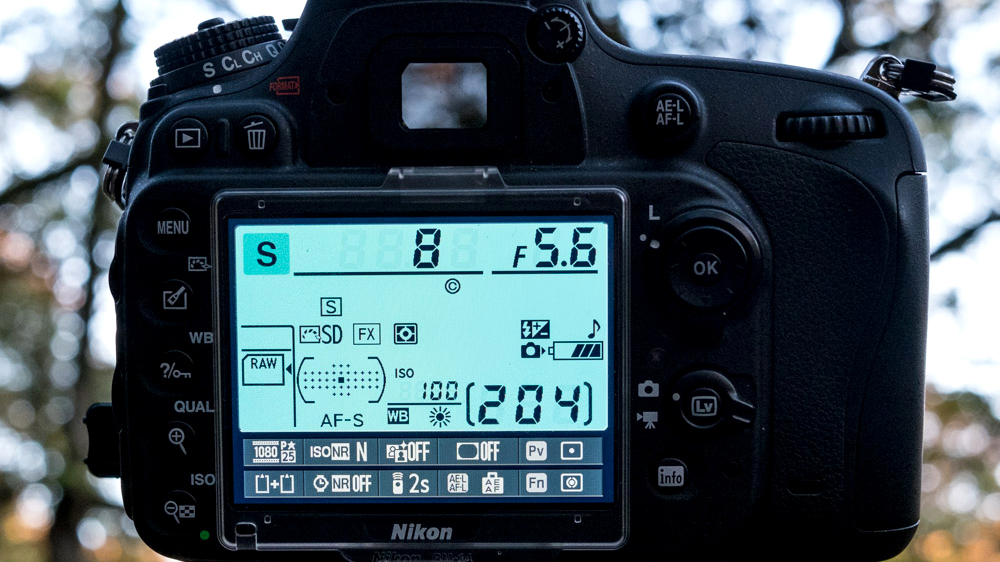
If you want to achieve immediate creative results a zoomburst is one of the most satisfying techniques you can try. And best of all, it’s super easy. For this effect you’re going to need to set the camera to shoot in shutter-priority mode – turn the mode dial on the camera so S (or Tv on Canon cameras) is selected.
Next, use the thumb dial to set shutter speed to 1/8sec. When shooting in shutter-priority, you set the shutter speed and the camera will select the most appropriate aperture for a correct exposure. Finally set ISO – the sensitivity of the sensor to light – to 100 and we’re ready to begin.
Hold the camera up to your eye and zoom the lens in on the branches of a tree before depressing the shutter button halfway to autofocus. Now begin to rotate the zoom ring on the lens smoothly, holding the camera as steady as possible, while at the same time fully depress the shutter button to take a shot. This technique is all about trial and error and can take a few tries to get the effect you’re aiming for, so don’t give up too soon – you will get the shot.
- Learn more: Exposure Triangle

2. Capture a Christmas tree abstract (bokeh)

Looking at a Christmas tree, it doesn’t immediately leap out as an obvious subject. But by defocusing your lens they’re ideal for abstract blur images because of all the bright colors and lights. If you have a prime lens such as a 50mm f/1.8 this will give you the best blur effect when shooting with the lens at its widest aperture – f/1.8. But if you only have a kit lens, there is a way to maximise blur.
Sign up for breaking news, reviews, opinion, top tech deals, and more.
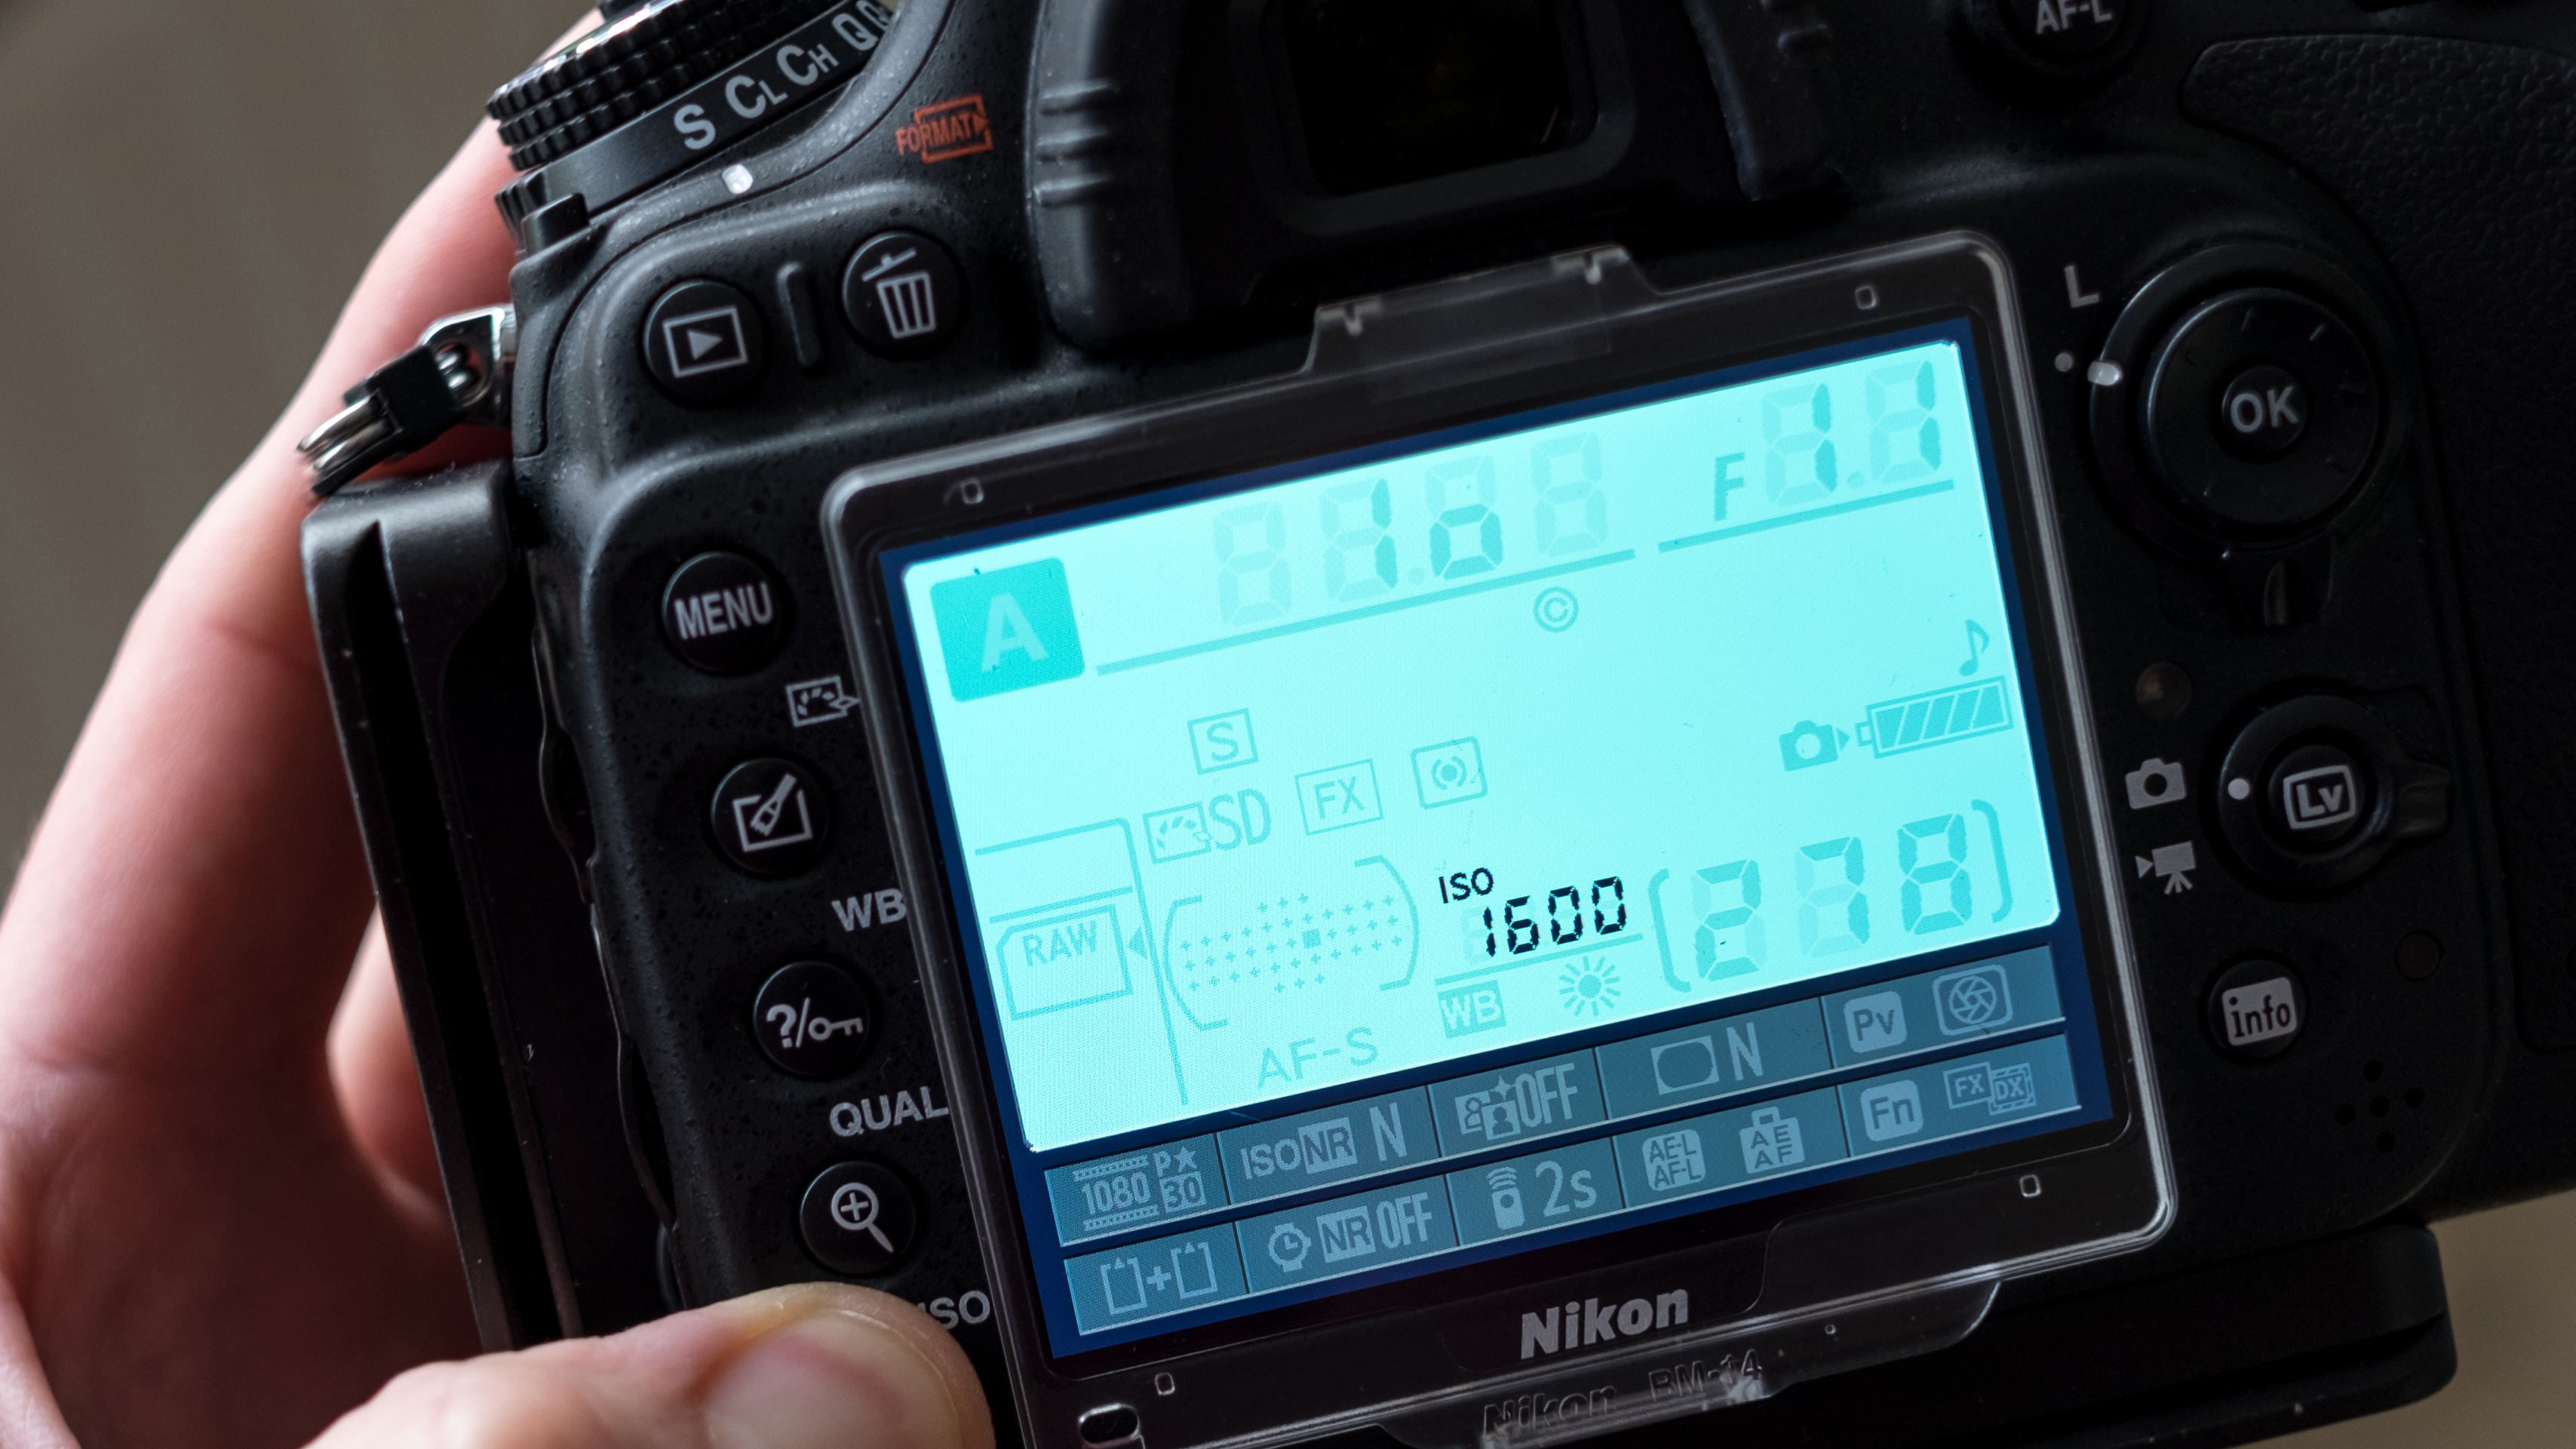
Set your camera to shoot in aperture-priority by turning the mode dial on the camera so A (or Av on Canon cameras) is selected. For this image ISO will need to be at least 1600. Now zoom your lens to its longest focal length which will most often be 55mm, and set the aperture to f/5.6. This is the widest aperture you can shoot with when the lens is zoomed right in.
On the side of the lens flick the switch to manual focus, and then depending on the lens turn the focus ring or the front of the lens until everything looks blurred through the viewfinder. Now simply try different compositions until you find one you like – you could go for a close-up abstract or something further back to capture the shape of the tree.

3. Use your garden as a subject
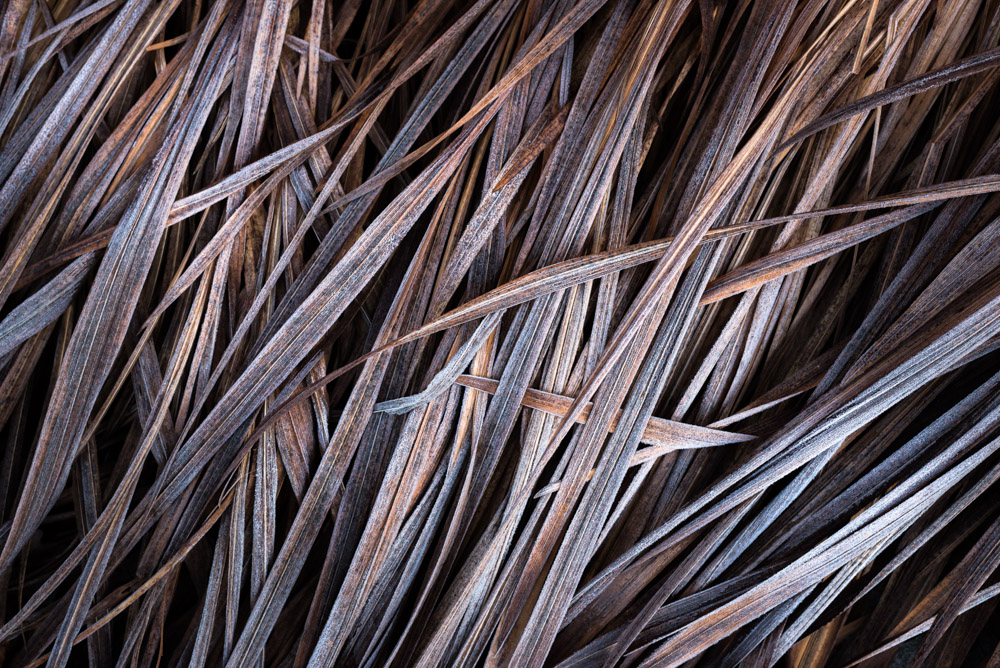
One of the most beautiful aspects of winter is frost. Not only does it generally look fantastic, it can also transform mundane subjects into something much more special. Whether it’s a lone leaf sitting on a weathered rock, or a frame-filling shot of frozen grass like the one above or some other type of flora, a walk around your garden will quickly reveal potential subjects.
The best time of day is first thing in the morning before the sun has had a chance to melt the frost. But look for subjects that are catching the warm rays of the rising sun because this will accentuate the frost and produce a more interesting image overall.
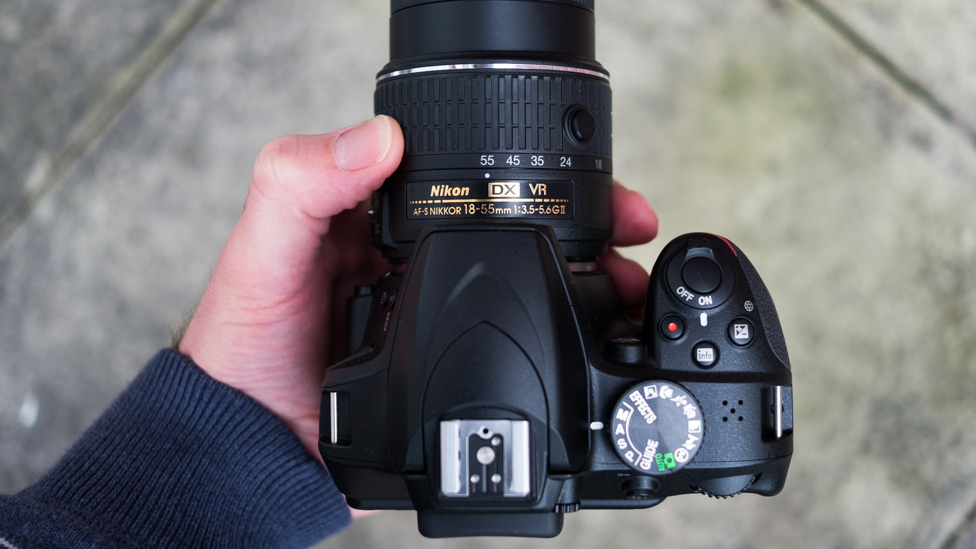
In terms of settings, this is a simple shot that could easily be shot even in Auto, although to be sure the best camera settings have been selected shoot in aperture-priority. Turn the mode dial on the camera so A (or Av on Canon cameras) is selected, and set ISO to 400. Set the aperture to f/5.6 and remember to depress the shutter button halfway to autofocus before fully depressing it to take a shot. Explore the garden and see what you can come up with.
- Learn more: How to capture great gardening scenes

4. Focus on weather conditions (mist)
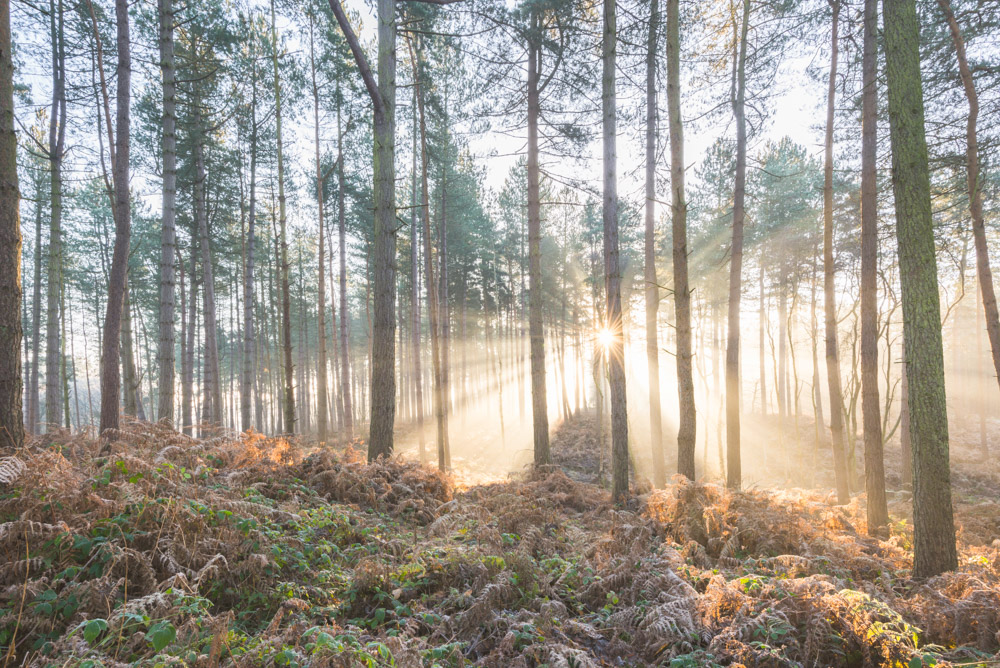
You’ve got your garden frost shot in the bag, it’s now time to venture a little further on a misty morning to capture the sun as it rises behind some trees. The best place for this type of shot is woodland, but a park will do just fine as long as the background is free from distracting clutter. The aim here is to keep all attention focused on the trees and sunlight bursting through the mist.
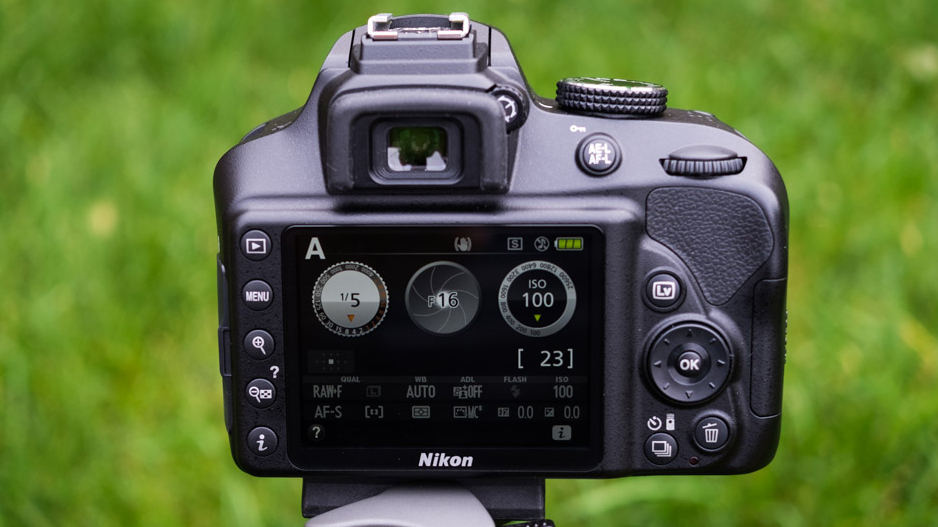
For this technique you’ll need a tripod to keep the camera steady. The best mode to shoot in is aperture-priority. Turn the mode dial on the camera so A or Av (Canon cameras) is selected, and set ISO to 100. Set the aperture to f/16 and compose the shot so that the sun is on the edge of a tree. This combination of aperture and sun position will create a sun star. Now focus on the trees in the shot and use the camera’s self-timer to take the picture. The self-timer will be accessible within the quick menu of your camera or with a dedicated switch – look for a symbol showing a clock with a circle around it.
- Learn more: 10 laws of landscape photography

5. Shoot an indoor portrait
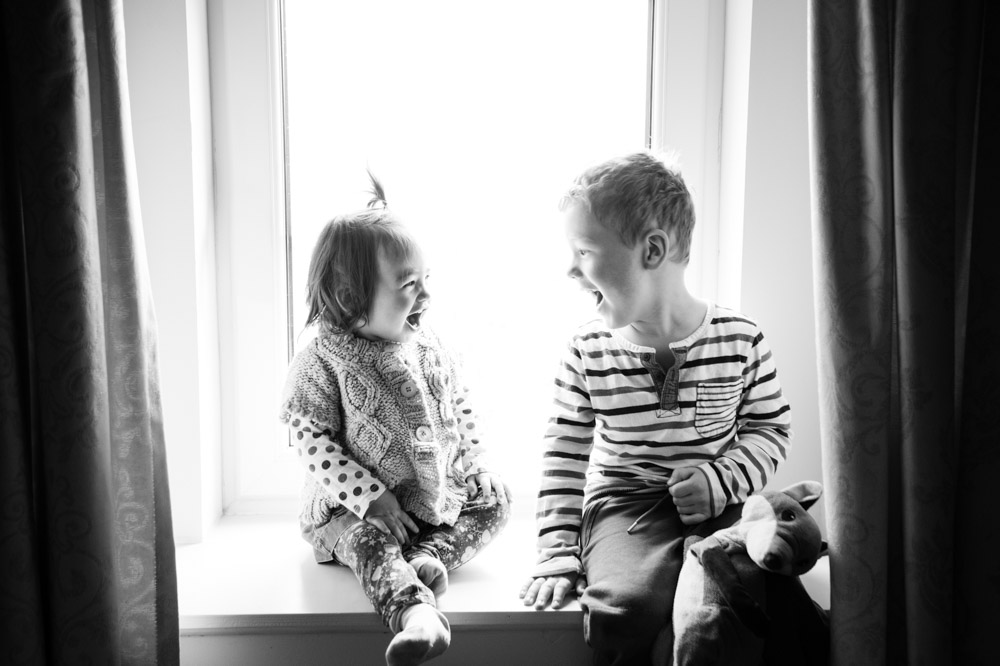
Christmas is a time when lots of people are in the house, and when the weather isn’t welcoming a walk outside, indoor portraits are an obvious answer. All you need is one or two people and a window for light and you have all the elements you need to take an atmospheric portrait. No flash here, we’re going to use the window as a large lightsource, and background, to backlight the subject.
Shoot in aperture-priority so you can select a medium aperture of f/5.6. Turn the mode dial on the camera so A (or Av on Canon cameras) is selected and set ISO to 1600 so the sensor is sensitive enough for shooting indoors with the camera handheld. If your lens has image stabilisation it wouldn’t hurt to switch this on too.
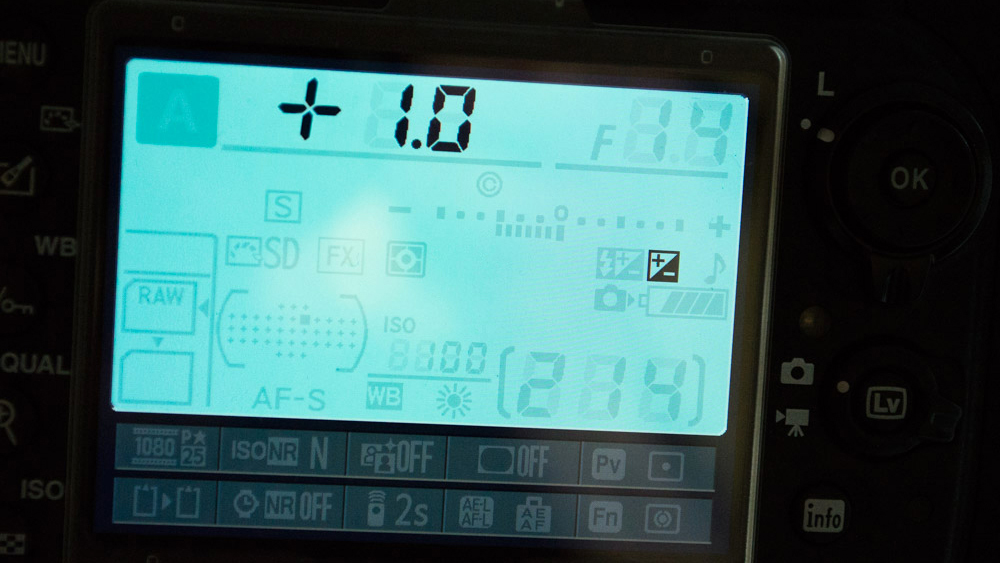
Next, take a test shot and assess the image on the LCD screen – it’ll most likely be underexposed and too dark. To fix this you’ll need to use exposure compensation, which is a setting that allows you to override the shutter speed selected by the camera when shooting in aperture-priority. Look for a button with a -/+, and press this while rotating the thumbwheel until the display shows +1.0 or more. You should now be ready to shoot. If your images are blurred increase the ISO to 3200 but don’t forget to reset it to 100 once you’ve finished shooting.

- Best camera accessories: essential bits of kit for your camera
- 10 must-have accessories for every Canon DSLR owner
- 10 must-have accessories for every Nikon DSLR owner
- Best travel tripod: 5 carbon fiber stands for your camera
- Best camera bag: 10 options to protect your camera kit
- Best flashgun: dedicated strobes for Canon and Nikon DSLRs
- Best ND filters: 6 top models tested
- Best ND grad filters: 6 top models tested

James Abbott is a professional photographer and freelance photography journalist. He contributes articles about photography, cameras and drones to a wide range of magazines and websites where he applies a wealth of experience to testing the latest photographic tech. James is also the author of ‘The Digital Darkroom: The Definitive Guide to Photo Editing’.